Include it this the germs and bacteria that you get in a bathroom and also you can realize why the flooring takes much more of a beating than some other rooms. Ceramic tiles are actually produced in a breathtaking array of styles which are different, sizes and designs, too, rendering it a snap to get the look that's ideal for you. It's also essential to look at bathroom flooring as an even greater picture.
Here are Images about How To Tile Your Bathroom Floor
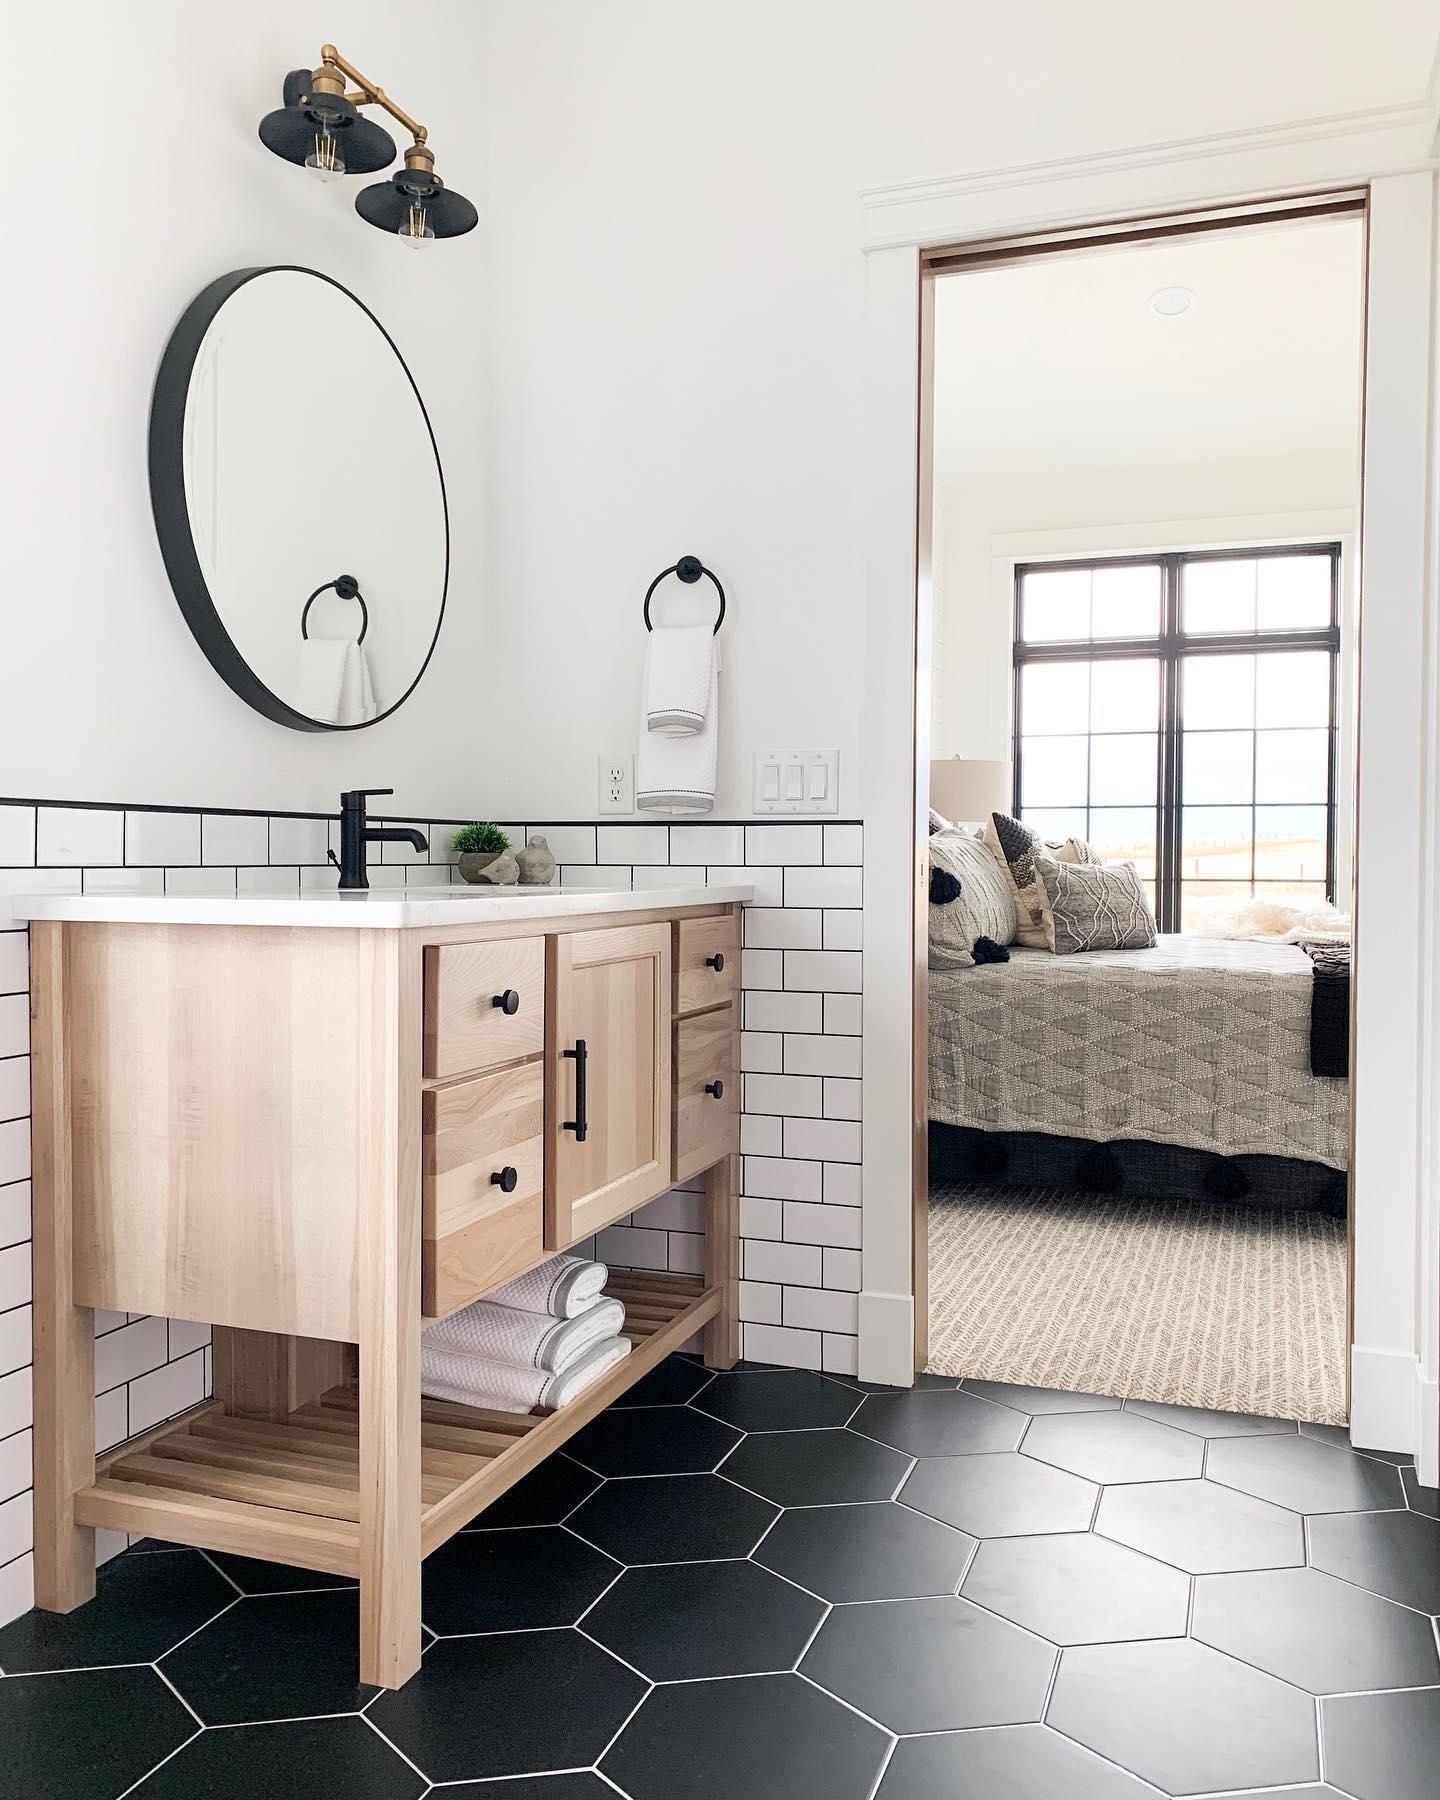
How To Tile Your Bathroom Floor

There are plenty of diverse types of bath room flooring available- you are able to go in for ceramic types, linoleum flooring, vinyl tiles, marble flooring as well as hardwood floors. Marble mosaic tiles may have a matte or glossy finish. You will have to discuss the backing totally with glue in case you want to place it with the floor.
How to Tile a Small Bathroom Floor DIY Bath Remodel

These materials are available in a broad range of styles plus patterns which implies you'll certainly be able to acquire one that suits your tastes. If perhaps you prefer the typical white colored or perhaps cream, use colored grout so that your bath room gets a splash of hue. The greatest thing about bathroom floor vinyl tiles is you can upgrade theme readily and with no professional help.
Images Related to How To Tile Your Bathroom Floor
How to Lay a Tile Floor HGTV

How To Tile a Bathroom Floor The Home Depot

How To Update Your Bathroom Floor Tiles – 6 DIY ideas

How to Tile a Bathroom Floor
/BathroomTileFloor-092a6b5be9a843e69b583431fa59c5d7.jpg)
The Best Flooring Options for Bathrooms – This Old House

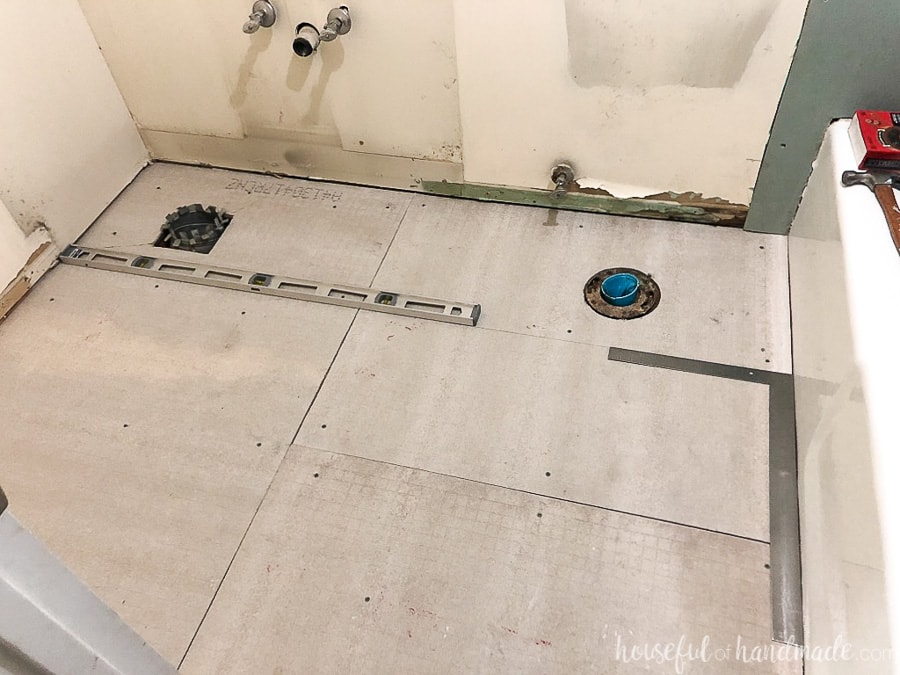
Laying Floor Tiles in a Small Bathroom – Houseful of Handmade
How To Tile A Bathroom Floor (For Beginners!) – Making Manzanita
How to Tile a Bathroom Floor DIY Bathroom Remodel
How To Tile A Bathroom Floor (For Beginners!) – Making Manzanita
Rebooting the Bathroom – The New York Times

How To Update Your Bathroom Floor Tiles – 6 DIY ideas

Six Ways to Make Your Small Bathroom Feel Bigger
Related articles:
- Vintage Bathroom Floor Tile Patterns
- Bathroom Floor Tile DIY
- Limestone Bathroom Floor Tiles
- Bathroom Floor Porcelain Tile
- Concrete Bathroom Floor Ideas
- White Bathroom Ceramic Tiles
- Bathroom Floor Baseboard
- Rustic Bathroom Flooring Ideas
- Bathroom Flooring Options
- Bamboo Bathroom Flooring Ideas
Title: How to Tile Your Bathroom Floor: A Comprehensive Guide to Achieving a Stunning Result
Introduction:
Tiling your bathroom floor can greatly enhance its overall aesthetics while also providing durability and easy maintenance. However, the task may seem daunting for beginners. Fear not! In this comprehensive guide, we will walk you through each step of the tiling process, ensuring that you achieve a beautiful and professional finish.
I. Preparing the Surface:
Before diving into the tiling process, it is crucial to prepare the surface properly. Follow these steps for a flawless foundation.
a) Clearing and Cleaning:
Start by removing any existing flooring material, ensuring that the subfloor is clean and free from debris. Sweep or vacuum thoroughly, paying attention to corners and edges. Use a mild detergent to remove any stubborn stains or residues.
FAQ: Should I remove the toilet before tiling the bathroom floor?
Answer: It is recommended to remove the toilet before tiling as it allows you to tile under it for a seamless look. However, if you prefer not to remove it, you can tile around it carefully.
b) Repairing Subfloor Issues:
Inspect the subfloor for any damage or unevenness. Replace any damaged sections and use a leveling compound to fill in low spots. Ensure that the subfloor is stable and able to support the weight of the tiles.
FAQ: Can I tile directly on top of my existing vinyl flooring?
Answer: While it is possible to tile over vinyl flooring, it is generally recommended to remove it for better adhesion and longevity of your new tiles.
II. Measuring and Planning:
Proper measurements and planning are essential for achieving an aesthetically pleasing result without any waste or unnecessary cuts.
a) Measuring the Floor:
Using a measuring tape, determine the length and width of your bathroom floor. Multiply these measurements to calculate its square footage, which will help you purchase an adequate amount of tiles.
b) Choosing the Right Tiles:
Consider the style and design of your bathroom when selecting tiles. Ceramic or porcelain tiles are popular choices due to their durability, water resistance, and wide range of design options. Additionally, consider the size and color of the tiles to create the desired effect.
FAQ: What size of tiles should I choose for my bathroom floor?
Answer: The size of the tiles depends on personal preference and the size of your bathroom. Larger tiles tend to make a small space appear more expansive, while smaller tiles can add intricate detail to larger bathrooms.
III. Gathering Tools and Materials:
To ensure a smooth tiling process, gather all the necessary tools and materials before starting.
a) Essential Tools:
– Tape measure
– Notched trowel
– Tile cutter or wet saw
– Grout float
– Rubber mallet
– Level
– Spacers
– Sponge or damp cloth
– Bucket for mixing grout
b) Required Materials:
– Tiles (including 10% extra for cuts and replacements)
– Thinset mortar or adhesive
– Grout
– Tile spacers
– Waterproofing membrane (if necessary)
– Grout sealer
IV. Installing the Tiles:
Now that you have prepared the surface, measured your floor, and gathered all the necessary tools and materials, it’s time to install the tiles!
a) Applying Thinset Mortar:
Begin by preparing the thinset mortar according to the manufacturer’s instructions. Using a notched trowel, apply an even layer of mortar on a Small section of the subfloor. Make sure to only cover an area that you can tile within 15-20 minutes, as the mortar will start to dry quickly.
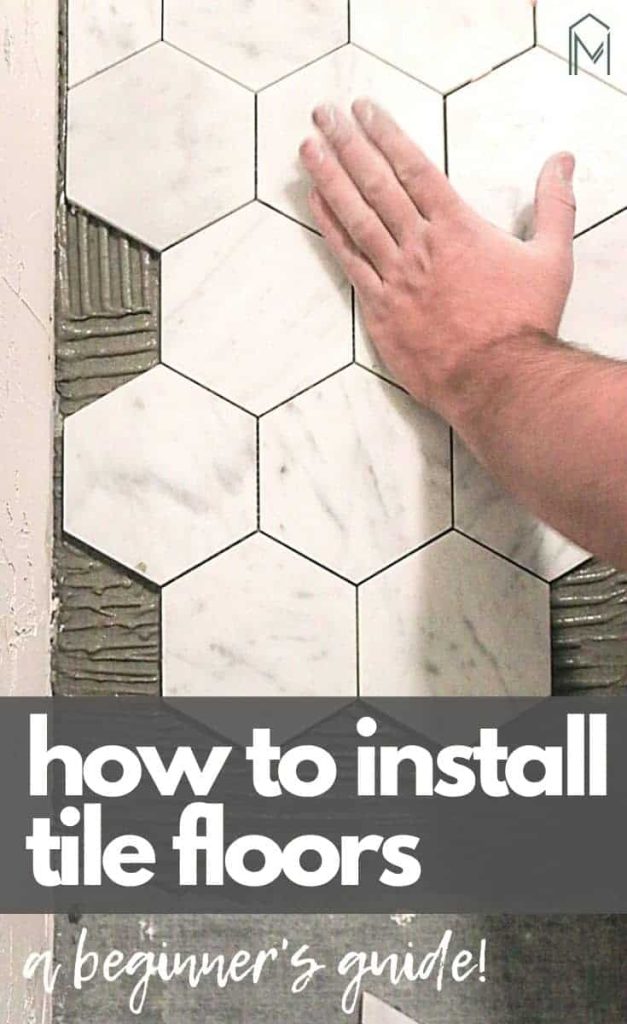
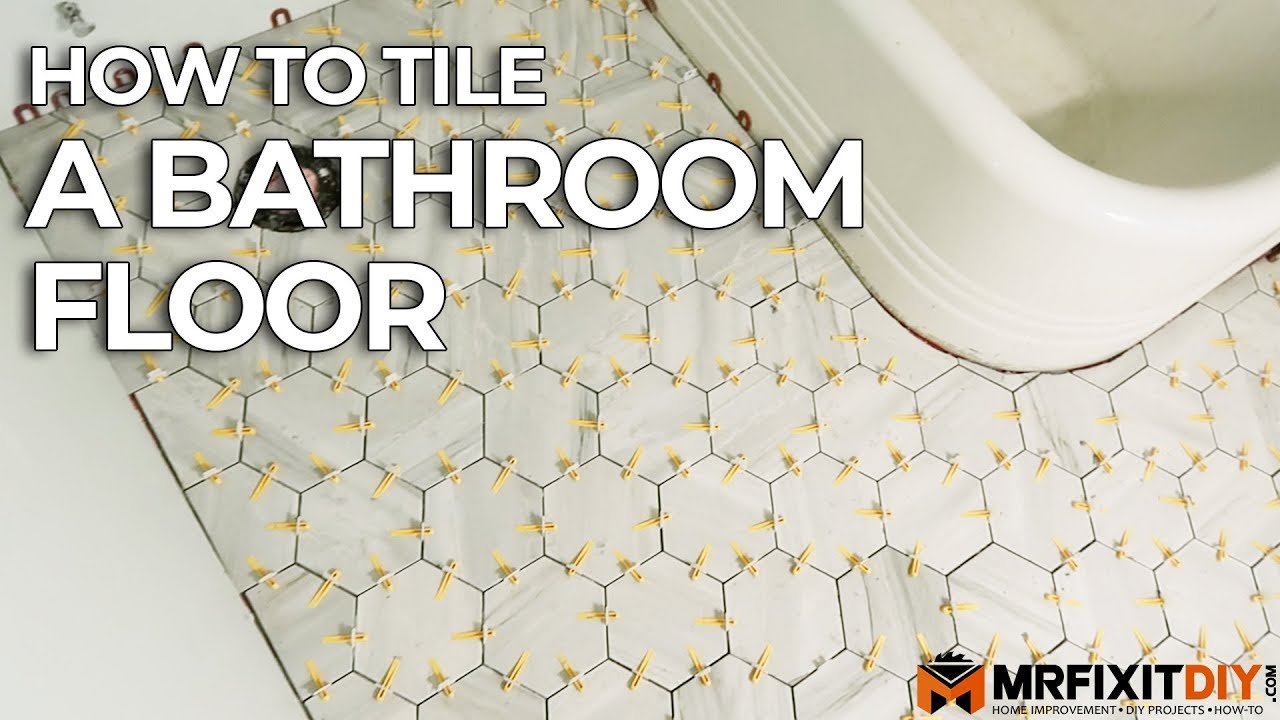
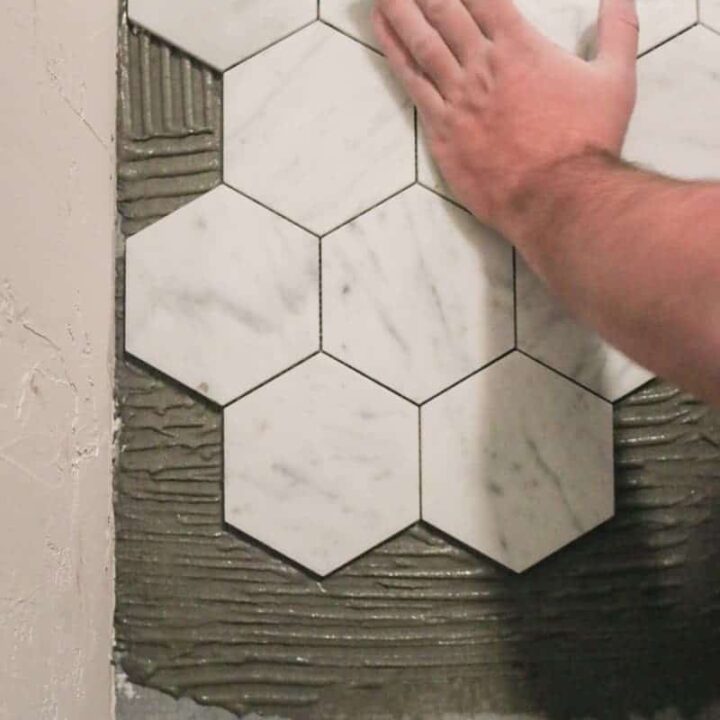
b) Placing the Tiles:
Carefully place the first tile onto the mortar, pressing it firmly into place. Use tile spacers to maintain consistent spacing between tiles. Continue placing tiles in a straight line, working your way across the floor.
c) Cutting Tiles:
When you reach the edges or obstacles such as pipes or cabinets, you may need to cut tiles to fit. Measure and mark the tile that needs to be cut, then use a tile cutter or wet saw to make the necessary cuts.
d) Applying Grout:
After all the tiles are laid and the mortar is dry, mix the grout according to the manufacturer’s instructions. Using a grout float, spread the grout over the tiles at a 45-degree angle, making sure to fill all the gaps between tiles.
e) Cleaning Excess Grout:
Once the grout has set for about 15-20 minutes, use a damp sponge or cloth to wipe away any excess grout from the surface of the tiles. Rinse out your sponge or cloth frequently to ensure a clean finish.
f) Sealing Grout (optional):
If desired, apply a grout sealer once the grout has fully dried. This will help protect against stains and water damage. Follow the manufacturer’s instructions for application and drying time.
V. Allowing Time for Drying:
After completing the tiling process, allow sufficient time for everything to dry and set properly before using your bathroom again. This will typically take 24-48 hours, but refer to product instructions for specific drying times.
VI. Enjoying Your New Bathroom Floor:
Once everything is dry and set, you can now enjoy your newly tiled bathroom floor! Remember to clean and maintain the tiles regularly to keep them looking their best for years to come. – Once everything is dry and set, you can now enjoy your newly tiled bathroom floor! Remember to clean and maintain the tiles regularly to keep them looking their best for years to come.
Overall, installing bathroom floor tiles can be a time-consuming process, but with careful preparation and attention to detail, it can be a rewarding DIY project. Make sure to follow the manufacturer’s instructions for all materials and tools used, and take proper safety precautions throughout the process. Some additional tips for installing bathroom floor tiles:
– Before starting the tiling process, make sure the subfloor is clean, dry, and free of any debris or uneven spots. This will ensure a smooth and stable surface for the tiles.
– It’s a good idea to lay out the tiles before applying mortar to get an idea of how they will fit together and make any necessary adjustments.
– Use a tile leveling system to ensure that all the tiles are aligned and level with each other. This will help prevent lippage (uneven edges) and create a professional-looking finished product.
– When cutting tiles, always wear safety goggles to protect your eyes from any flying debris. Take your time and make precise cuts to ensure a proper fit.
– Be mindful of the direction of natural light in the room when deciding on the layout of the tiles. This can help enhance the overall appearance and make the room feel more spacious.
– Regularly inspect the tiles as you work to check for any imperfections or inconsistencies. It’s easier to fix any issues as you go rather than waiting until everything is finished.
– Once the grout is fully dry, apply a silicone caulk around the edges of the tiled area to seal any gaps and prevent water damage.
– Consider using a non-slip sealer on the tiles if you want to add an extra layer of protection against potential slips and falls in wet areas like bathrooms.
Remember that tiling is a skill that takes practice, so don’t get discouraged if it doesn’t turn out perfect on your first try. With patience and attention to detail, you can achieve a beautiful and functional bathroom floor that you can enjoy for years to come.