The floor surfaces in your bathroom should be strong, it must be ready to withstand temperature extremes, wear as well as tear and most importantly, it will be able to withstand humidity and drinking water. It is vitally important to get basic knowledge about the type of materials you decide to function as your bathroom's foundation.
Here are Images about How To Replace Bathroom Floor Vinyl Tiles
How To Replace Bathroom Floor Vinyl Tiles
Vinyl and laminate tiles are furthermore a great choice since they are easy and affordable to keep. This will give them a shiny and smooth appearance and also helps to protect the tiles from wear and tear. This will provide your bathroom a modern feel. Vinyl tiles tend to be coated with enhanced urethane or even urethane. They are not difficult to keep as well as stays hot even in winter.
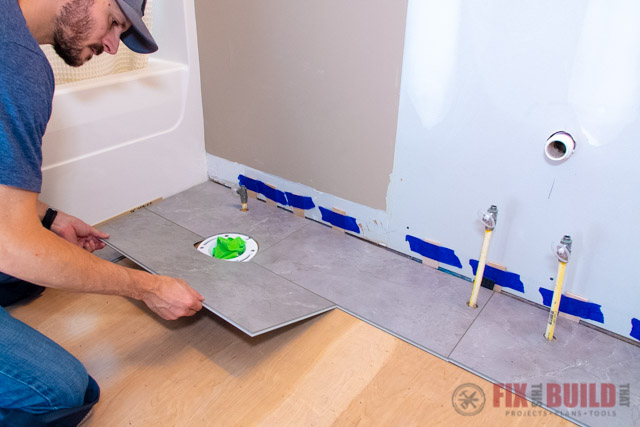
How To Install Vinyl Plank Flooring In A Bathroom As A Beginner Home Renovation
You'll find so many choices from which you are able to choose your desired flooring design. Printed tiles use out faster although they are cheaper and permit you to experiment with styles that are different & patterns. There are various flooring types that you are able to opt for on the subject of your living spaces as well as bedrooms but you cannot select any and every flooring material as bath room flooring.
Images Related to How To Replace Bathroom Floor Vinyl Tiles
How to Install Vinyl Plank Flooring // Allure ISOCORE Vinyl Tile Installation Tutorial
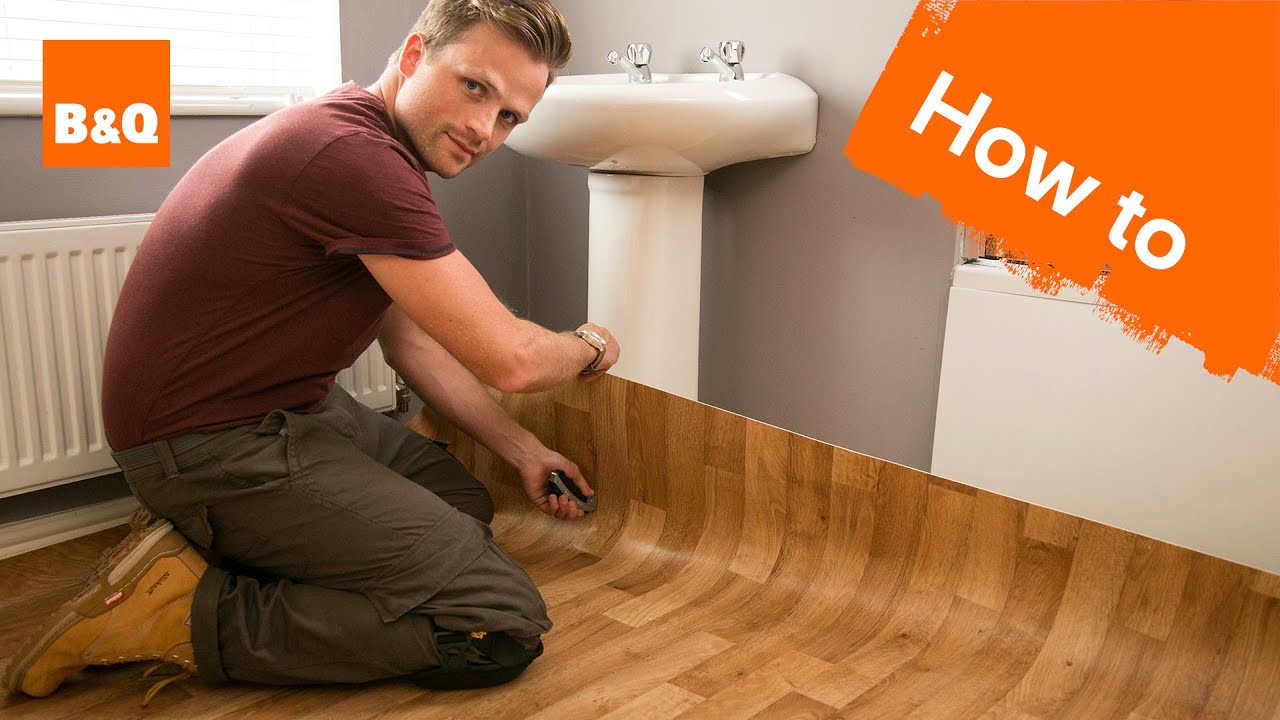
How to lay sheet vinyl flooring
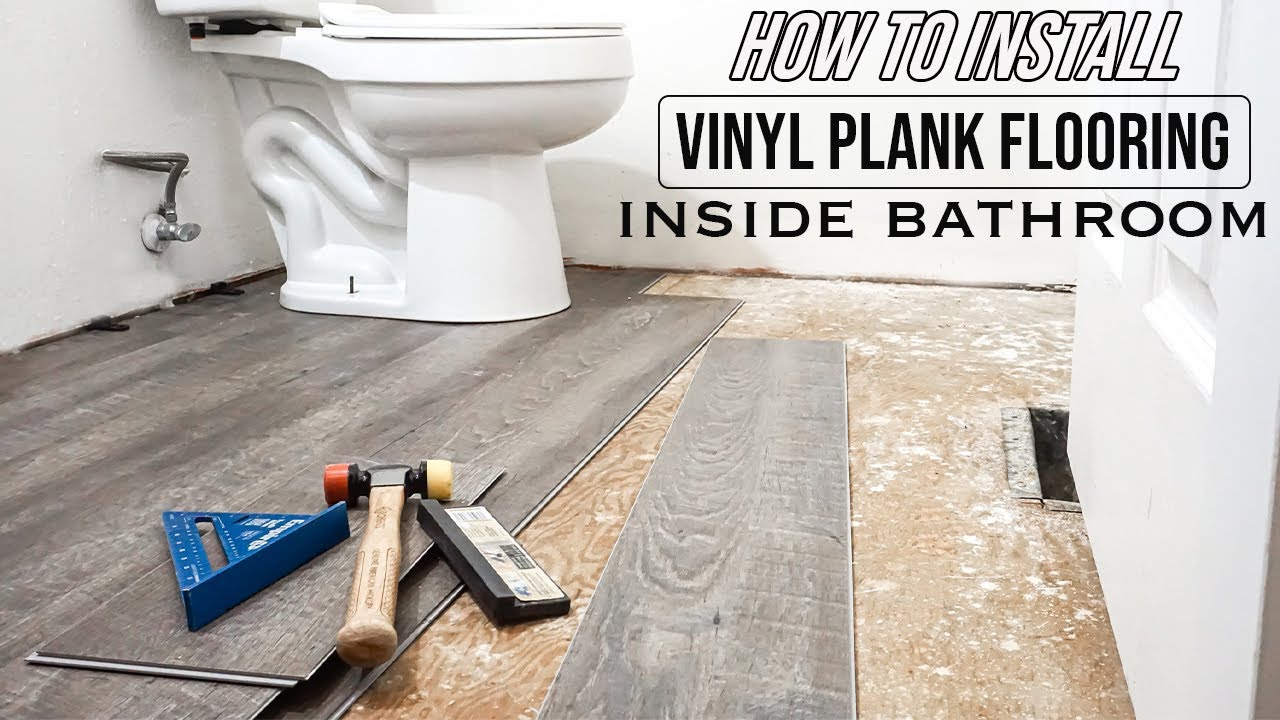
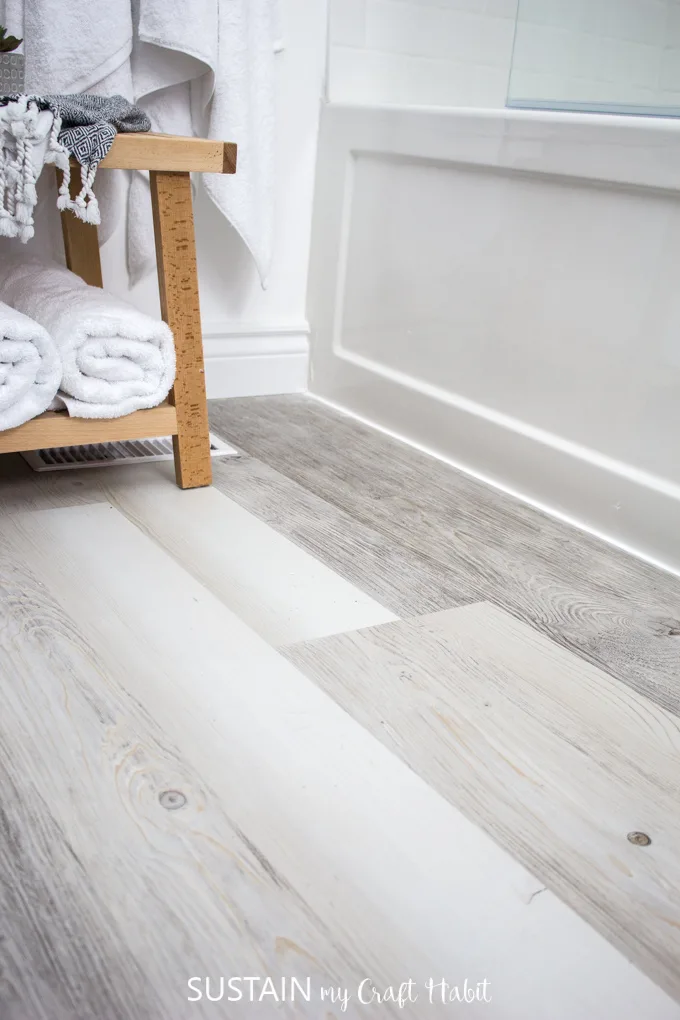
How to Install Vinyl Plank Flooring as a Beginner Home Renovation

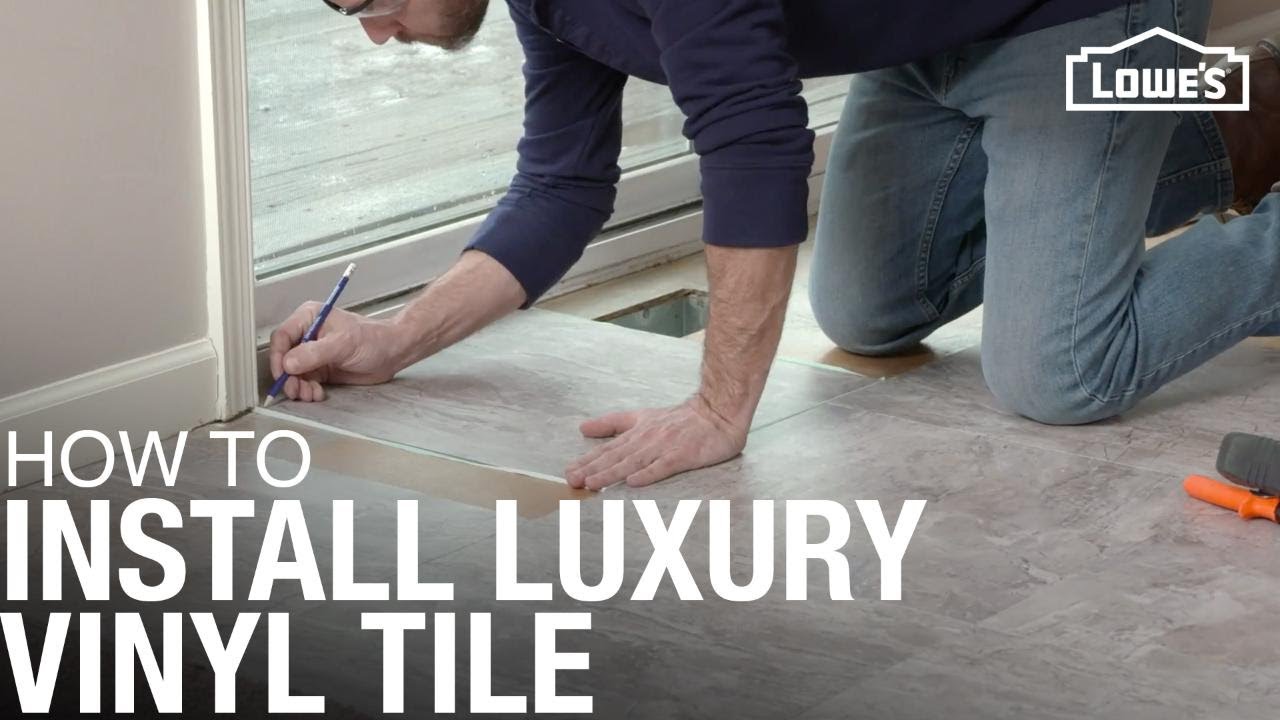
How To Install Luxury Vinyl Tile
How to Remove Vinyl Flooring
/RemovingVinylFlooring-5b561e26c9e77c00372a8ae6.JPG)
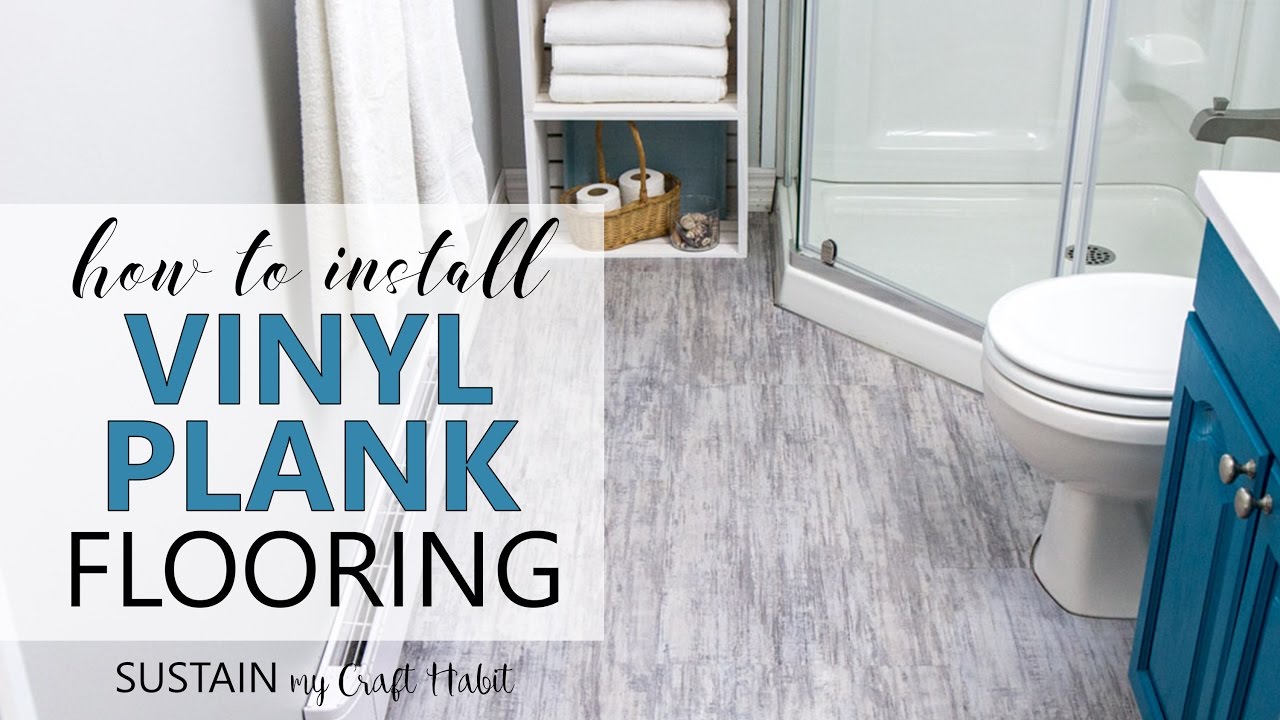
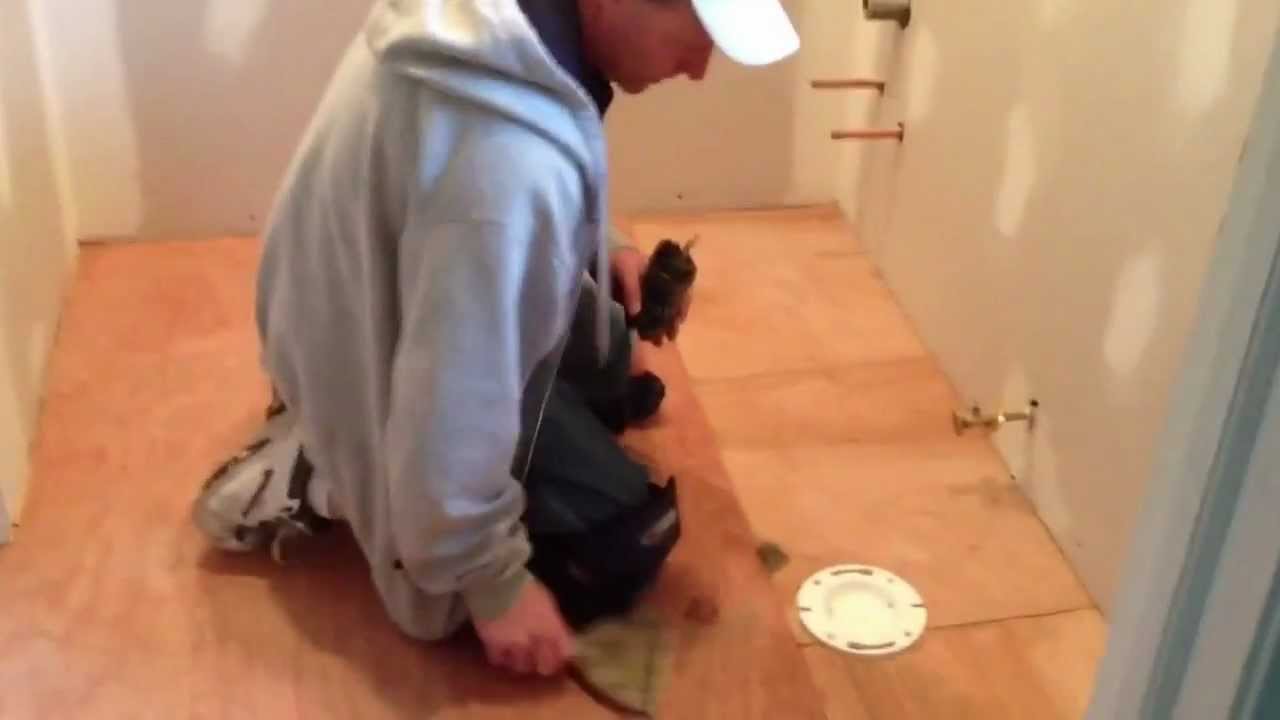
How To Install Vinyl Flooring In A Bathroom
How to Install Sheet Vinyl Floor » Decor Adventures

Installing Vinyl Plank Flooring: Lifeproof Waterproof Rigid Core
LVT Flooring Over Existing Tile the Easy Way – Vinyl Floor
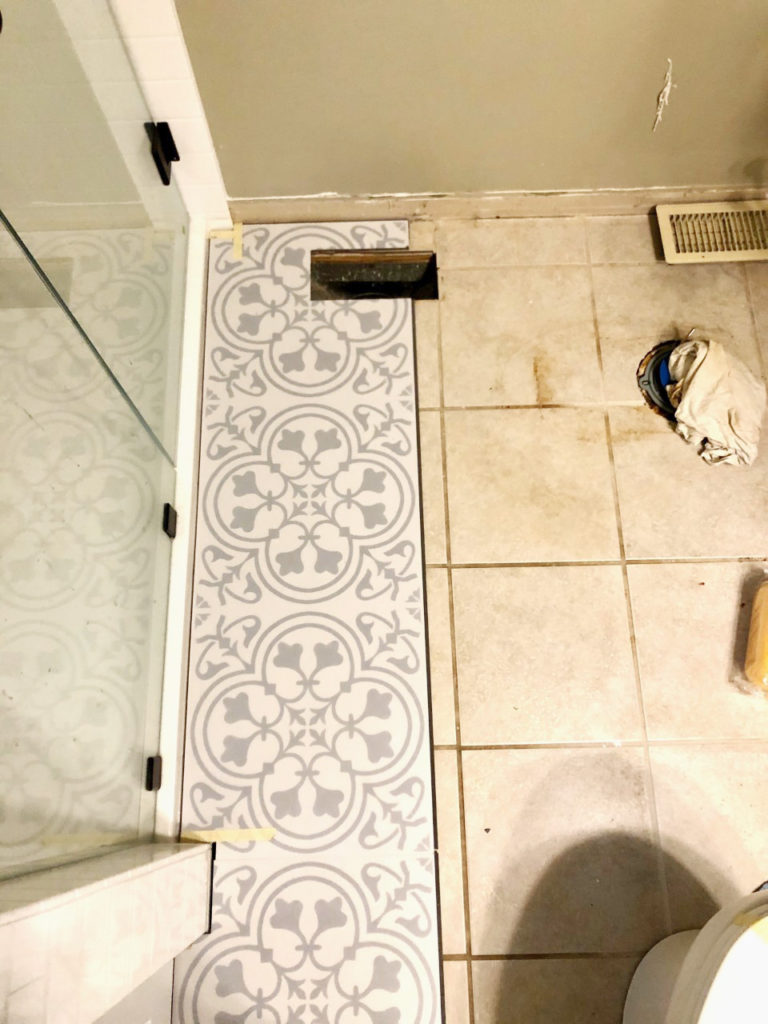
How to Install Sheet Vinyl Flooring Over Tile – Blessu0027er House

How to Install Vinyl Flooring in a Sheet (DIY) Family Handyman
LVT Flooring Over Existing Tile the Easy Way – Vinyl Floor
Related articles:
- Concrete Bathroom Floor Paint
- Bathroom Floor Edging
- Bathroom Flooring Alternatives
- Bathroom Safety Flooring
- Bathroom Floor Tiles Brown
- Floor Tile Design Ideas For Small Bathrooms
- Bathroom Wall Floor Tile Combinations
- Black And White Patterned Bathroom Floor Tiles
- What Kind Of Flooring For Bathroom
- Dupont Laminate Flooring Bathroom
When it comes to updating the look of your bathroom, replacing old vinyl floor tiles can make a huge impact. Whether your current tiles are outdated, damaged, or simply not to your taste anymore, installing new vinyl tiles can give your bathroom a fresh and modern look. While it may seem like a daunting task, with the right tools and know-how, replacing bathroom floor vinyl tiles can be a relatively straightforward DIY project. In this article, we will walk you through the steps of how to replace bathroom floor vinyl tiles, including tips and tricks to ensure a successful installation.
1. Gather Your Materials
Before you begin the process of replacing your bathroom floor vinyl tiles, you will need to gather all the necessary materials and tools. Here is a list of items you will need:
– New vinyl tiles
– Adhesive
– Utility knife
– Straight edge
– Tape measure
– Notched trowel
– Roller
– Floor patch compound
– Putty knife
– Grout (if using groutable vinyl tiles)
2. Remove Existing Tiles
The first step in replacing your bathroom floor vinyl tiles is to remove the existing tiles. Start by using a utility knife to cut through the grout lines between the tiles. Once the grout has been removed, use a putty knife to pry up the tiles from the floor. Be sure to wear gloves and eye protection during this process to protect yourself from any sharp edges.
FAQs:
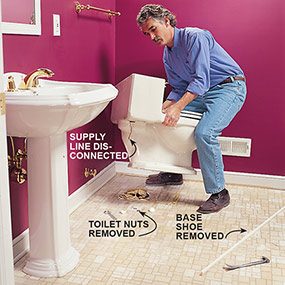
Q: Do I need to remove the toilet before replacing the vinyl tiles?
A: It is recommended to remove the toilet before replacing the vinyl tiles for a cleaner and more professional-looking finish. However, if you prefer not to remove it, you can work around it by cutting the tiles to fit around the base of the toilet.
3. Prepare the Subfloor
After removing the old vinyl tiles, you will need to prepare the subfloor for installation of the new tiles. Check for any damage or imperfections in the subfloor and repair as needed using a floor patch compound. Make sure that the subfloor is clean, dry, and level before proceeding with installation.
4. Measure and Cut Tiles
Once the subfloor is prepared, it’s time to measure and cut your new vinyl tiles to fit the space. Use a tape measure to determine the dimensions of each tile and mark them accordingly on the back of the tile using a straight edge. Use a utility knife to carefully cut along the marked lines.
FAQs:
Q: Can I install vinyl tiles over existing ceramic tiles?
A: While it is possible to install vinyl tiles over existing ceramic tiles, it is generally not recommended as this can lead to issues with adhesion and durability over time. It is best practice to remove old ceramic tiles before installing new vinyl ones.
5. Apply Adhesive
Before laying down your new vinyl tiles, apply adhesive to the subfloor using a notched trowel. Spread an even layer of adhesive over a small section of the floor at a time, working in small sections to ensure that the adhesive does not dry out before laying down the tiles.
6. Install Vinyl Tiles
Carefully place each cut tile onto the adhesive on the subfloor, pressing down firmly to ensure good adhesion. Use a roller to roll over each tile once it has been laid down to ensure that it is securely bonded to the floor. Continue this process until all of your new vinyl tiles have been installed.
FAQs:
Q: How long does It take for the adhesive to dry before I can walk on the new vinyl tiles?
A: The drying time for the adhesive will vary depending on the brand and type of adhesive used. It is recommended to wait at least 24 hours before walking on the new vinyl tiles to ensure that the adhesive has fully cured and the tiles are securely bonded to the floor.
7. Grout (if using groutable vinyl tiles)
If you are using groutable vinyl tiles, you will need to apply grout between the tiles once they have been installed. Mix the grout according to the manufacturer’s instructions and use a rubber grout float to apply it to the spaces between the tiles. Wipe away any excess grout with a damp sponge and allow it to dry according to the manufacturer’s recommendations.
8. Finish and Clean Up
Once the adhesive and grout have dried, replace any baseboards or trim that were removed during the installation process. Clean up any remaining debris or adhesive residue from the floor using a damp cloth or mop. Your new bathroom floor vinyl tiles are now ready for use!
By following these steps and tips, you can easily replace your bathroom floor vinyl tiles and give your space a fresh new look. Remember to take your time, measure carefully, and follow all manufacturer’s instructions for best results. If you have any additional questions or concerns, don’t hesitate to reach out to a professional installer for guidance and assistance. Enjoy your newly updated bathroom floor!
FAQs:
Q: Can I install vinyl tiles over existing ceramic tiles?
A: While it is possible to install vinyl tiles over existing ceramic tiles, it is generally not recommended as this can lead to issues with adhesion and durability over time. It is best practice to remove old ceramic tiles before installing new vinyl ones.
Q: How long does It take for the adhesive to dry before I can walk on the new vinyl tiles?
A: The drying time for the adhesive will vary depending on the brand and type of adhesive used. It is recommended to wait at least 24 hours before walking on the new vinyl tiles to ensure that the adhesive has fully cured and the tiles are securely bonded to the floor.
By following these steps and tips, you can easily replace your bathroom floor vinyl tiles and give your space a fresh new look. Remember to take your time, measure carefully, and follow all manufacturer’s instructions for best results. If you have any additional questions or concerns, don’t hesitate to reach out to a professional installer for guidance and assistance. Enjoy your newly updated bathroom floor!