There are a number of sites that discover this sort of polished concrete flooring pretty helpful. The concrete floor also offers various degrees of absorbency together with the acid offering the floor a marble impression which can appear hitting. Polishing the concrete floors brings out the look of the floor and leaves home owners with the very best building material.
Here are Images about How To Remove Concrete Floor
How To Remove Concrete Floor
To alter the color of the floor, customers could request shake-on color hardeners or even penetrating synthetic stains and dyes to change their grey concrete to any range of styles. Lately which has altered as a lot more folks are realizing that a polished concrete floor actually looks great. Polished concrete flooring looks a lot more slippery than it is.
Best Way to Remove Concrete Slabs on a Patio

Staining is actually probably the most common technique put on to concrete floors, acid stains are exclusively applied to the floor to develop serious wealthy colours. Polished concrete flooring comes with a slew of benefits to home builders as well as renovators. You can make many geometric shapes and designs to form essentially a patent which you would like. The natural color proficiency of concrete will accentuate any color scheme.
Images Related to How To Remove Concrete Floor
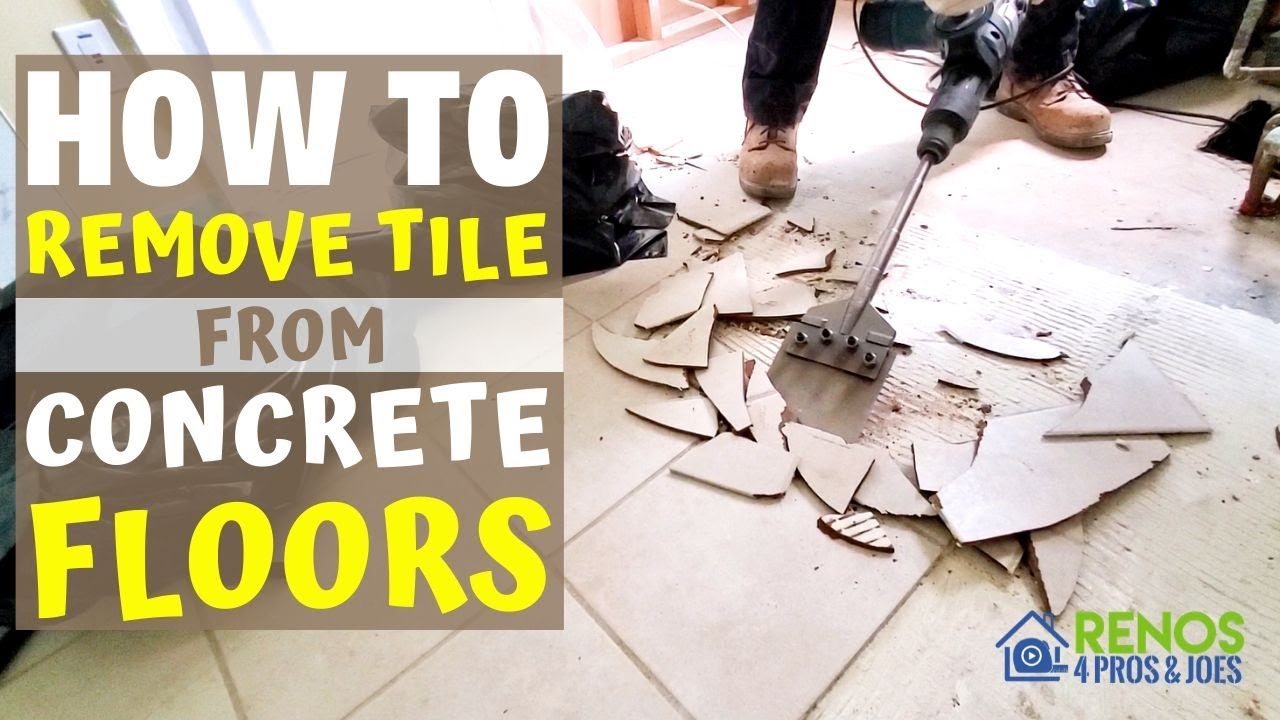
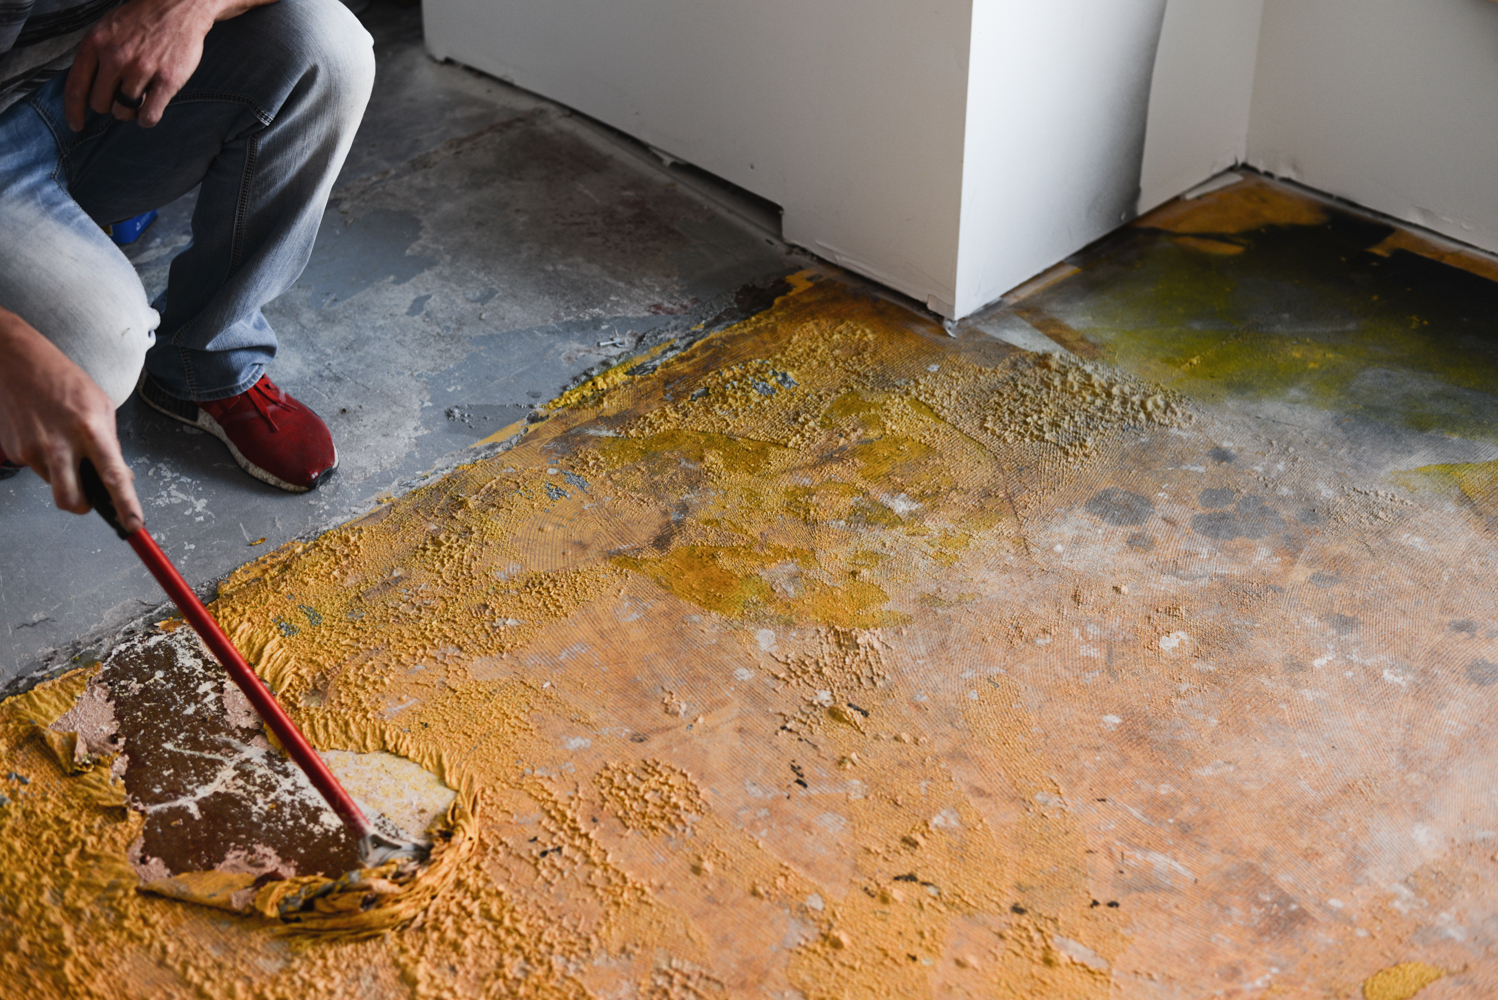
One Easy way to remove Ceramic tile From concrete
How To Remove Tile From Concrete Floor? [Step By Step Guide Included]

How to Break Up a Concrete Slab Budget Dumpster
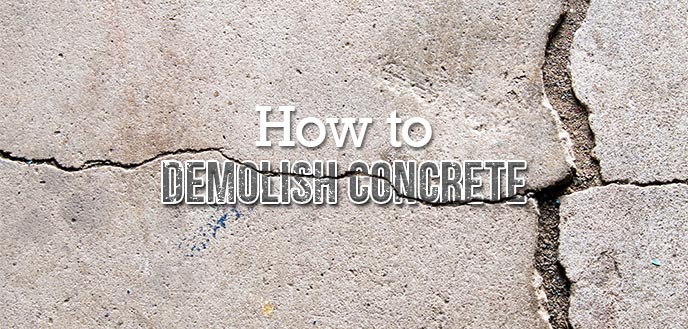
How to Break up Concrete by Hand
:max_bytes(150000):strip_icc()/Chopping-Away-Large-Pieces-of-Concrete-1500-x-1125-56a49ebf3df78cf772834cf7.jpg)
How to Remove Tile from a Concrete Floor 2021 Home Flooring Pros
How to Remove Paint From Concrete u2022 Vintage Revivals
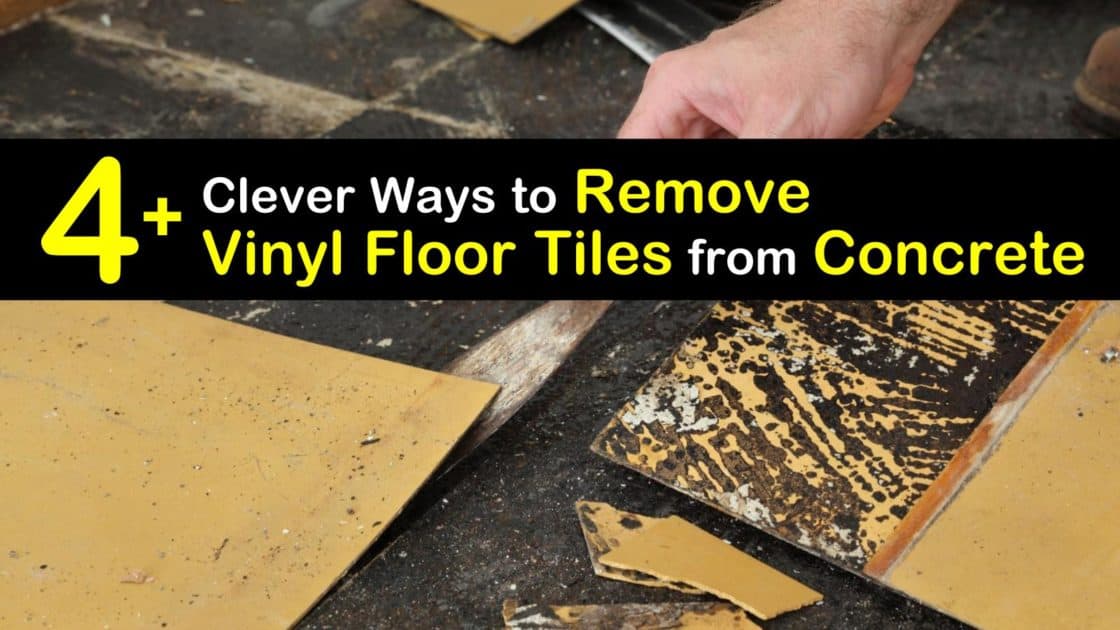
4+ Clever Ways to Remove Vinyl Floor Tiles from Concrete
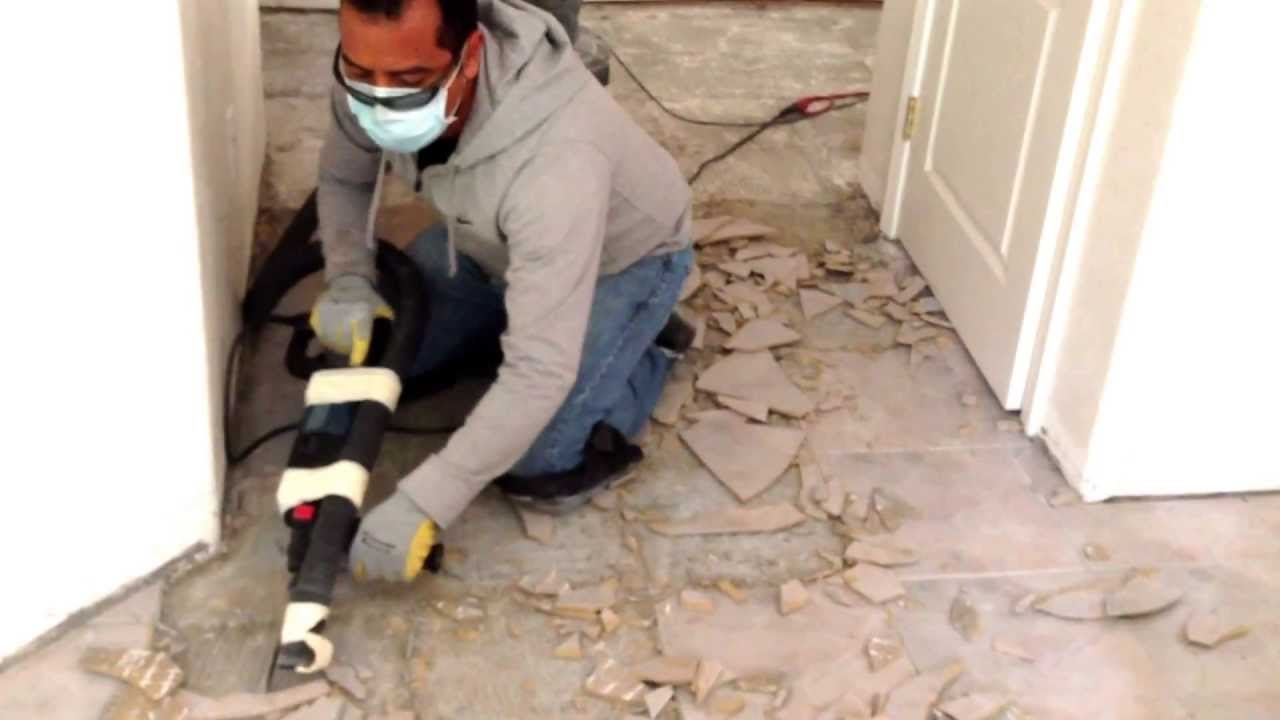
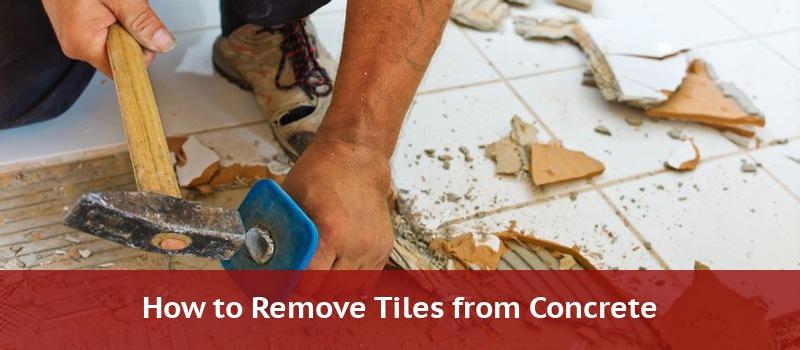
How to Remove Tile From a Concrete Floor (DIY) Family Handyman

Removing Concrete Toppings u0026 Surface Preparation

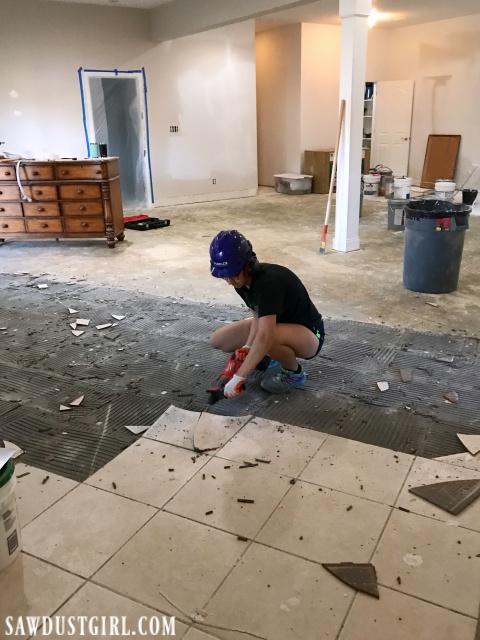
Removing Tile and Thinset from Concrete – Sawdust Girl®
Guide How To Remove Tile From Concrete Floor – Alliance Flooring

How to Break Up a Concrete Slab Budget Dumpster
Related articles:
- Stained Concrete Floors Design
- Decorative Concrete Floors
- Acid Stained Concrete Floors
- Polished Concrete Floor In Bathroom
- Concrete Floor Stain And Polish
- White Mold On Concrete Floor
- Polished Concrete Floor
- Polished Concrete Floor Cleaning
- Staining Concrete Floors Indoors Yourself
- Flooring Options For Concrete Floors
Title: How to Remove Concrete Floor: A Comprehensive Guide
Introduction:
Removing a concrete floor may seem like a daunting task, but with the right techniques and tools, it can be accomplished efficiently and effectively. Whether you’re renovating your home or commercial space, this guide will provide you with detailed steps and tips to successfully remove a concrete floor.
I. Understanding the Process of Concrete Floor Removal
Before diving into the actual removal process, it’s important to understand the structure of a concrete floor and the potential challenges you may encounter. A concrete floor consists of multiple layers including the concrete slab, reinforcement, and possibly an underlayment or adhesive layer. Each layer requires specific methods for removal to achieve the desired result.
1. Assessing the Floor Composition:
Begin by examining the floor to determine its composition. This will help you identify any additional layers that need to be removed alongside the concrete slab itself. Look for signs of underlayment or adhesives that may require separate removal techniques.
FAQs:
Q1: How can I determine if there are additional layers beneath the concrete slab?
A1: You can conduct a simple test by removing a small section of the concrete using a sledgehammer or jackhammer. This will give you a visual indication of any underlying layers.
Q2: Are there any safety precautions I should take before starting?
A2: Absolutely! Always wear protective gear such as safety goggles, gloves, and a dust mask to shield yourself from debris and potential hazardous substances.
II. Tools and Equipment Required for Concrete Floor Removal
To ensure an efficient removal process, it’s essential to have the right tools at your disposal. The following equipment is commonly used when removing a concrete floor:
1. Jackhammer or Breaker Hammer:
A jackhammer is an indispensable tool for breaking up large sections of concrete quickly. It utilizes a pneumatic or electric mechanism to deliver powerful blows that loosen and disintegrate the concrete slab.
2. Concrete Saw or Cutting Machine:
A concrete saw or cutting machine is used to create precise cuts in the concrete floor, enabling easier removal of smaller sections. This tool is particularly useful when dealing with reinforced concrete.
3. Pry Bars and Chisels:
Pry bars and chisels are ideal for removing smaller pieces of concrete or breaking up sections that are difficult to access with larger tools. They allow for more precise control over the removal process.
FAQs:
Q1: Should I rent or purchase the required tools?
A1: Renting tools can be a cost-effective option if you don’t plan on using them frequently. However, if you anticipate future projects involving concrete, purchasing your own tools may be more practical in the long run.
Q2: Are there any alternative methods for removing a concrete floor without heavy machinery?
A2: While heavier machinery like jackhammers yield faster results, it is possible to remove a concrete floor manually using hand tools such as sledgehammers and picks. However, this method requires more physical effort and time.
III. Step-by-Step Guide for Concrete Floor Removal
Now that you have assessed the floor composition and gathered the necessary tools, let’s dive into the step-by-step process of removing a concrete floor:
1. Prepare the Work Area:
Clear the surrounding area of any furniture, debris, or obstacles that might hinder your progress. Cover walls and other surfaces with plastic sheets to protect them from dust and debris.
2. Create Access Points:
Using a concrete saw or cutting Machine, create access points by making precise cuts in the concrete floor. This will allow you to remove smaller sections more easily.
3. Break Up the Concrete:
Using a jackhammer or breaker hammer, start breaking up the concrete from one of the access points. Work in small sections, applying force to loosen and disintegrate the concrete slab. Use pry bars and chisels to remove smaller pieces or break up hard-to-reach sections.
4. Dispose of Concrete Debris:
As you break up the concrete, collect the debris and dispose of it properly. You can use a wheelbarrow or heavy-duty bags for easy transportation.
5. Repeat the Process:
Continue breaking up and removing the concrete floor section by section until the entire area is cleared. Take breaks as needed to rest and avoid overexertion.
6. Clean Up and Finalize:
Once all the concrete has been removed, clean the area thoroughly, removing any remaining debris or dust. Dispose of all waste materials according to local regulations.
7. Assess and Repair:
After removing the concrete floor, assess the underlying layers to determine if any repairs or further actions are necessary. This is also a good time to check for any potential issues such as water damage or cracks in the foundation.
IV. Conclusion
Removing a concrete floor can be a labor-intensive task, but with proper preparation, tools, and safety precautions, it can be done efficiently and safely. Remember to assess the floor composition, wear protective gear, and use appropriate tools for effective removal. If you’re unsure about tackling this project yourself, it’s always best to consult with professionals for assistance. Removing a concrete floor can be a challenging task, but with the right tools and steps, it can be accomplished efficiently. Here is a step-by-step guide to help you through the process:
1. Prepare the work area: Clear the surrounding area of any furniture or obstacles that may hinder your progress. Cover walls and surfaces with plastic sheets to protect them from dust and debris.
2. Create access points: Use a concrete saw or cutting machine to make precise cuts in the concrete floor, creating access points. This will make it easier to remove smaller sections.
3. Break up the concrete: Start breaking up the concrete from one of the access points using a jackhammer or breaker hammer. Work in small sections, applying force to loosen and disintegrate the concrete slab. Pry bars and chisels can also be used to remove smaller pieces or break up hard-to-reach sections.
4. Dispose of concrete debris: Collect the debris as you break up the concrete and dispose of it properly. Use a wheelbarrow or heavy-duty bags for easy transportation.
5. Repeat the process: Continue breaking up and removing the concrete floor section by section until the entire area is cleared. Take breaks as needed to rest and avoid overexertion.
6. Clean up and finalize: Once all the concrete has been removed, clean the area thoroughly, removing any remaining debris or dust. Dispose of all waste materials according to local regulations.
7. Assess and repair: After removing the concrete floor, assess the underlying layers to determine if any repairs or further actions are necessary. This is also a good time to check for any potential issues such as water damage or cracks in the foundation.
In conclusion, removing a concrete floor requires careful planning, proper tools, and safety precautions. If you’re unsure about tackling this project yourself, it’s always best to consult with professionals for assistance.