Ceramic is the right choice of bathroom flooring as it is affordable, fashionable, water proof and simple to maintain. These tiles are considered as one of the maximum bases as they are long lasting and not too costly. You are able to decide to do your bathroom tile in solid colors or go in for printed or perhaps mosaic patterned tiles. or perhaps you can help make it simple and functional using plain colored flooring.
Here are Images about How To Remove A Tile Floor In Bathroom
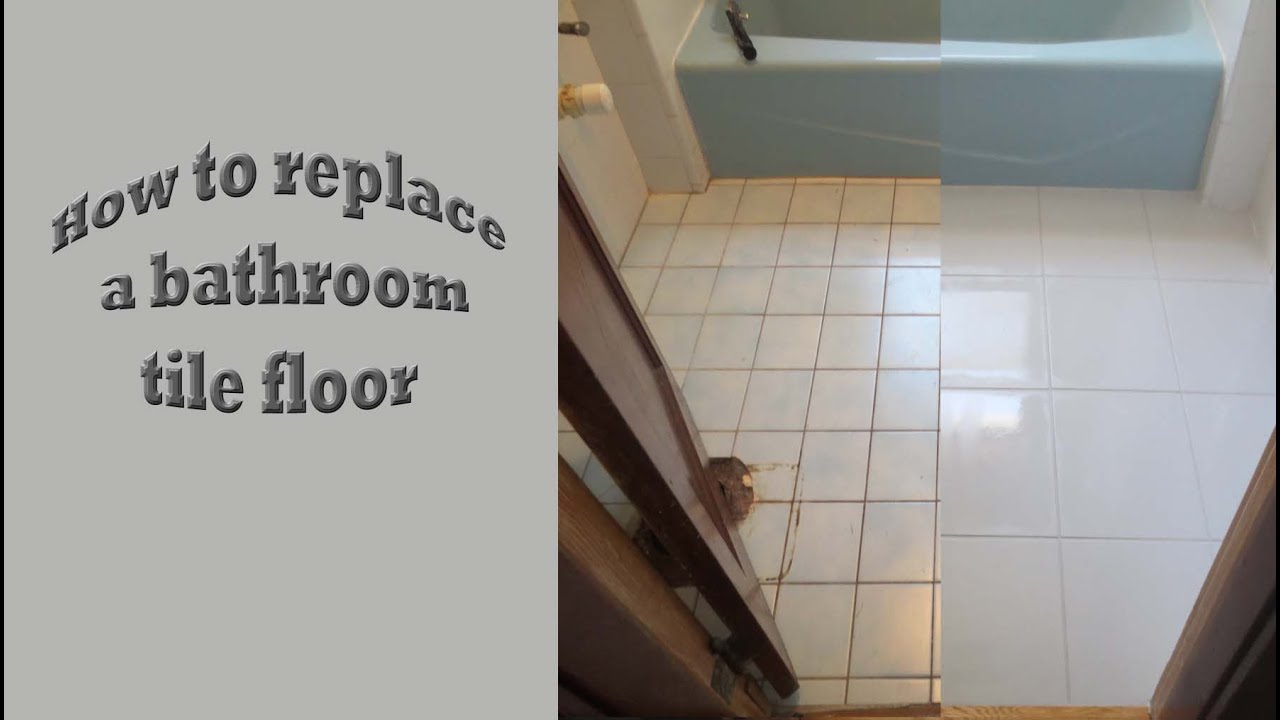
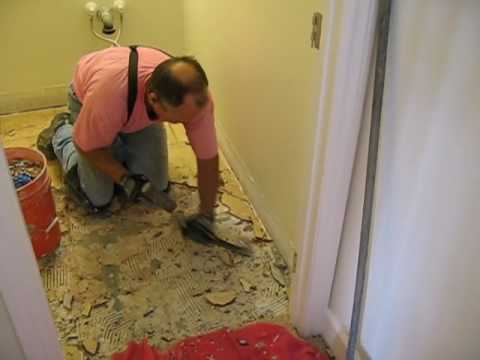
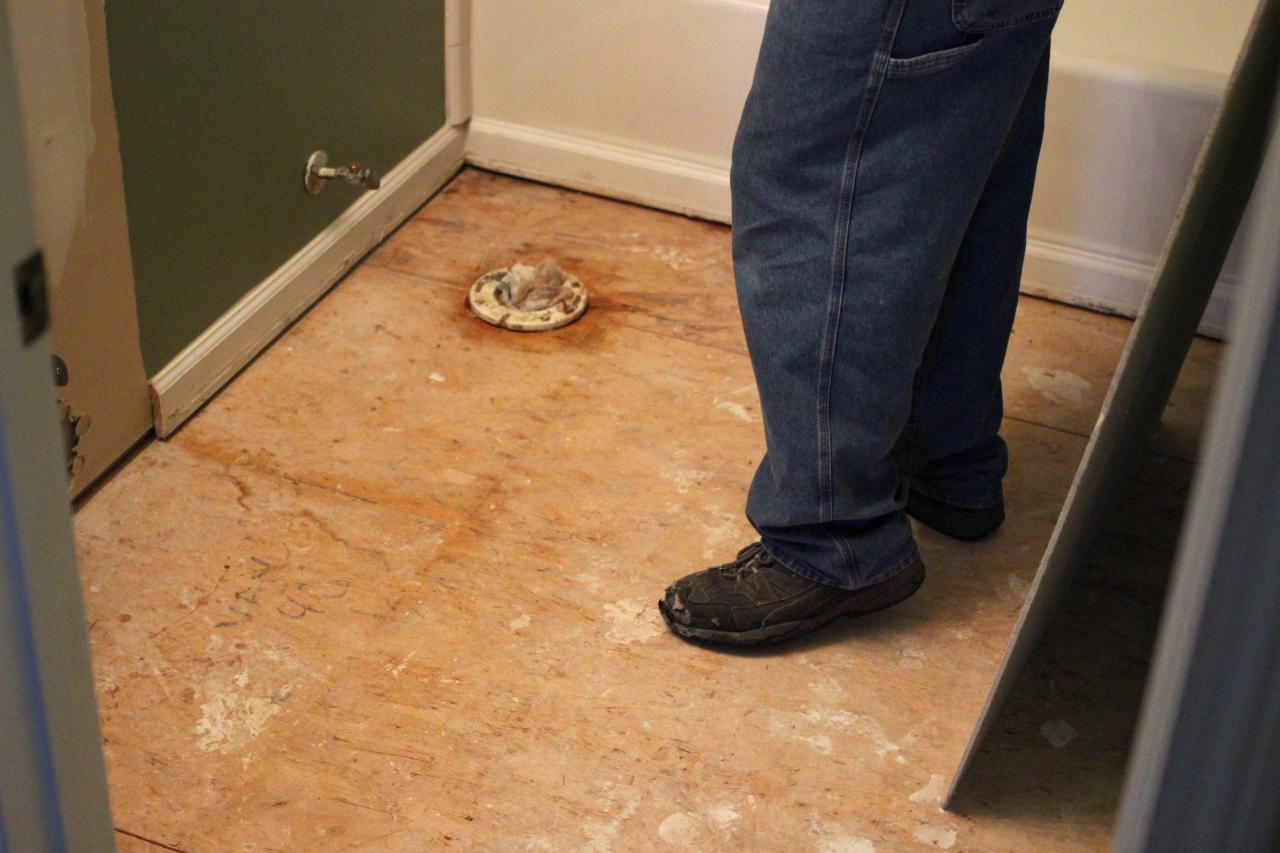
How To Remove A Tile Floor In Bathroom
At the more expensive end of the cost line there's granite, marble and some higher end tiles. Blending various types of mosaic tiles are additionally a superb strategy. Glass mosaic tiles are perfect for boarders and accents. Hardwood floors are fabulous as they produce a warm and classic appearance in your bath room. You are able to select from marble, granite, limestone as well as other stone flooring choices supplied by firms.
How to Remove a Tile Floor HGTV
You can't possibly expect your bath room flooring to turn into a porous materials or perhaps one that's prone to damage due to water. All these flooring materials are extremely prone to harm owing to moisture. There is often the option of high-end laminate bathroom flooring that's made to resemble ceramic tile for the floor but at a whole lot of lower price point and safer material.
Images Related to How To Remove A Tile Floor In Bathroom
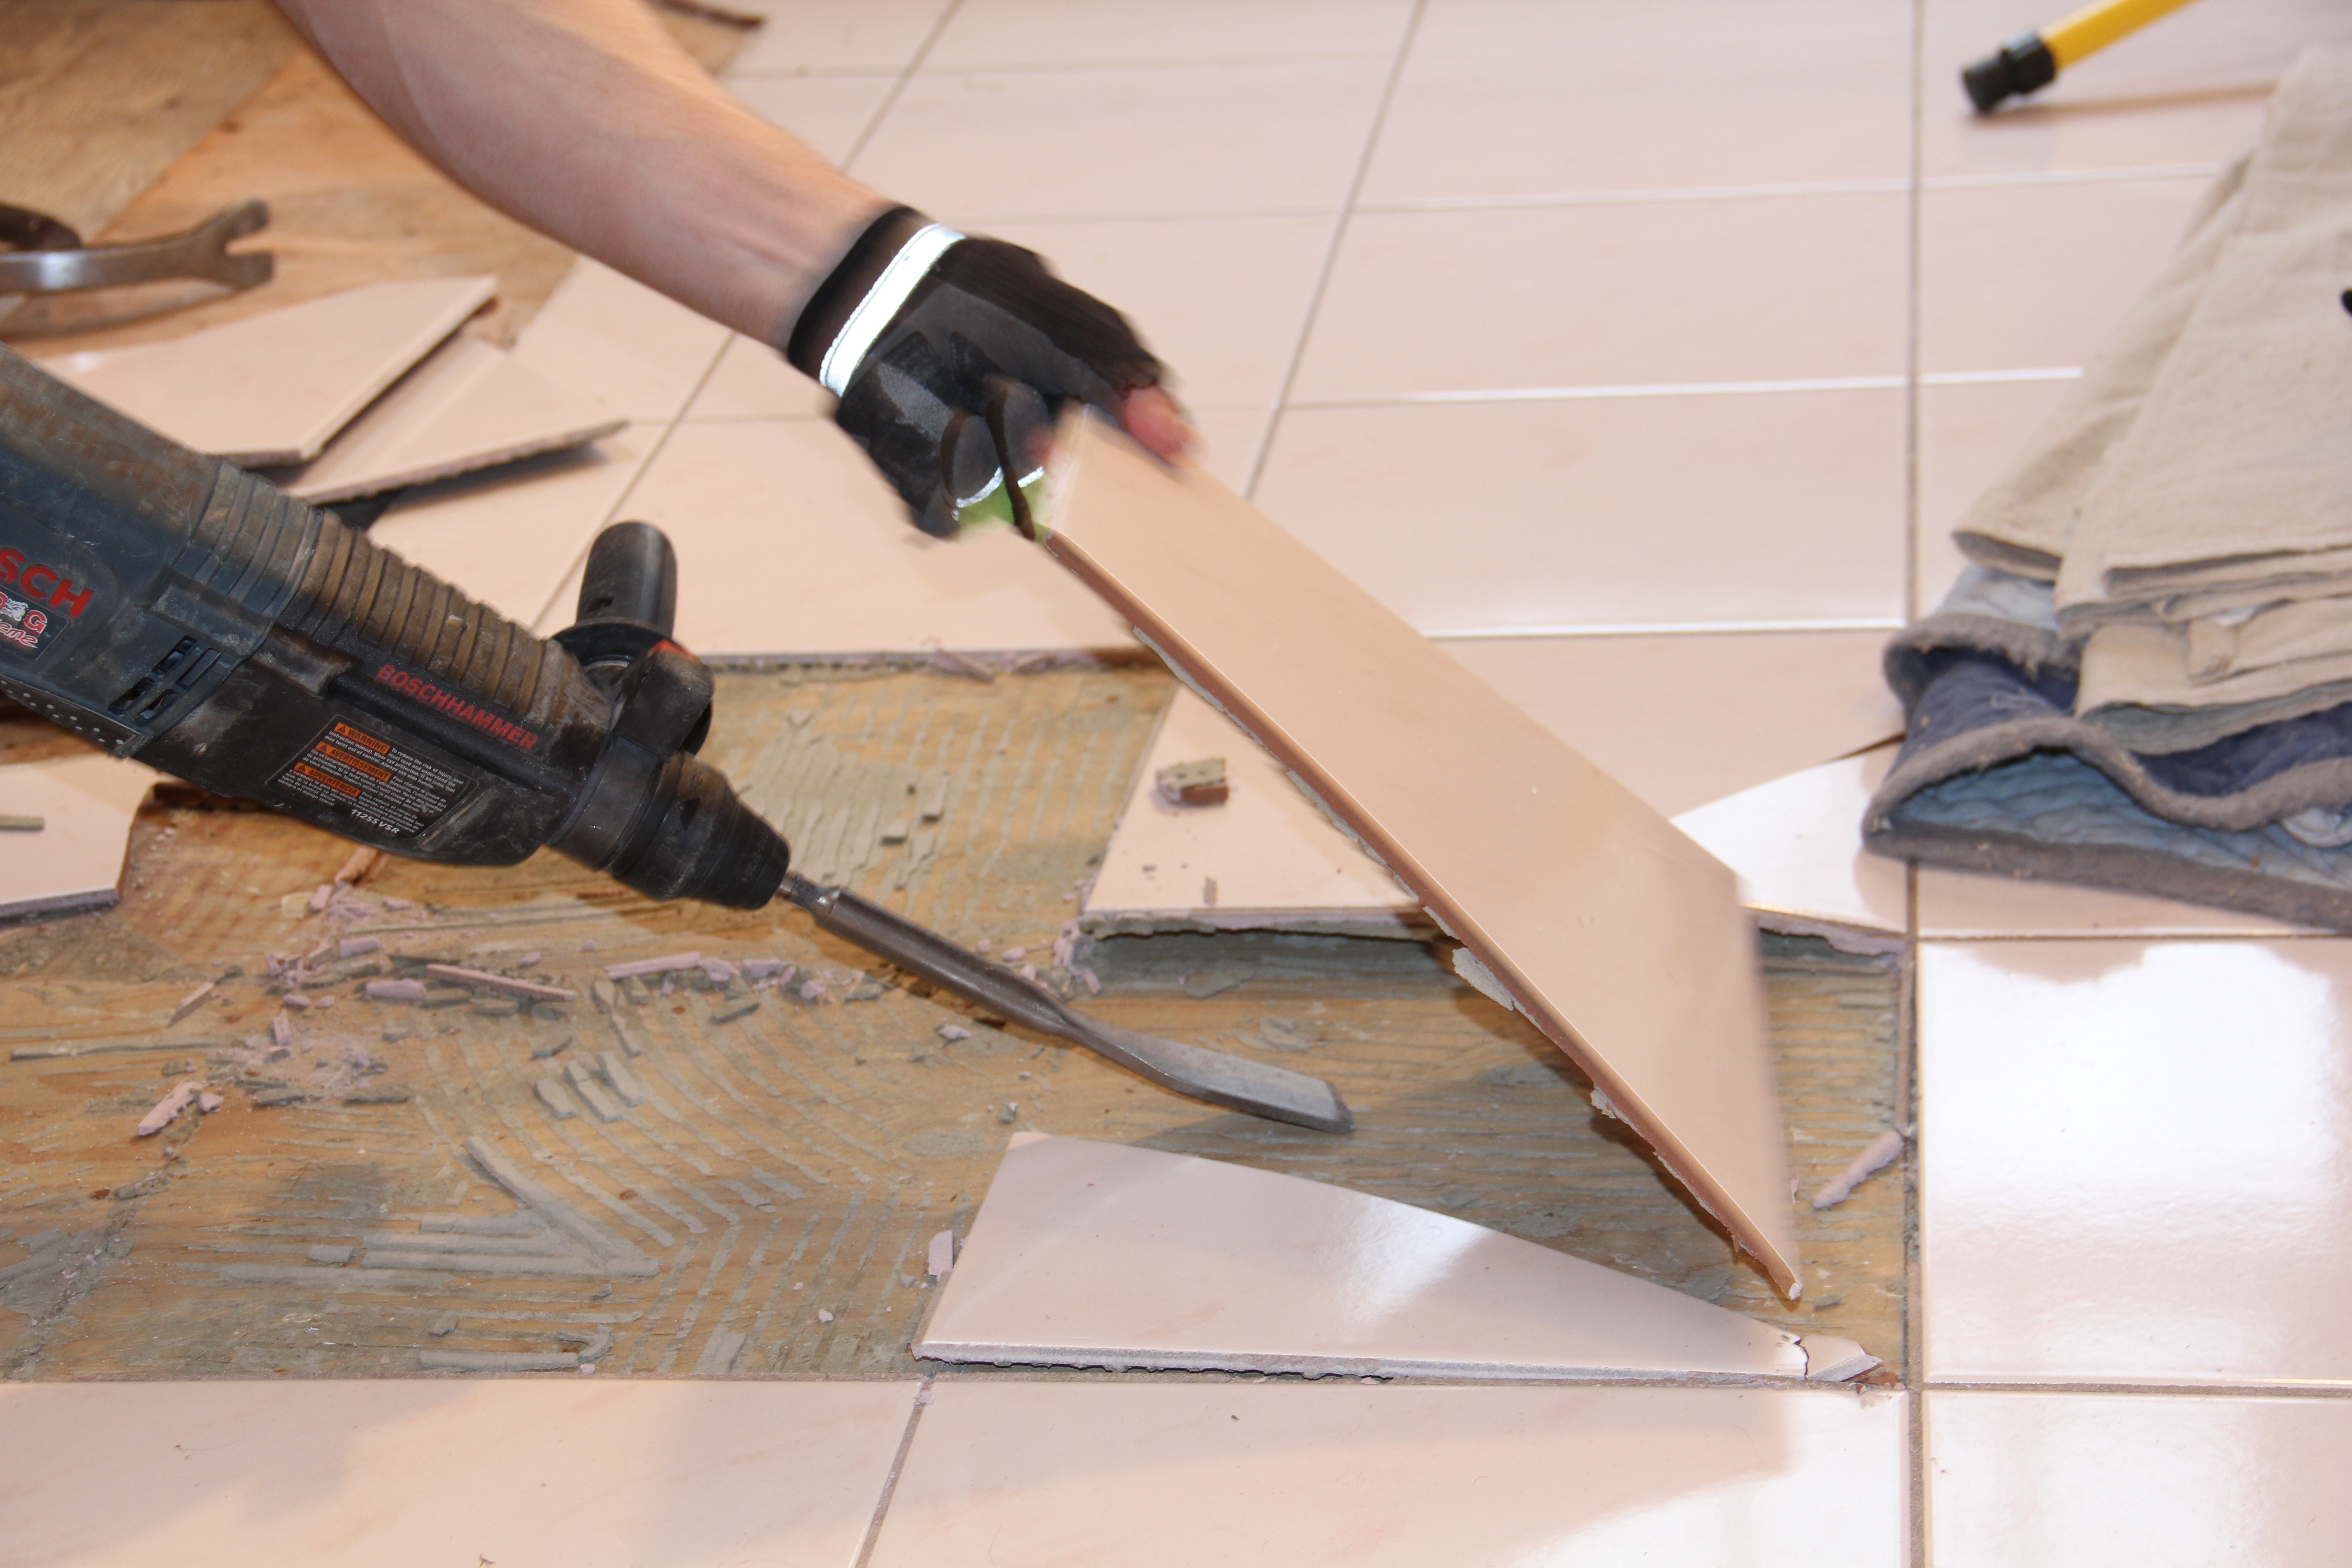
How To Remove A Tile Floor and Underlayment – Concord Carpenter
How to Remove a Tile Floor HGTV

How to Remove Ceramic Floor Tile
/removing-ceramic-floor-tile-452501-hero-8300d7b0a9c94ba6a2e844788a0225bc.jpg)
3 Easy Ways to Remove Ceramic Tile – wikiHow

How to Remove Tile Flooring Yourself {with Tips and Tricks} All
preparing for new tile floors – 06 remove bathroom tile
How To Remove A Tile Floor and Underlayment – Concord Carpenter
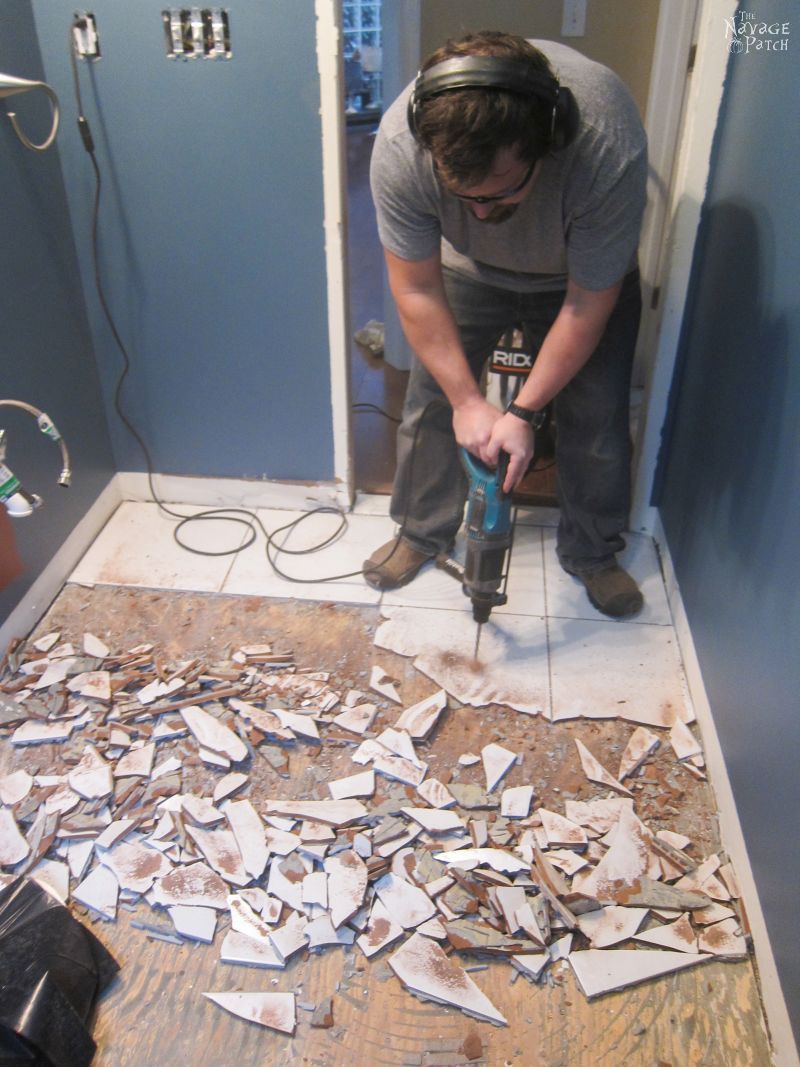
How to Remove Tile Flooring – The Navage Patch
How to Remove Tile: An Easy DIY Guide Dumpsters.com
How to Remove a Tile Floor HGTV
How To Remove A Tile Floor and Underlayment – Concord Carpenter
How to Remove a Tile Floor HGTV

Related articles:
- Vintage Bathroom Floor Tile Patterns
- Bathroom Floor Tile DIY
- Limestone Bathroom Floor Tiles
- Bathroom Floor Porcelain Tile
- Concrete Bathroom Floor Ideas
- White Bathroom Ceramic Tiles
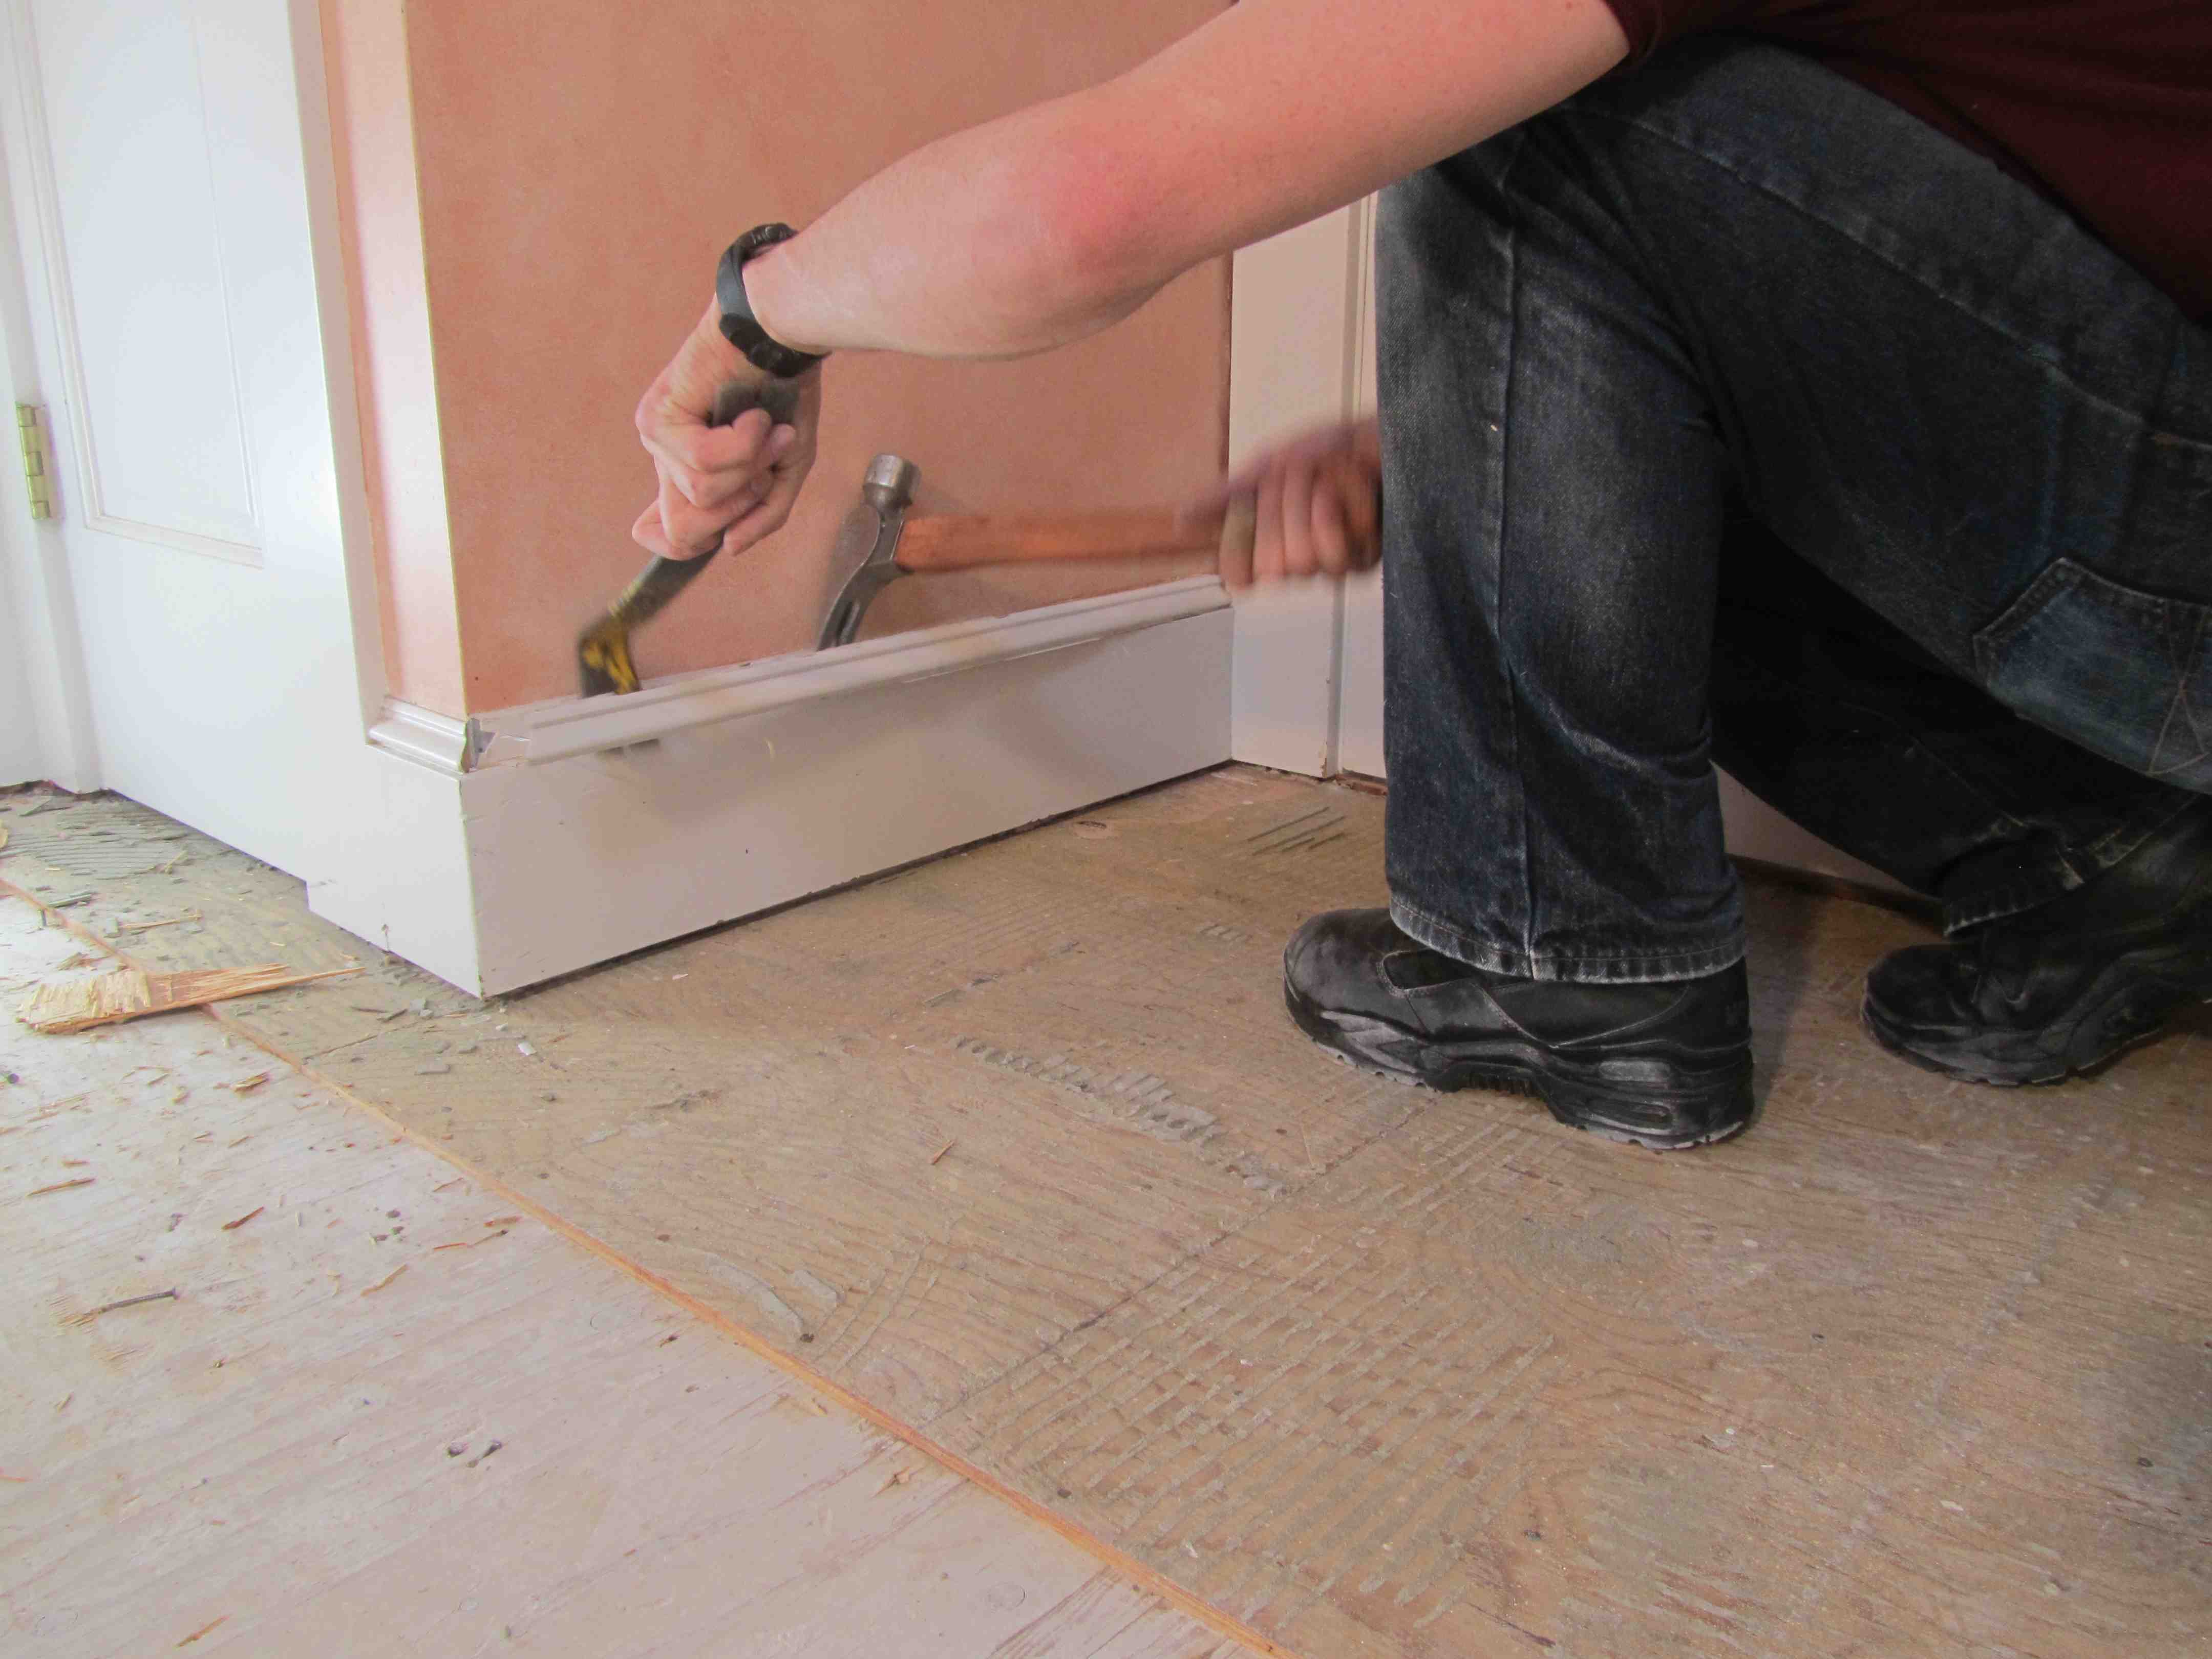
- Bathroom Floor Baseboard
- Rustic Bathroom Flooring Ideas
- Bathroom Flooring Options
- Bamboo Bathroom Flooring Ideas
Title: How to Remove a Tile Floor in the Bathroom: A Comprehensive Guide
Introduction:
A tile floor can add elegance and durability to any bathroom. However, there may come a time when you want to update your bathroom’s aesthetic or replace damaged tiles. Removing a tile floor can be a challenging task, but with the right tools and techniques, it can be accomplished efficiently and effectively. In this article, we will guide you through the step-by-step process of removing a tile floor in your bathroom.
I. Preparing for Tile Removal:
Before diving into the removal process, it is essential to prepare properly. This involves gathering the necessary tools and taking some precautions.
1. Tools needed:
To remove a tile floor, you will require the following tools:
– Safety goggles
– Dust mask
– Heavy-duty gloves
– Hammer
– Pry bar
– Chisel
– Putty knife
– Floor scraper
– Plastic sheeting or drop cloths
– Trash bags
2. Safety precautions:
Ensure your safety during the tile removal process by taking these precautions:
– Wear protective goggles and a dust mask to shield yourself from flying debris and dust.
– Use heavy-duty gloves to protect your hands from sharp edges and potential cuts.
– Clear the area surrounding the bathroom to provide ample space for work.
– Cover any nearby furniture or fixtures with plastic sheeting or drop cloths to prevent damage during tile removal.
II. Removing the Grout:
The first step in removing a tile floor is to eliminate the grout surrounding each tile. By doing so, you will make it easier to pry up the tiles without causing unnecessary damage.
1. Preparing for grout removal:
Before starting, ensure that the surface is clean and dry using a brush or vacuum cleaner.
2. Grout removal techniques:
There are various methods to remove grout from between tiles:
a) Manual grout removal: Use a grout saw or rotary tool with a grout removal attachment to cut through the grout. Apply gentle pressure and move the tool back and forth along the grout lines. Be careful not to damage the tiles while removing the grout.
FAQ: Can I use chemicals to remove grout?
While there are chemical grout removal products available on the market, they may emit strong fumes and require proper ventilation. Additionally, these chemicals can be harsh on your skin and eyes. Therefore, it is generally recommended to opt for manual grout removal methods for smaller areas.
III. Tile Removal:
Once the grout has been removed, it’s time to remove the tiles themselves. This step requires careful handling to prevent damaging the subfloor.
1. Preparing for tile removal:
Ensure you have protective gear on and that the surrounding area is adequately covered with plastic sheeting or drop cloths.
2. Removing individual tiles:
To remove a single tile, follow these steps:
a) Identify a loose or damaged tile: Start by identifying any tiles that are already loose or cracked. These will be easier to remove.
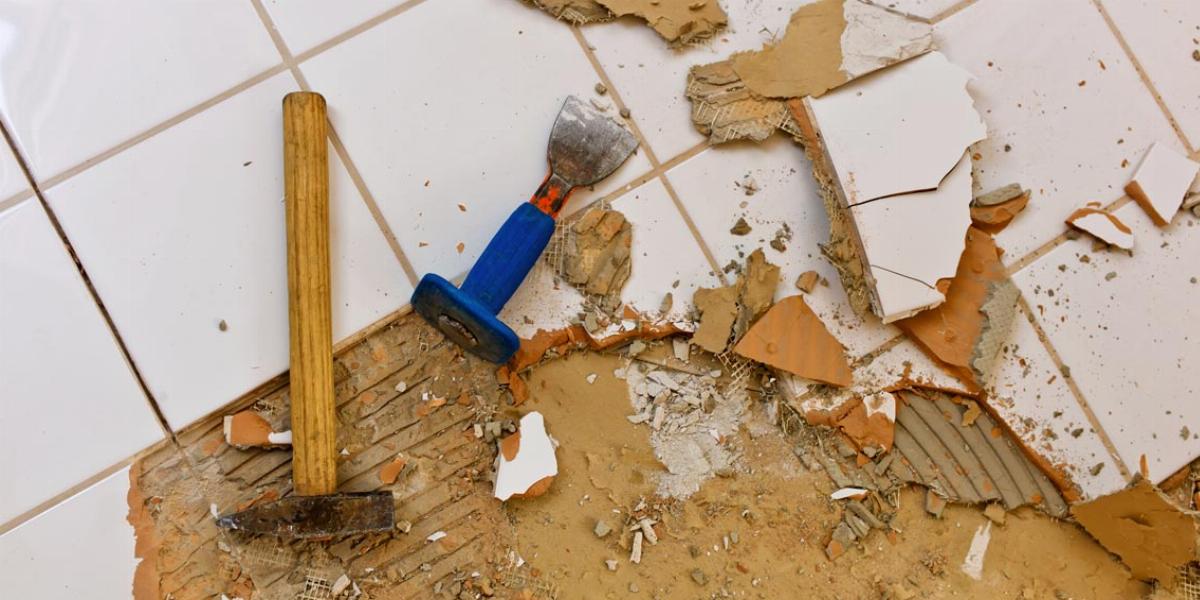
b) Loosen adjoining tiles: Using a hammer and chisel, gently tap around the edges of adjacent tiles to loosen them.
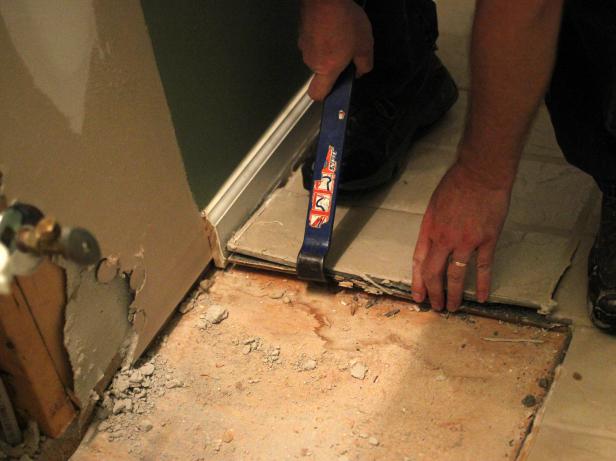
c) Pry up tiles: Insert a pry bar or putty knife under each loosened tile and gently lift it up. Apply even pressure to avoid cracking adjacent tiles.
d) Repeat the process: Continue loosening and prying up individual tiles until all of them have been removed.
FAQ: How can I remove stubborn or Difficult tiles?
If you encounter stubborn or difficult tiles that are not coming loose, you can try the following methods:
– Apply heat: Use a heat gun or hairdryer to warm up the adhesive underneath the tile. This can help loosen it and make it easier to pry up.
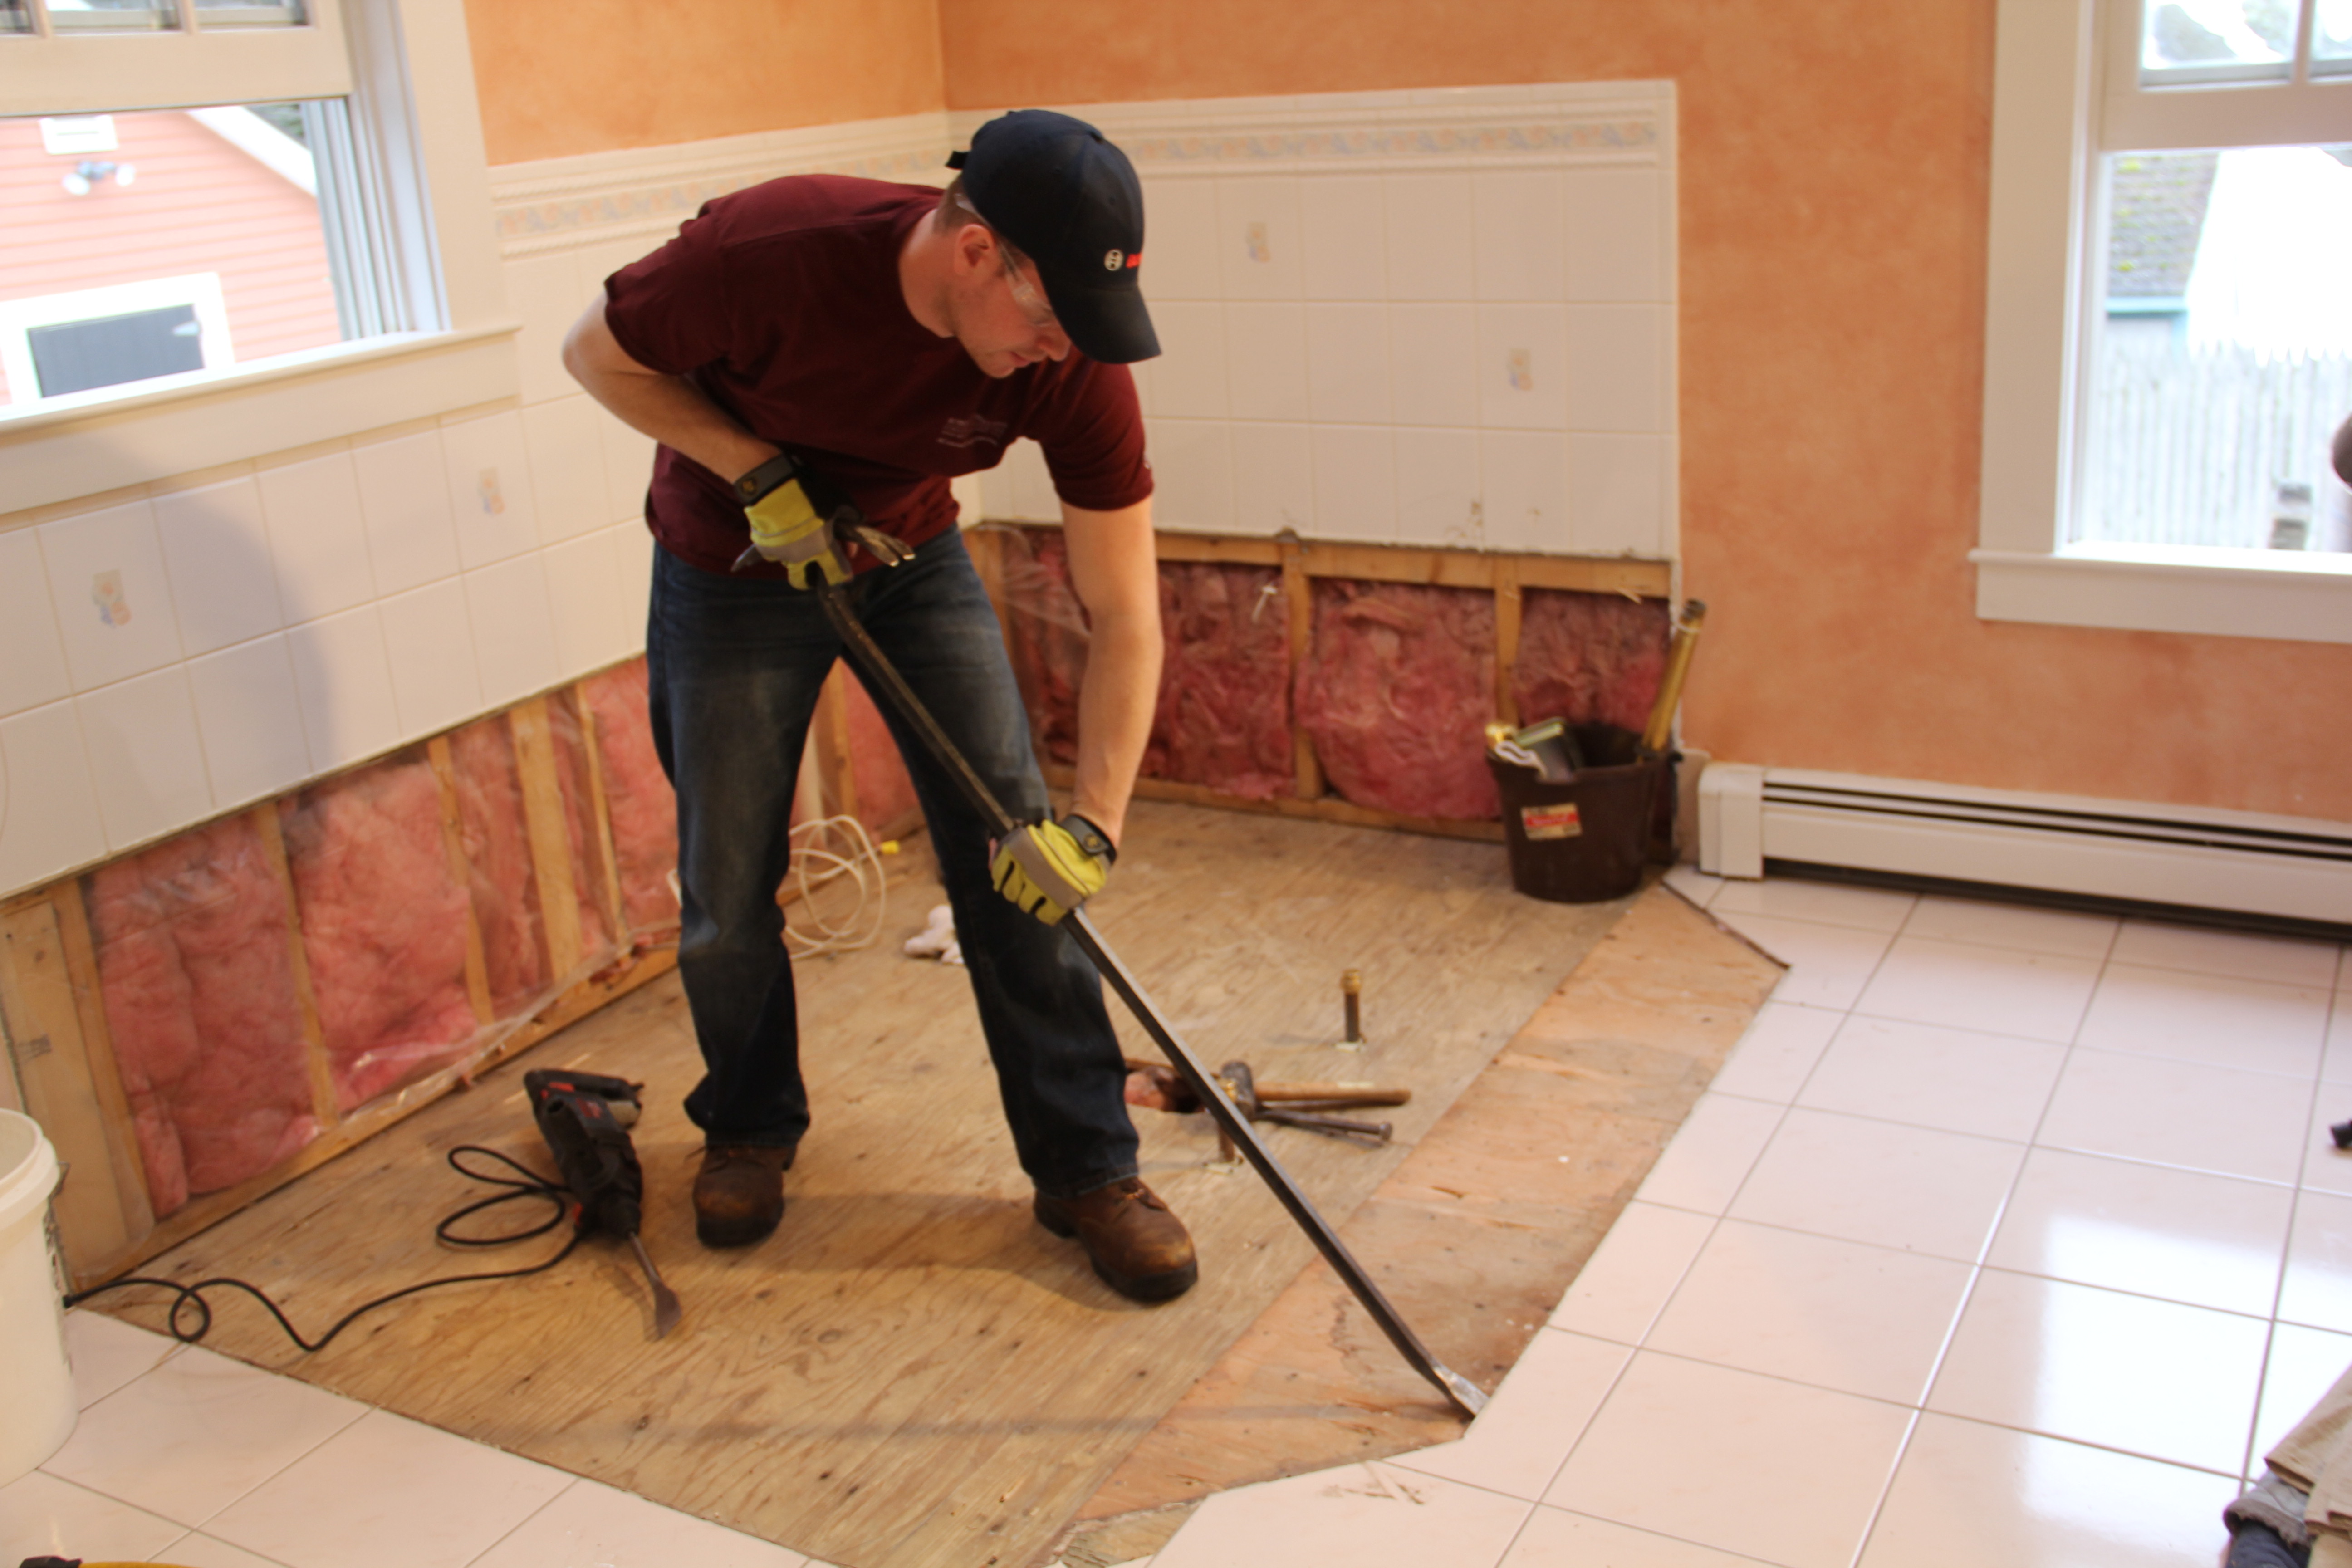
– Use a tile removal tool: A tile removal tool, such as a handheld tile stripper or floor scraper, can be effective in removing stubborn tiles. These tools have a sharp blade that can cut through the adhesive and lift the tile.
– Hire a professional: If you are struggling to remove stubborn tiles, it may be best to hire a professional who has experience and specialized tools for tile removal.
IV. Cleaning up and Disposal:
After all the tiles have been removed, it’s important to properly clean up and dispose of the debris.
1. Cleaning the subfloor:
Use a broom, vacuum cleaner, or dustpan to remove any loose debris from the subfloor. Additionally, use a scraper or putty knife to scrape off any remaining adhesive or grout residue.
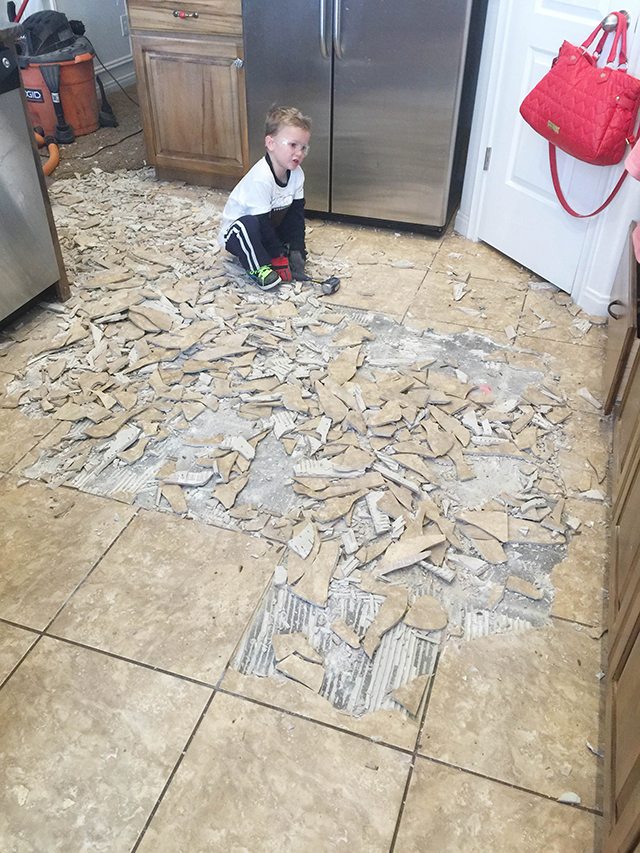
2. Disposing of the debris:
Place all broken tiles, grout, and other debris into heavy-duty bags or containers for disposal. Check with your local waste management facility for guidelines on how to properly dispose of construction debris.
3. Final cleanup:
Remove any plastic sheeting or drop cloths from the surrounding area and ensure that everything is cleaned and returned to its original state.
Following these steps will help you successfully remove a tile floor while minimizing damage and ensuring safety. If you are unsure or uncomfortable with any step of the process, it is always recommended to seek professional assistance. This will ensure that the tile removal is done correctly and efficiently. Removing a damaged tile can be a challenging task, but by following the right steps and using the appropriate tools, you can successfully remove the tile without causing further damage. Here is a step-by-step guide on how to remove a damaged tile:
1. Identify loose or cracked tiles: Start by identifying any tiles that are already loose or cracked. These tiles will be easier to remove.
2. Loosen adjoining tiles: Using a hammer and chisel, gently tap around the edges of adjacent tiles to loosen them. Be careful not to damage the surrounding tiles.
3. Pry up tiles: Insert a pry bar or putty knife under each loosened tile and gently lift it up. Apply even pressure to avoid cracking adjacent tiles. If the tile is stubborn, you can try applying heat with a heat gun or hairdryer to warm up the adhesive underneath, which can help loosen it.
4. Repeat the process: Continue loosening and prying up individual tiles until all of them have been removed. Be patient and take your time to avoid causing unnecessary damage.
If you encounter stubborn or difficult tiles that are not coming loose, you can try the following methods:
– Apply heat: Use a heat gun or hairdryer to warm up the adhesive underneath the tile. This can help loosen it and make it easier to pry up.
– Use a tile removal tool: A tile removal tool, such as a handheld tile stripper or floor scraper, can be effective in removing stubborn tiles. These tools have a sharp blade that can cut through the adhesive and lift the tile.
– Hire a professional: If you are struggling to remove stubborn tiles, it may be best to hire a professional who has experience and specialized tools for tile removal.
After all the tiles have been removed, it’s important to properly clean up and dispose of the debris. Here’s how:
1. Cleaning the subfloor: Use a broom, vacuum cleaner, or dustpan to remove any loose debris from the subfloor. Additionally, use a scraper or putty knife to scrape off any remaining adhesive or grout residue.
2. Disposing of the debris: Place all broken tiles, grout, and other debris into heavy-duty bags or containers for disposal. Check with your local waste management facility for guidelines on how to properly dispose of construction debris.
3. Final cleanup: Remove any plastic sheeting or drop cloths from the surrounding area and ensure that everything is cleaned and returned to its original state.
Following these steps will help you successfully remove a damaged tile while minimizing damage and ensuring safety. If you are unsure or uncomfortable with any step of the process, it is always recommended to seek professional assistance. This will ensure that the tile removal is done correctly and efficiently.