Laminates are able to turn slippery when there is water and you require anti skid flooring for your bathrooms, that is a basic requirement. This will give the bathroom of yours a dash of hue. Tiles with shiny finish supply a touch of elegance to the powder room while mosaic with matte finish provides the bathroom a spacious and warm feel. Stone flooring might be more costly but they last long.
Here are Images about How To Redo Bathroom Floor Tile
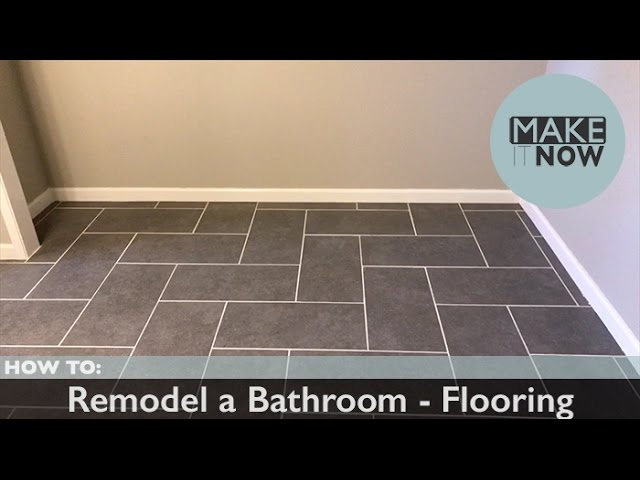
How To Redo Bathroom Floor Tile
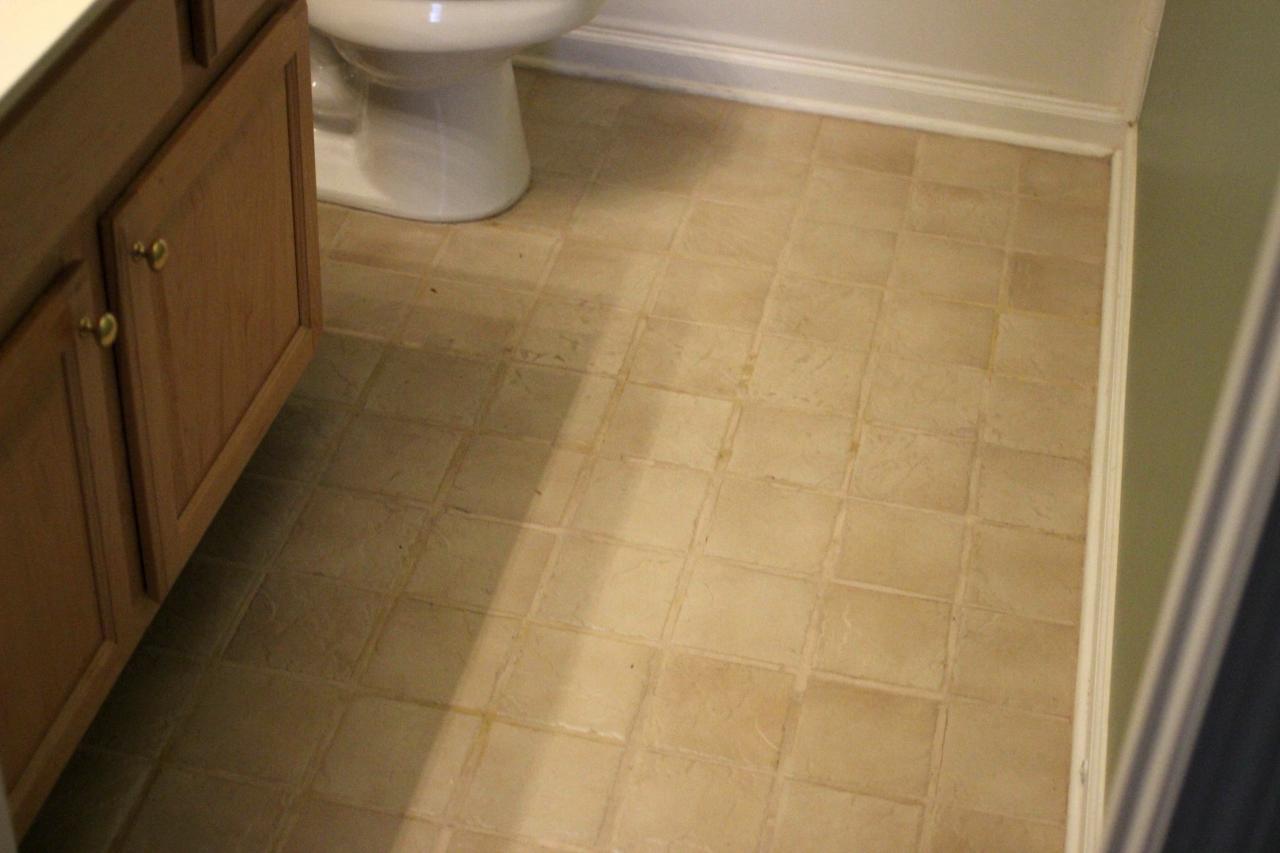
The idea of a high-class wood floor in the bathroom may sound great, but it is fraught with all kinds of issues. This is easy to understand as it only has the feet of yours to attend to, unlike sinks, toilets as well as shower enclosures which have essential requirements affecting their performance and usage. You can find tiles with patterns designed specially to develop very good borders.
How to Tile a Small Bathroom Floor DIY Bath Remodel

Bathroom flooring, much more than anything else, may have a stunning effect on the general look of a bathroom; select bathroom flooring smartly and you are going to achieve the bathroom of the dreams of yours – or perhaps a bathroom that will meet the short-term needs of yours. The bulk of floors require specific cuts to fit properly.
Images Related to How To Redo Bathroom Floor Tile
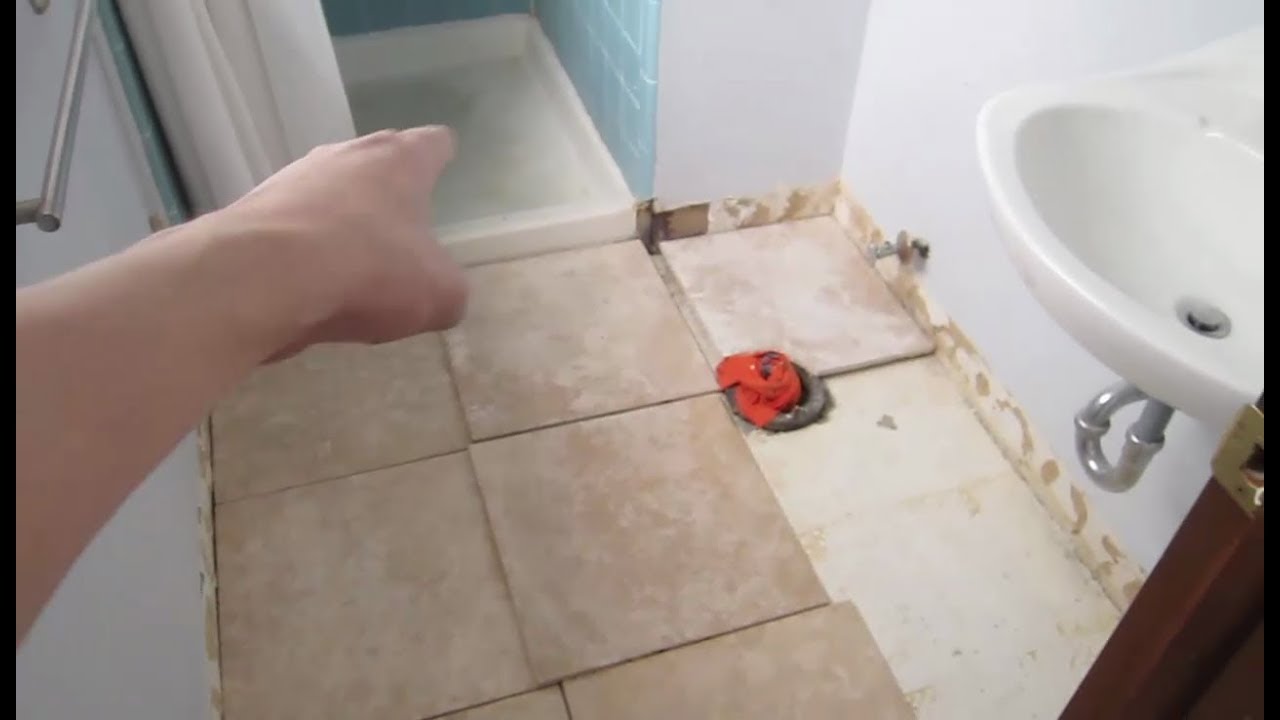
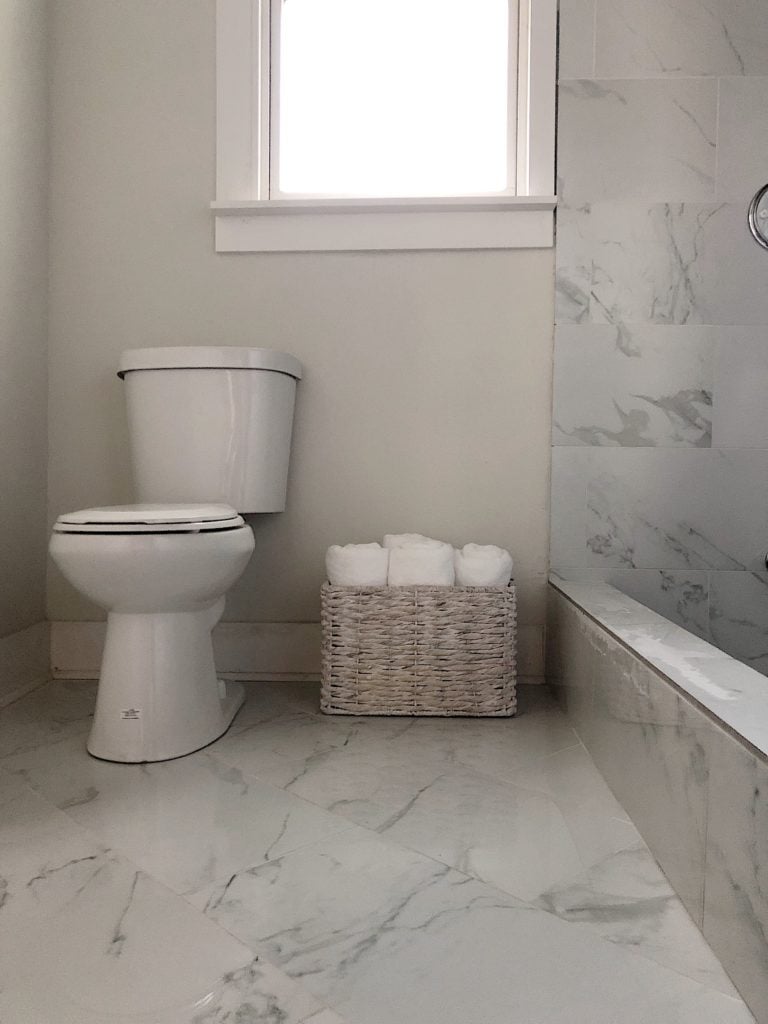
Bathroom Demo u0026 Floor Tile – Small Bathroom Remodel
The Renovation Hack That Will Save You $1000s: Bathroom Tile Floor

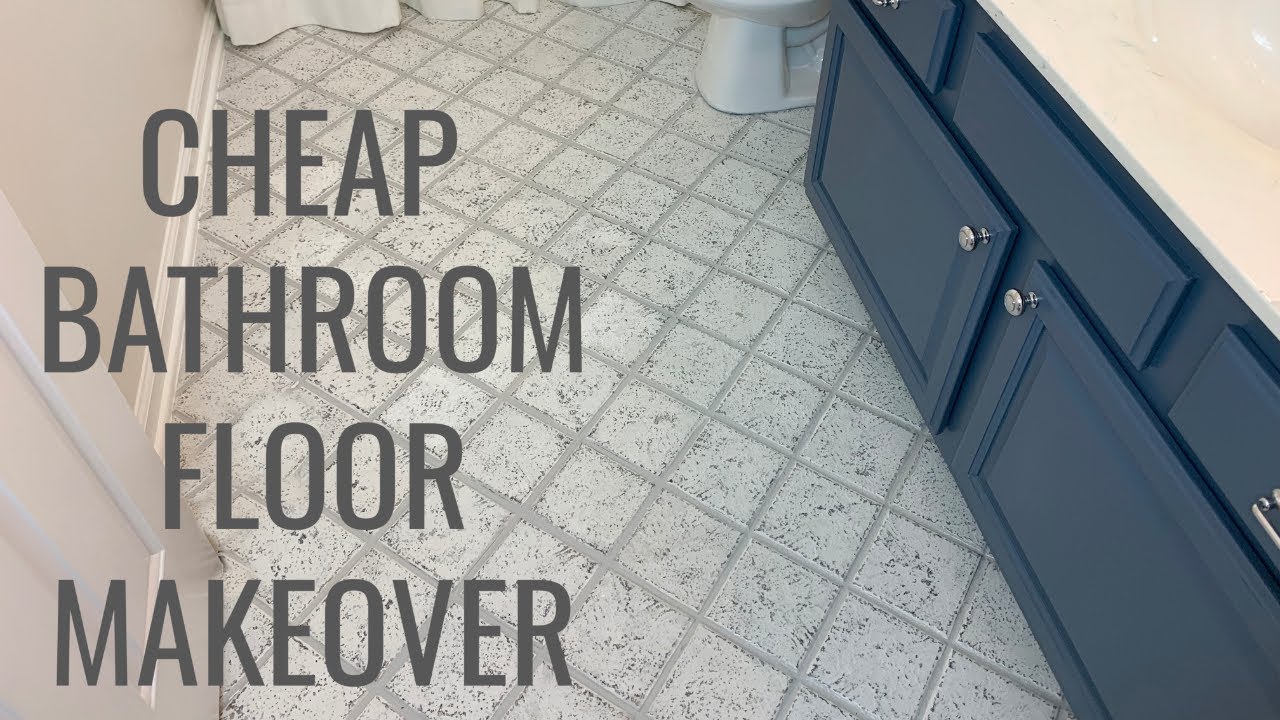
Cheap Bathroom Floor Makeover Easy DIY
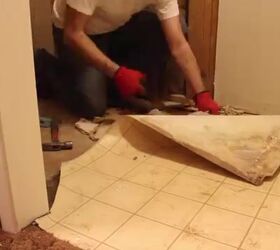
How to Remove a Tile Floor HGTV
4 Inexpensive Bathroom Flooring Ideas
/budget-bathroom-flooring-refresh-ideas-326828_porcelain_tile-8959414ed56e4ca3a018896d984f52eb.jpg)
Remodelaholic Bathroom Redo: Grouted Peel and Stick Floor Tiles

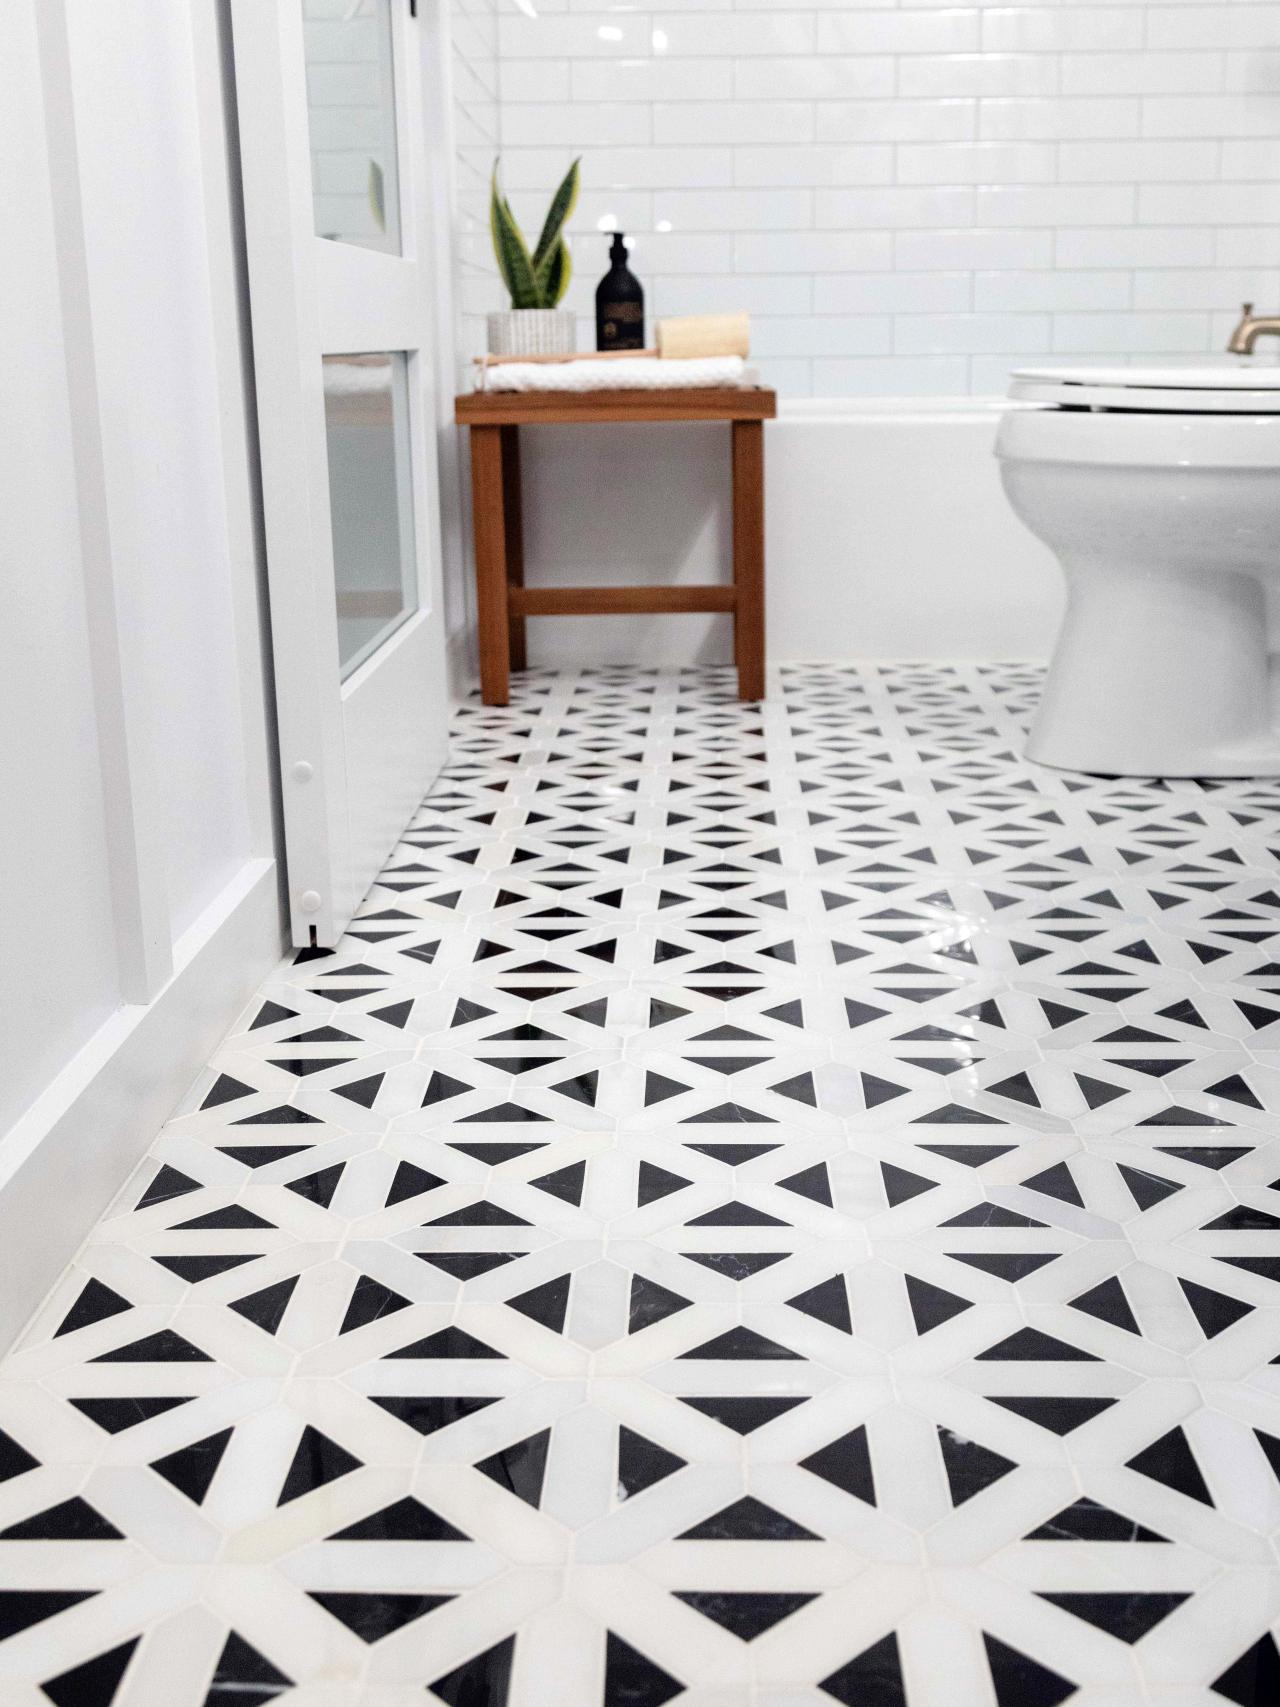
Choosing Affordable Flooring Tile for our Waco Bathroom Remodel
How To Update Your Bathroom Floor Tiles – 6 DIY ideas

How to Remodel Old Bathroom Floor DIY Hometalk
How to Remodel Your Master Bathroom on a Budget – Centsible

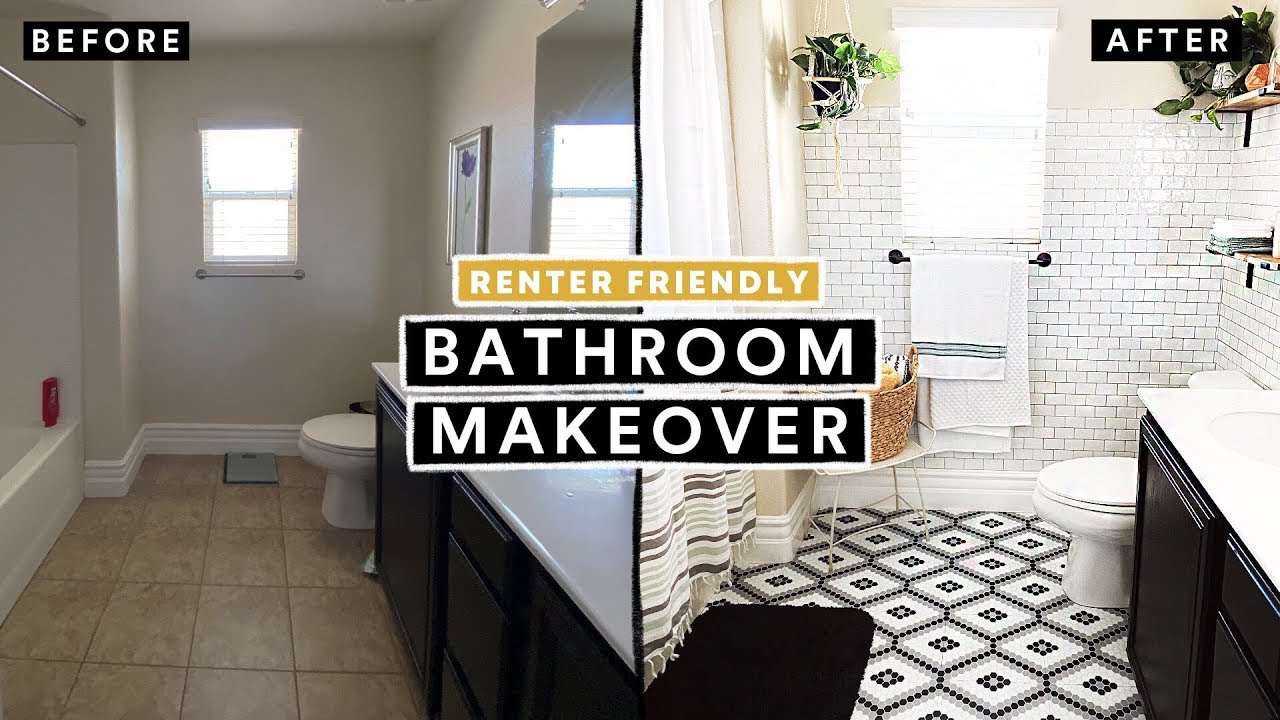
BATHROOM MAKEOVER UNDER $300 (Renter Friendly) + DIY Tile Floor u0026 Brick Wall!
How to Lay a Tile Floor HGTV
Related articles:
- Concrete Bathroom Floor Paint
- Bathroom Floor Edging
- Bathroom Flooring Alternatives
- Bathroom Safety Flooring
- Bathroom Floor Tiles Brown
- Floor Tile Design Ideas For Small Bathrooms
- Bathroom Wall Floor Tile Combinations
- Black And White Patterned Bathroom Floor Tiles
- What Kind Of Flooring For Bathroom
- Dupont Laminate Flooring Bathroom
Redoing your bathroom floor tile can completely transform the look and feel of your bathroom. Whether you’re looking to update outdated tile, replace damaged tiles, or simply want a fresh new look, redoing your bathroom floor tile is a great way to enhance the overall aesthetic of your space. In this comprehensive guide, we will walk you through the step-by-step process of redoing your bathroom floor tile, from planning and preparation to installation and finishing touches.
Planning and Preparation:
Before you begin the process of redoing your bathroom floor tile, it’s important to carefully plan and prepare for the project. Start by assessing the condition of your existing floor tile and determining whether it needs to be removed or if you can install new tile over it. If you decide to remove the old tile, you will need to gather the necessary tools and materials, including a hammer, chisel, putty knife, grout saw, and safety goggles.
FAQs:
Q: Can I install new tile over my existing bathroom floor tile?
A: While it is possible to install new tile over existing tile, it is generally not recommended as it can lead to issues with height differences and adhesion. It is best to remove the old tile before installing new tile for a more durable and long-lasting finish.
Removing Old Tile:
To remove old tile from your bathroom floor, start by using a hammer and chisel to carefully break up the tiles. Be sure to wear safety goggles and gloves to protect yourself from flying debris. Once the tiles are removed, use a putty knife or grout saw to scrape away any remaining grout or adhesive.
Preparing the Subfloor:
After removing the old tile, inspect the subfloor for any damage or uneven areas. Make any necessary repairs or adjustments before proceeding with the installation of new tile. It is important to ensure that the subfloor is clean, dry, and level before laying down the new tiles.
FAQs:
Q: How do I know if my subfloor needs repairs before installing new tile?
A: Inspect the subfloor for signs of water damage, rot, or unevenness. If you notice any issues, make repairs as needed before proceeding with the installation of new tile.
Choosing Tile:
When selecting new tile for your bathroom floor, consider factors such as color, size, material, and durability. Ceramic and porcelain tiles are popular choices for bathroom floors due to their water resistance and ease of maintenance. Be sure to choose a tile that complements the overall style of your bathroom and fits within your budget.
Laying Tile:
Before laying down the new tile, dry fit them on the floor to determine the layout and ensure proper alignment. Start by applying thinset mortar to a small section of the subfloor using a trowel. Press each tile into place firmly and use spacers to maintain even spacing between tiles. Continue this process until all tiles are laid out.
FAQs:
Q: Do I need to seal my bathroom floor tiles after installation?
A: While some types of tiles may benefit from sealing for added protection against moisture and stains, it is not always necessary for all types of tiles. Consult with your manufacturer’s guidelines to determine if sealing is recommended for your specific type of tile.
Grouting:
Once all tiles are in place and set in mortar, it’s time to grout the joints between them. Mix grout according to manufacturer’s instructions and apply it evenly using a grout float. Use a damp sponge to wipe Away excess grout from the surface of the tiles, being careful not to remove too much grout from the joints. Allow the grout to cure according to the manufacturer’s recommendations before walking on or sealing the floor.
Sealing (if necessary):
If your tile requires sealing, apply a sealer according to the manufacturer’s instructions after the grout has fully cured. Sealing your bathroom floor tiles can help protect them from water damage and stains, prolonging their lifespan and keeping them looking new.
Maintenance:
To keep your bathroom floor tiles looking their best, regularly clean them with a mild detergent and water. Avoid using harsh chemicals or abrasive cleaners that can damage the tile surface. Additionally, consider using bath mats or rugs in high-traffic areas to protect the tiles from wear and tear.
By following these steps and guidelines, you can successfully install new tile on your bathroom floor for a fresh and updated look. If you have any further questions or concerns, consult with a professional tile installer for expert advice and assistance. Remember to always follow proper safety precautions when working with tile, such as wearing protective gear and using tools correctly. With careful planning and attention to detail, you can achieve a beautiful and durable bathroom floor that will enhance the overall look and functionality of your space. Enjoy your newly tiled bathroom floor!