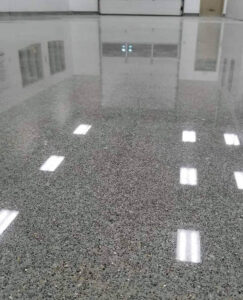
You can find a number of places that locate this sort of polished concrete flooring pretty helpful. The concrete floor even offers various levels of absorbency with the acid giving the floor a marble impression which can seem hitting. Polishing the concrete floors brings out the attractiveness of the floor and actually leaves homeowners with the best building material.
Here are Images about How To Make Concrete Floor Smooth
How To Make Concrete Floor Smooth

The polished concrete floor look is complete with matte to substantial gloss finishes. Concrete flooring has several exceptional characteristics like it's fire-burn resistant, has good resistance to toxic chemical substances, is rough and its thickness patterning gives extended life wear ability.
How to easily resurface a concrete floor Watco
On top of this, possibly the best attributes of concrete flooring is the trouble of its free cleaning function in which the particles of dust can be easily mopped. Although many don't consider a concrete floor in the home of theirs for the worry of it being very cold, the alternative is actually true. For daily regimen, a gentle broom or even dust mop works well.
Images Related to How To Make Concrete Floor Smooth
How to make a concrete floor smooth? DIY Home Improvement Forum

How to Finish Concrete (DIY) Family Handyman
How to Finish Concrete (DIY) Family Handyman
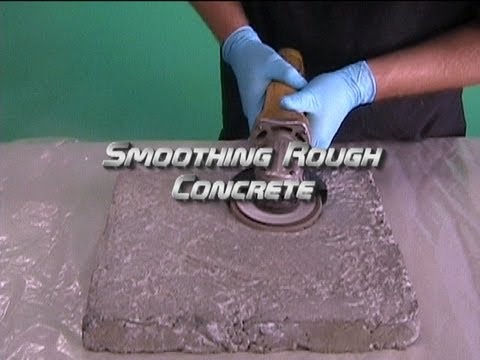
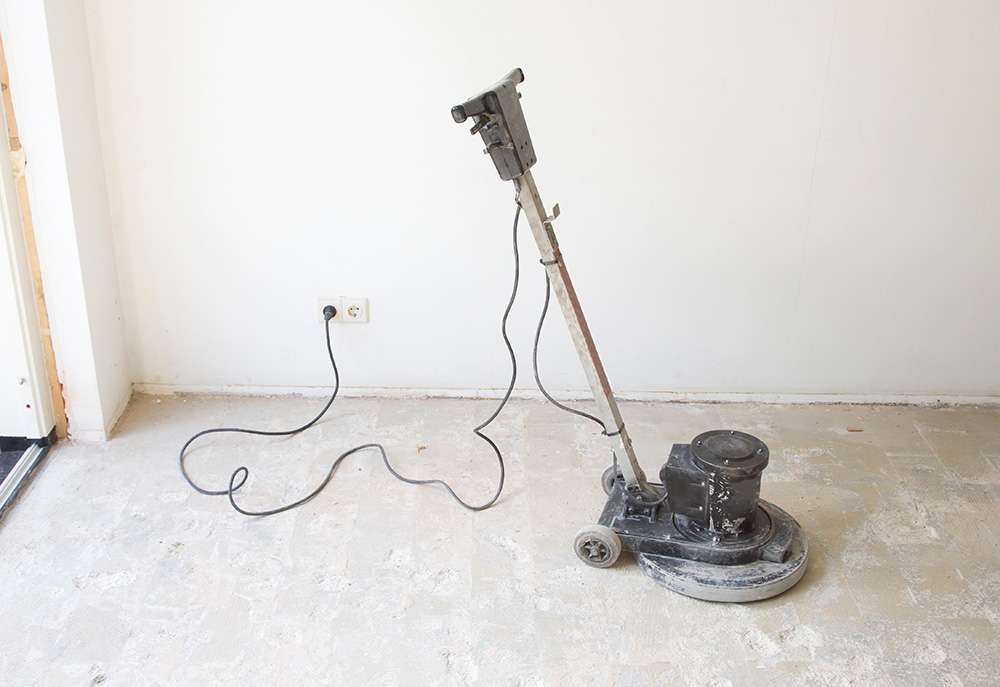
Smoothing Rough Concrete
How To Make Concrete Smooth And Shiny Like Glass – Paradigm
How to Make Concrete Smooth and Shiny Concrete smoother, Smooth

Smooth Rough Concrete Slab u0026 Make It Shiny: In 9 Steps

How to Smooth Concrete after It Dries: Complete Guide
How to Finish Concrete : 4 Steps – Instructables

Smooth Finish Concrete Floor – NewPoleBarn.com
Smooth Rough Concrete Slab u0026 Make It Shiny: In 9 Steps

Leveling Rough Concrete Floors Concrete Floor Products

Related articles:
- Stained Concrete Floors Design
- Decorative Concrete Floors
- Acid Stained Concrete Floors
- Polished Concrete Floor In Bathroom
- Concrete Floor Stain And Polish
- White Mold On Concrete Floor
- Polished Concrete Floor
- Polished Concrete Floor Cleaning
- Staining Concrete Floors Indoors Yourself
- Flooring Options For Concrete Floors
Title: Achieving a Flawlessly Smooth Concrete Floor: The Ultimate Guide
Introduction:
A smooth concrete floor is not only visually appealing but also contributes to the overall functionality and durability of the surface. Whether you are renovating an existing concrete floor or planning to pour a new one, achieving a flawless finish requires careful preparation and execution. In this comprehensive guide, we will walk you through the step-by-step process of making your concrete floor smooth, providing valuable tips, techniques, and answers to frequently asked questions along the way.
I. Assessing the Surface:
Before embarking on your quest for a smooth concrete floor, it is crucial to assess the condition of the existing surface or prepare for a new pour. Here’s how:
1. Inspect for Imperfections:
Thoroughly examine the concrete surface for cracks, holes, or uneven areas. Identifying these imperfections early on will help you determine the necessary steps to achieve a smooth finish.
2. Plan for Repairs:
If any cracks or holes are detected, it is essential to address them before proceeding further. Fill in smaller cracks with epoxy or specialized crack repair products and use patching compounds for larger damaged areas.
FAQs:
Q1: Can I skip repairing minor cracks before making my concrete floor smooth?
A1: It is strongly advisable to repair even minor cracks as they can expand over time and affect the overall smoothness and durability of the finished floor.
II. Surface Preparation:
Proper surface preparation is key to ensuring a successful outcome when aiming for a smooth concrete floor. Follow these steps:
1. Clean Thoroughly:
Begin by removing all dirt, dust, grease, and debris from the surface using a broom, vacuum cleaner, or pressure washer. Cleanliness is essential to achieve an optimal bond between the existing surface and any subsequent coatings or treatments.
2. Etch or Grind (For Existing Floors):
To improve adhesion, consider etching the surface with an acid-based solution or grinding it with a diamond grinder. These methods open up the pores of the concrete, allowing any subsequent coatings to penetrate and bond effectively.
FAQs:
Q1: Can I skip the etching or grinding process if my existing concrete floor is relatively smooth?
A1: While it may be tempting to skip this step, etching or grinding helps to promote better adhesion and should be performed regardless of the initial smoothness of the floor.
III. Applying a Bonding Agent:
To enhance adhesion between the existing concrete surface and any additional coatings, applying a bonding agent is crucial. Follow these guidelines:
1. Choose the Right Bonding Agent:
Select a high-quality bonding agent that is specifically designed for use on concrete surfaces. These agents improve the bond strength and prevent delamination of subsequent layers.
2. Apply Bonding Agent:
Using a sprayer or brush, uniformly apply the bonding agent onto the cleaned and prepared surface. Follow manufacturer instructions regarding drying times before proceeding further.
FAQs:
Q1: Can I use a bonding agent when pouring fresh concrete?
A1: Yes, absolutely! Applying a bonding agent to freshly-poured concrete can significantly improve its adhesion to existing surfaces.
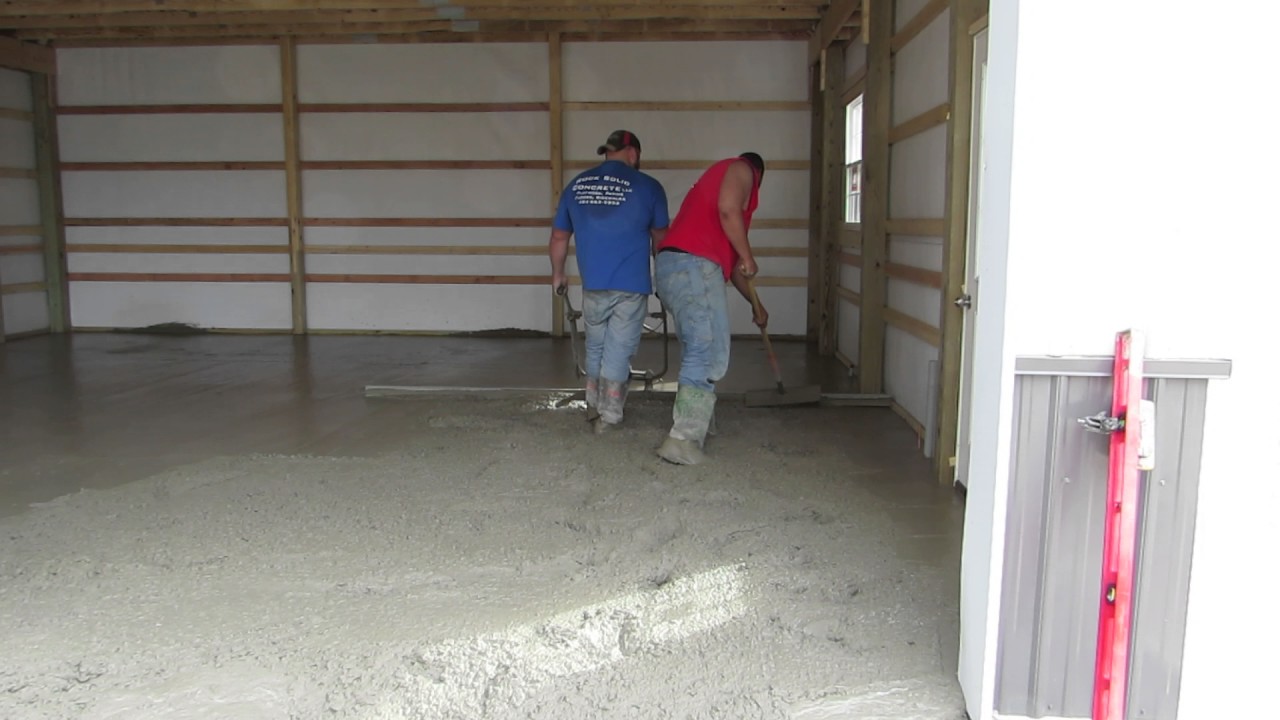
IV. Pouring Self-Leveling Compound:
If your concrete floor has noticeable imperfections or unevenness, pouring self-leveling compound can help you achieve an impeccably smooth finish. Here’s how:
1. Prepare the Compound:
Follow the manufacturer’s instructions to mix the self-leveling compound thoroughly. Ensure that It is free of lumps and has a smooth consistency.
2. Pour the Compound:
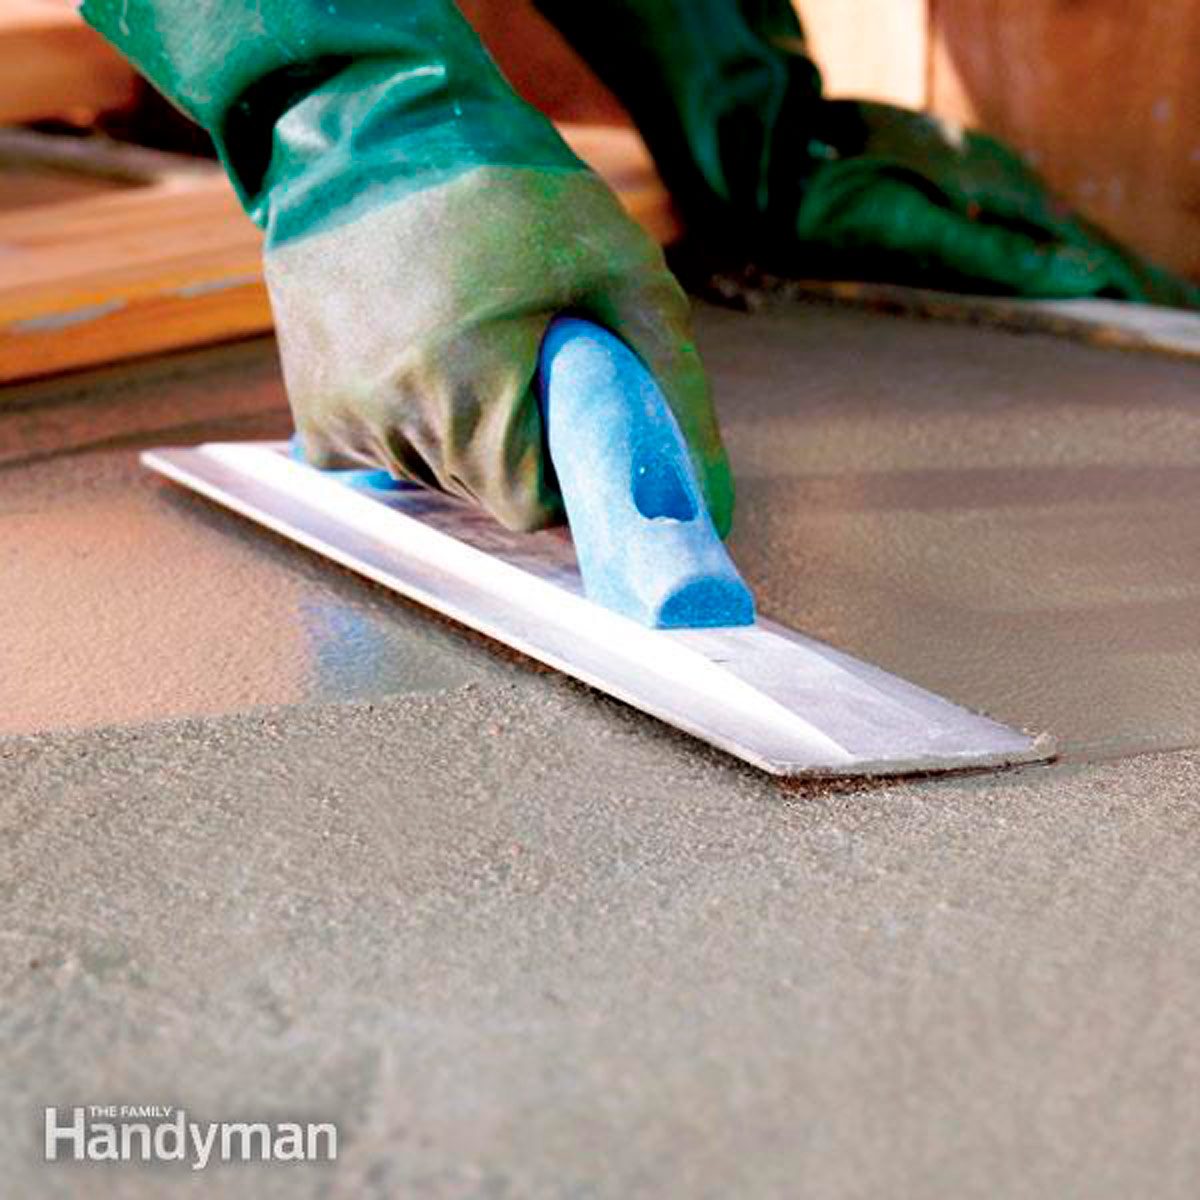
Starting from one corner of the room, pour the self-leveling compound onto the floor. Use a trowel or squeegee to spread it evenly, working towards the opposite corner. Be sure to follow the manufacturer’s instructions for recommended thickness and coverage.
3. Smooth and Level:
After pouring the compound, use a long-handled smoothing tool or a self-leveling screed to spread it evenly and level out any uneven areas. Work in small sections to ensure consistent results.
4. Allow for Drying and Curing:
Follow the manufacturer’s instructions regarding drying and curing times for the self-leveling compound. This step is crucial to achieve a strong and durable finished floor.
FAQs:
Q1: Can I add color or decorative elements to the self-leveling compound?
A1: Yes, you can add colorants or decorative elements to the self-leveling compound before pouring it onto the floor. This allows for customization and creativity in your finished floor.
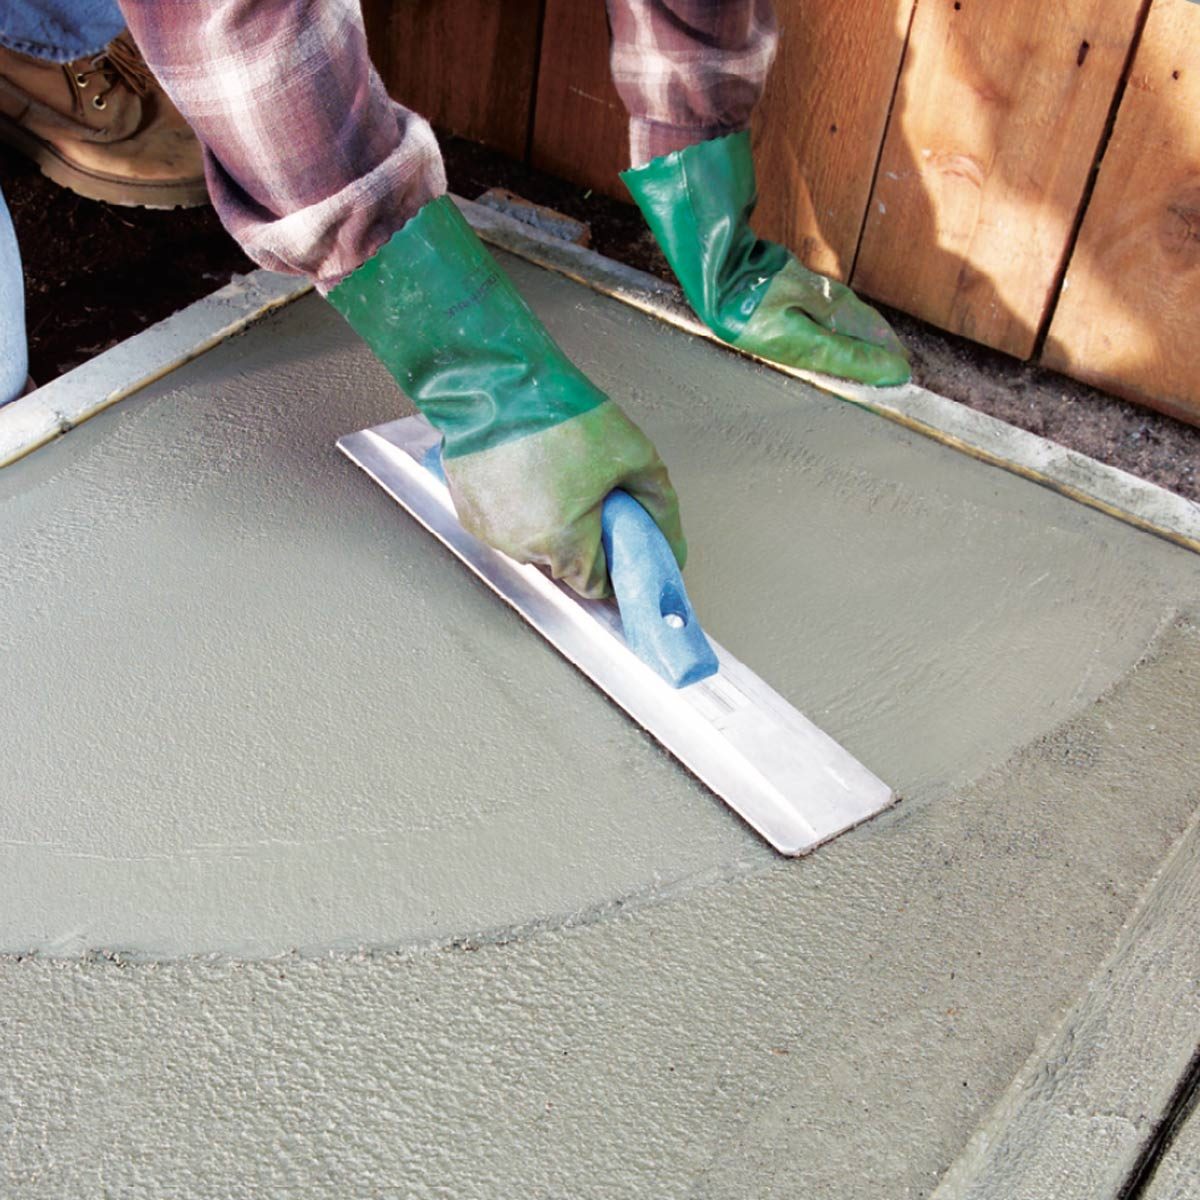
V. Applying a Finish:
Once your concrete floor is smooth and level, applying a finish can enhance its appearance and protect it from wear and tear. Follow these steps:
1. Choose a Finish:
Select a finish that suits your desired aesthetic and functional needs. Options include epoxy coatings, sealers, stains, or paints.
2. Prepare the Surface:
Ensure that the surface is clean, dry, and free of any debris or contaminants before applying the finish. Follow any manufacturer instructions for surface preparation.
3. Apply the Finish:
Using a roller, brush, or sprayer, apply the chosen finish onto the concrete floor. Follow manufacturer instructions regarding application techniques, drying times, and the number of coats required.
4. Allow for Drying and Curing:
Give the finish ample time to dry and cure according to the manufacturer’s instructions before subjecting the floor to foot traffic or other activities.
FAQs:
Q1: How long does it take for a finish to dry and cure on a concrete floor?
A1: Drying and curing times can vary depending on the type of finish used. It is important to follow the manufacturer’s instructions for specific drying and curing times to ensure optimal results.
Q2: Can I apply multiple coats of finish on a concrete floor?
A2: Yes, depending on the type of finish, multiple coats may be recommended for enhanced durability and appearance. Follow the manufacturer’s instructions for the specific product being used.
“How can I achieve a perfectly smooth concrete floor finish?”
Achieving a perfectly smooth concrete floor finish requires careful preparation and attention to detail. Here are the steps you can follow to achieve the desired result:1. Prepare the surface: Start by cleaning the concrete floor thoroughly, removing any debris, dirt, or loose particles. Use a broom, vacuum cleaner, or pressure washer to ensure a clean surface.
2. Repair any cracks or imperfections: Inspect the floor for any cracks, holes, or imperfections. Fill them with a suitable concrete patching compound and allow it to dry according to the manufacturer’s instructions. Smooth out the patched areas using a trowel or putty knife.
3. Grind the surface: Use a concrete grinder with diamond grinding pads to grind down any high spots or rough areas on the floor. This process will create an even and smooth surface.
4. Fill low spots: If there are any low spots that are not leveled during the grinding process, use a self-leveling concrete overlay to fill them in. Follow the manufacturer’s instructions for mixing and applying the self-leveling compound.
5. Apply a concrete primer: Use a suitable concrete primer to prepare the surface for the final coat. Priming helps improve adhesion and enhances the overall finish.
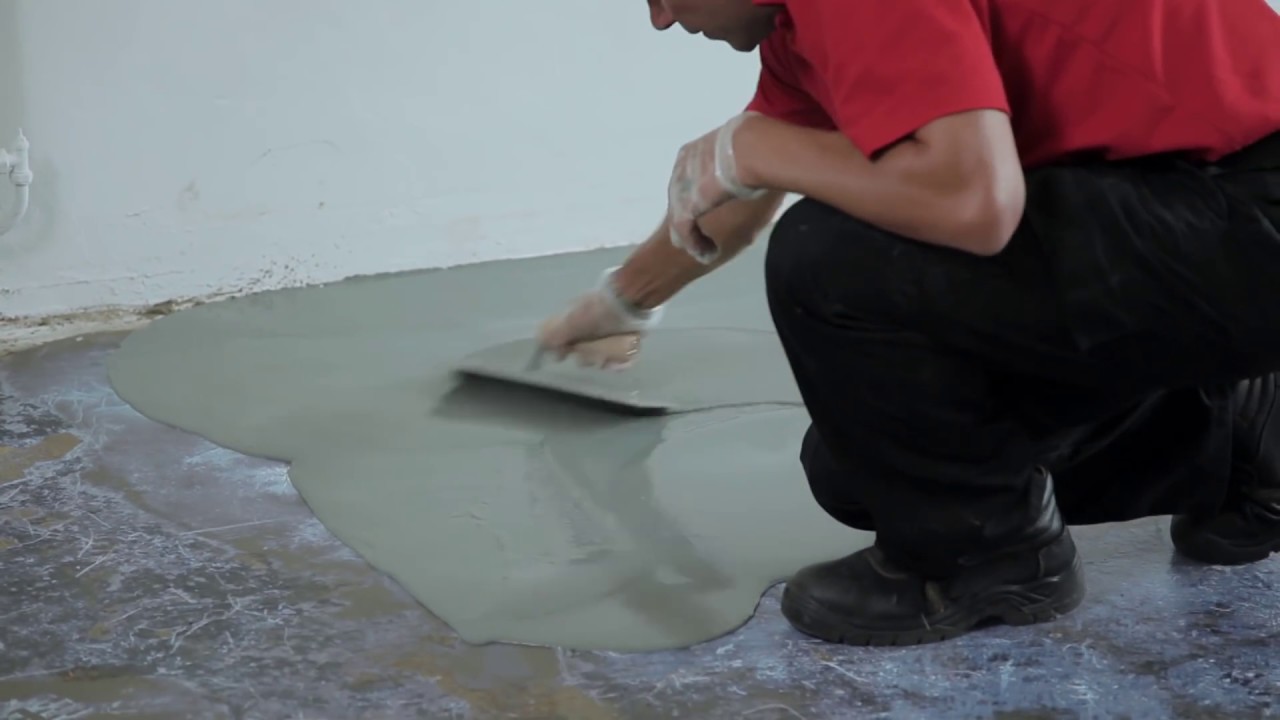
6. Apply a thin layer of concrete resurfacer: Mix a batch of high-quality concrete resurfacer according to the manufacturer’s instructions. Pour it onto the floor and spread it evenly using a long-handled squeegee or trowel. Work in small sections to ensure proper coverage.
7. Smooth out the resurfacer: Once you have applied the resurfacer, use a large steel trowel or power trowel to smooth out the surface. Move in long straight lines, overlapping each pass slightly to achieve an even finish.
8. Allow curing time: Follow the manufacturer’s instructions for curing time before subjecting the floor to foot traffic or other loads. This will ensure that the concrete fully hardens and achieves its maximum strength.
9. Optional: Apply a concrete sealer: If desired, you can apply a concrete sealer to protect the surface and enhance its appearance. Choose a sealer suitable for your specific needs (e.g., matte, glossy, stain-resistant) and follow the manufacturer’s instructions for application.
Remember to wear appropriate protective gear, such as safety glasses and gloves, when working with concrete and related materials. Additionally, consider consulting with a professional if you are unsure about any step in the process or if you have a large or complex project.