The traditional basement flooring is actually a basic cement floor, that you can make use of paint or stains to generate different patterns. You will be in a position to go for excellent basement flooring that suits the needs of yours in case you know just what to make out of your basement in the end.
Here are Images about How To Level Basement Floor For Tile
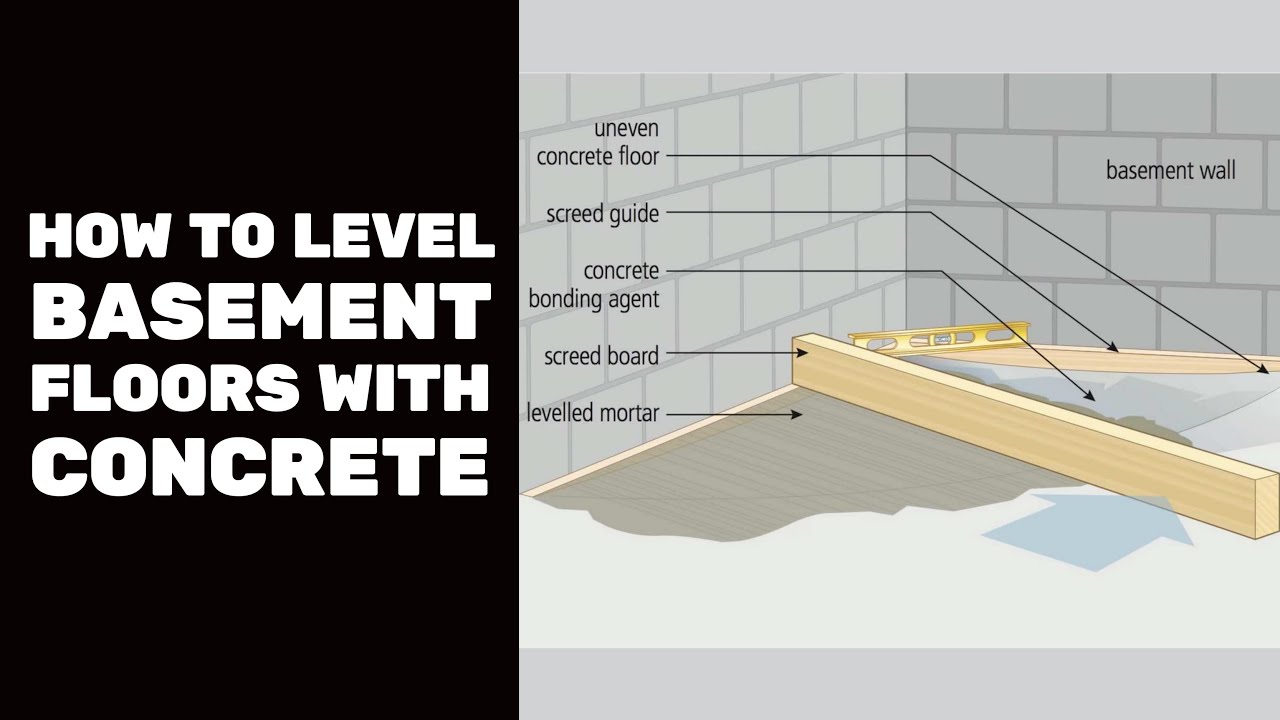
How To Level Basement Floor For Tile

While it is correct that this kind of floor has the big advantage of being simpler to clean if the basement floods and of trying to keep the basement cooler throughout the summer months, additionally, there are a number of other aspects that you should take into account about cement flooring if you wish to transform the basement of yours into a recreation room.
Qu0026A of the Week: “Whatu0027s the Best Way to Level An Old, Wonky
Basement flooring ideas provide homeowners different potential routes that they're able to take for downstairs room renovations, but for some these additional choices just complicate matters. The basement area can often be a challenge because of what we have in our brains notion of a cellar, but what in case you turned your basement into a pleasant family room or an entertainment room.
Images Related to How To Level Basement Floor For Tile
How to level floors for tile, get it ready for tile.

How to Self Level Bathroom Floors Part 2Adding Leveler Over Concrete — by Home Repair Tutor

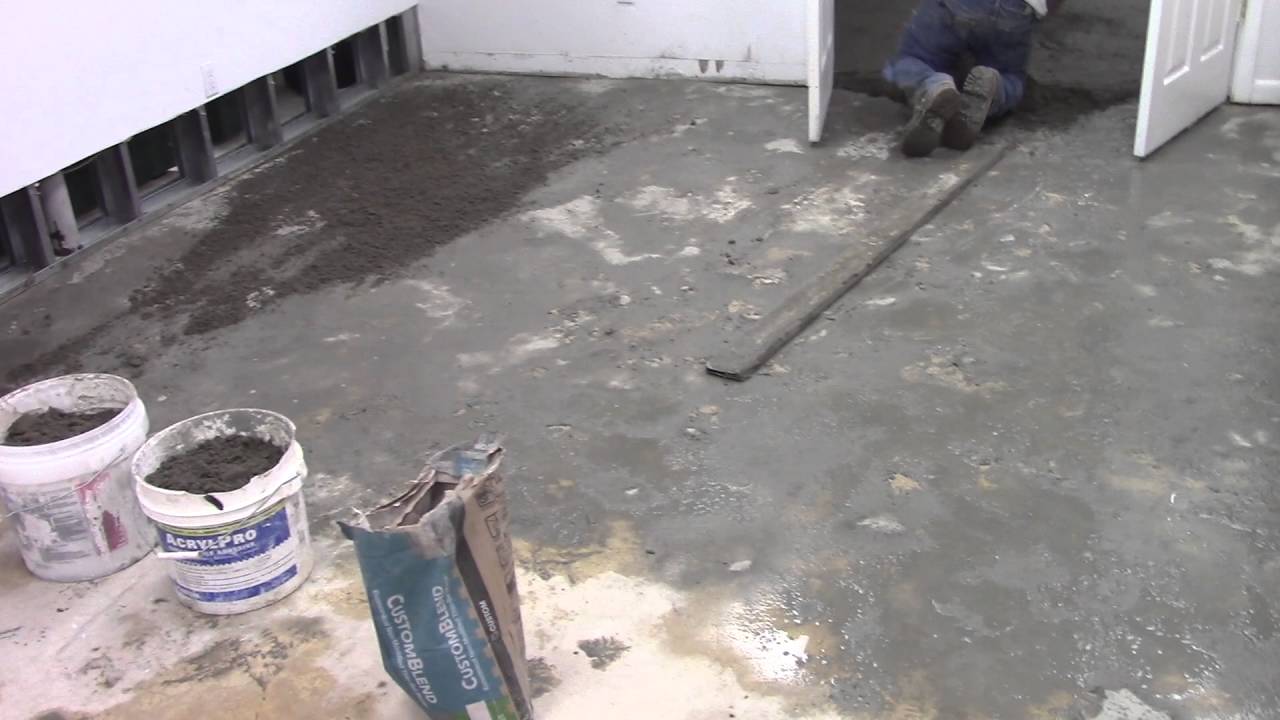
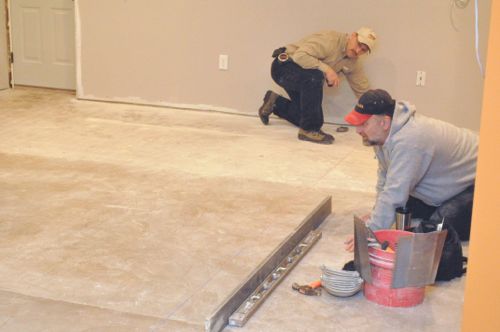
Leveling Basement Floor for New Tiles.
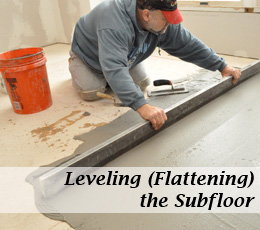
How to Level a Subfloor Before Laying Tile Flooring, Basement

How to Level a Subfloor Before Laying Tile
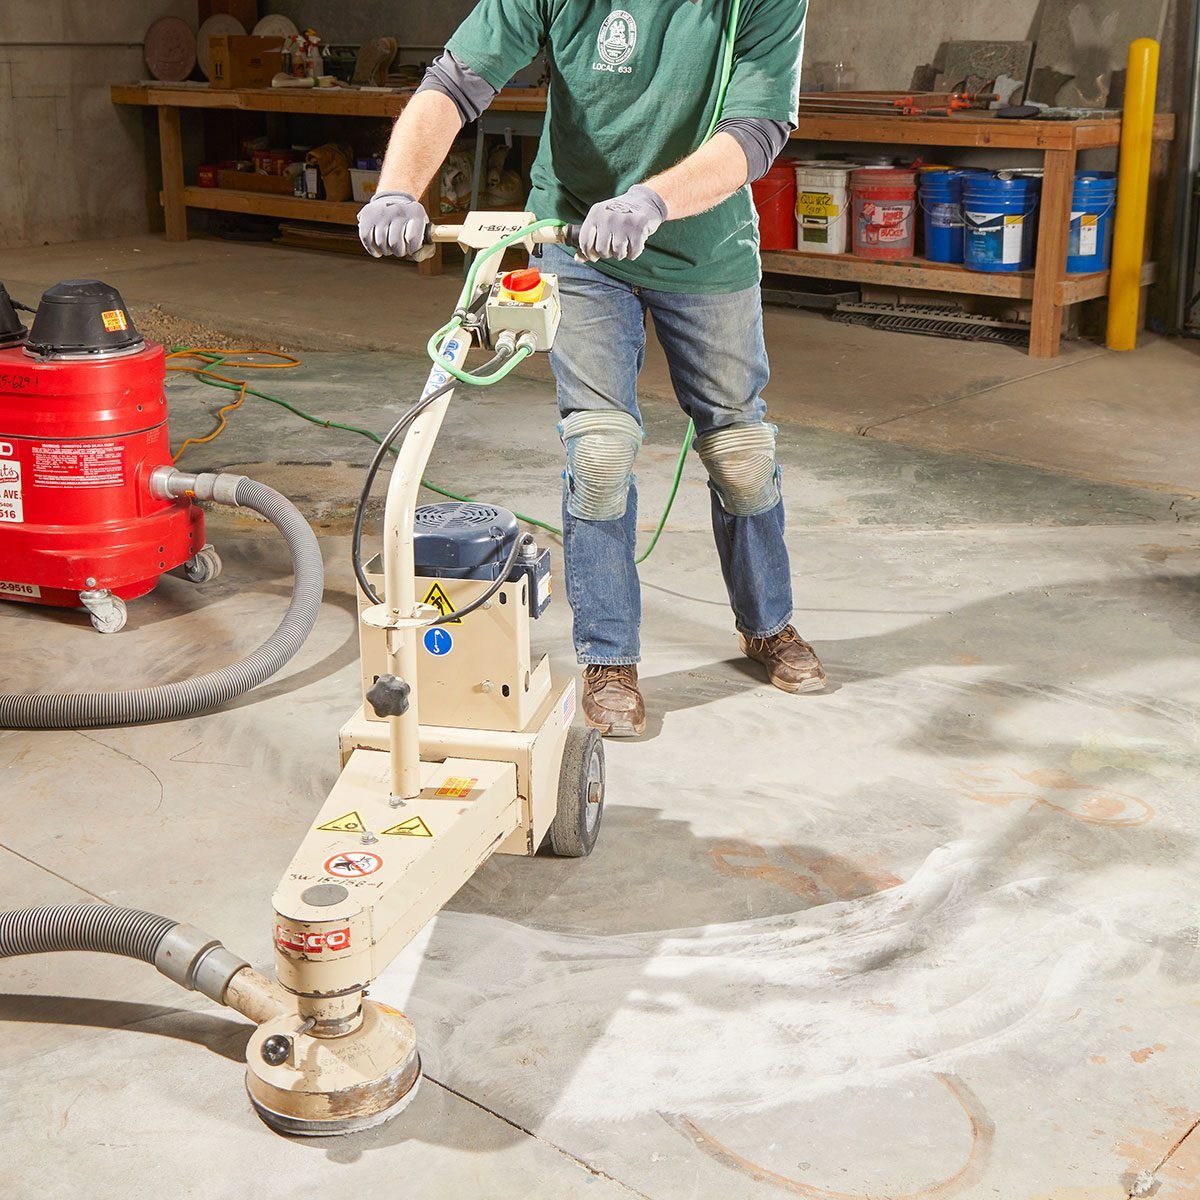
How to level a concrete floor part 1: preparation
How To Level Concrete Slabs Family Handyman
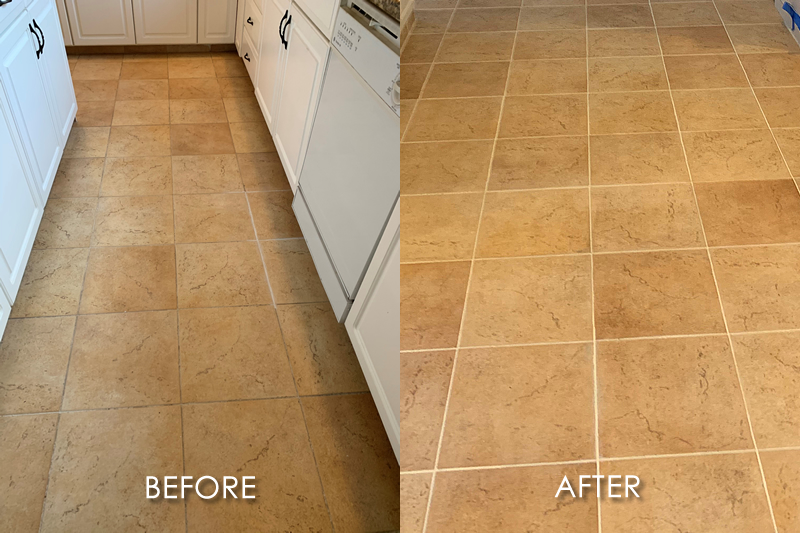
How to Tile a Concrete Basement Floor – The Grout Medic
How to Level a Subfloor Before Laying Tile
How To Level A Concrete Floor That Slopes at Level

How To Level A Basement Floor With A Drain

How to Level a Subfloor Before Laying Tile
Related articles:
- Stained Concrete Basement Floor
- Finishing Basement Floor
- Refinish Concrete Basement Floor
- Best Flooring For Basement
- Basement Gym Flooring Ideas
- Laminate Flooring In Basement
- Basement Concrete Floor Sweating
- Basement Floor Finishing Ideas
- Painting Unfinished Basement Floor
- Unique Basement Flooring
Leveling a basement floor for tile installation is an important step in ensuring a successful and durable finish. Uneven floors can cause tiles to crack or become dislodged over time, so taking the time to properly level your basement floor will save you headaches in the long run. In this article, we will discuss the steps involved in leveling a basement floor for tile, as well as provide answers to some frequently asked questions about the process.
Assessing the Condition of the Floor
Before you begin the process of leveling your basement floor for tile, it is important to assess the condition of the existing floor. Look for any cracks, dips, or bumps that may need to be addressed before you can start leveling. If there are any major issues with the floor, such as large cracks or areas of significant unevenness, it may be necessary to consult with a professional before proceeding.
FAQ: Can I level my basement floor myself?
Answer: Yes, with the right tools and materials, leveling a basement floor for tile is a project that many homeowners can tackle themselves. However, if you are unsure about the condition of your floor or feel overwhelmed by the process, it may be best to consult with a professional.
Preparing the Floor
Once you have assessed the condition of your basement floor and addressed any major issues, it is time to prepare the floor for leveling. Start by cleaning the floor thoroughly to remove any debris or dust that may interfere with the leveling process. If there are any remaining cracks or holes in the floor, fill them in with a concrete patching compound and allow it to dry completely before proceeding.
FAQ: How long does it take for a concrete patching compound to dry?
Answer: The drying time for a concrete patching compound can vary depending on the product used and environmental conditions. In general, most compounds will dry within 24 hours, but it is best to check the manufacturer’s instructions for specific drying times.
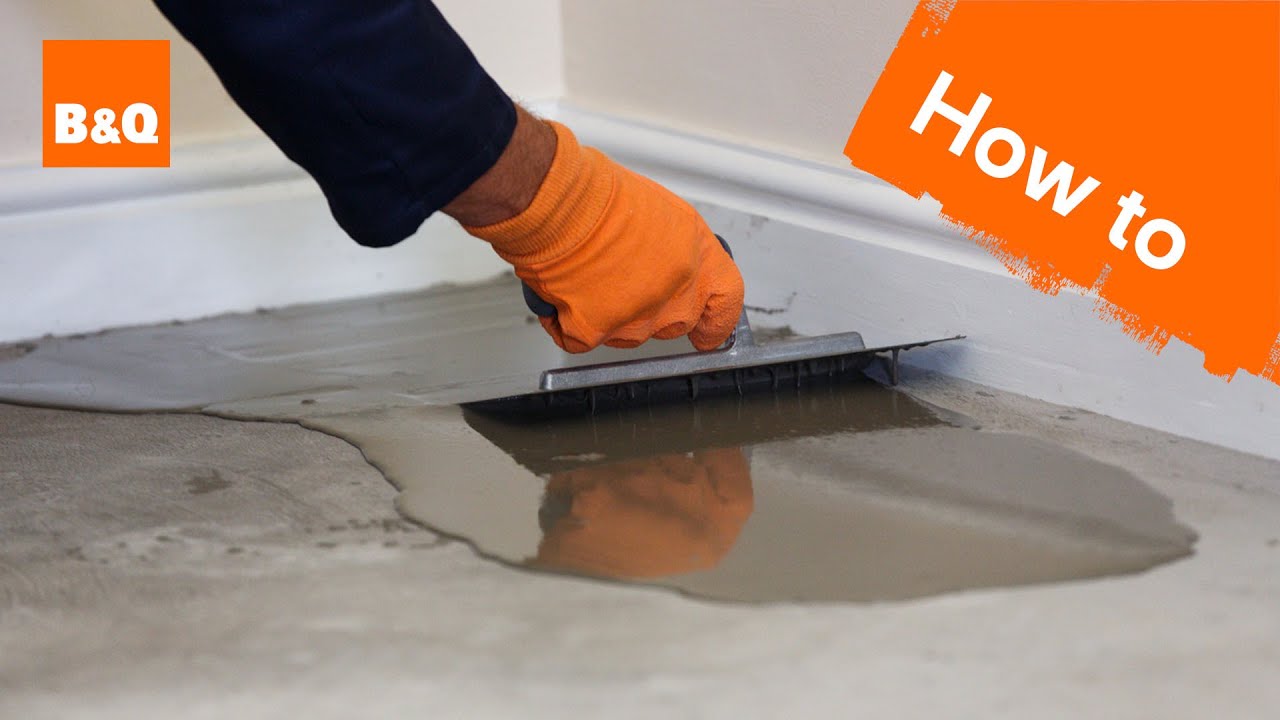
Mixing and Applying Self-Leveling Compound
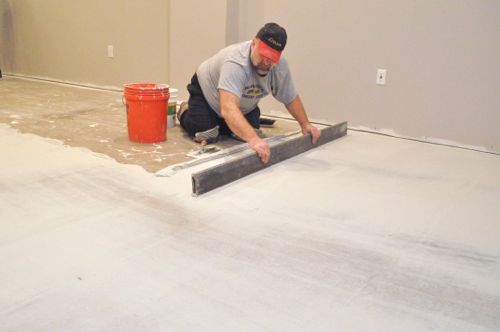
Self-leveling compound is a cement-based mixture that is designed to flow easily across a surface and create a smooth, level finish. To begin mixing the self-leveling compound, follow the manufacturer’s instructions carefully and make sure to use the correct ratio of water to powder. Once mixed, pour the compound onto the floor in small sections and use a trowel or squeegee to spread it evenly across the surface.
FAQ: How thick should self-leveling compound be applied?
Answer: The thickness of self-leveling compound can vary depending on the product used and the condition of your floor. In general, most self-leveling compounds should be applied at a thickness of 1/4 inch to 1/2 inch. It is important to follow the manufacturer’s instructions for proper application thickness.
Allowing the Compound to Cure
After applying the self-leveling compound to your basement floor, it is important to allow it to cure completely before proceeding with tile installation. The curing time for self-leveling compound can vary depending on environmental conditions such as temperature and humidity. In general, most compounds will cure within 24 hours, but it is best to check the manufacturer’s instructions for specific curing times.
FAQ: Can I walk on self-leveling compound before it has cured?
Answer: It is not recommended to walk on self-leveling compound before it has fully cured. Walking on uncured compound can cause indentations or damage to the surface. It is best to wait until the compound has cured completely before Proceeding with any further steps.
Installing the Tile
Once the self-leveling compound has cured, you can begin the process of installing your tile. Start by laying out your tiles in the desired pattern and cutting any tiles as needed to fit around obstacles or edges. Use a thin-set mortar to adhere the tiles to the floor, making sure to leave a small gap between each tile for grout. Once all of the tiles are in place, allow the mortar to dry completely before grouting.
Grouting and Sealing
After the mortar has dried, it is time to grout the tile. Mix the grout according to the manufacturer’s instructions and use a grout float to push the grout into the gaps between the tiles. Once all of the gaps are filled, use a damp sponge to remove any excess grout from the surface of the tiles. Allow the grout to dry completely before sealing the tile with a penetrating sealer to protect it from stains and water damage.
In conclusion, leveling a basement floor for tile can be a DIY project with proper preparation and attention to detail. By following these steps and consulting with professionals if needed, you can create a beautiful and durable tiled floor in your basement that will last for years to come. If you have any further questions or need assistance with leveling your basement floor for tile installation, don’t hesitate to reach out to a professional for help. It’s important to ensure that the job is done correctly to prevent any issues down the road. Happy tiling!