What previously you select among the floor tiles makes sure the platform is able to help support the floor tiles you will use because floor tiles are actually quite heavy mainly marble floors. Just like with the thin set, clean off the excess grout and then allow it to set for at least 10 days before you seal the tiles totally. They might be simple to look at but the scrub clean lines of theirs bring a complicated look to a space.
Images Related to How To Lay Tile Flooring Yourself
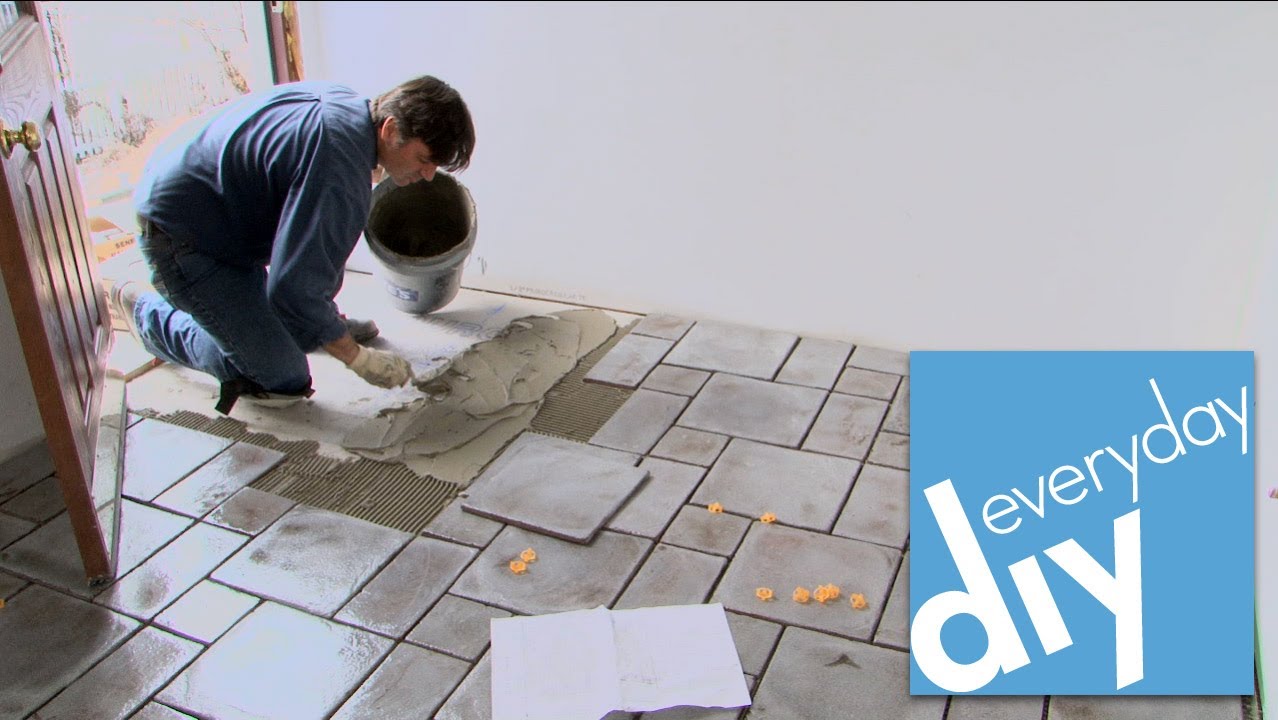
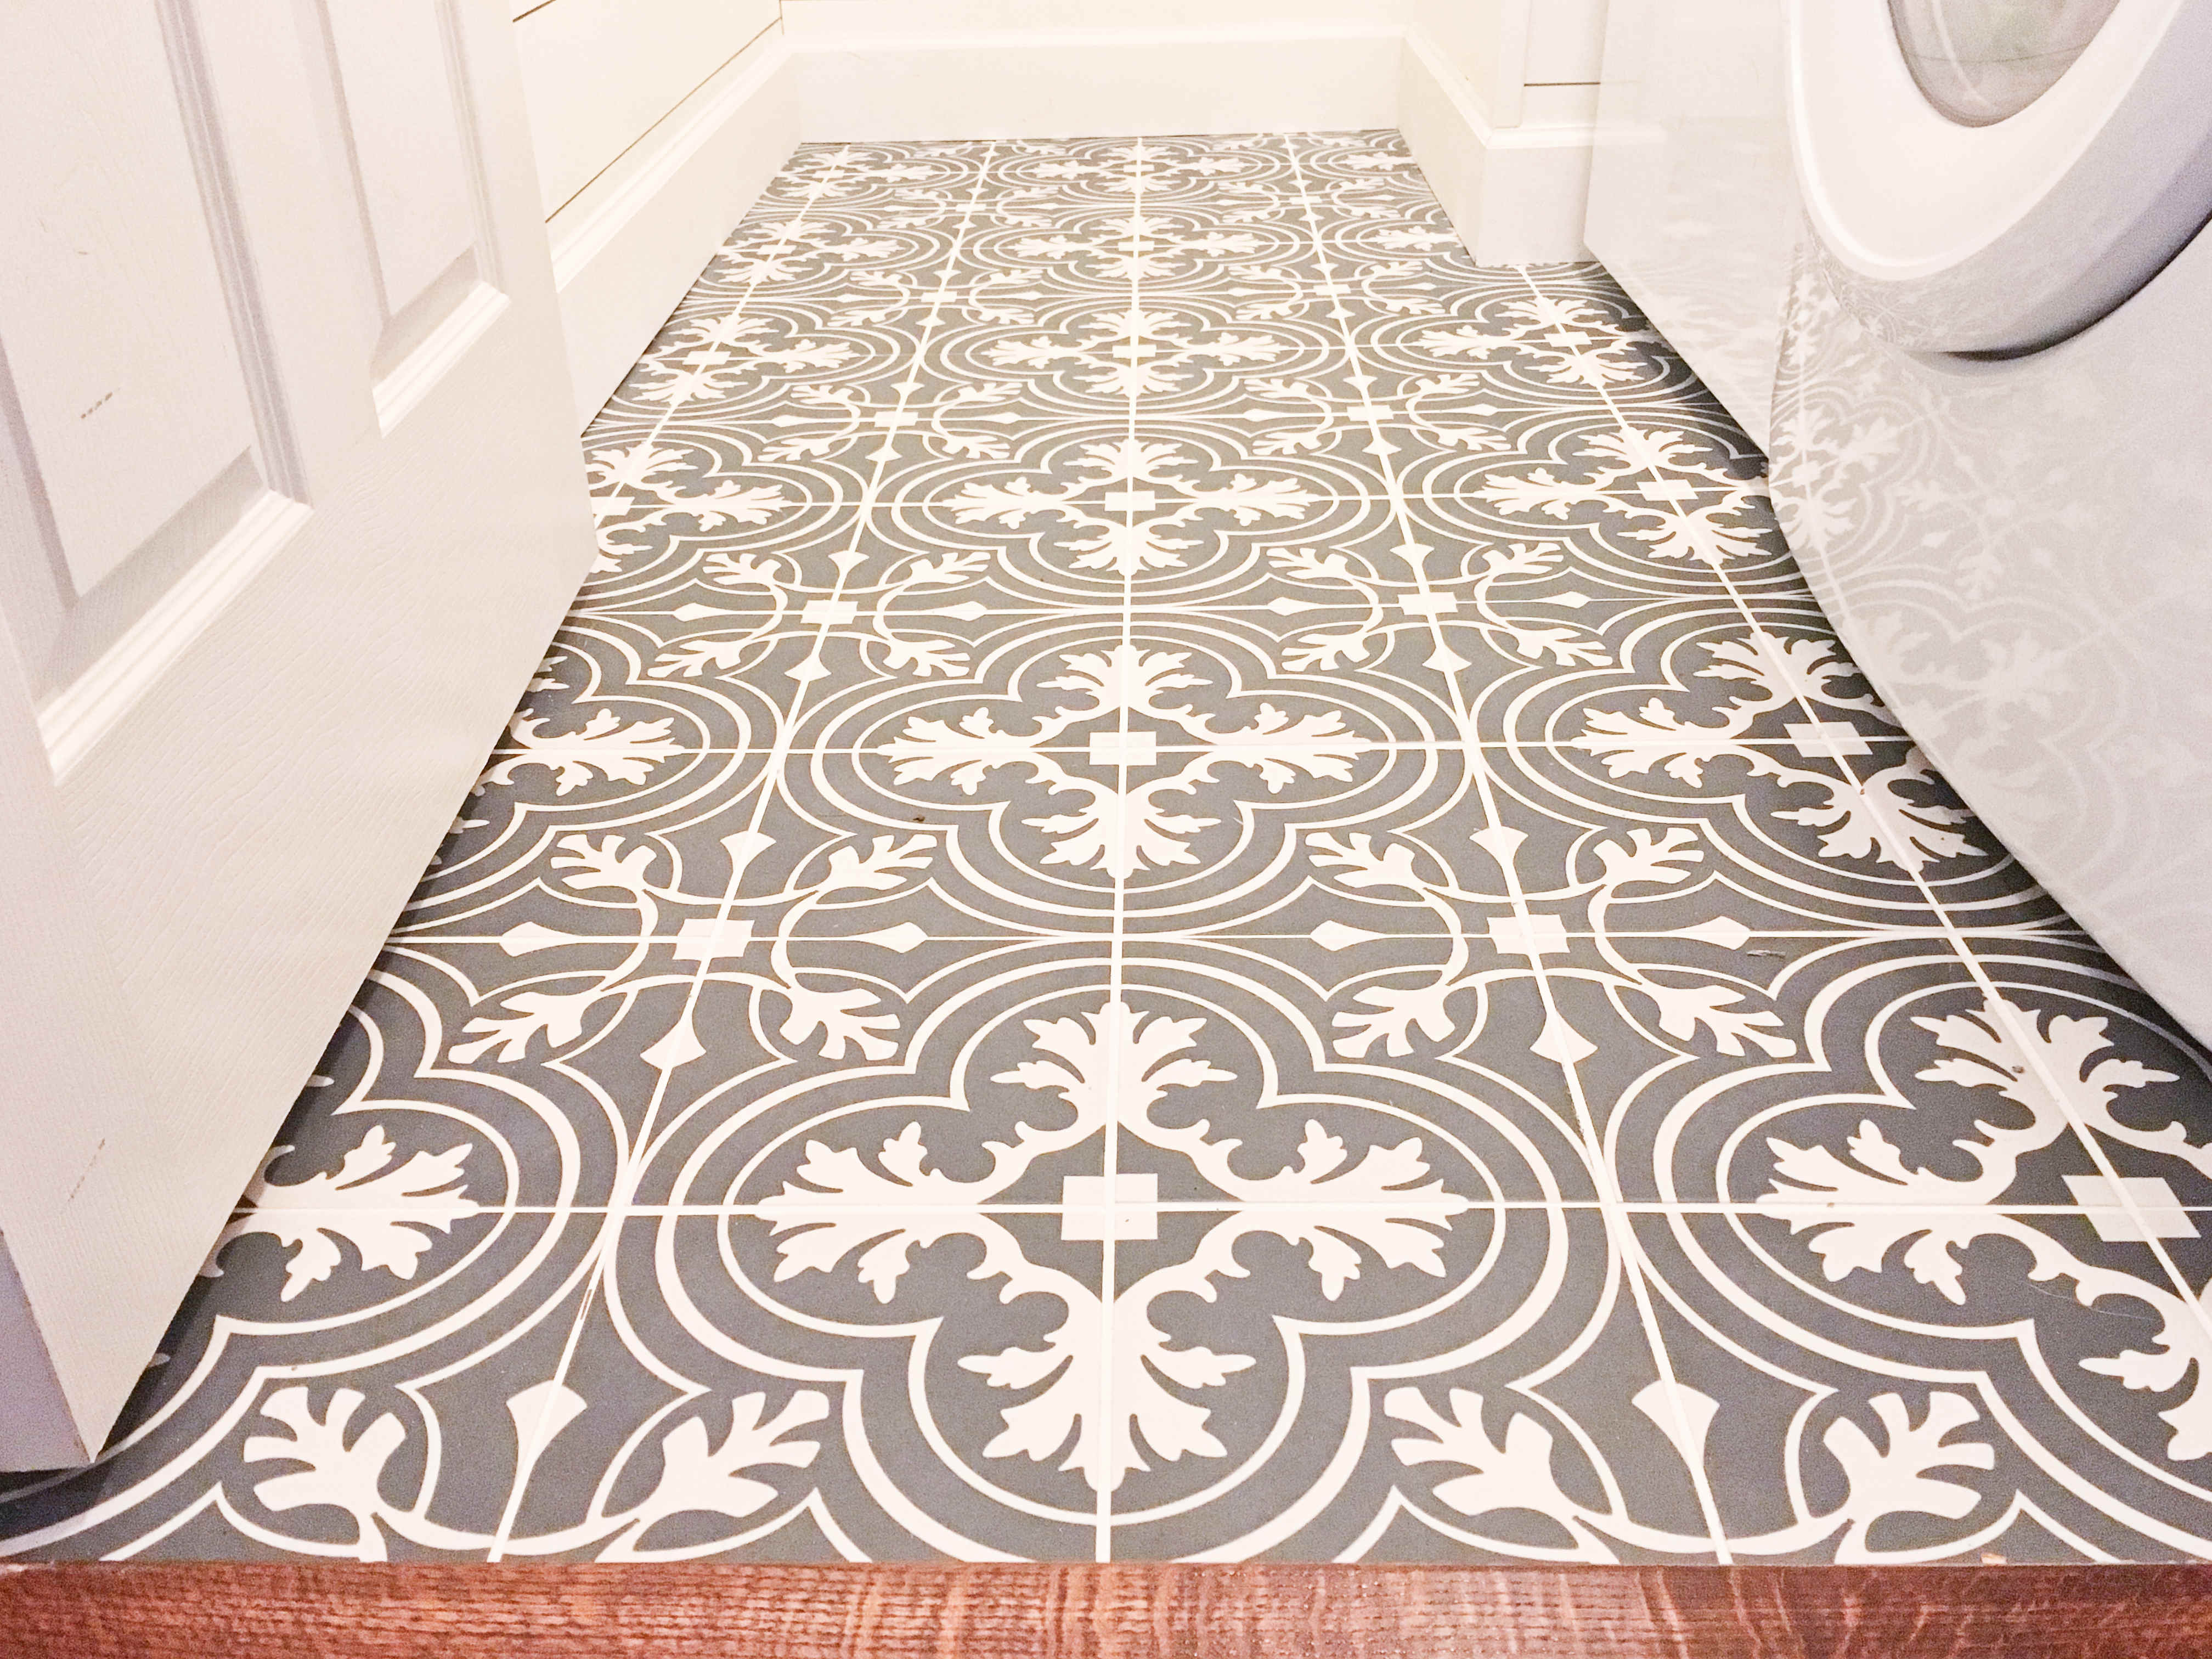
How To Lay Tile Flooring Yourself
Several of the more durable tile floors available on the market are the linoleum ones. You can install a floor mat but this particular will not be very easy to clean or keep in the long haul. 99 % of the most deadly pathogens from tiled floor surfaces. A through wash of the tiles with some warm water and cleaner will guarantee a great glow. Larger tiles can in addition be used in bigger spaces. Always wear safety goggles when you're using tiles.
Installing Tile Floor for the First Time // How To Lay Tile Floor
Buy them pre cut to the requirements of yours as they need to have a gem wheel for cutting. It's going to take a few of hours before the mortar is entirely dry. For a number of individuals garage tile flooring is the sole pick and they also see it as the best option. Knowing the type of subfloor you will be putting in ceramic tile flooring over is actually important. Their colors tones are light grey to good black.
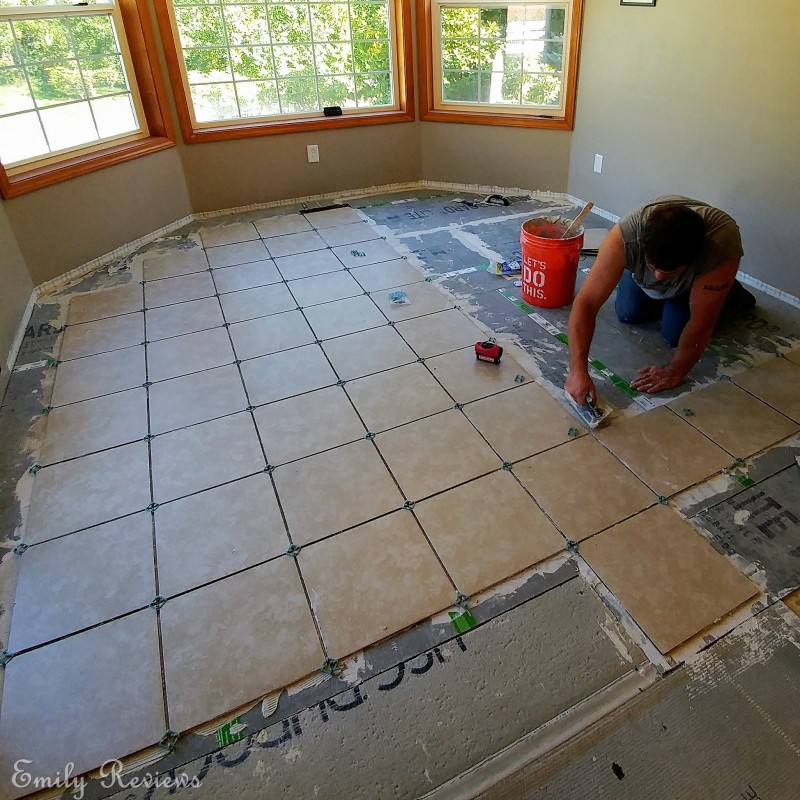
DIY ~ 8 Steps To Laying A New Tile Floor Emily Reviews
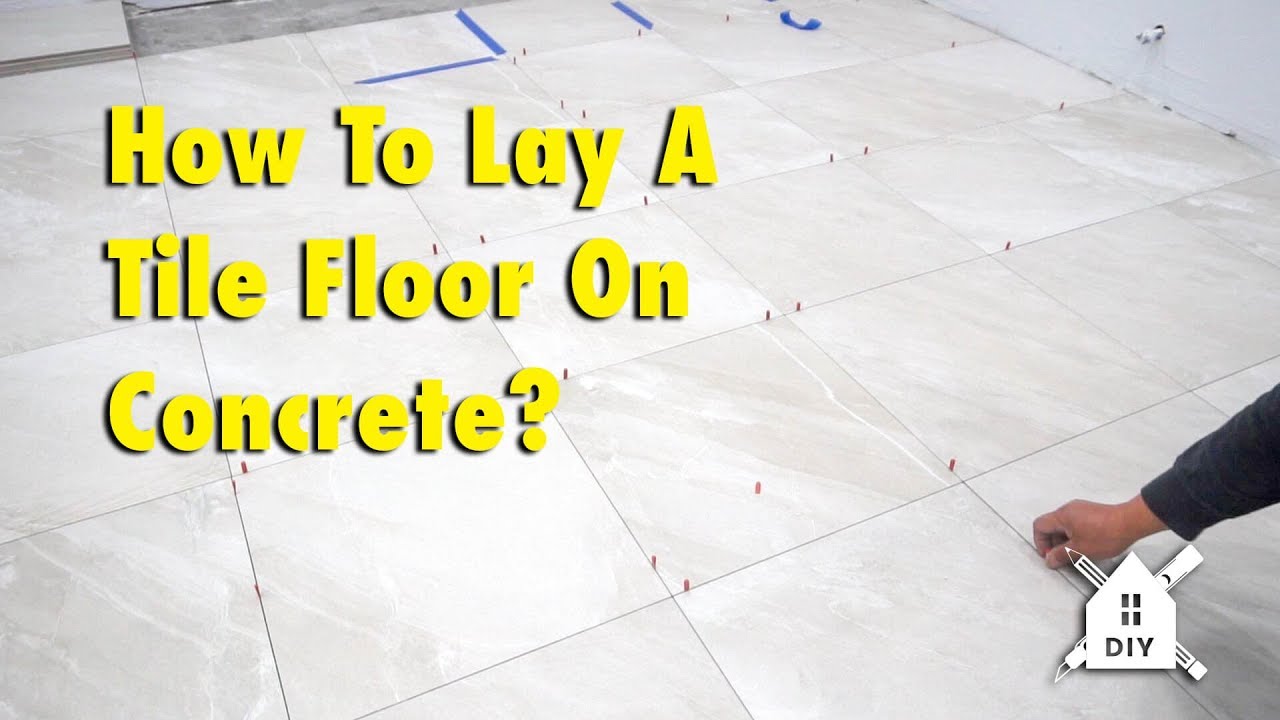
How To Lay A Tile Floor On Concrete #DIY #Homeimprovement
Installing Tile Floor for the First Time // How To Lay Tile Floor
How to Install Ceramic Tile Flooring in 9 Steps – This Old House
/cdn.vox-cdn.com/uploads/chorus_asset/file/19497064/howto_tile_12.jpg)
How to Lay Tile: DIY Floor Tile Installation Loweu0027s
DIY ~ 8 Steps To Laying A New Tile Floor Emily Reviews

How to Install Ceramic Tile Flooring in 9 Steps – This Old House
/cdn.vox-cdn.com/uploads/chorus_asset/file/19497110/howto_tile_07.jpg)
How to Install a Tile Floor
How to Lay Peel-and-Stick Vinyl Tile Flooring – Dengarden
Beginneru0027s Guide to Laying Tile Laying tile floor, How to lay

How to DIY Install Floor Tile – Building Our Rez
How to Tile a Bathroom Floor Installing tile floor, How to lay

Related articles:
- Vintage Bathroom Floor Tile Patterns
- Bathroom Floor Tile DIY
- Limestone Bathroom Floor Tiles
- Bathroom Floor Porcelain Tile
- Concrete Bathroom Floor Ideas
- White Bathroom Ceramic Tiles
- Bathroom Floor Baseboard
- Rustic Bathroom Flooring Ideas
- Bathroom Flooring Options
- Bamboo Bathroom Flooring Ideas
How To Lay Tile Flooring Yourself
If you’re looking to upgrade the flooring in your home, tile flooring can be a fantastic choice. Not only is it durable and easy to clean, but it also adds a touch of elegance to any room. While hiring professionals to install tile flooring can be costly, laying tile yourself is a rewarding and cost-effective DIY project. With the right tools, materials, and knowledge, you can achieve professional-looking results. In this article, we will guide you through the step-by-step process of laying tile flooring yourself.
Materials and Tools Needed
Before diving into the installation process, it’s important to gather all the necessary materials and tools. Here’s a comprehensive list of what you’ll need:
1. Tiles: Choose the type and style of tiles that suit your taste and fit well with your overall design aesthetic. Some popular options include ceramic, porcelain, or natural stone tiles.
2. Tile adhesive: This is used to secure the tiles to the subfloor. Opt for a high-quality adhesive that is suitable for your chosen tile type.
3. Tile spacers: These small plastic pieces are inserted between tiles to maintain consistent spacing and ensure even grout lines.
4. Notched trowel: A notched trowel is essential for spreading adhesive evenly on the subfloor before placing the tiles.
5. Tile cutter or wet saw: Depending on the complexity of your project, you may need either a manual tile cutter or a wet saw to cut tiles to size.
6. Grout: Grout is used to fill the gaps between tiles and provide stability. Choose a grout color that complements your tiles.
7. Grout float: This tool helps spread grout evenly across the surface of the tiles.
8. Sponge and bucket: These are needed for cleaning excess grout off the tiles during installation.
9. Level: A level is crucial for ensuring that your tiles are laid evenly and avoiding any uneven surfaces.
10. Tape measure: Accurate measurements are essential for cutting tiles to fit the space properly.
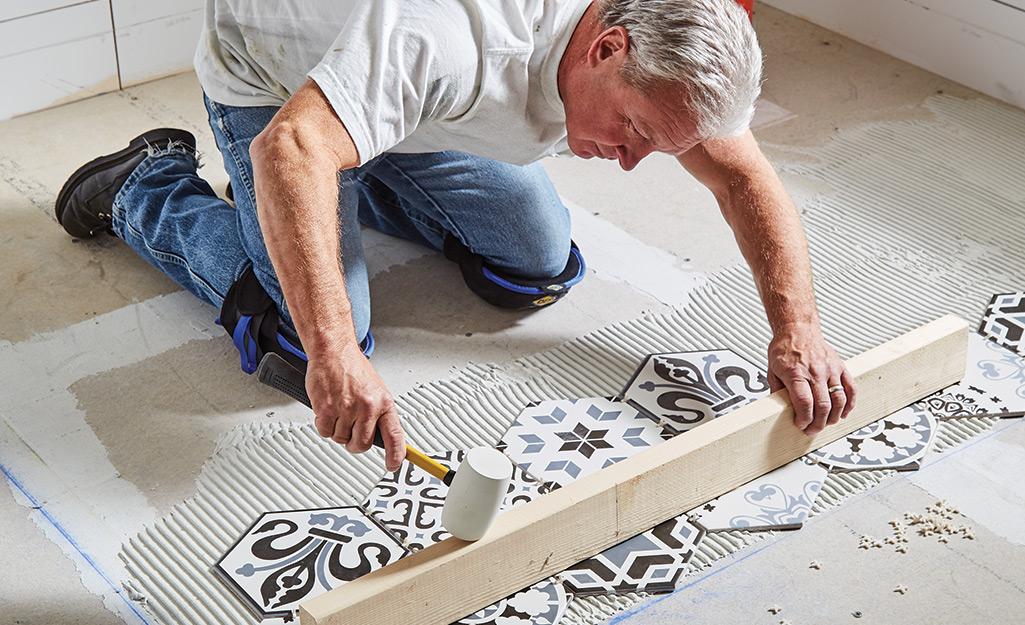
11. Rubber mallet: A rubber mallet is useful for gently tapping tiles into place without damaging them.
Preparation
Before you begin, it’s vital to prepare the area where you’ll be laying the tile flooring. Follow these steps to ensure a smooth installation process:
1. Clear the room: Remove all furniture, rugs, and other items from the room. This will provide you with a clean and open space to work in.
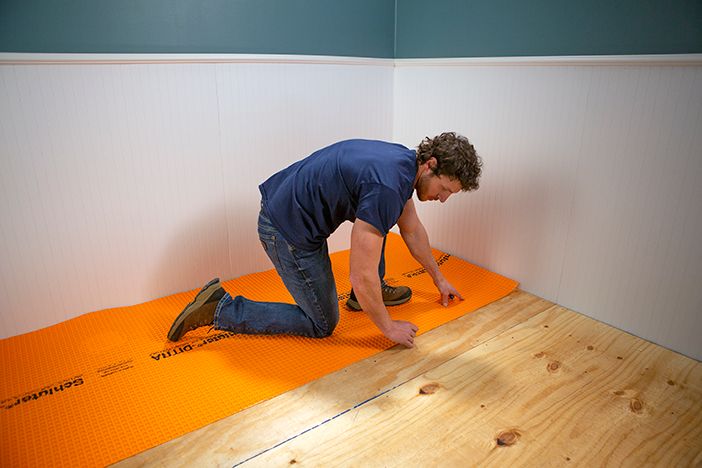
2. Remove the existing flooring: If there is existing flooring, such as carpet or vinyl, remove it completely. Ensure that the subfloor is clean, dry, and in good condition.
3. Repair any damage: Inspect the subfloor for any damage or imperfections. If you find any, repair them before proceeding. Fill cracks or holes with a suitable filler and sand down any uneven areas.
4. Measure and plan: Measure the dimensions of the room and calculate how many tiles you’ll need. Consider adding an extra 10% to account for cuts and waste. Plan the layout of your tiles by starting from the center of the room and working your way outward.
Installation Steps
Now that you’ve gathered your materials and prepared the area, it’s time to start laying your tile flooring. Follow these steps for a successful installation:
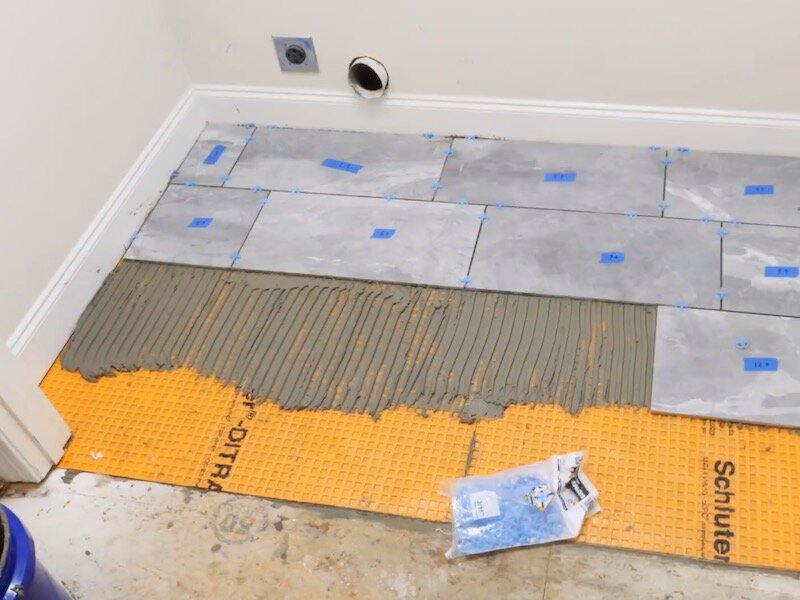
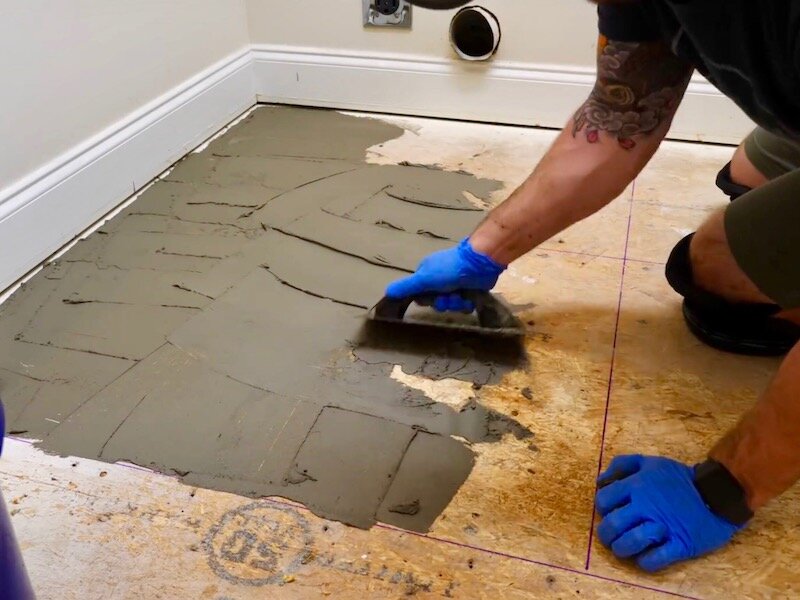
1. Apply adhesive: Using a notched trowel, spread tile adhesive on a small section of the subfloor. Start at the Corner of the room and work your way outwards. Make sure the adhesive is spread evenly and has a consistent thickness.
2. Place the tiles: Press each tile firmly into the adhesive, using a slight twisting motion to ensure proper adhesion. Insert tile spacers between each tile to maintain consistent spacing.
3. Cut tiles as needed: Use a tile cutter or wet saw to cut tiles to fit around edges, corners, or obstacles in the room. Measure each cut carefully and use a straight edge or template to guide your cuts.
4. Repeat the process: Continue applying adhesive, placing tiles, and cutting them as needed until the entire floor is covered. Make sure to periodically check that the tiles are level and adjust as necessary.
5. Allow adhesive to dry: Wait for the adhesive to fully dry before proceeding to grouting. This can take anywhere from 24 hours to several days, depending on the type of adhesive used.
6. Grout the tiles: Mix grout according to the manufacturer’s instructions and use a grout float to spread it over the tiles, filling in the gaps between them. Work in small sections at a time and remove excess grout with a damp sponge.
7. Clean and finish: After the grout has dried for about 10-15 minutes, use a damp sponge and clean any haze off the tiles. Allow the grout to fully cure before walking on or sealing it, following the manufacturer’s guidelines.
8. Enjoy your new tile floor: Once everything is dry and cured, you can move your furniture back into place and enjoy your newly installed tile floor!
It’s important to note that these steps provide a general guideline for tile floor installation. It’s always recommended to refer to the specific instructions provided by the manufacturer of your chosen tile and adhesive, as they may have additional or alternative recommendations. Additionally, if you’re unsure about any part of the installation process, it’s best to consult a professional for assistance. The layout of the tiles should be planned starting from the center of the room and working outward. This will ensure that the cuts and waste are minimized. Here is a step-by-step guide for laying tile flooring:
1. Gather your materials and prepare the area: Make sure you have all the necessary tools and materials for the installation, including tiles, adhesive, trowel, tile spacers, tile cutter or wet saw, straight edge or template, grout, grout float, damp sponge, and any other recommended items.
2. Apply adhesive: Using a notched trowel, spread tile adhesive on a small section of the subfloor. Start at the corner of the room and work your way outwards. Make sure the adhesive is spread evenly and has a consistent thickness.
3. Place the tiles: Press each tile firmly into the adhesive, using a slight twisting motion to ensure proper adhesion. Insert tile spacers between each tile to maintain consistent spacing.
4. Cut tiles as needed: Use a tile cutter or wet saw to cut tiles to fit around edges, corners, or obstacles in the room. Measure each cut carefully and use a straight edge or template to guide your cuts.
5. Repeat the process: Continue applying adhesive, placing tiles, and cutting them as needed until the entire floor is covered. Make sure to periodically check that the tiles are level and adjust as necessary.
6. Allow adhesive to dry: Wait for the adhesive to fully dry before proceeding to grouting. This can take anywhere from 24 hours to several days, depending on the type of adhesive used.
7. Grout the tiles: Mix grout according to the manufacturer’s instructions and use a grout float to spread it over the tiles, filling in the gaps between them. Work in small sections at a time and remove excess grout with a damp sponge.
8. Clean and finish: After the grout has dried for about 10-15 minutes, use a damp sponge to clean any haze off the tiles. Allow the grout to fully cure before walking on or sealing it, following the manufacturer’s guidelines.
9. Enjoy your new tile floor: Once everything is dry and cured, you can move your furniture back into place and enjoy your newly installed tile floor!
It’s important to note that these steps provide a general guideline for tile floor installation. It’s always recommended to refer to the specific instructions provided by the manufacturer of your chosen tile and adhesive, as they may have additional or alternative recommendations. Additionally, if you’re unsure about any part of the installation process, it’s best to consult a professional for assistance.