Try to not to be stressed & instead focus on finding something that truly works for you inside as numerous ways as possible. Thankfully, you can find many methods to set up the basement flooring, which is going to be practical and appealing, without the need to make major structural changes. Cement flooring prevents worry more than too much rain or potential flooding.
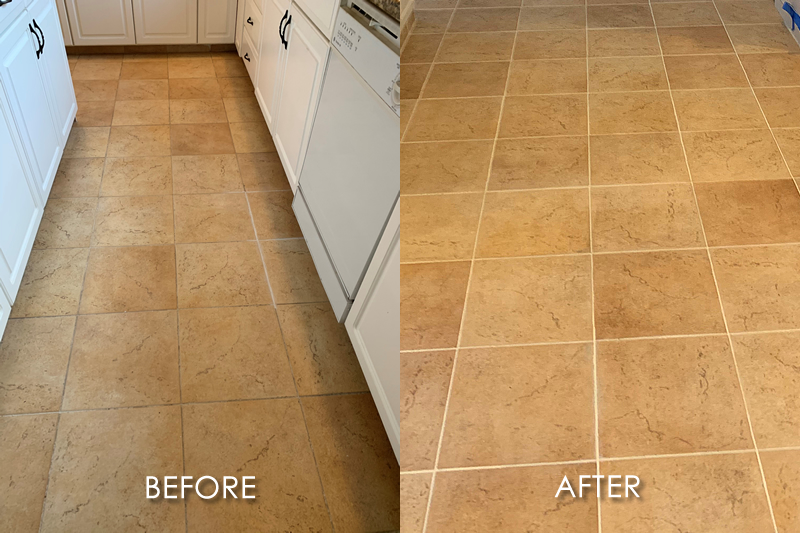
Here are Images about How To Lay Ceramic Tile On Concrete Basement Floor
How To Lay Ceramic Tile On Concrete Basement Floor
One of the challenges experienced when changing the house's basement into a living room is actually the basement's floor surfaces. The main reason that the basement is really valuable to the home of yours is simply because when it is finished, you've created another living space that's customarily not a part of most people's homes.
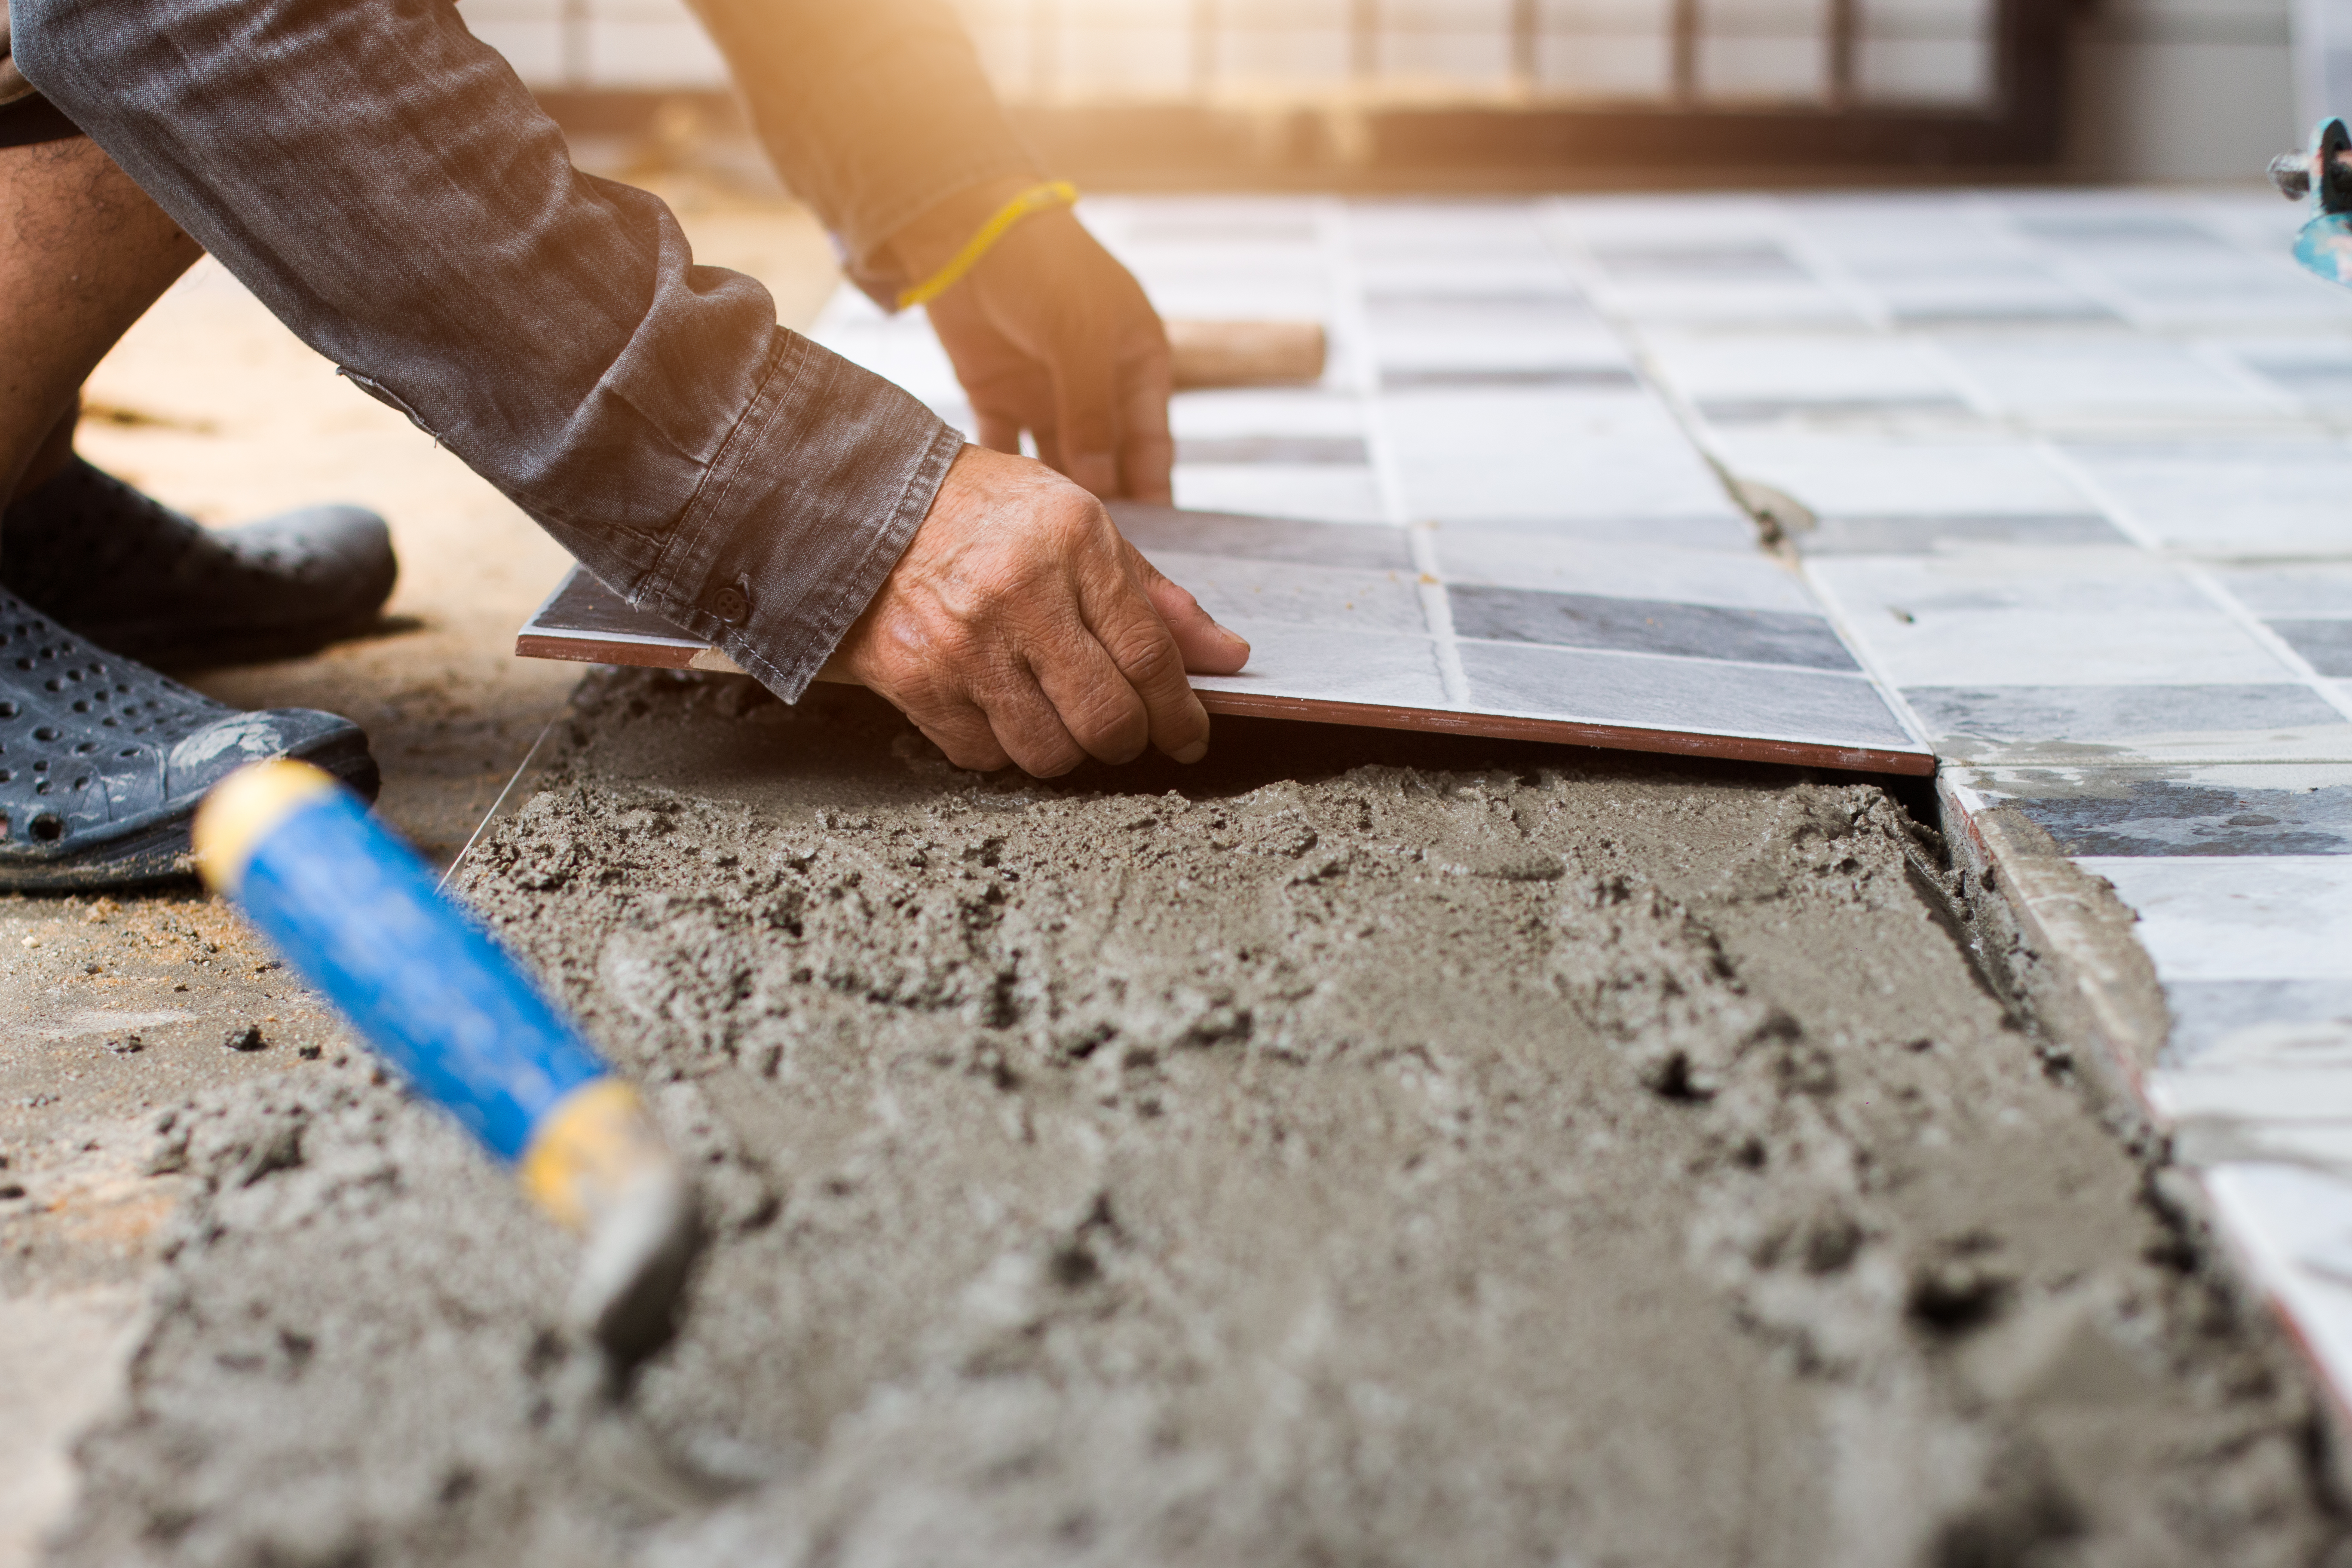
How to Prepare for Laying Tile Over a Concrete Floor
You could have never thought you would be ready to put so much notion in the dyes and decoration of your garage, but polyurea flooring enables you to do just that! The basement of yours and also garage will be converted from dirty catch all rooms to places that you are able to really feel satisfied of, and comfy in. It is then terrific for basements.
Images Related to How To Lay Ceramic Tile On Concrete Basement Floor
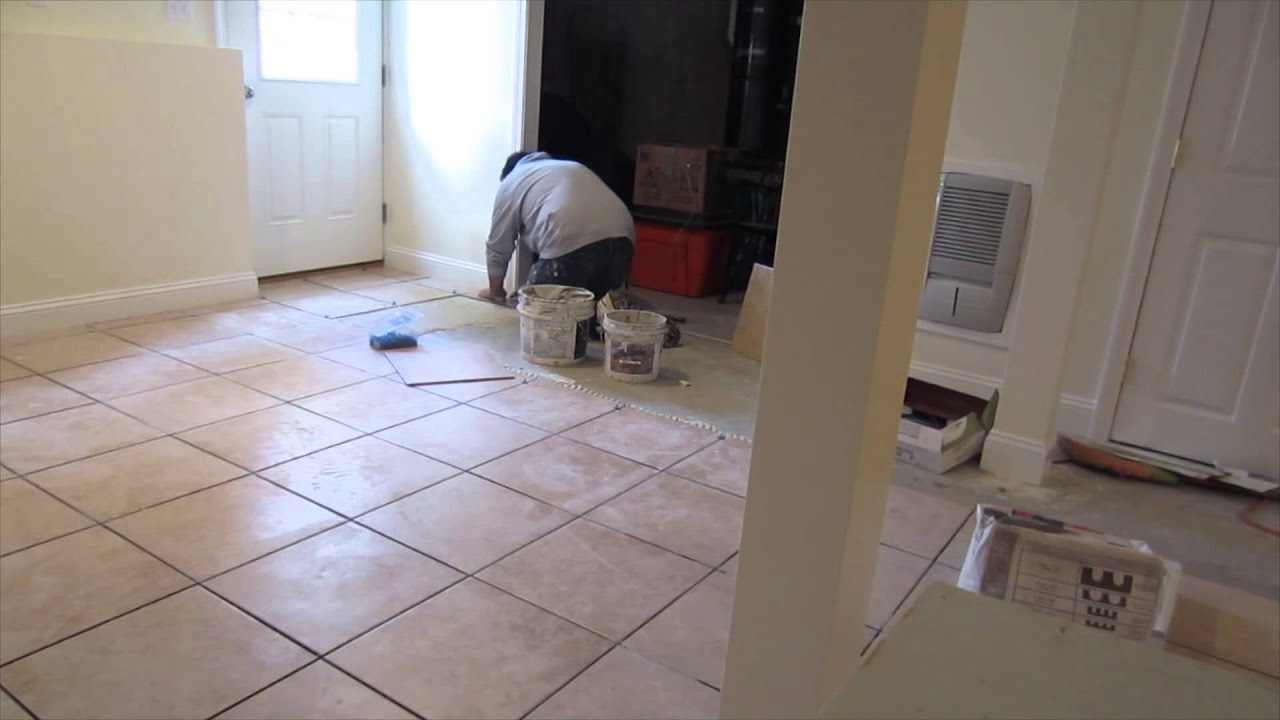
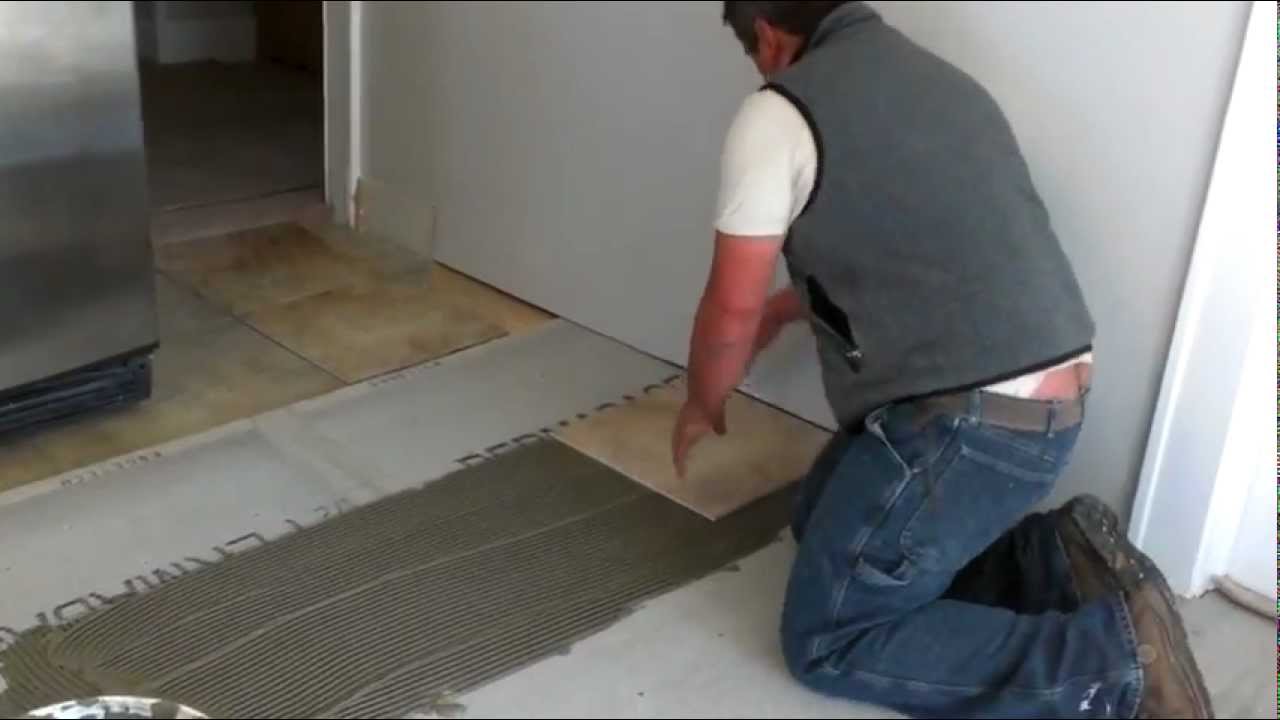
How to install tile in a basement washroom floor on concrete like a pro! Start to finish

Can You Install Tile Over Concrete?
:max_bytes(150000):strip_icc()/can-you-install-tile-directly-on-concrete-1822600-04-458f7bb6c78348c1835cf8054ef36553.jpg)
Time lapse of a 16u0027x16″ ceramic tile installation on a basement concrete floor.
How to Install Ceramic Tile Flooring in 9 Steps – This Old House
:no_upscale()/cdn.vox-cdn.com/uploads/chorus_asset/file/19496978/howto_tile_01.jpg)
Tiling over a Cracked Concrete Slab – Fine Homebuilding

How to Install Ceramic Tile Flooring in 9 Steps – This Old House
/cdn.vox-cdn.com/uploads/chorus_asset/file/19497064/howto_tile_12.jpg)
Can I Lay Tile Over Painted Concrete Floor? – Ready To DIY

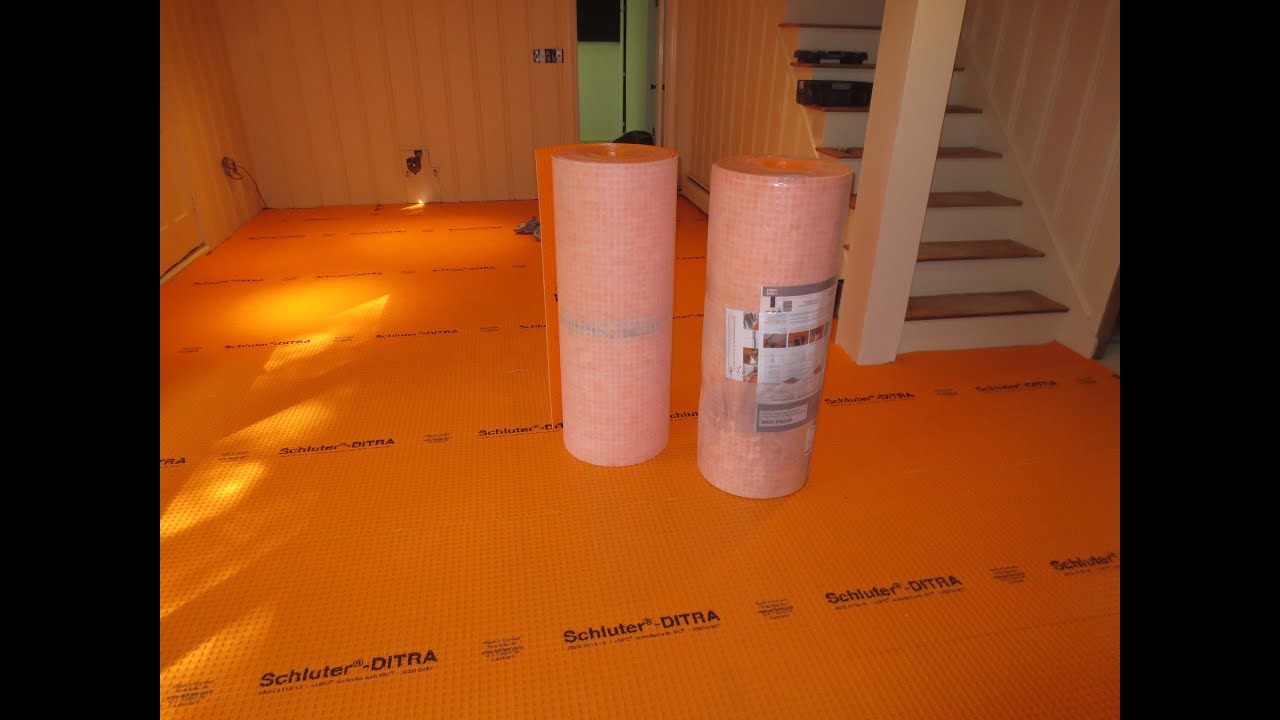
How to tile a large basement floor Part 1 Installing Schluter Ditra
Can You Install Tile Over Concrete?
/can-you-install-tile-directly-on-concrete-1822600-01-8a89ceab1a274fb8ac81890ab7fc6b1b.jpg)
How to install ceramic tiles on a floor
How to Install Tiles on a Concrete Basement Floor? – Barana Tiles
Subfloors and Underlayment for Ceramic Tile Floors
/best-subfloors-to-use-for-laying-tile-1822586-hero-efcfac9422ab457da5d2cbc7f7361df7.jpg)
Related articles:
- Stained Concrete Basement Floor
- Finishing Basement Floor
- Refinish Concrete Basement Floor
- Best Flooring For Basement
- Basement Gym Flooring Ideas
- Laminate Flooring In Basement
- Basement Concrete Floor Sweating
- Basement Floor Finishing Ideas
- Painting Unfinished Basement Floor
- Unique Basement Flooring
Title: How to Successfully Lay Ceramic Tile on a Concrete Basement Floor
Introduction:
Laying ceramic tiles on a concrete basement floor can be a rewarding and cost-effective way to enhance the aesthetics and functionality of your space. With proper preparation and execution, you can transform your basement into a beautiful and durable living area. In this article, we will guide you through each step of the process, from surface preparation to grouting, ensuring that you achieve professional-looking results.
I. Surface Preparation
Before laying ceramic tiles, it is essential to prepare the concrete basement floor adequately. This includes the following steps:
1. Clean the Surface:
Start by removing any debris or loose materials from the floor. Sweep thoroughly and use a vacuum cleaner to eliminate dust, dirt, and small particles. Ensure that the surface is completely clean before proceeding.
2. Repair Cracks and Imperfections:
Inspect the concrete for any cracks or imperfections. Fill these gaps using an appropriate concrete patching compound or crack filler, following the manufacturer’s instructions. Smooth out the repaired areas with a trowel and allow them to dry completely.
3. Level Uneven Floors:
If your basement floor has noticeable unevenness, it is crucial to level it before installing ceramic tiles. Use a self-leveling compound, which is available at most home improvement stores, to create a smooth and even surface for tile installation.
FAQs:
Q1: Can I lay ceramic tile directly on the concrete basement floor without any preparation?
A1: While it may be tempting to skip surface preparation steps, it is not recommended. Proper cleaning, repair of cracks, and leveling ensure a solid foundation for your ceramic tiles and prevent future issues such as tile cracking or shifting.
Q2: Is DIY crack repair sufficient for my basement floor?
A2: DIY crack repair can be effective for minor cracks; however, larger cracks or extensive damage may require professional assistance. It’s important to assess the severity of the cracks and seek professional advice if needed.
II. Applying a Bonding Agent
To enhance the adhesion between the concrete basement floor and the ceramic tiles, it is advisable to apply a bonding agent, such as a latex-based primer or a concrete sealer. Follow these steps:
1. Prepare the Bonding Agent:
Read and follow the manufacturer’s instructions for mixing and applying the chosen bonding agent. Typically, you will need to combine water with the bonding agent in specific proportions.
2. Apply the Bonding Agent:
Using a paint roller or brush, evenly apply the bonding agent to the entire surface of the concrete floor. Ensure that you cover all areas thoroughly. Allow the bonding agent to dry according to the manufacturer’s instructions.
FAQs:
Q1: Why is applying a bonding agent necessary?
A1: A bonding agent creates a stronger bond between the concrete floor and ceramic tiles, reducing the chances of tiles lifting or loosening over time. It also improves resistance to moisture, preventing potential issues like mold or mildew growth.
Q2: Can I skip applying a bonding agent if my concrete floor is already smooth?
A2: Even if your concrete floor appears smooth, it is still recommended to use a bonding agent for optimal tile adhesion. Smoothness alone does not guarantee proper adhesion, as it may still have invisible contaminants that hinder tile installation.
III. Setting Tile Layout and Cutting Tiles
Once your basement floor is prepared and primed, it is time to plan your tile layout and cut any tiles as necessary:
1 . Plan the Tile Layout:
Measure the dimensions of your basement floor and determine the layout of your ceramic tiles. Consider factors such as the size of the tiles, the placement of any fixtures or obstacles, and any desired patterns or designs.
2. Cut Tiles as Needed:
Using a tile cutter or wet saw, cut any tiles that need to be resized to fit into smaller spaces or around obstacles. Measure carefully and make precise cuts to ensure a proper fit.
3. Dry Fit the Tiles:
Before applying adhesive, dry fit the tiles on the prepared floor to ensure they fit properly and align with your desired layout. Make any necessary adjustments before moving on to the next step.
FAQs:
Q1: How do I determine the best tile layout for my basement floor?
A1: Consider factors such as room size, tile size, and any existing fixtures or obstacles when planning your tile layout. You can create a visual representation using graph paper or utilize online tools for tile layout design.
Q2: What tools do I need to cut ceramic tiles?
A2: Common tools for cutting ceramic tiles include a tile cutter, wet saw, or a handheld tile nipper. Choose the tool that best suits your needs and follow safety precautions while operating them.
IV. Applying Adhesive and Installing Tiles
With your tile layout planned and any necessary cuts made, it’s time to apply adhesive and install your ceramic tiles:
1. Prepare the Adhesive:
Follow the manufacturer’s instructions for mixing and preparing the adhesive. Use a trowel to create a consistent and even mixture.
2. Apply Adhesive and Install Tiles:
Starting from the center of the room, apply the adhesive to a small area using the notched side of the trowel. Place the tiles onto the adhesive, pressing them firmly into place. Use tile spacers to maintain even spacing between tiles.
3. Continue Installing Tiles:
Work in small sections, applying adhesive and installing tiles until you have covered the entire basement floor. Check periodically to ensure that the tiles are level and aligned with your desired layout.
FAQs:
Q1: What type of adhesive should I use for ceramic tile installation?
A1: It is recommended to use a thin-set mortar adhesive specifically designed for ceramic tile installation. Choose an adhesive that is suitable for your specific tile type and follow the manufacturer’s instructions.
Q2: How long should I wait before walking on newly installed ceramic tiles?
A2: The drying time for adhesive can vary depending on factors such as temperature and humidity. It is best to wait at least 24-48 hours before walking on newly installed ceramic tiles, allowing the adhesive to fully set and bond with the floor. This will ensure a strong and durable bond between the tiles and the floor.
“What tools do I need to lay ceramic tile on a concrete basement floor?”
To lay ceramic tile on a concrete basement floor, you will need the following tools:1. Measuring tape: For measuring the dimensions of the room and tiles.
2. Chalk line: To create guidelines for accurate tile placement.
3. Trowel: Used to spread thin-set mortar.
4. Tile spacers: These will help maintain consistent grout lines between tiles.
5. Wet saw or tile cutter: To cut tiles to fit around edges or obstacles.
6. Grout float: Used to apply and spread grout between tiles.
7. Rubber mallet: To gently tap tiles into place and ensure they are level.
8. Notched trowel or notched spreader: To create ridges in the mortar for better tile adhesion.
9. Grout sponge: For cleaning excess grout from the tile surface.
10. Bucket and mixing paddle: For mixing mortar and grout.
11. Level: To ensure that the floor is even and tiles are laid flat.
12. Safety glasses and knee pads: To protect your eyes and knees during installation.
It’s worth noting that personal protective equipment (PPE) such as gloves, dust mask, and knee pads are also recommended for safety purposes while working with tools and materials in a basement environment.