On account of the fact that you can get numerous wood species as well as finish choices available, it becomes a outstanding green option for nearly anyone. On the opposite hand, the engineered flooring is made of layers of thinner bits of hardwood. You need to understand the terminology employed for describing wood flooring and exactly how different specifications affect the performance of the flooring.
Images Related to How To Install Wood Flooring In Kitchen
How To Install Wood Flooring In Kitchen
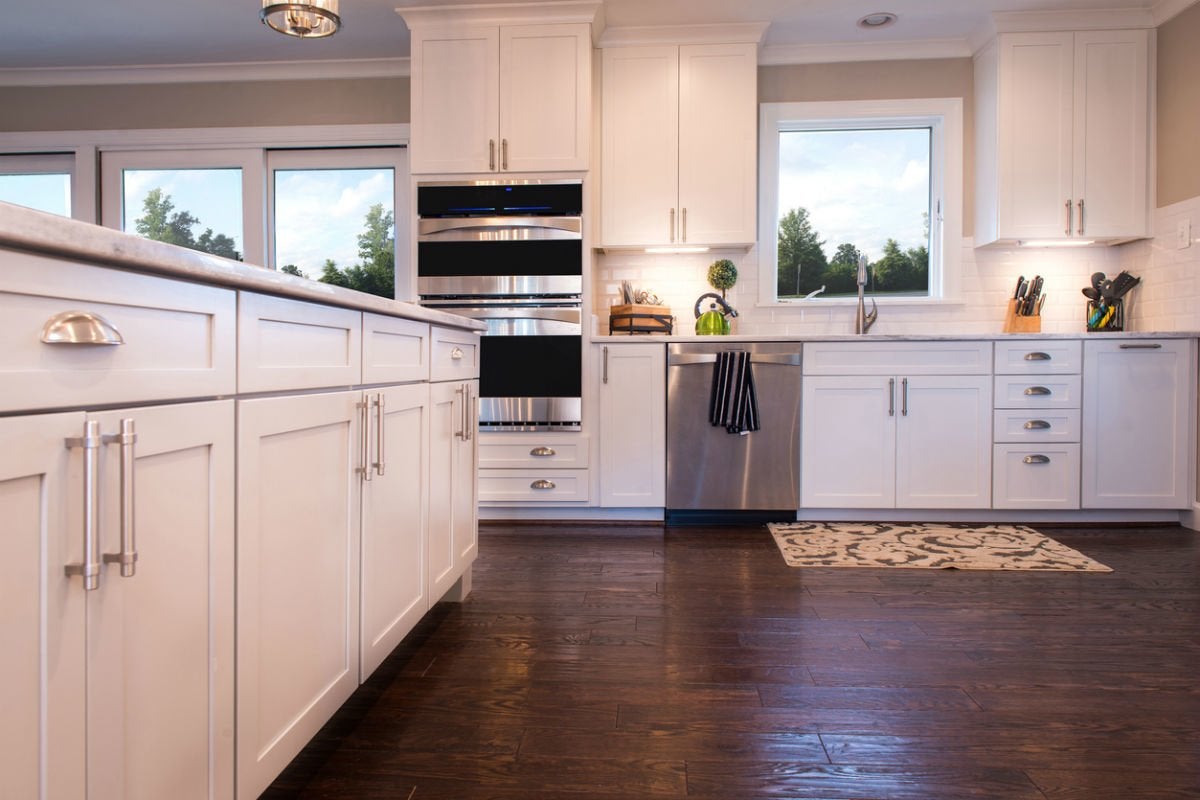
You may want to install solid wood flooring, though the budget of yours just allows engineered wood flooring which can last just as long as a good wood species can easily. When you're really worried about sunlight's impact on the floors of yours, obtain a hardwood that was colored by way of a darker stain or perhaps purchase a species like Northern Red colored Oak which is a less photosensitive species.
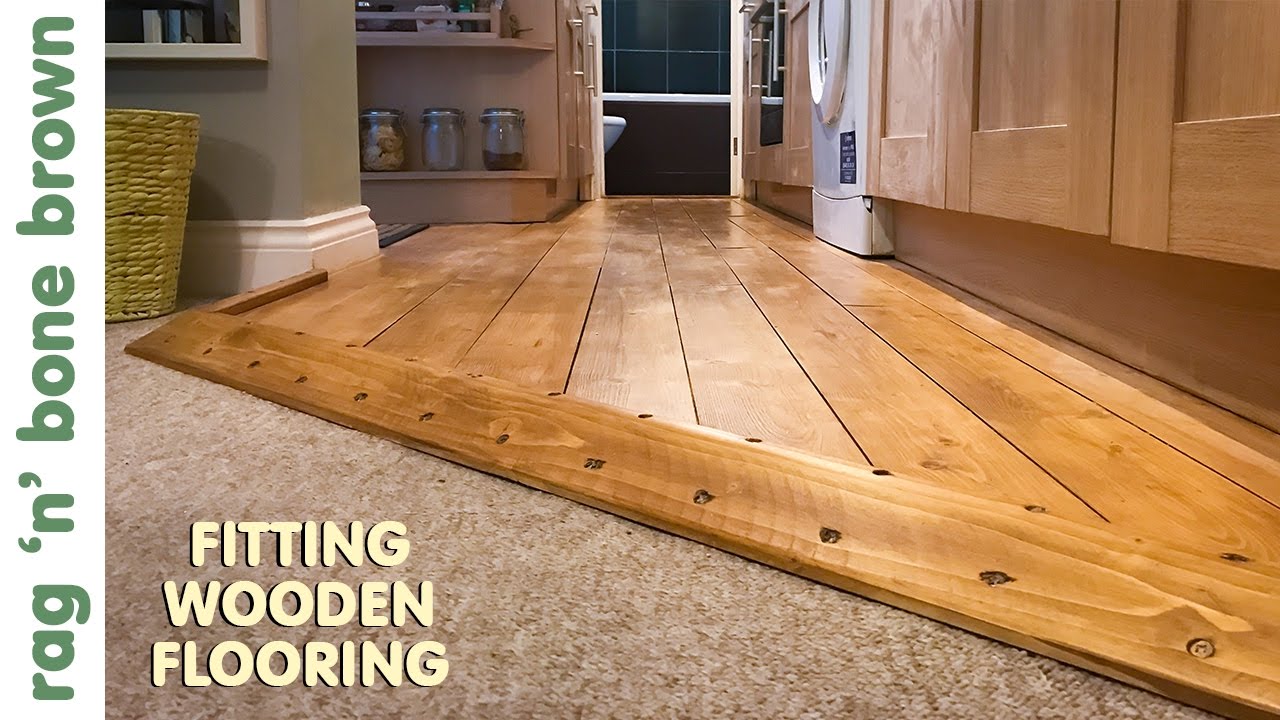
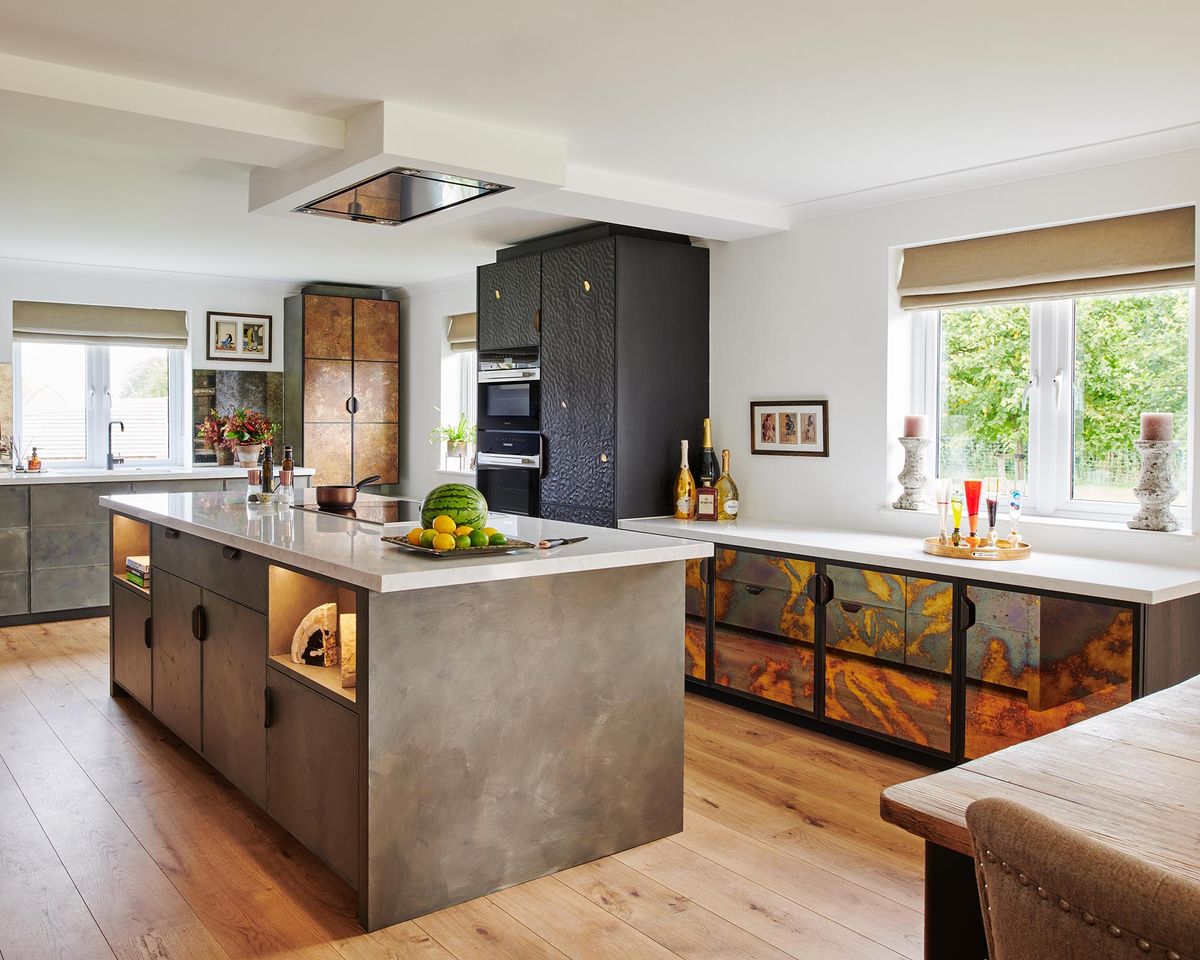
Laying Wooden Flooring In A Kitchen
The solid wood is simply defined as such – an excellent piece of timber. Hardwoods are porous and may absorb a stain as a printer ink blotter if it is not cleaned up quickly, despite having a good finish on the wood you have to be careful not to let something like blueberries or wine just sit, they need being wiped up fairly quickly to prevent staining.
How to Install Hardwood Flooring in a Kitchen HGTV
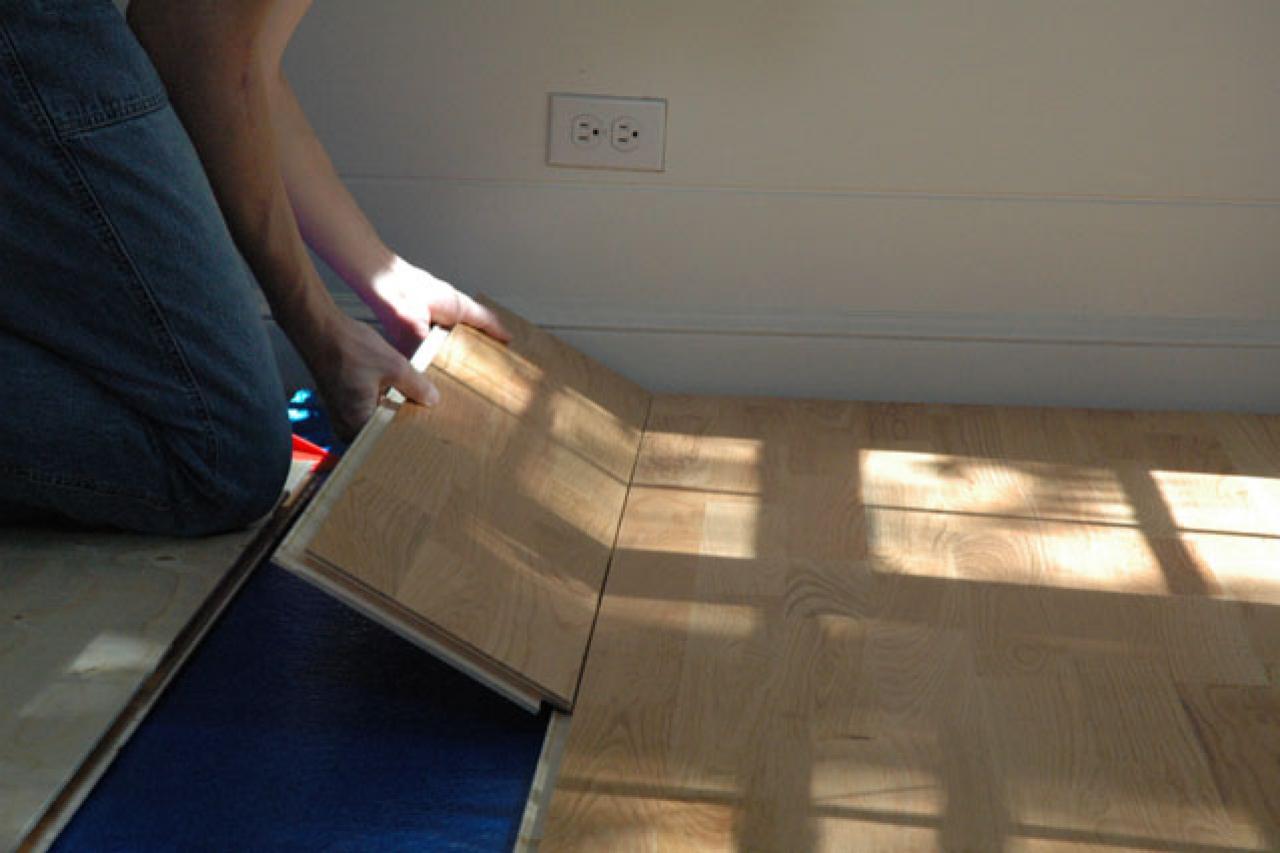
How to Install Hardwood Flooring in a Kitchen HGTV
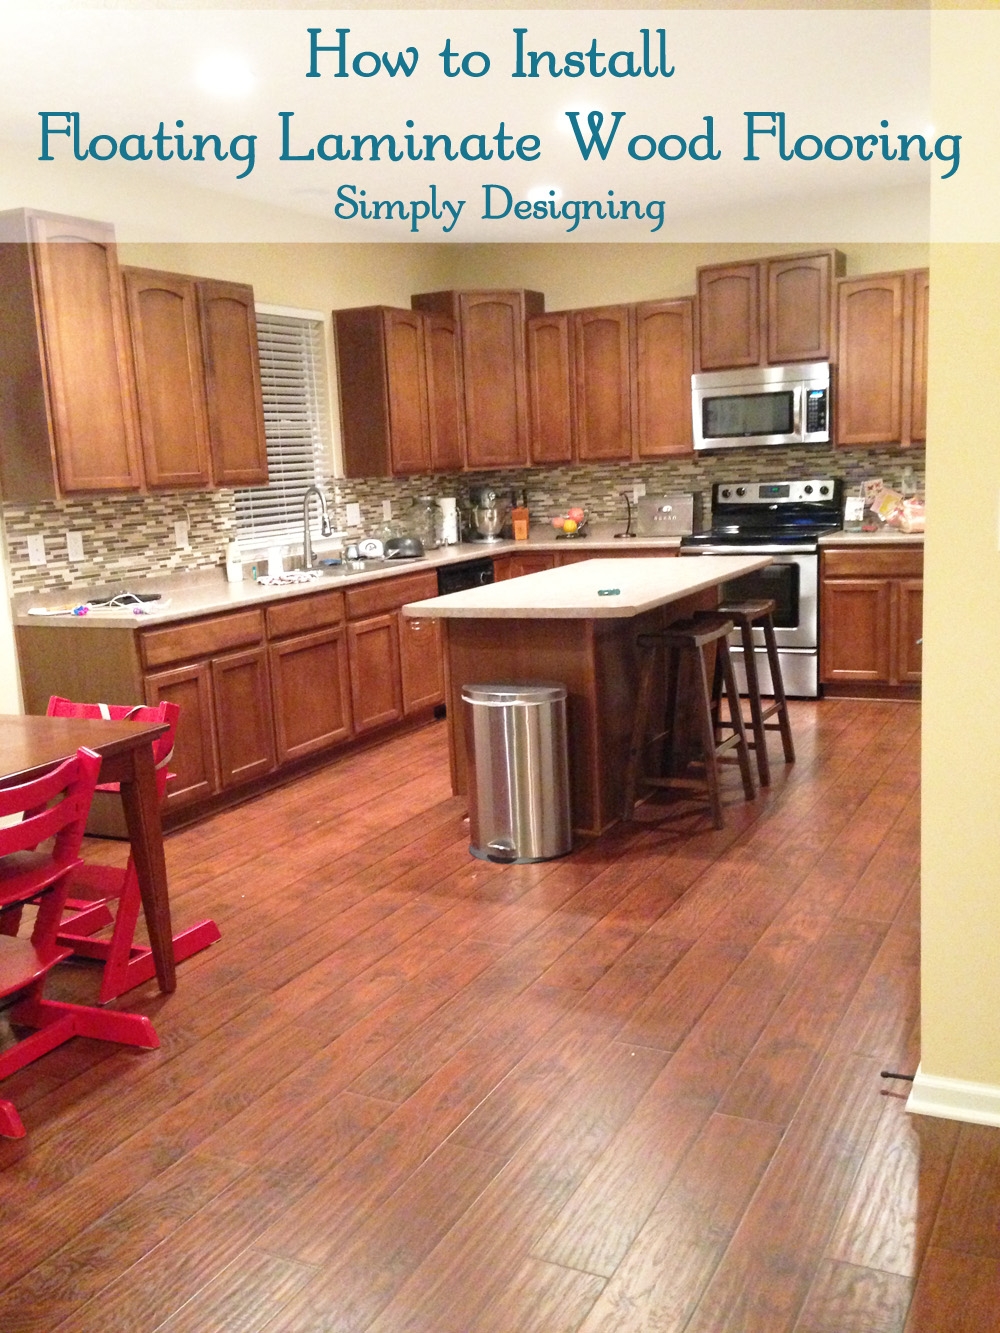
How To Install Floating Wood Laminate Flooring {Part 1}: The
Installing Kitchen Flooring or Cabinets First? – This Old House
/cdn.vox-cdn.com/uploads/chorus_image/image/66530483/32_cabinets_styles.0.jpg)
Installing Hardwood Flooring In A Kitchen

How to Install u0026 Lay New Flooring Flooring America
![]()
Can I put hardwood floors in my kitchen? Hardwood Your Home

Best Hardwood Kitchen Flooring Ideas u0026 Benefits of Installing Wood

Should You Install Hardwood In Your Kitchen? – Second Street Floors

Question: Do Hardwood Floors Go Under Kitchen Cabinets?? u2013 Kitchen

Wood kitchen flooring: Is wood flooring suitable for kitchens? The
7 Tips for Wood Flooring in a Kitchen – Bob Vila

Related articles:
- Oak Wood Flooring
- Birch Wood Flooring Reviews
- Wood Floor Damage Repair
- Dove Grey Wood Flooring
- Engineered Wood Floor Bathroom
- What Is Composite Wood Flooring
- Wood Floor Covering Options
- Black Solid Wood Flooring
- Best Wood Floor Filler
- Solid Wood Flooring On Stairs
How to Install Wood Flooring in Your Kitchen
The kitchen is often considered the heart of the home, and it’s no wonder why. It’s where we gather to cook, eat, and spend time with loved ones. With its high foot traffic and frequent spills, it’s crucial to choose a durable flooring option that can withstand the demands of a busy kitchen. Wood flooring is not only aesthetically pleasing but also offers durability and longevity. In this article, we will guide you through the step-by-step process of installing wood flooring in your kitchen, ensuring a beautiful and functional space for years to come.
1. Gather the Necessary Tools and Materials
Before diving into the installation process, it’s important to gather all the tools and materials you’ll need. Here’s a list of items you’ll need for installing wood flooring in your kitchen:
– Wood flooring planks: Choose a type of wood that is suitable for kitchens, such as oak or bamboo. Consider the level of durability and water resistance required for your specific needs.
– Underlayment: This layer provides additional support and helps with sound insulation.
– Moisture barrier: Protects the wood from moisture damage.
– Hammer or nail gun: Used for securing the planks to the subfloor.
– Tapping block: Helps to connect planks together without damaging them.
– Saw: Required for cutting planks to fit around corners and edges.
– Measuring tape: Essential for accurate measurements.
– Level: Ensures a level installation surface.
– Pry bar: Used for removing any existing flooring or baseboards if necessary.
2. Prepare the Subfloor
Before installing wood flooring, ensure that your subfloor is clean, level, and dry. Remove any existing flooring or baseboards using a pry bar if needed. Sweep or vacuum the area to remove any dust or debris. Check for any uneven areas on the subfloor using a level. If there are any high spots, sand them down, and if there are any low spots, fill them with a leveling compound. It’s crucial to have a smooth and level surface to ensure a proper installation.
FAQ: Can I install wood flooring directly on top of my existing vinyl flooring?
While it is possible to install wood flooring over vinyl, it’s not recommended. Vinyl flooring can create an uneven surface and may not provide adequate support for the wood planks. It’s best to remove the vinyl flooring and prepare the subfloor before installing wood flooring.
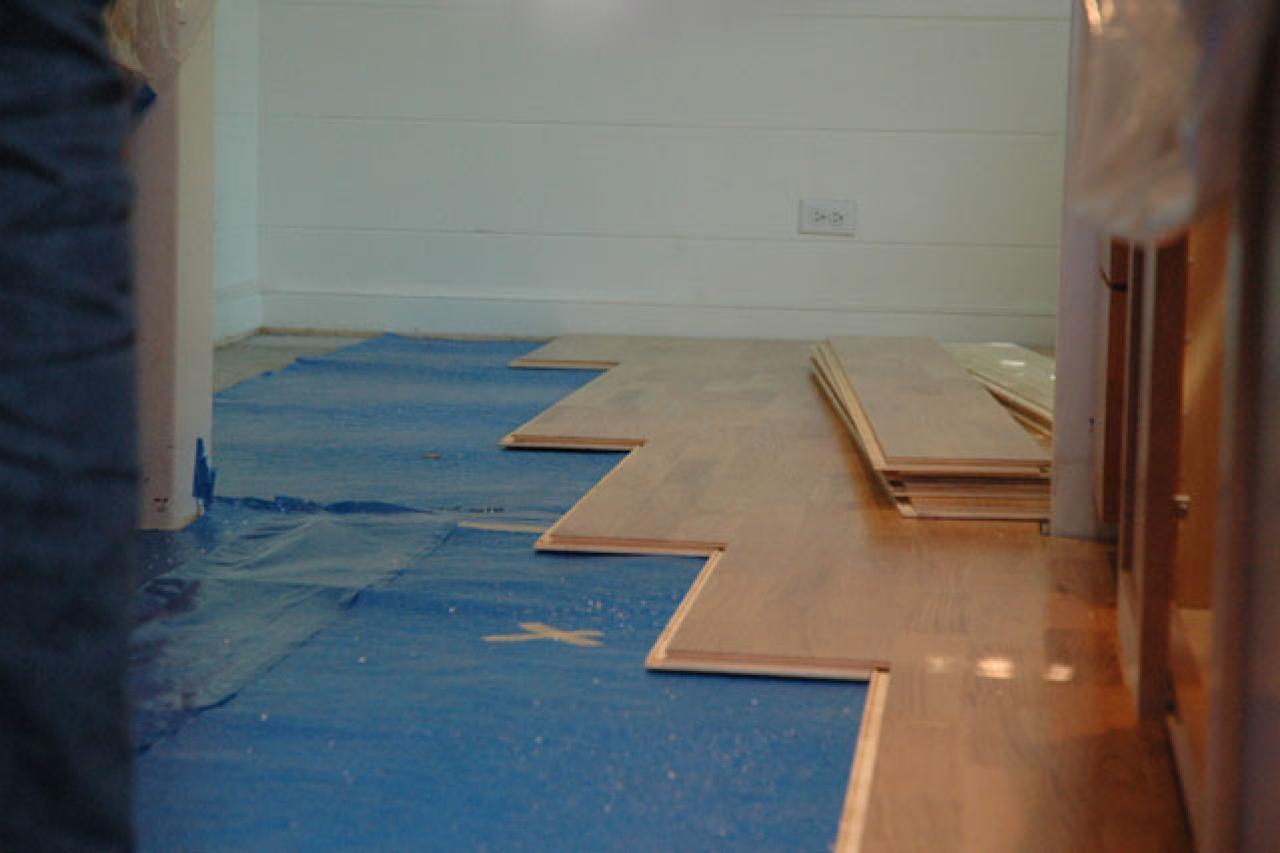
3. Install the Underlayment and Moisture Barrier
Once your subfloor is prepped, it’s time to install the underlayment. Roll out the underlayment material across the entire floor area, leaving no gaps between sheets. Secure the underlayment by stapling or taping it to the subfloor. This layer will serve as a cushioning barrier, reduce noise transmission, and help with moisture control.
Next, lay down the moisture barrier on top of the underlayment. This step is particularly important in kitchens as it adds an extra layer of protection against moisture that can seep through the floor. Follow the manufacturer’s instructions for installing the moisture barrier correctly.
FAQ: Is underlayment necessary for wood flooring installation?
While underlayment is not always required for wood flooring installation, it is highly recommended. Underlayment provides additional support, helps with sound insulation, and can prolong the life of your wood flooring.
4. Acclimate the Wood Flooring Planks
Wood is a natural material That can expand or contract with changes in temperature and humidity. To prevent buckling or warping of the wood flooring, it’s important to acclimate the planks to the environment they will be installed in. Leave the wood flooring planks in the room where they will be installed for at least 48 hours prior to installation. This allows the planks to adjust to the temperature and humidity of the space, reducing the risk of future issues.
FAQ: How long should I acclimate wood flooring before installation?
The recommended acclimation time for wood flooring can vary depending on factors such as the type of wood and the climate conditions. However, a minimum of 48 hours is generally suggested. It’s best to consult with the manufacturer or supplier for specific guidelines on acclimation time for your particular wood flooring.
5. Start Installation
Begin by laying out a few rows of planks without attaching them to get an idea of how they will fit in the space. Start from one corner of the room and work your way across, staggering the joints between planks for a more natural look. Use a tapping block and hammer or nail gun to secure each plank to the subfloor, making sure they fit tightly together. Cut planks as needed using a saw to fit around corners and edges.
Continue installing planks row by row, ensuring that each one is securely attached and properly aligned. Use a level periodically to check that the floor remains level throughout the installation process.
FAQ: Can I install wood flooring myself, or should I hire a professional?
While it is possible to install wood flooring yourself, it can be a complex and time-consuming process. If you have experience with DIY projects and feel confident in your abilities, it may be a suitable option. However, if you are unsure or lack the necessary skills, hiring a professional installer is recommended to ensure a proper and successful installation.
6. Finishing Touches
Once all the planks are installed, you can add finishing touches to complete the look of your wood flooring. Install baseboards or trim around the edges of the room to cover any gaps and provide a clean finish. Fill any nail holes or gaps between planks with wood filler, then sand and refinish the floor as desired for added protection and aesthetics.
Regular maintenance such as sweeping, vacuuming, and occasional deep cleaning will help keep your wood flooring looking its best for years to come. Follow the manufacturer’s recommendations for cleaning products and methods specific to your wood flooring type.
Overall, installing wood flooring can be a rewarding project that adds beauty and value to your home. With careful preparation and attention to detail, you can achieve a professional-looking installation that will stand the test of time. The recommended acclimation time for wood flooring can vary depending on factors such as the type of wood and the climate conditions. However, a minimum of 48 hours is generally suggested. It’s best to consult with the manufacturer or supplier for specific guidelines on acclimation time for your particular wood flooring.
Begin by laying out a few rows of planks without attaching them to get an idea of how they will fit in the space. Start from one corner of the room and work your way across, staggering the joints between planks for a more natural look. Use a tapping block and hammer or nail gun to secure each plank to the subfloor, making sure they fit tightly together. Cut planks as needed using a saw to fit around corners and edges.
Continue installing planks row by row, ensuring that each one is securely attached and properly aligned. Use a level periodically to check that the floor remains level throughout the installation process.
While it is possible to install wood flooring yourself, it can be a complex and time-consuming process. If you have experience with DIY projects and feel confident in your abilities, it may be a suitable option. However, if you are unsure or lack the necessary skills, hiring a professional installer is recommended to ensure a proper and successful installation.
Once all the planks are installed, you can add finishing touches to complete the look of your wood flooring. Install baseboards or trim around the edges of the room to cover any gaps and provide a clean finish. Fill any nail holes or gaps between planks with wood filler, then sand and refinish the floor as desired for added protection and aesthetics.
Regular maintenance such as sweeping, vacuuming, and occasional deep cleaning will help keep your wood flooring looking its best for years to come. Follow the manufacturer’s recommendations for cleaning products and methods specific to your wood flooring type.
Overall, installing wood flooring can be a rewarding project that adds beauty and value to your home. With careful preparation and attention to detail, you can achieve a professional-looking installation that will stand the test of time.