In the opinion of mine, wood flooring is great, but laminate flooring has become one of the fastest-growing products in the flooring industry.
Wood flooring is a very abundantly renewable material we are able to utilize to build floors.
Settler’s cabins across the South, Victorian mansions up the eastern seaboard and hotels and palaces all over Europe had been constructed out of the after great old growth Heart Pine ecosystem.
These are the criteria which affect the functionality of real wood flooring.
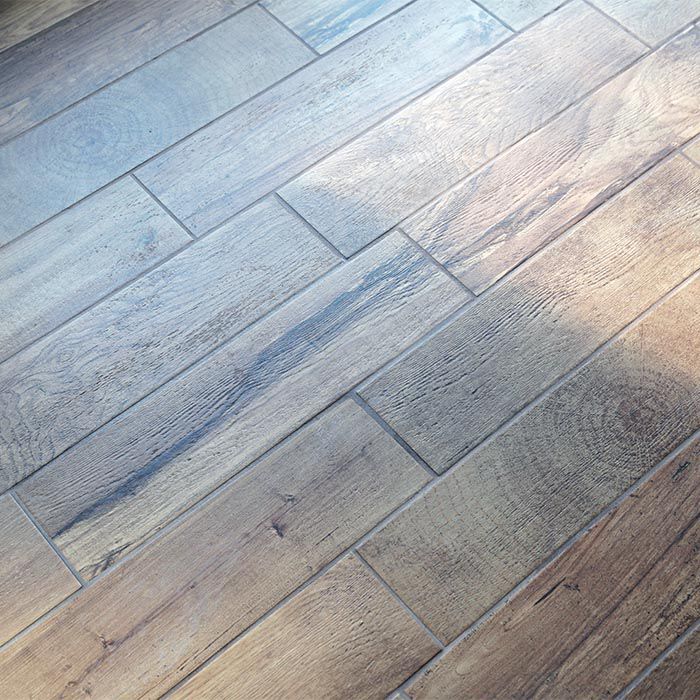
Images Related to How To Install Wood Floor Tiles
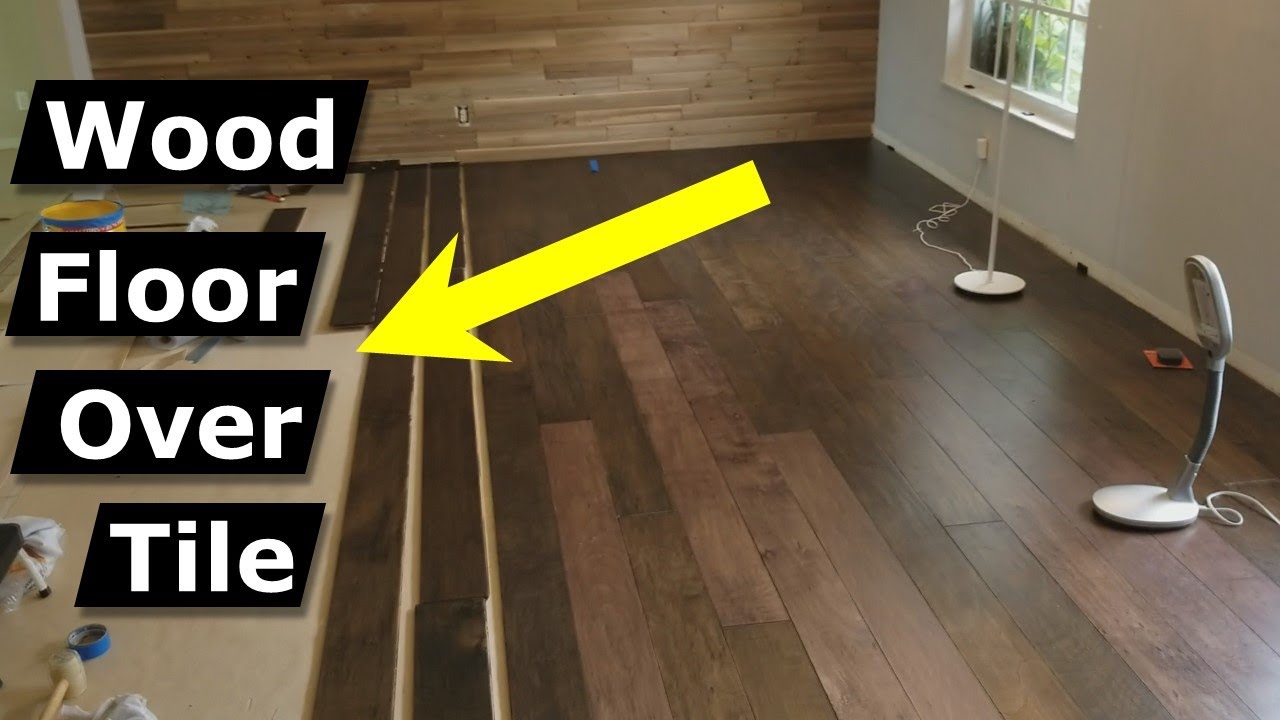
How To Install Wood Floor Tiles
Hardwood floors are easy enough to dust or sweep and so is mopping, though it calls for cleaning solutions made for hardwood floors.
You also do not need to deal with that micro bevel groove in between each board that will probably fill up with dust and crumbs.
Wood floors have the proper, warm and beautiful look that’s ideal for all forms of rooms.
That includes modifications in surface moisture, humidity, and subfloor moisture.
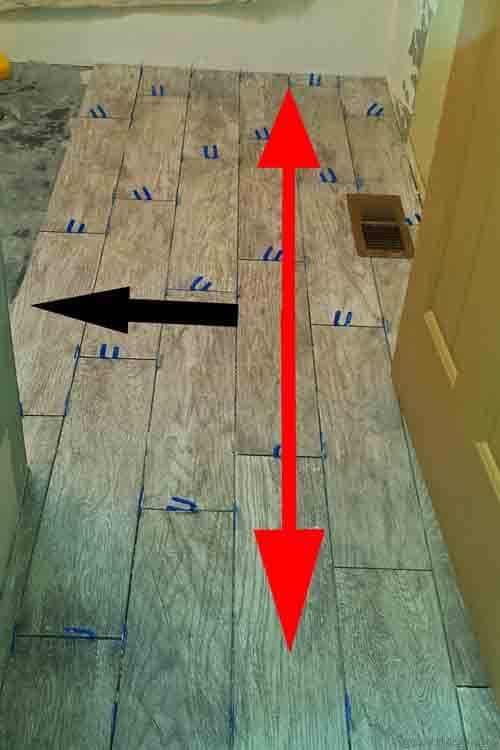
More tips for installing wood look tile flooring DIYTileGuy
Reclaimed woods are steeped inside history. With hardwood flooring not a lot has transformed since the 70s to improve it’s tolerance of normal living circumstances. With ease of maintenance and many shopping venues, having an engineered wood flooring has never been easier. Darker colors are also perfect for bedrooms and office rooms, but the wood must be stronger since these rooms contain heavy furniture that is apt to be moved frequently.
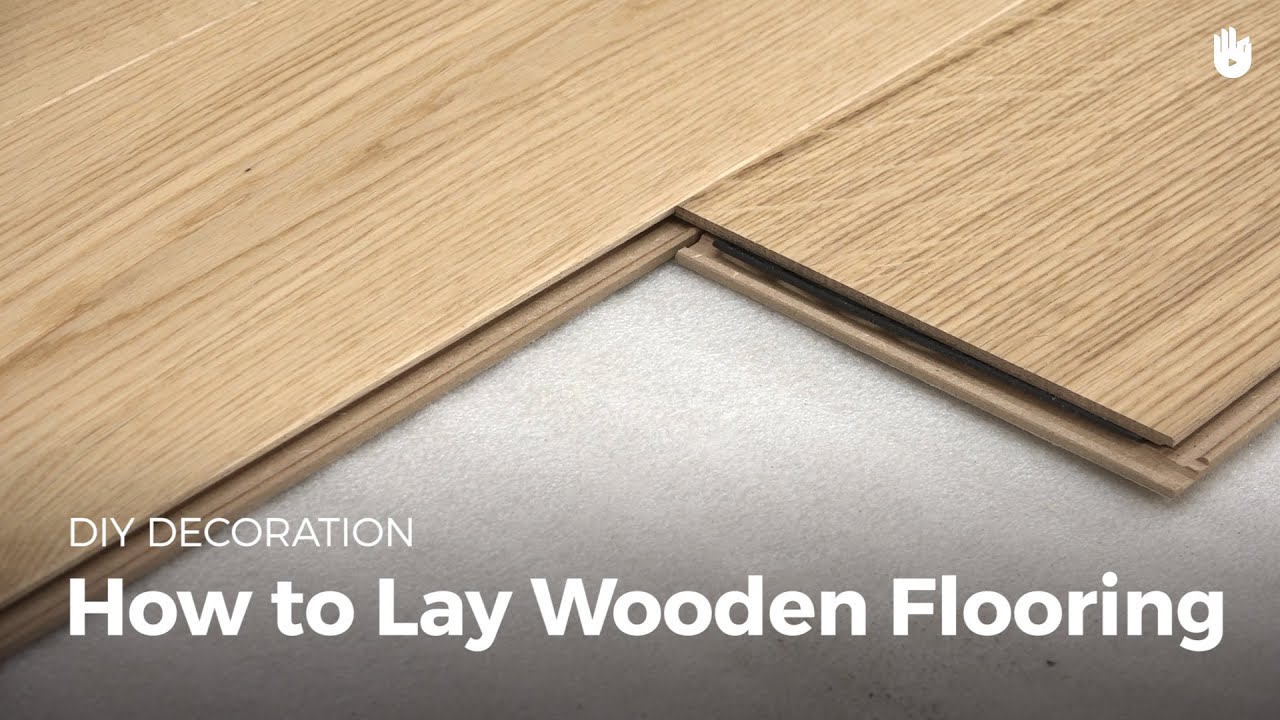
How to Lay Wood Flooring DIY Projects
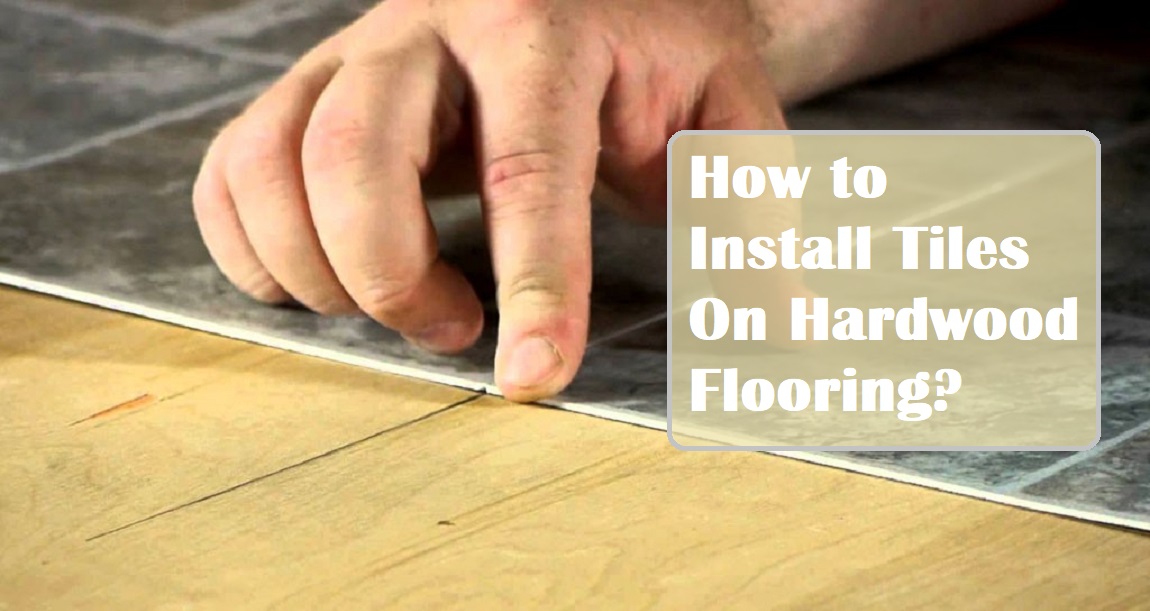
How To Install Tiles On Hardwood Flooring? Almahdi
How to Install Wood-Look Floor Tile
Wood-look Tile Flooring: How to Lay Tile That Looks like Wood
How to Install Wood-Look Floor Tile
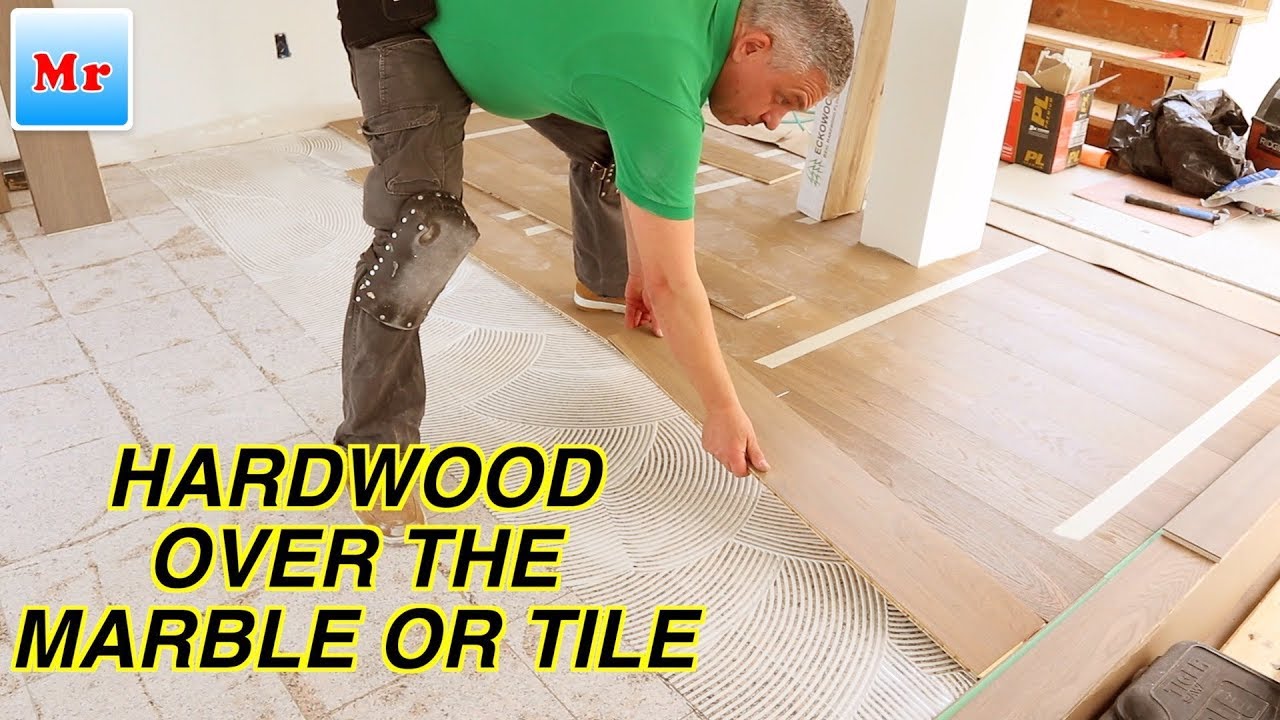
How to Install Hardwood Floor Over the Marble or Tile MrYoucandoityourself
How to Install Wood-Look Floor Tile

Wood-look Tile Flooring: How to Lay Tile professionally – Blog RUBI
How to Install a Mixed-Media Floor how-tos DIY
Installing Wood Look Tile + Tips from a Pro! BREPURPOSED
Tile Flooring: Demo + Installation Centsational Style Plank

More tips for installing wood look tile flooring DIYTileGuy
Related articles:
- Black Walnut Wood Flooring
- Wood Flooring Designs
- Wood Flooring Options For Kitchens
- Contemporary Wood Flooring Ideas
- Dark Wood Floor Bedroom Ideas
- Real Wood Flooring For Kitchens
- Natural Wood Floor Stain
- Oak Wood Flooring
- Birch Wood Flooring Reviews
- Wood Floor Damage Repair
Installing wood floor tiles is a great way to update the style of any room in your home. Whether you’re looking to add a touch of sophistication or just want to change up your existing decor, installing wood floor tiles is the perfect solution. With a few simple tools and some basic instructions, you can have your new flooring installed in no time.
Before You Begin
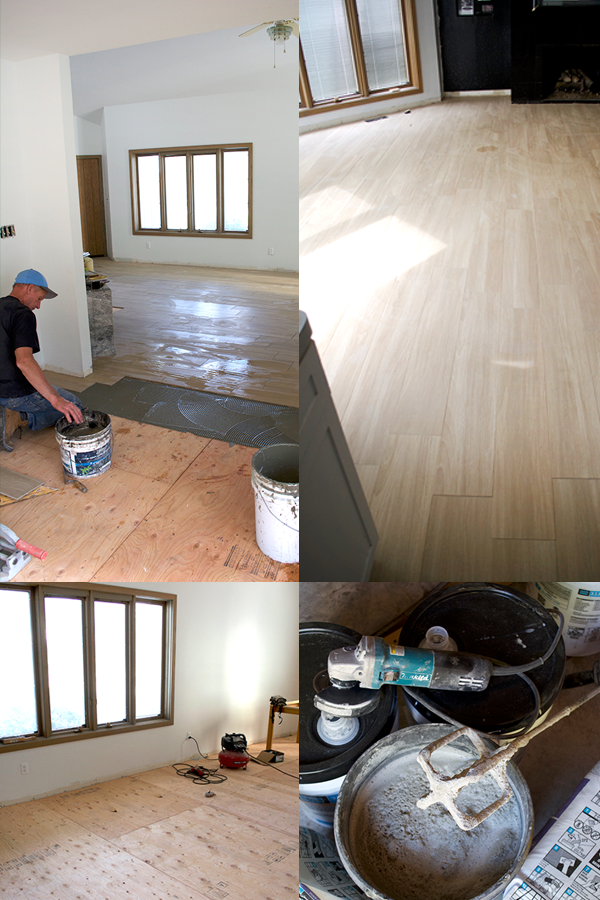
Before starting your project, it’s important to prepare the area where you’ll be installing your wood floor tiles. Make sure the area is clear of any furniture or other objects and that the surface is level and clean. It’s also important to make sure that the subfloor (the layer beneath the tiles) is free from moisture and dust. If it isn’t, you may need to use a sealant or primer before starting.
Tools You’ll Need
To install wood floor tiles, you’ll need several tools and supplies on hand. You’ll need a saw to cut the tiles, a razor blade to trim them, a trowel to spread adhesive, and a hammer and chisel to tap them into place. You’ll also need tile spacers, adhesive, grout, and sandpaper.
Step-By-Step Installation Instructions
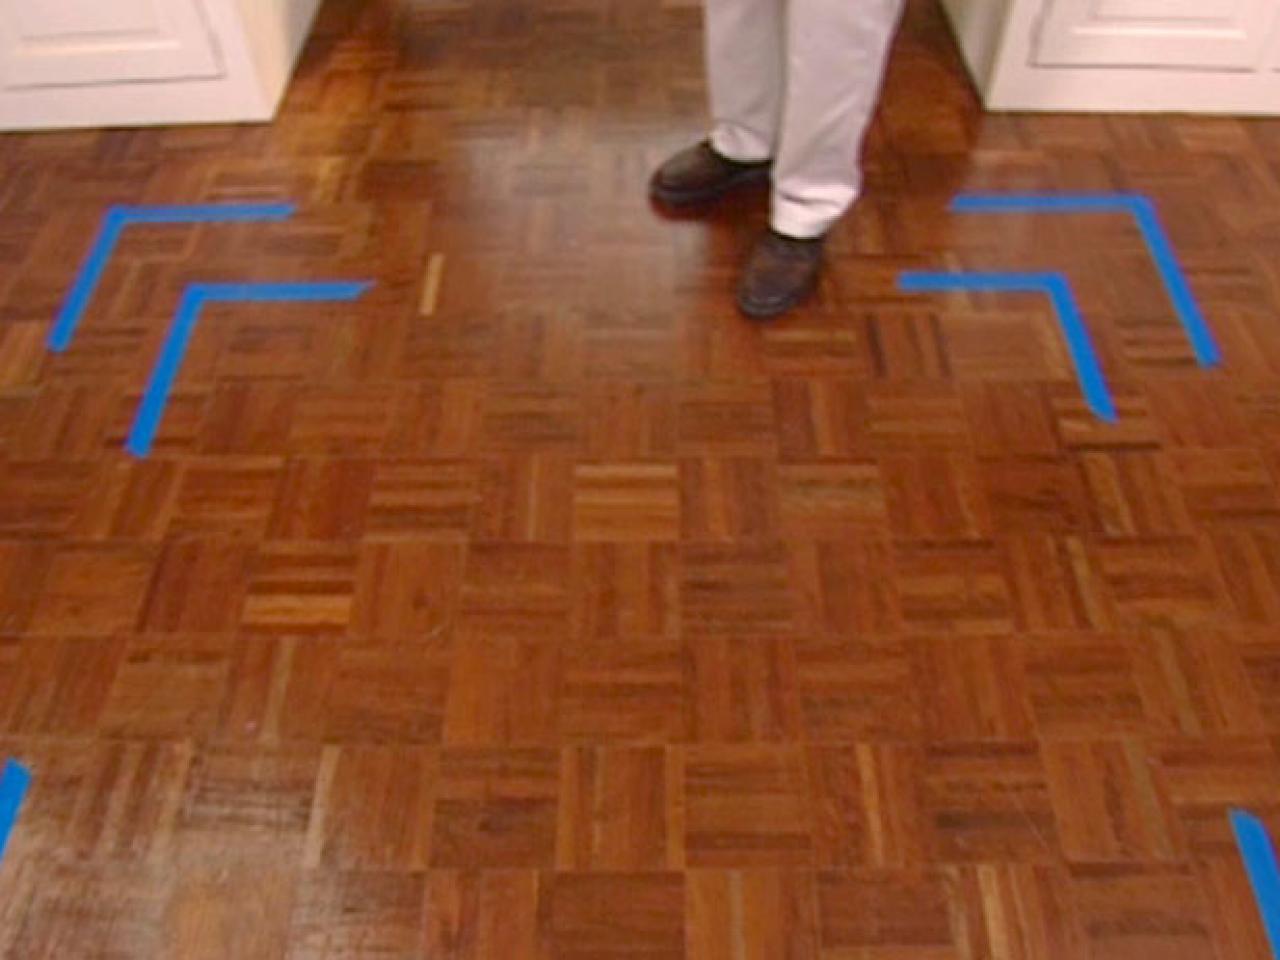
1. Begin by laying out the tiles in their desired position on the floor. Arrange them so that they are evenly spaced and that all corners are square. Once you’re satisfied with how they look, mark their positions with chalk or a pencil.
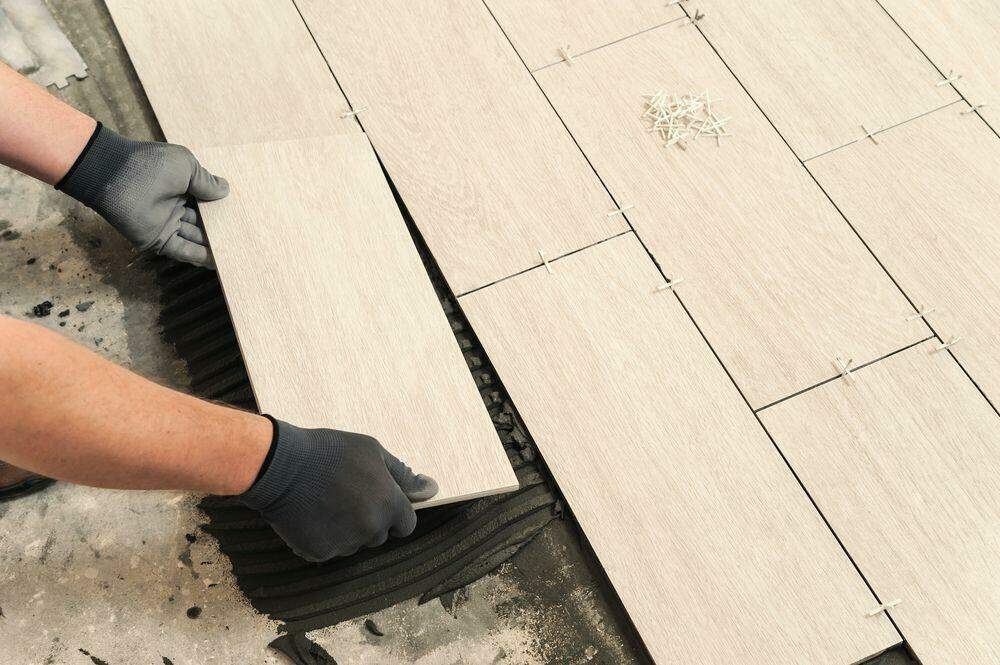
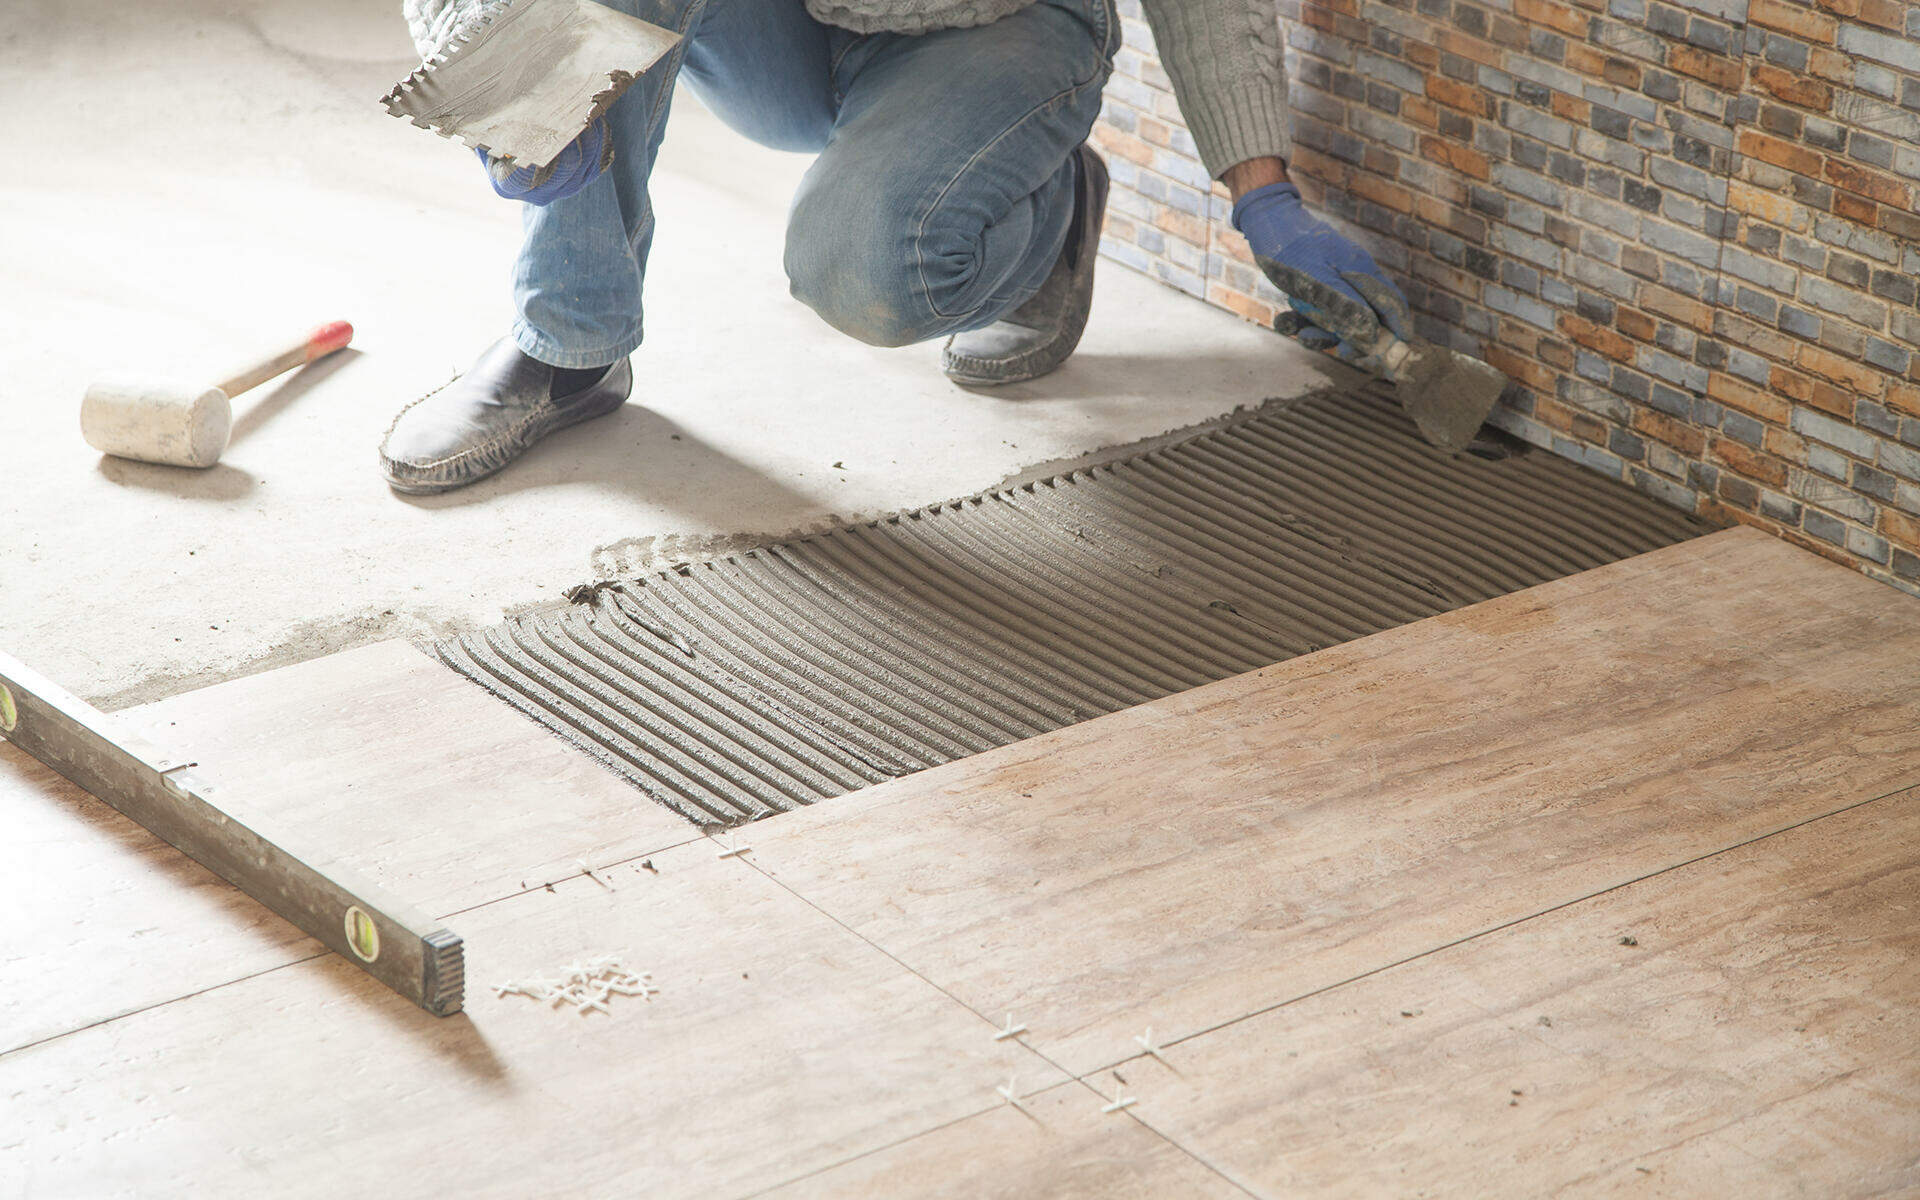
2. Spread adhesive onto the back of each tile using a trowel. Make sure to cover the entire surface of each tile so that it adheres properly when pressed onto the floor.
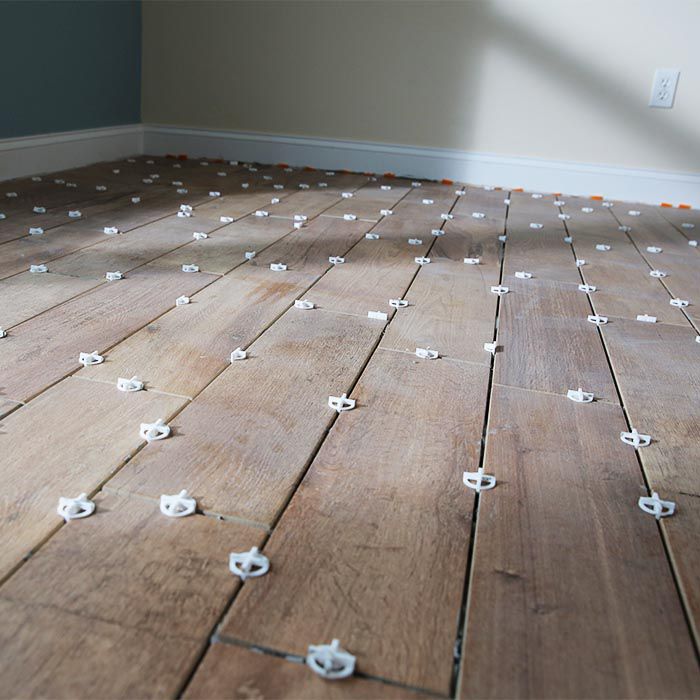
3. Starting at one corner of the room, press each tile firmly into place on the floor. Make sure to leave an even space between each tile for grout (about 1/8 of an inch). To ensure that each tile is level with its neighbors, use tile spacers between them as you go along.
4. Once all of the tiles are in place, use a hammer and chisel to tap them down securely.
5. Use sandpaper to smooth out any rough edges of the tiles and remove any excess adhesive from their surfaces.
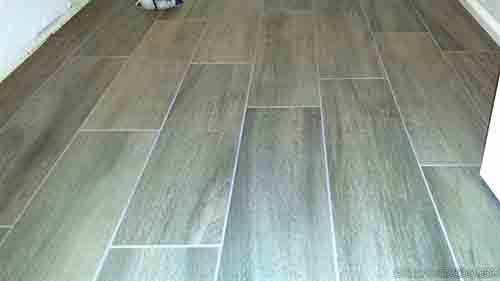
6. Apply grout between each of the tiles and use a damp cloth to wipe away any excess grout from their surfaces. Allow the grout to dry completely before walking on it or applying sealant (if desired).
7. Enjoy your new wood floor tiles!
Frequently Asked Questions
Q: What type of adhesive should I use for my wood floor tiles?
A: It’s important to use an adhesive that is specifically designed for use with wood floor tiles in order to ensure a secure bond between them and the subfloor underneath them.
Q: How long should I wait before walking on my new wood floor tiles?
A: It’s best to wait at least 24 hours after installation before walking on your newly installed wood floor tiles in order to ensure that they are securely bonded to the subfloor beneath them.
Q: What type of sealant should I use for my wood floor tiles?
A: It’s best to use a sealant that is specifically designed for use with wood floors in order to protect them from moisture and dirt buildup over time.