Vinyl floors installation might sound easy to do but if you are not as much as the expected errors, simply call a team of professionals and they would be ready to assist you. FHA demands are a minimum of ten mils though the best flooring types offer up to thirty mils for optimal protection. Sweep off the dirt from the floor of yours on a daily basis to stop it from harming your vinyl floor.
Images Related to How To Install Vinyl Floor Tiles On Wood
How To Install Vinyl Floor Tiles On Wood
:max_bytes(150000):strip_icc()/easy-install-plank-vinyl-flooring-1822808-06-3bb4422ca1bd49b080bfa73bce749acc.jpg)
If you would want reducing the chances of yours of causing heavy dents or harm to the floor triggered by furniture, then we would advise using padding under the legs of all the furniture within the room where the vinyl is now being laid. It is essential to ask the sales person about the thickness of the use level in case you are searching for the top overall performance.
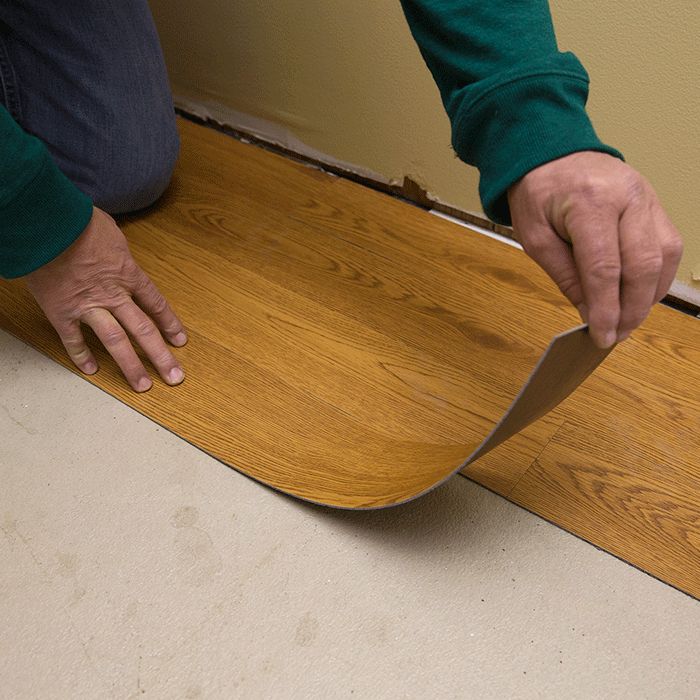
10 Beginner Mistakes Installing Vinyl Plank Flooring

Luxury vinyl is turning out to be a popular method for people. Compared with other flooring types, vinyl leads the pack with regards to savings. You might possibly in addition choose to go natural with luxury vinyl flooring that has the lushness and freshness of expensive natural stone. It's for sale in 12-inch or 18-inch squares with peel-and-stick adhesive to firmly connect it to the floor. It absorbs sound.
How to Install Vinyl Plank Flooring
/easy-install-plank-vinyl-flooring-1822808-10-6cfb7acfac434155a53e0ef80bfbc825.jpg)
How to Install Vinyl Plank Flooring Loweu0027s
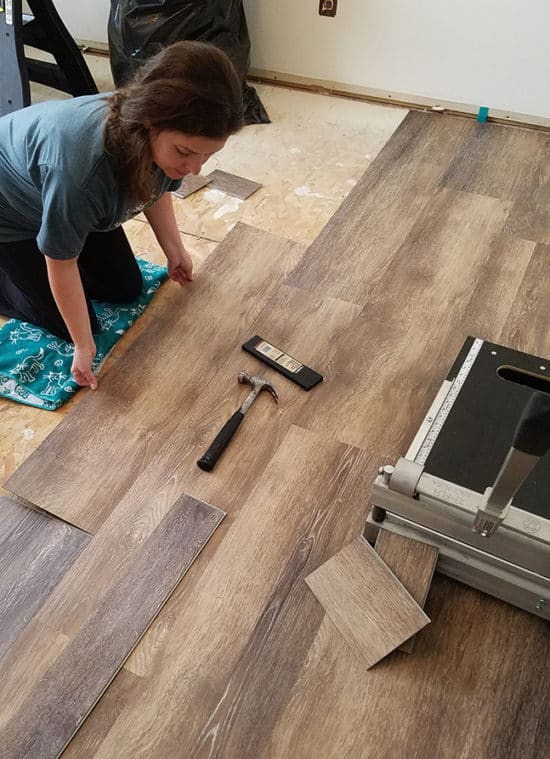
Installing Vinyl Floors – A Do It Yourself Guide – The Honeycomb Home
How to Install Vinyl Plank Flooring
How to Install Vinyl Plank Flooring Loweu0027s

How to Install Vinyl Plank Flooring as a Beginner Home

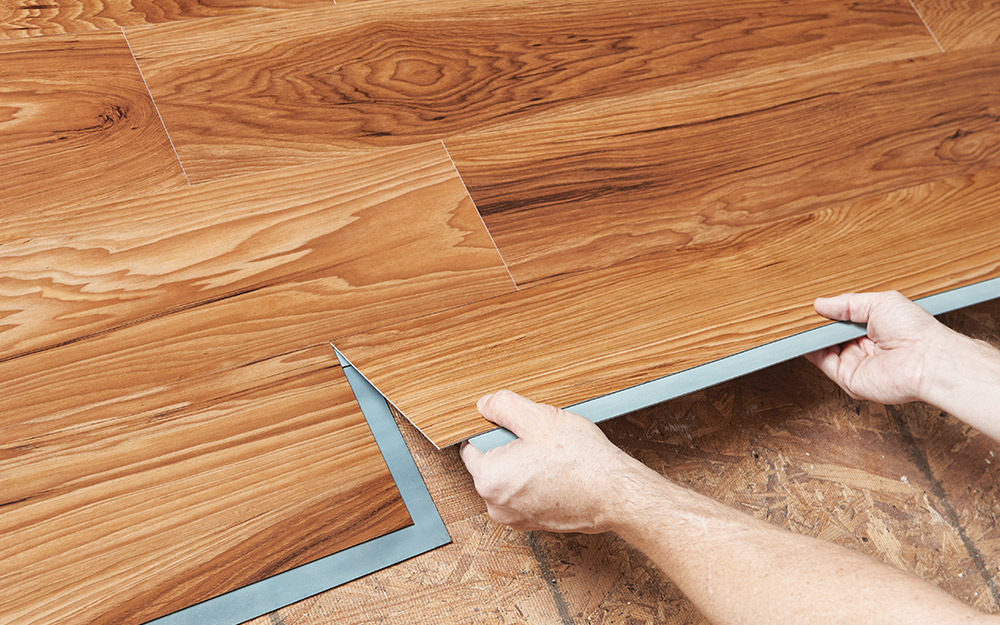
The Ultimate Guide: How to Install Vinyl Tiles over a Wood Floor

How to Lay a Vinyl Tile Floor – This Old House
/cdn.vox-cdn.com/uploads/chorus_image/image/65891755/howto_vinylfloor_05.0.jpg)
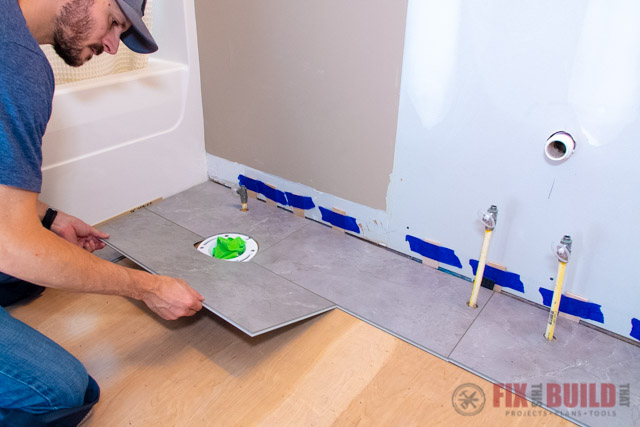
How to Install Vinyl Plank Flooring in a Bathroom FixThisBuildThat
How to Install Vinyl Plank Flooring
How to Install Vinyl Plank Flooring
/easy-install-plank-vinyl-flooring-1822808-hero-cefa2d84f781434b9e1e73a0c44e3a5c.jpg)
How To Install Luxury Vinyl Plank Flooring – Bower Power
Related articles:
- Vinyl Flooring Bathroom Tile
- Modern Vinyl Flooring
- Funky Vinyl Flooring
- Vinyl Flooring For Kitchen
- Vintage Look Vinyl Flooring
- Kitchen Vinyl Floor Tiles Ideas
- Vinyl Flooring With Wood Look
- Waterproof Vinyl Flooring
- Vinyl Flooring For Cheap
- How To Remove Vinyl Flooring
How To Install Vinyl Floor Tiles On Wood
Vinyl floor tiles are a popular choice for homeowners due to their durability, affordability, and wide range of styles and colors available. Whether you are looking to update your kitchen, bathroom, or any other room in your home, installing vinyl floor tiles on wood is a relatively straightforward process that can be accomplished with just a few tools and materials. In this article, we will guide you through each step of the installation process, providing detailed instructions and tips along the way.
1. Gather the necessary tools and materials
Before you begin installing vinyl floor tiles on wood, it is essential to gather all the tools and materials you will need for the project. Here is a list of items you should have on hand:
– Vinyl floor tiles: Measure the area where you plan to install the tiles to determine how many you will need. It is always a good idea to purchase some extra tiles to account for any mistakes or future repairs.
– Adhesive: Choose a high-quality adhesive specifically designed for vinyl flooring. Make sure it is suitable for use on wood surfaces.
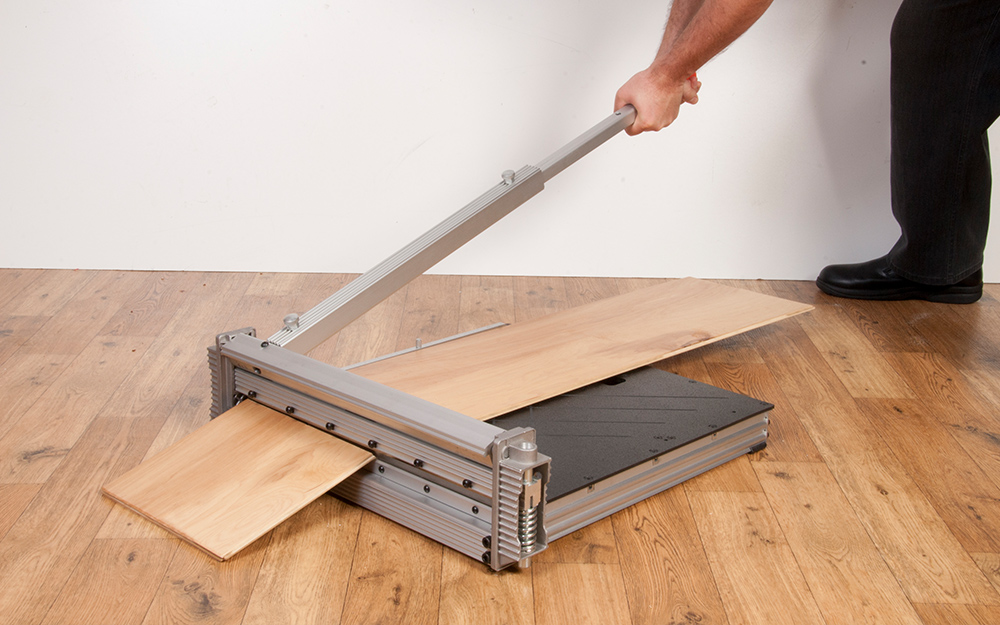
– Notched trowel: Use this tool to spread the adhesive evenly across the wood surface.
– Utility knife: A sharp utility knife will come in handy when cutting the tiles to fit around obstacles or edges.
– Straight edge: This tool will help you achieve clean, straight cuts.
– Tape measure: Accurate measurements are crucial when planning and installing vinyl floor tiles.
– Chalk line: Use a chalk line to mark guidelines on the wood surface, ensuring that your tiles are aligned correctly.
– Rubber mallet: A rubber mallet will help you secure the tiles firmly in place without causing damage during installation.
– Level: Check that your wood subfloor is even and level before beginning installation.
– Safety equipment: Don’t forget to wear safety goggles and gloves to protect yourself during the installation process.
2. Prepare the wood subfloor
Before installing vinyl floor tiles, it is crucial to prepare the wood subfloor properly. Start by removing any existing flooring, such as carpet or old vinyl tiles. Ensure that the subfloor is clean, dry, and free from any debris or loose particles. If necessary, repair any damaged areas of the wood subfloor and sand down any high spots to create a smooth surface.
3. Apply adhesive to the wood subfloor
Now that your wood subfloor is prepared, it’s time to apply adhesive. Follow the manufacturer’s instructions for mixing and applying the adhesive. Using a notched trowel, spread a thin layer of adhesive evenly across a small section of the wood subfloor, starting at one corner of the room. Work in manageable sections to prevent the adhesive from drying out before you can lay the tiles.
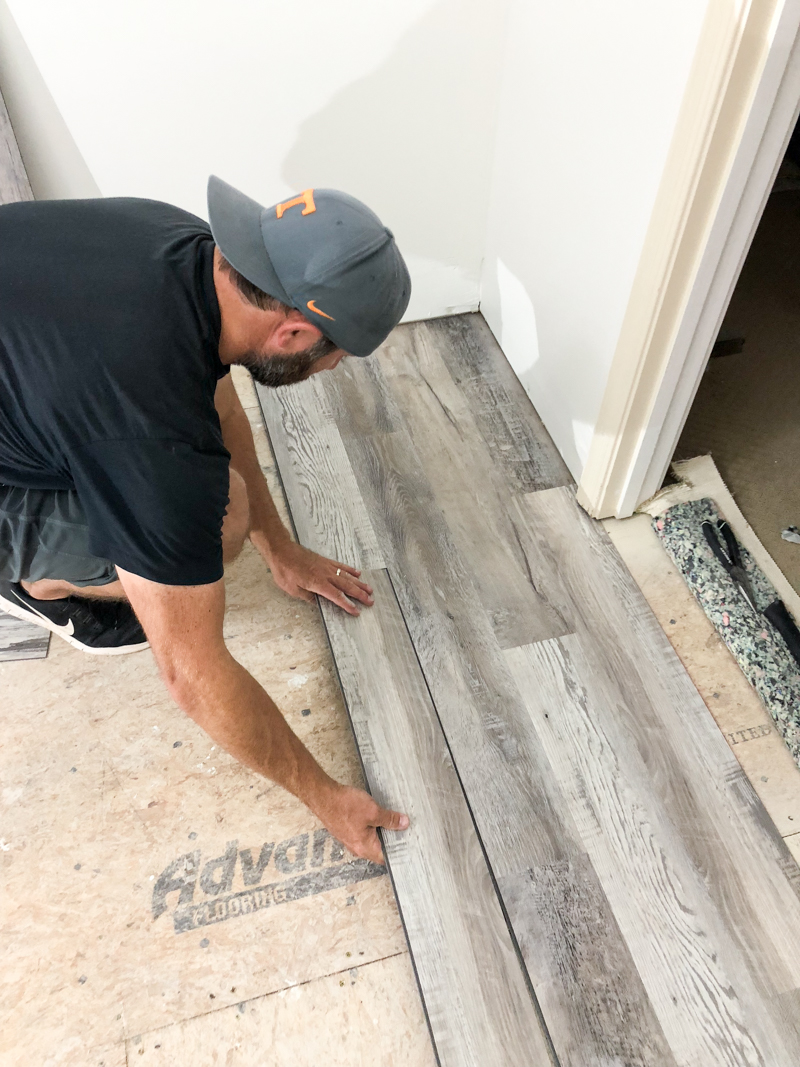
4. Lay the vinyl floor tiles
Once you have applied adhesive to a section of the wood subfloor, it’s time to start laying the vinyl floor tiles. Begin by placing your first tile in one corner of the room, aligning it with your guidelines or chalk lines. Press firmly on the tile, ensuring good contact with the adhesive beneath.
Continue laying tiles along your guidelines, working your way outward from the starting point. Use a rubber mallet to gently tap each tile into place, ensuring they are level and securely adhered to the wood surface. As you progress, periodically check that each tile is aligned correctly and use a level if necessary.
5. Cut tiles to fit around obstacles
As you reach edges And obstacles, you will need to cut the vinyl floor tiles to fit. Measure and mark the tile accordingly, then use a straight edge and utility knife to make the cut. Take your time and ensure that the cut is accurate to achieve a seamless look.
6. Continue laying and cutting tiles
Continue laying and cutting tiles until you have covered the entire wood subfloor. Make sure to leave a small gap around the edges of the room to allow for expansion of the vinyl flooring. Use a straight edge or ruler to maintain consistent spacing between tiles.
7. Allow adhesive to dry
Once all the vinyl floor tiles are in place, allow the adhesive to dry according to the manufacturer’s instructions. This can take anywhere from a few hours to a full day, depending on the type of adhesive used.
8. Clean up and enjoy
After the adhesive has dried, clean up any excess adhesive or debris from the installation process. Sweep or vacuum the floor to remove any loose particles. Then, enjoy your new vinyl floor! To maintain your vinyl floor, regularly sweep or vacuum to remove dirt and debris. You can also use a damp mop with a mild cleaner specifically designed for vinyl flooring to keep it clean. Avoid using harsh chemicals or abrasive cleaners that can damage the surface of the vinyl. Additionally, place furniture pads or felt under the legs of heavy furniture to prevent scratches or indentations on the floor. If you need to move heavy furniture, use a dolly or lift it instead of dragging it across the floor. Taking these steps will help keep your vinyl floor looking great for years to come. 9. Optional: Apply a sealant or top coat (if desired)
If you want to add an extra layer of protection to your vinyl floor, you can apply a sealant or top coat. This can help prevent scratches, stains, and discoloration, as well as provide a glossy or matte finish depending on your preference. Follow the manufacturer’s instructions for applying the sealant or top coat, and allow it to fully dry before using the floor.
10. Optional: Install baseboards or trim
To complete the look of your vinyl floor installation, you can install baseboards or trim along the edges of the room. This can help hide any gaps between the flooring and the walls, as well as provide a finished and polished appearance. Measure and cut the baseboards or trim to fit, then secure them to the wall with nails or adhesive.
Remember to always follow the manufacturer’s instructions for both the vinyl flooring and any adhesives or sealants used. Proper installation and maintenance will ensure the longevity and durability of your vinyl floor.