With the best floor, the basement of yours could be the 1st space in your house you think of as opposed to one of the last. Upgrading this unsightly concrete not merely makes the room much more inviting for you and the family of yours, it could also boost the resale value of your home significantly. Although some floors are actually suitable for below grade installation, others are not.
Here are Images about How To Install Porcelain Tile On Concrete Basement Floor
How To Install Porcelain Tile On Concrete Basement Floor
:max_bytes(150000):strip_icc()/can-you-install-tile-directly-on-concrete-1822600-04-458f7bb6c78348c1835cf8054ef36553.jpg)
Like any other area in your contrast, compare, and home the options of yours when you are shopping for basement flooring. It is going to last long to a selection of years and maintains the neat look. A really popular option when working with business carpet tiles is using two or perhaps three colors to earn contemporary designs or checkerboard.
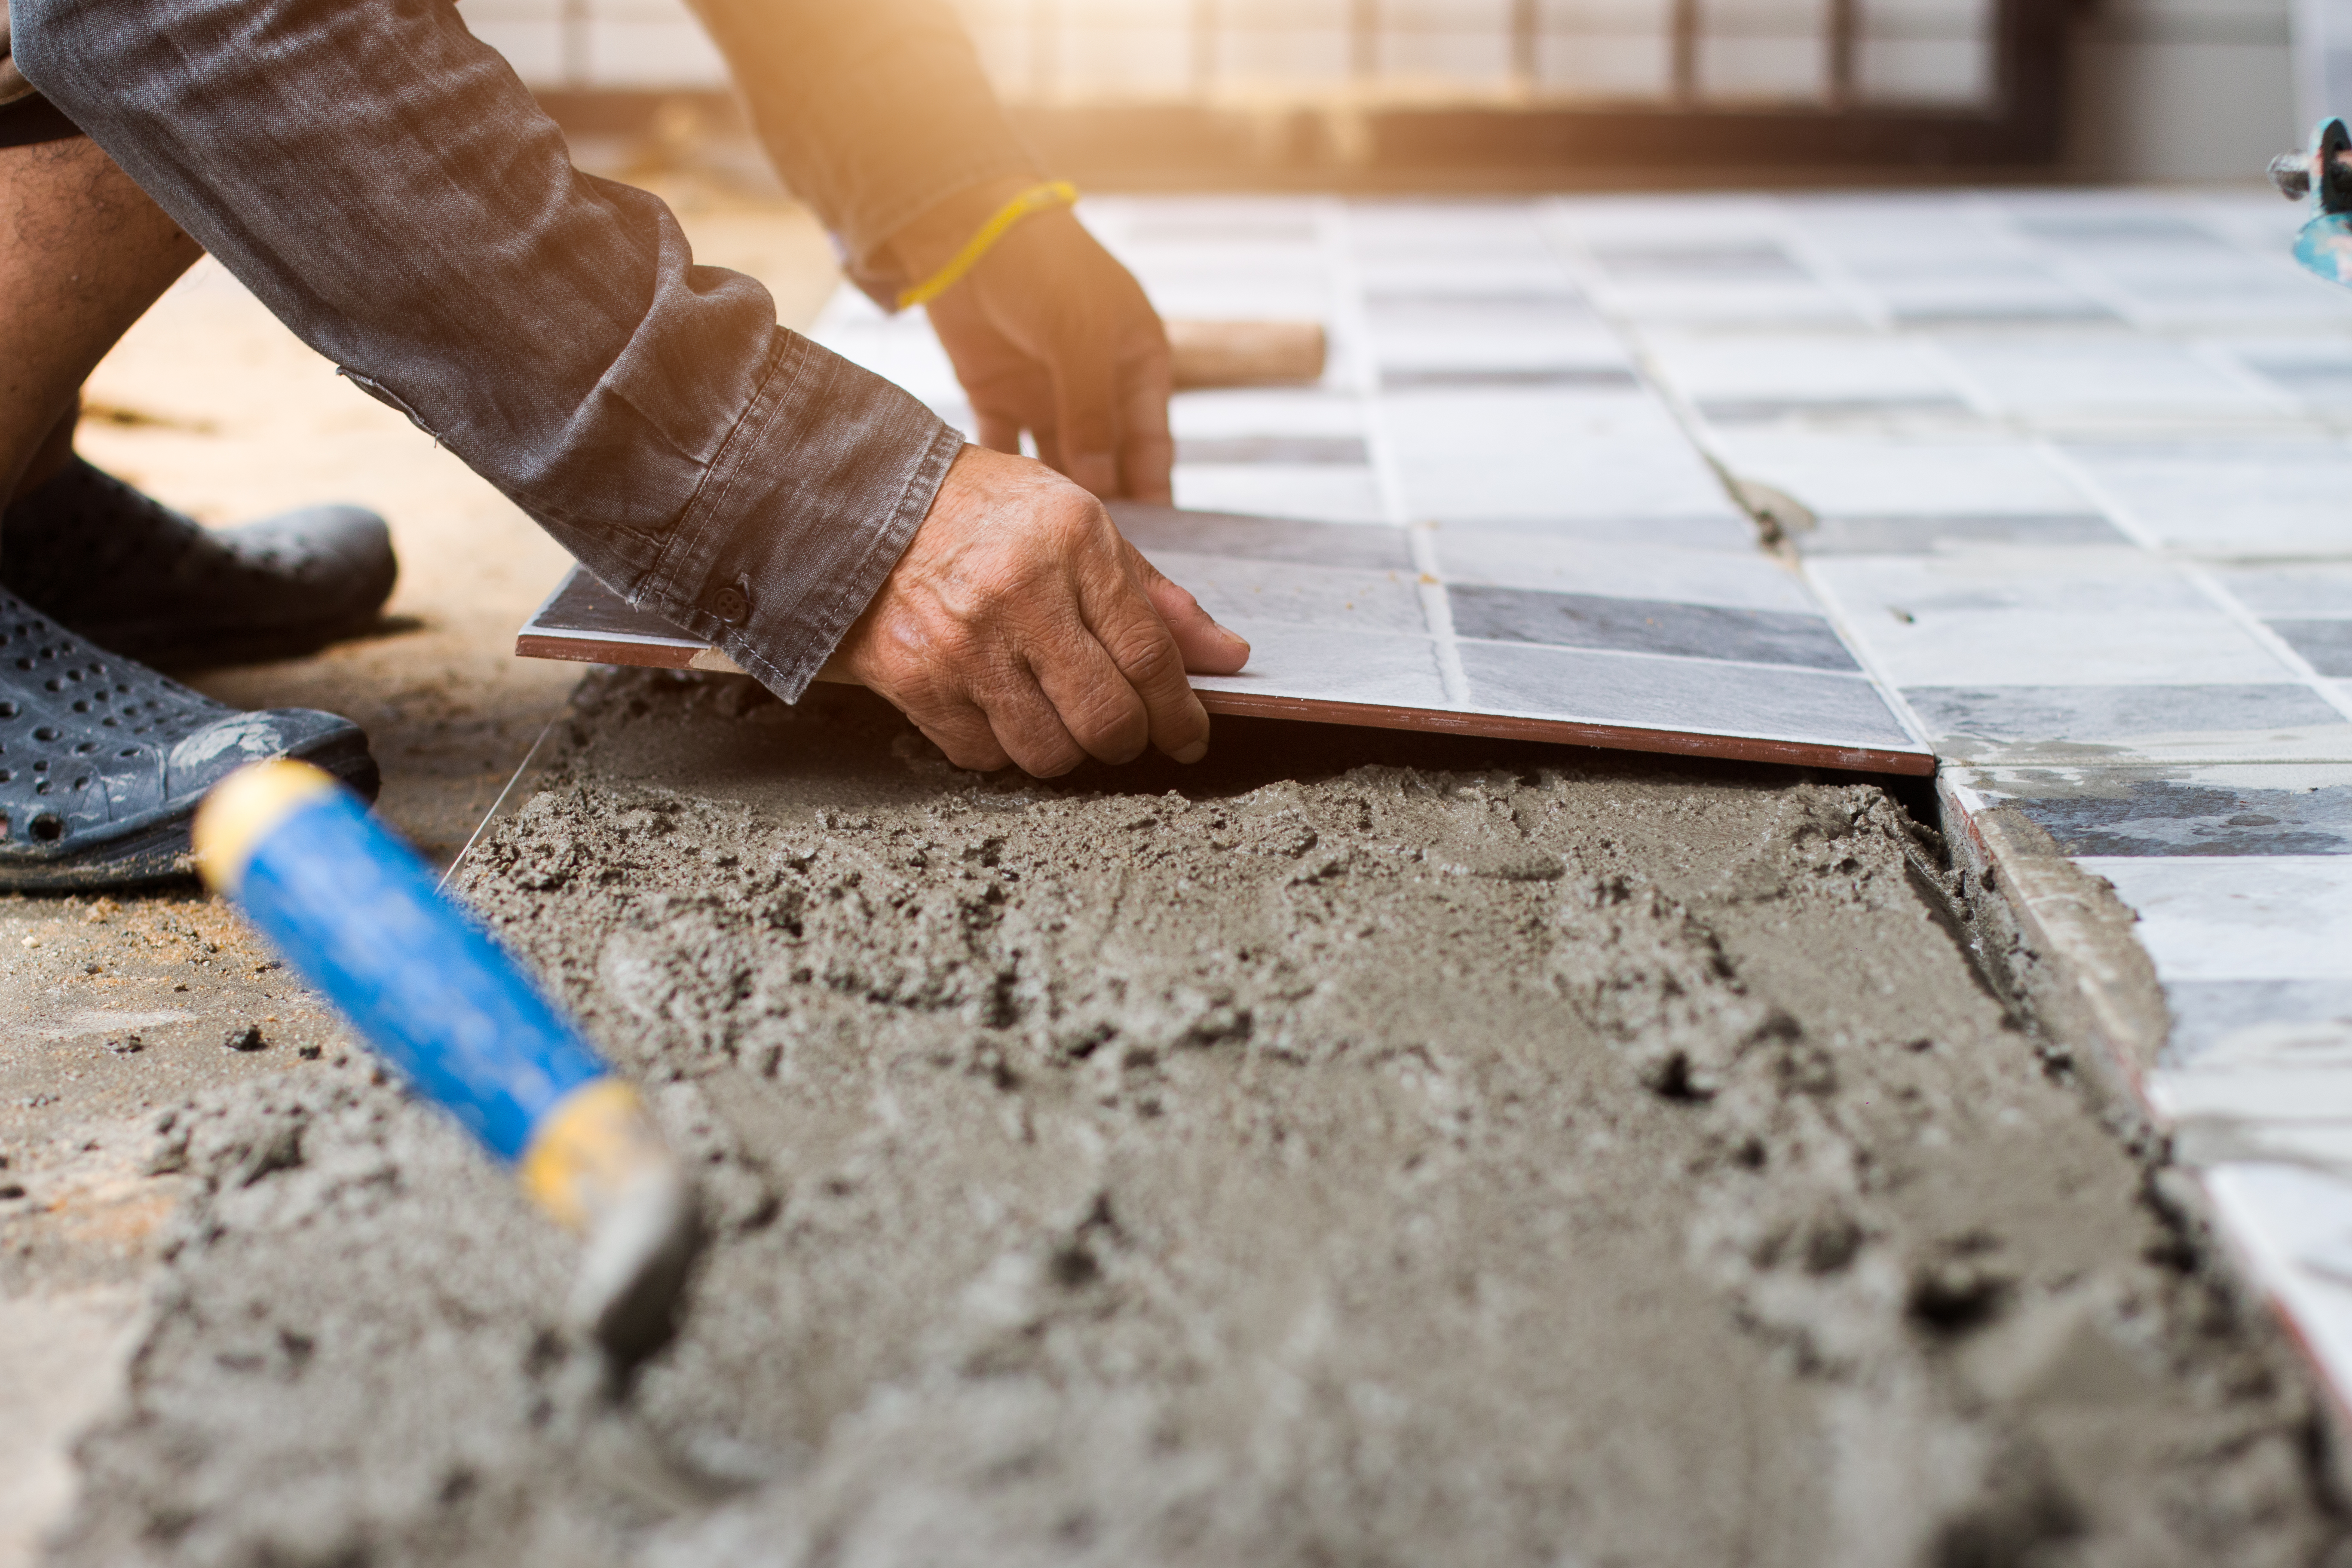
How to Prepare for Laying Tile Over a Concrete Floor
That remaining the case, you are going to want to ensure that you choose the proper basement flooring selection during your remodel. Although there are certain floor coverings of preference for upstairs rooms, you have to become a bit far more picky in choosing those you put into the lower level of yours. With a good product you will have a waterproofed basement floor that will last for a number of years.
Images Related to How To Install Porcelain Tile On Concrete Basement Floor
Tiling over a Cracked Concrete Slab – Fine Homebuilding

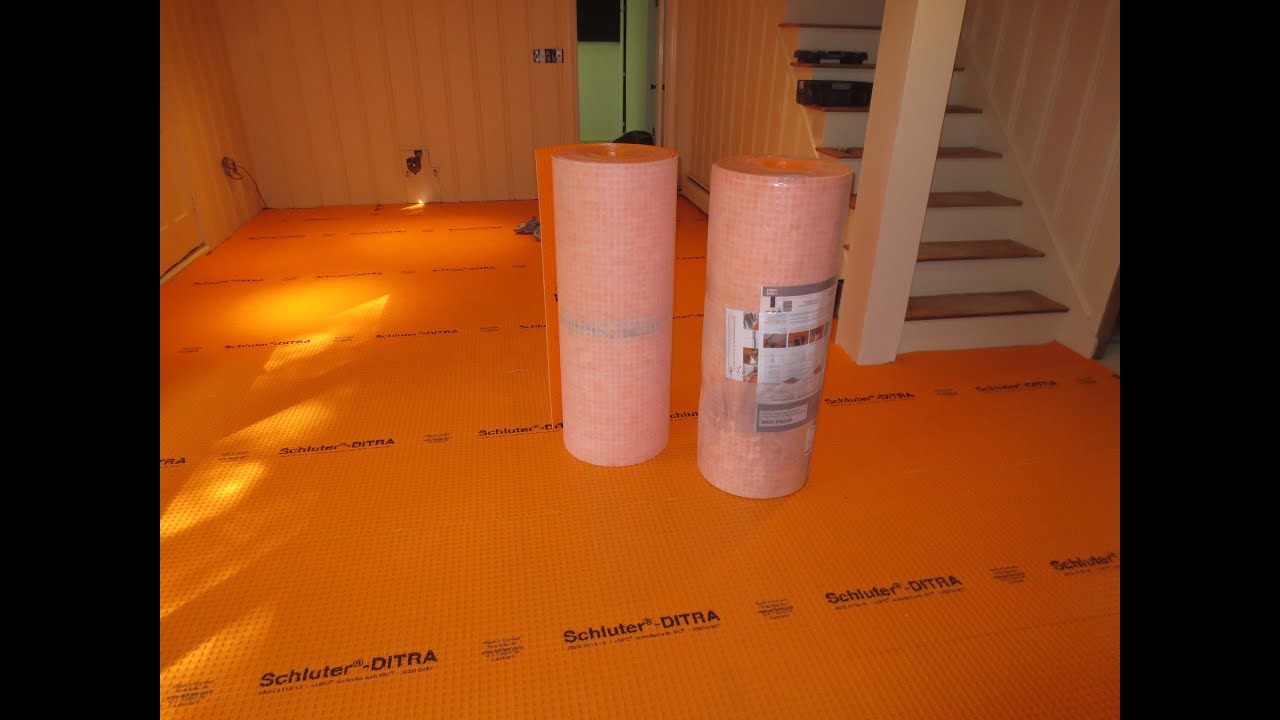
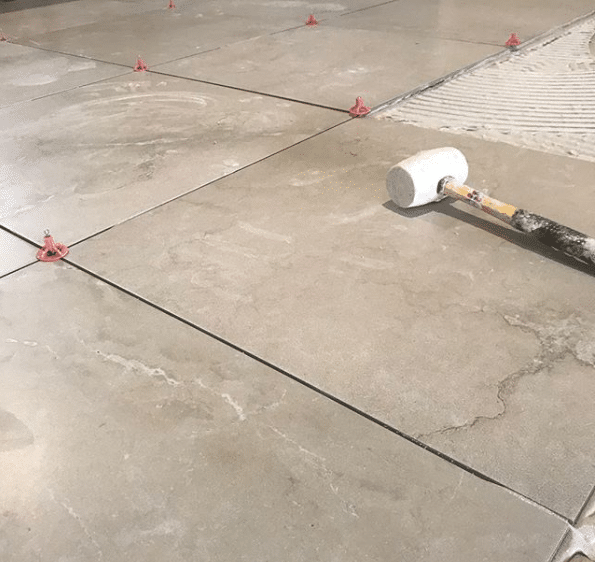
Large Porcelain tile installed on a big concrete basement floor, on Schluter ditra.

Can You Install Tile Over Concrete?
/can-you-install-tile-directly-on-concrete-1822600-01-8a89ceab1a274fb8ac81890ab7fc6b1b.jpg)
Can I Lay Tile Over Painted Concrete Floor? – Ready To DIY

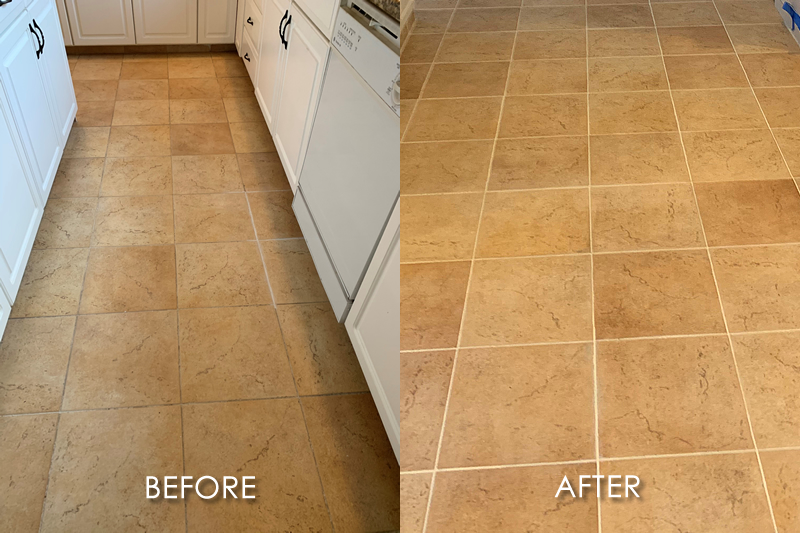
How to Tile a Concrete Basement Floor – The Grout Medic
How to tile a large basement floor Part 1 Installing Schluter Ditra
Subfloors and Underlayment for Ceramic Tile Floors
/best-subfloors-to-use-for-laying-tile-1822586-hero-efcfac9422ab457da5d2cbc7f7361df7.jpg)
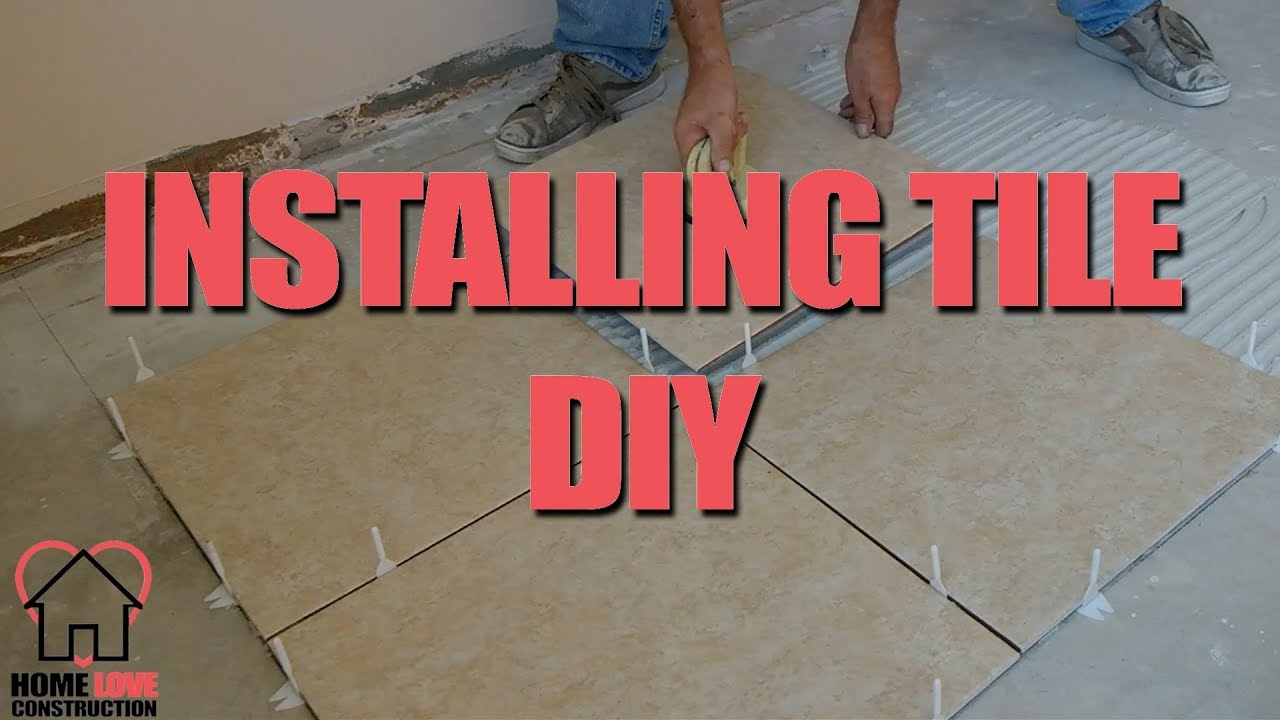
How To Install Ceramic Tile Over A Concrete Slab. Home Love Construction DIY
How to Install Ceramic Tile Flooring in 9 Steps – This Old House
:no_upscale()/cdn.vox-cdn.com/uploads/chorus_asset/file/19496978/howto_tile_01.jpg)
How to Prepare Concrete for a Tile InstallationLearning Center

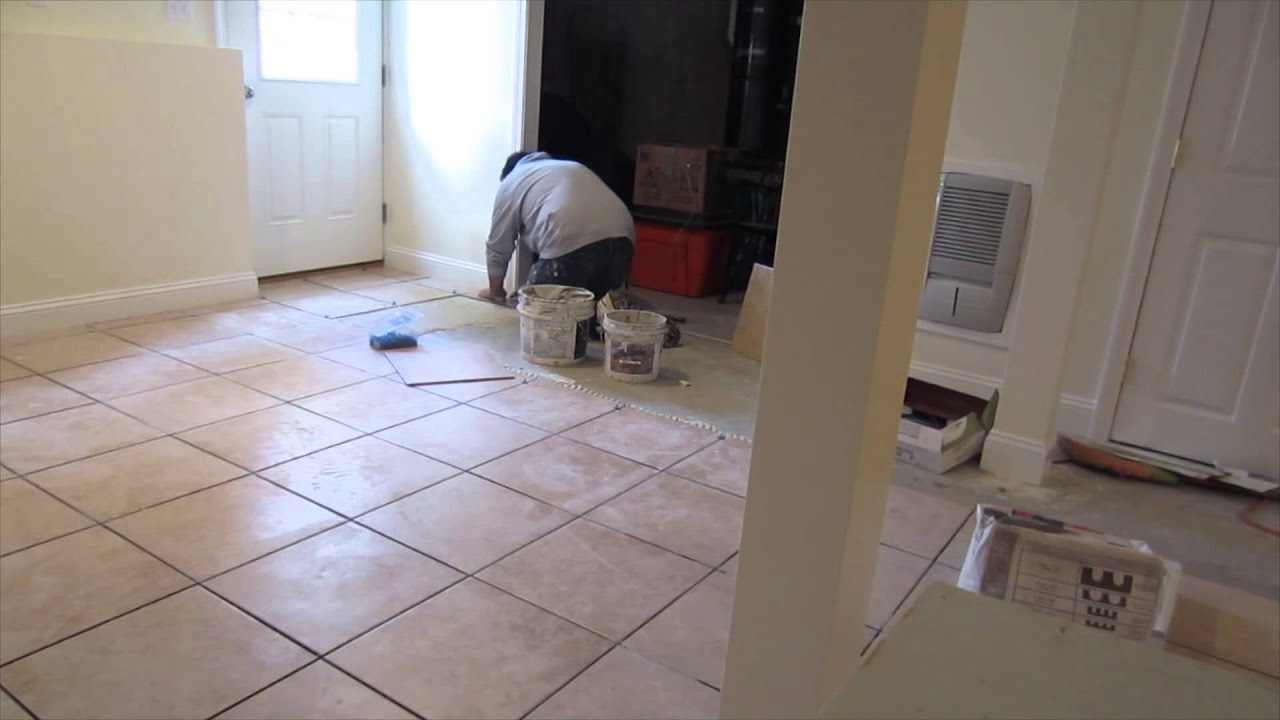
Time lapse of a 16u0027x16″ ceramic tile installation on a basement concrete floor.
How To Tile An Uneven Floor – A Step By Step Guide – Atlas Ceramics
Related articles:
- Stained Concrete Basement Floor
- Finishing Basement Floor
- Refinish Concrete Basement Floor
- Best Flooring For Basement
- Basement Gym Flooring Ideas
- Laminate Flooring In Basement
- Basement Concrete Floor Sweating
- Basement Floor Finishing Ideas
- Painting Unfinished Basement Floor
- Unique Basement Flooring
Title: How to Install Porcelain Tile on a Concrete Basement Floor
Introduction:
A concrete basement floor can often be dull and uninviting, but installing porcelain tile is a fantastic way to transform it into a stylish and functional space. Porcelain tiles are not only durable and long-lasting but also offer a wide range of design options. In this article, we will guide you through the step-by-step process of installing porcelain tile on a concrete basement floor, ensuring a beautiful and professionally finished result.
I. Preparing the Concrete Surface:
Before proceeding with the installation, it is crucial to prepare the concrete surface properly. Follow these steps:
1. Clean the Floor:
Begin by thoroughly cleaning the concrete floor to remove any dirt, dust, or debris. Use a broom or vacuum cleaner to sweep away loose particles and then wipe the surface with a damp mop.
2. Fill Cracks and Holes:
Inspect the concrete floor for any cracks or holes. If you find any, use a patching compound specifically designed for concrete repairs to fill them. Smooth out the compound with a putty knife and allow it to dry completely as per the manufacturer’s instructions.
3. Level Uneven Areas:
Check for any uneven areas on the concrete floor using a straightedge or level. If necessary, apply a self-leveling underlayment over these areas to create a smooth and level surface for tile installation.
FAQ 1: Can I install porcelain tile directly on an unlevel concrete basement floor?
Answer: It is not recommended to install porcelain tile directly on an unlevel concrete floor as this can lead to cracking and unevenness in the finished floor. It is essential to level the surface using a self-leveling underlayment before proceeding with tile installation.
II. Planning and Layout:
Proper planning and layout are crucial for achieving an aesthetically pleasing result. Here’s what you need to do:
1. Measure and Calculate:
Measure the dimensions of the basement floor to determine the amount of tile you will need. Be sure to account for any cuts and waste. Use these measurements to calculate the square footage of tile required.
2. Determine Tile Placement:
Decide on the tile layout pattern, such as a straight grid, diagonal, or herringbone. Sketch the layout on paper or use a digital design tool to visualize how the tiles will look in your space.
3. Start from the Center:
To create a balanced and symmetrical appearance, it is generally recommended to start tiling from the center of the room. Mark this central point using chalk lines intersecting at right angles.
FAQ 2: Can I install porcelain tile directly over existing vinyl flooring in my basement?
Answer: While it is possible to install porcelain tile over existing vinyl flooring, it is essential to ensure that the vinyl is securely adhered to the concrete floor and in good condition. If there are any loose or damaged areas, it is best to remove the vinyl before proceeding with tile installation.
III. Applying Thinset and Installing Tiles:
Now that you have prepared the surface and planned your layout, it’s time to begin installing the porcelain tiles:
1. Mix and Apply Thinset:
Follow the manufacturer’s instructions to mix thinset mortar in a bucket. Begin by adding water gradually until you achieve a smooth, creamy consistency. Allow the mixture to sit for a few minutes before applying.
2. Spread Thinset:
Using a notched trowel, spread a layer of thinset onto a small section Of the floor, starting from the center and working towards the edges. Make sure to only spread enough thinset that you can comfortably reach and install tiles within a reasonable amount of time, as thinset will dry and become less adhesive over time.
3. Install Tiles:
Place the first tile onto the thinset, pressing it firmly into place. Use tile spacers to maintain consistent spacing between tiles. Continue placing tiles, working in small sections at a time, until the entire floor is covered. Use a tile cutter or wet saw to cut tiles as needed for edges and corners.
4. Check for Levelness:
Use a level or straightedge to periodically check that the tiles are level with each other and the floor is even. Adjust as necessary by adding or removing thinset underneath individual tiles.
5. Allow Thinset to Dry:
Allow the thinset to dry completely according to the manufacturer’s instructions before proceeding with grouting.
IV. Grouting and Finishing:
After the thinset has dried, it’s time to apply grout and finish the installation:
1. Mix Grout:
Mix grout powder with water in a bucket according to the manufacturer’s instructions until you achieve a smooth, paste-like consistency.
2. Apply Grout:
Using a grout float, spread the grout over the tiled surface at a 45-degree angle, making sure to fill all the gaps between tiles.
3. Remove Excess Grout:
After allowing the grout to set for a few minutes, use a damp sponge or cloth to wipe away excess grout from the tile surface.
4. Cure Grout:
Allow the grout to cure for the recommended amount of time before exposing it to heavy foot traffic or moisture.
5. Seal Grout (optional):
To protect the grout from stains and moisture, consider applying a grout sealer according to the manufacturer’s instructions.
6. Clean and Maintain:
Regularly clean the tile floor with a neutral pH cleaner to maintain its appearance and longevity.
By following these steps and taking proper care of your porcelain tile floor, you can achieve a beautiful and durable finished result in your basement.
“Why is it important to properly prepare the concrete basement floor before installing porcelain tile?”
It is important to properly prepare the concrete basement floor before installing porcelain tile for several reasons:1. Adhesion: Properly preparing the concrete floor ensures optimal adhesion between the floor and the tile. This helps prevent tiles from becoming loose or popping out over time, leading to potential tripping hazards or damage to the tile.
2. Durability: A well-prepared concrete surface provides a stable and durable base for the porcelain tile installation. It helps to prevent cracking and shifting of tiles due to unevenness or movement in the subfloor, ensuring a longer-lasting and more resilient floor.
3. Moisture Protection: Basements are prone to moisture issues, such as water seepage or high humidity levels. Proper preparation helps create a moisture barrier that prevents water vapor from penetrating through the concrete and reaching the tile, which could lead to mold growth, warping, or other damage.
4. Leveling: Concrete basement floors can have uneven surfaces or minor imperfections that can affect the evenness of the finished tile surface. Proper preparation allows for leveling and smoothing of the concrete floor, creating a flat and uniform surface for tile installation.
5. Cost-effectiveness: Investing time and effort in proper preparation upfront can save money in the long run. It reduces the likelihood of repair or replacement costs due to tile failure, unevenness, or moisture-related issues down the line.
Overall, proper preparation of the concrete basement floor ensures a solid foundation for porcelain tile installation, promoting adhesion, durability, moisture protection, levelness, and cost-effectiveness.