You will find quite a few rewards to the greenish building substance cork flooring. But, this article can't allow you to recognize precisely how durable and beautiful cork flooring actually is. The bark of this cork oak tree is actually real cork and is harvested by getting rid of a tiny stratum of this bark (cork) coming from the trunk.
Here are Images about How To Install Glue Down Cork Flooring
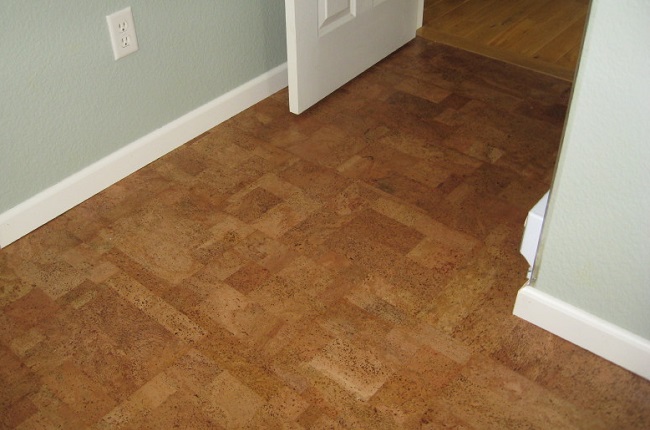
How To Install Glue Down Cork Flooring
Manufactures reap the bark every nine yrs after it matures. As you are able to see cork flooring is a great purchase for your household. These glue-down cork based floors are produced for both residential and commercial grade. This makes cork an environmentally friendly flooring product because absolutely no deforestation; unlike with most other flooring solutions. Commercial producers of cork content do not have to cut down trees and disturb the habitat.
How to Install Glue Down Cork Flooring Over Concrete Subfloor in Bathroom and Kitchen
Cork flooring reviews are a great way to figure out about all the properties and benefits of cork floors. Because it is a relatively soft material, in case you have extremely large furniture the cork can in fact escape indentations in the floors that don't come out. Being a natural homeowner you're now probably wondering just how cork is a renewable resource. Cork is actually bark that is obtained by means of the cork oak tree.
Images Related to How To Install Glue Down Cork Flooring
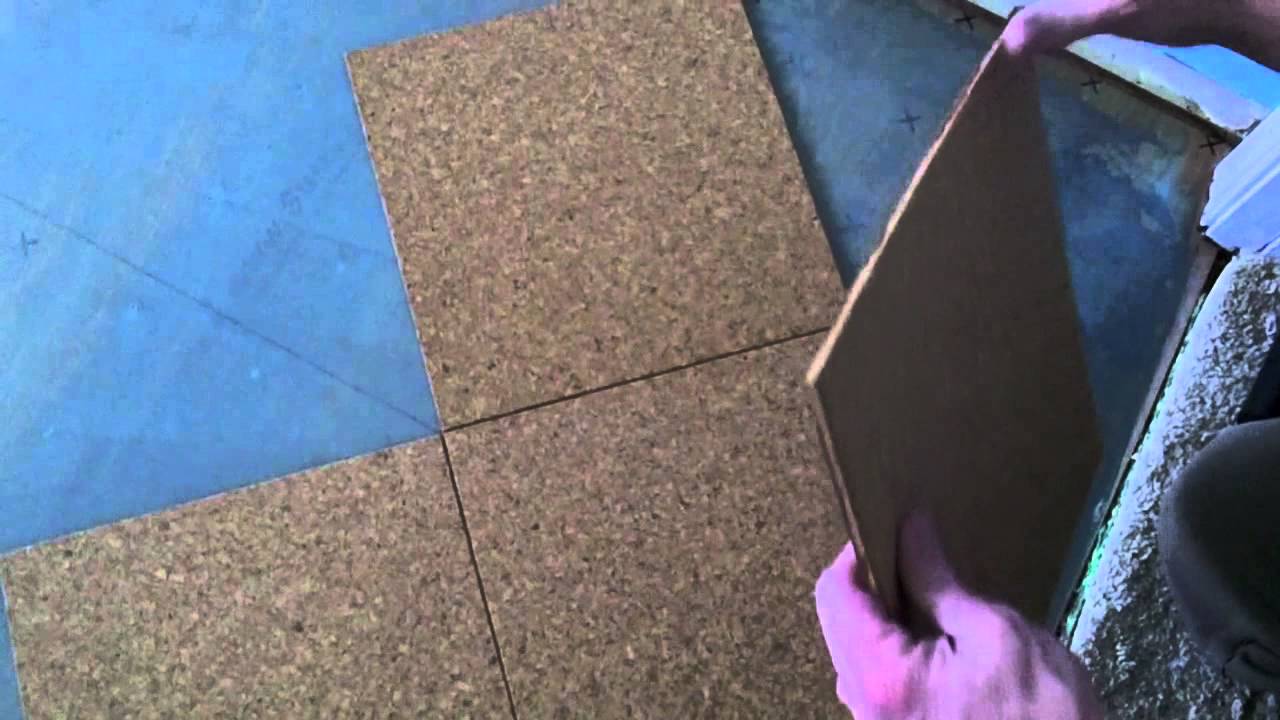
Installing Glue Down Cork Tiles Installation Lay How – Cancork
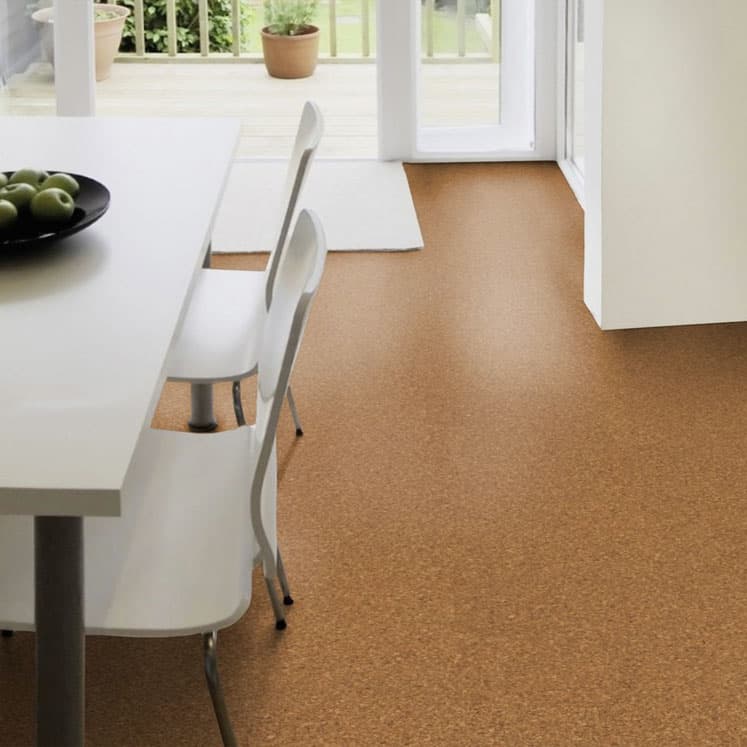
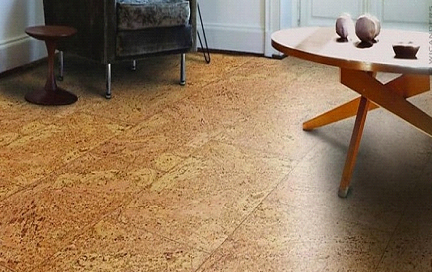
Cork tiles or Floating Cork Flooring
How to Prepare a Cork Flooring SubfloorLearning Center

Cork Glue Down Floors u2014 Jelinek Cork Group®

Cork Flooring 101: Cost, Types, u0026 Installation – This Old House
/cdn.vox-cdn.com/uploads/chorus_asset/file/23088021/0421_NB_All_About_Cork_Floors_Cork_flooring_iStock_950010876.jpg)
How to Install Cork Flooring – (Tips and Guidelines For Your DIY

How to Install a Cork Floor – This Old House
/cdn.vox-cdn.com/uploads/chorus_asset/file/19495909/h1006handbook08.jpg)
Cork Flooring Installation Guide: Essential Things Need to Know

Cork Flooring Installation: PRO or DIY?Learning Center

Install u0026 Maintenance Guides u2014 Jelinek Cork Group®
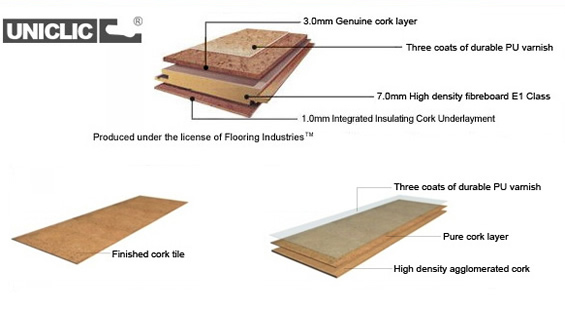
Cork PURE Glue Down Cork Flooring – UNFINISHED Natural
Flooring Services Company
Related articles:
- Floating Cork Flooring
- Disadvantages Of Cork Floors
- Cork Floor Colours
- Cork Flooring Installation Cost
- Cheapest Cork Flooring
- Cork Floor Protectors
- Light Colored Cork Flooring
- Cork Flooring For Kitchen
- Cleaning Cork Floors With Vinegar
- Cork Flooring Glue
Cork flooring is a popular choice for homeowners due to its eco-friendly nature, durability, and comfortable feel underfoot. One common method of installing cork flooring is the glue-down method, which provides a secure and long-lasting bond between the cork tiles and the subfloor. In this article, we will guide you through the step-by-step process of installing glue-down cork flooring in your home.
Preparing the Subfloor:
Before you begin installing your cork flooring, it is essential to prepare the subfloor properly to ensure a smooth and even surface for the adhesive to bond to. Start by removing any existing flooring material and thoroughly clean the subfloor to remove any dirt, debris, or adhesive residue. Fill in any cracks or low spots with a floor leveling compound and allow it to dry completely before proceeding.
Next, check the moisture levels of the subfloor using a moisture meter. Cork flooring is sensitive to moisture, so it is crucial to ensure that the subfloor is dry before installation. Ideally, the moisture content should be below 12% to prevent damage to the cork tiles over time.
Applying Adhesive:
Once the subfloor is prepped and ready, it’s time to apply the adhesive for the cork tiles. Choose a high-quality adhesive specifically designed for cork flooring and follow the manufacturer’s instructions for application. Use a notched trowel to spread an even layer of adhesive onto the subfloor, working in small sections at a time.
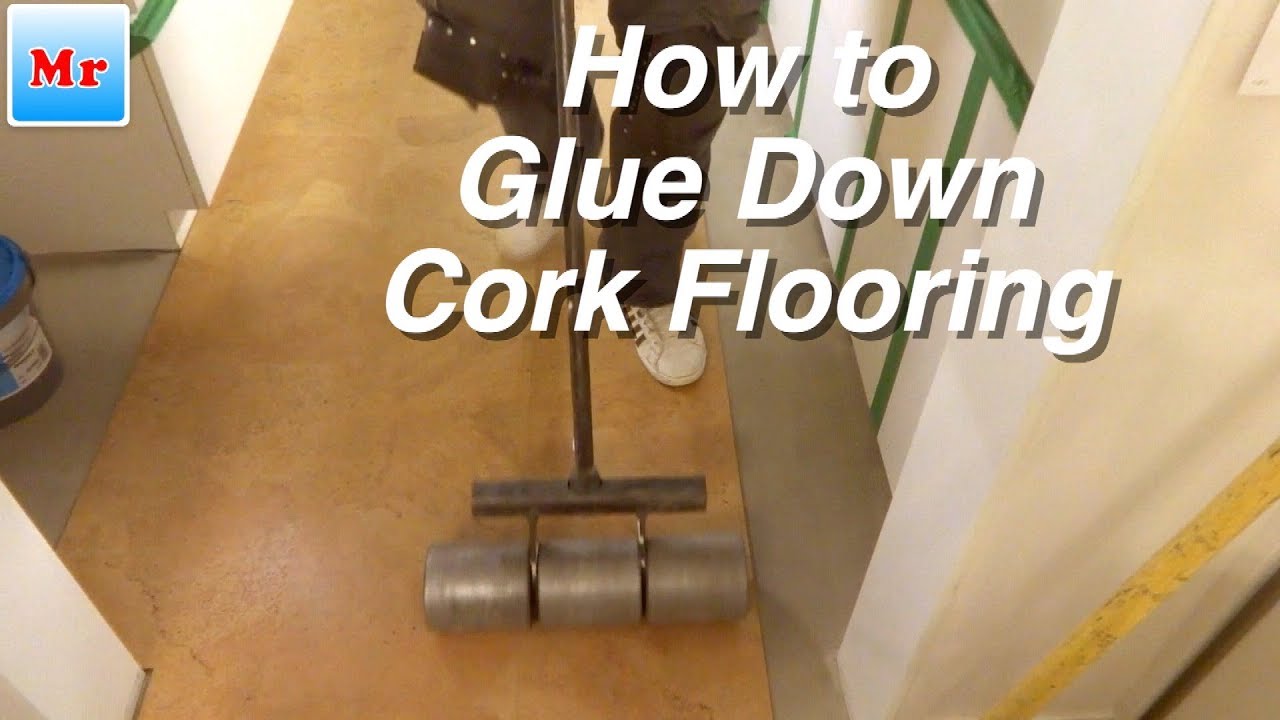
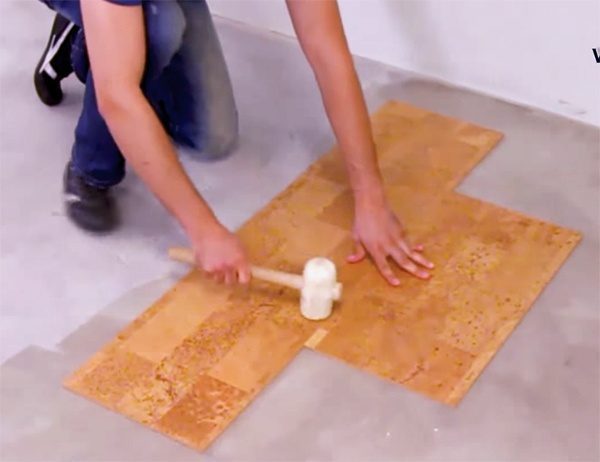
Carefully place each cork tile into the adhesive, making sure to align them correctly and press them firmly into place. Use a roller or a heavy object to ensure that the tiles are securely bonded to the subfloor and that any air bubbles are removed.
Allow the adhesive to dry according to the manufacturer’s recommendations before walking on or moving furniture onto the newly installed cork flooring. This curing time is crucial for ensuring a strong bond between the tiles and the subfloor.
Finishing Touches:
Once the adhesive has dried completely, you can add finishing touches to your newly installed cork flooring. Trim any excess material around the edges of the room using a utility knife or a saw for a clean and professional finish. Install matching trim pieces or transition strips where needed to cover gaps between different types of flooring or between rooms.
FAQs about Glue-Down Cork Flooring Installation:
Q: Can I install glue-down cork flooring over existing tile or hardwood floors?
A: Yes, you can install glue-down cork flooring over existing tile or hardwood floors as long as they are in good condition and properly prepped. Make sure to clean and level the existing floor before applying adhesive for the cork tiles.
Q: How long does it take for the adhesive to dry before I can walk on my new cork flooring?
A: The drying time for adhesive can vary depending on factors such as temperature, humidity levels, and type of adhesive used. Typically, it takes about 24-48 hours for the adhesive to dry completely before you can walk on your new cork flooring.
Q: Do I need to seal my glue-down cork flooring after installation?
A: While some manufacturers recommend sealing cork flooring after installation for added protection against moisture and wear, many modern cork tiles come pre-finished with a protective sealant. Check with your specific product guidelines for recommendations on sealing your new cork flooring.
In conclusion, installing glue-down cork flooring is a rewarding DIY project that can enhance the look and comfort of your home. By following these detailed steps and tips, you can achieve professional Results and enjoy the benefits of cork flooring for years to come. If you have any further questions or need assistance with your installation, don’t hesitate to consult with a professional or contact the manufacturer for guidance. Happy installing! Please note that these instructions are general guidelines and may vary depending on the specific product you are using. Always refer to the manufacturer’s installation instructions for the most accurate information. Remember to take your time and follow the instructions carefully to ensure a successful installation. With proper preparation and attention to detail, you can create a beautiful and durable cork floor in your home. Enjoy the natural warmth and comfort of cork flooring for years to come!