Basement flooring tips provide homeowners many different potential routes that they're able to take for basement renovations, nevertheless for some these additional choices just complicate matters. The basement area can often be a challenge because of what we've in the minds idea of ours of a cellar, but what if you turned the basement of yours into a good family room or perhaps an
entertainment room.
Here are Images about How To Install Floating Floor In Basement
How To Install Floating Floor In Basement

One of the problems encountered when changing the house's basement into a lifestyle area is the basement's flooring. The main reason that the basement is very valuable to your home is simply because when it is finished, you have developed another living area that is customarily not a part of most people's homes.
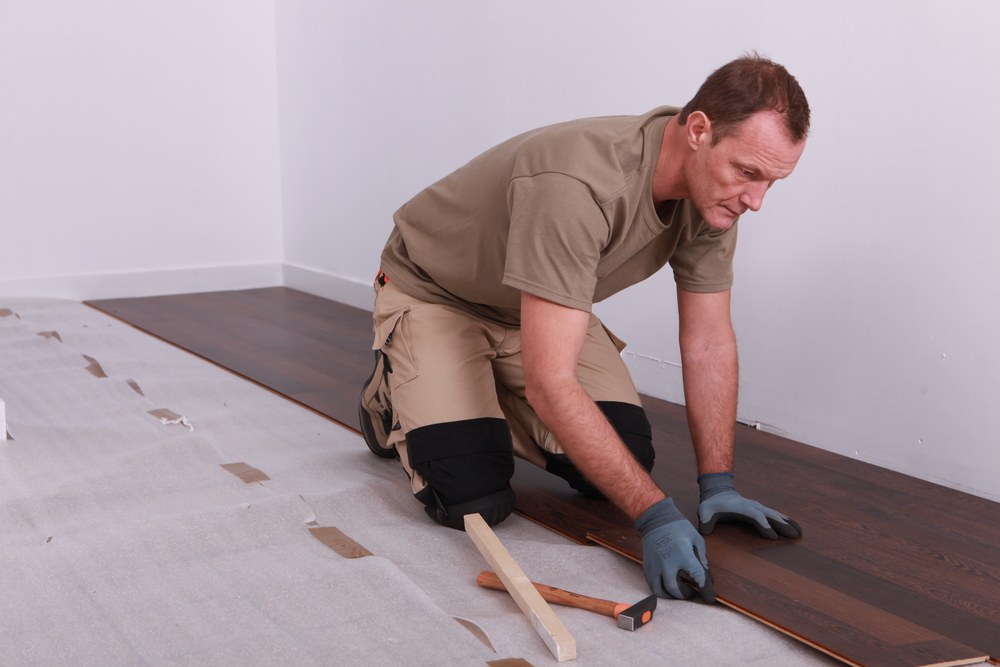
Installing Laminate Flooring For The First Time // Home Renovation

Nevertheless, how about the basement of yours? It's typically one of the last spaces a homeowner considers about when it comes to flooring. Therefore, you should take steps to prevent this type of damage to happen down the road. Don't discount the importance of flooring in your basement.
Images Related to How To Install Floating Floor In Basement
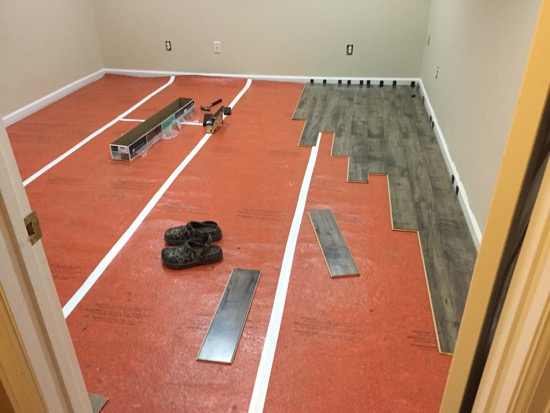
Laminate Flooring in Basement: Install a Floating Laminate Floor
Tips and Tricks for Using Laminate Flooring in the Basement

Our first DIY project – laminate flooring in Benu0027s basement office
Floating Wood Floor: Install One in 8 Steps – This Old House
:no_upscale()/cdn.vox-cdn.com/uploads/chorus_asset/file/19493650/0405_flooring_illo.jpg)
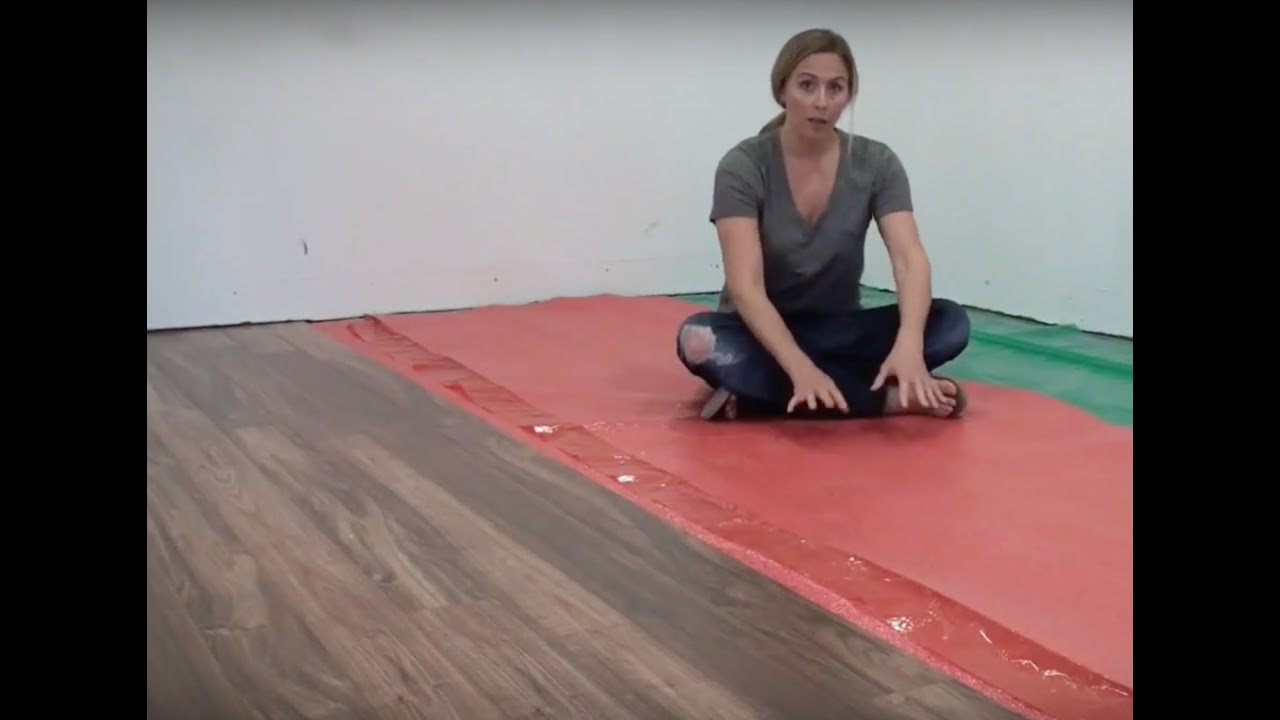
How to Install a Laminate Floor in a Basement [VideoTutorial
How to Install Laminate Flooring on Concrete – Floor Techie

How to Install Laminate Flooring Over Concrete 2022 Home

Choose the Best Underlayment for Laminate Flooring
/laminate-flooring-underlayment-1314969-hero-3894e0b403fb4e59a87a076e3da9914f.jpg)
Best Basement Flooring Options (Get the Pros and Cons)

Laminate Floor Installation for Beginners 9 Clever Tips

Installing Laminate Flooring Over Concrete – The Ultimate Guide

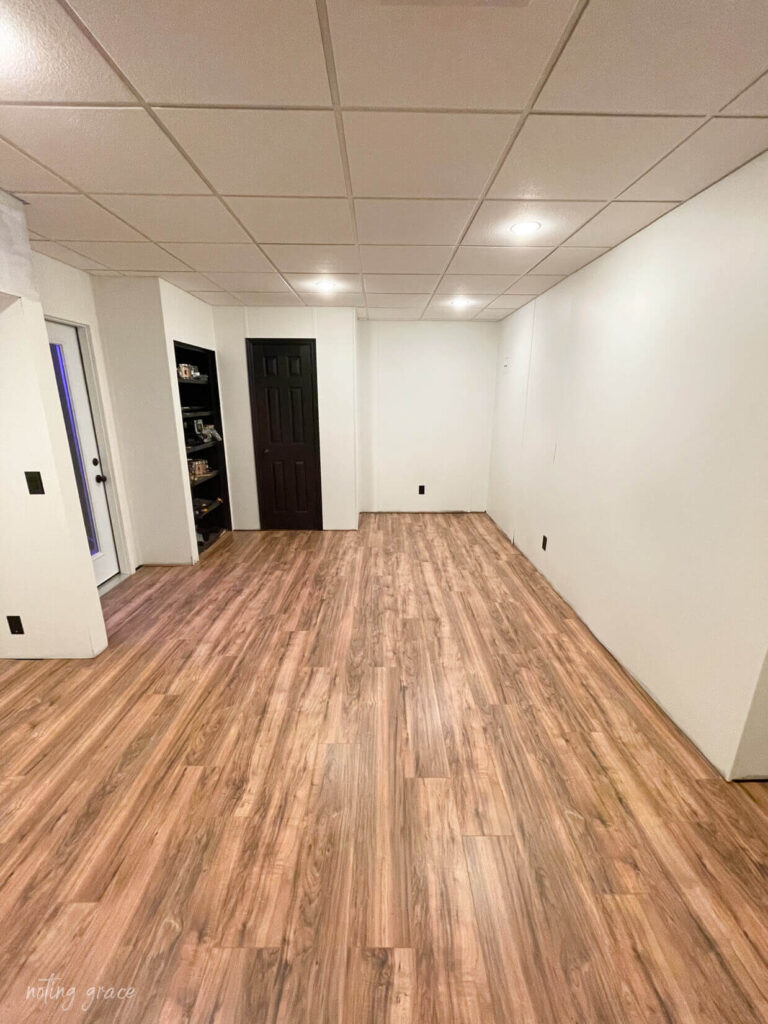
How To Install Laminate Flooring Over Concrete – Noting Grace
Related articles:
- Stained Concrete Basement Floor
- Finishing Basement Floor
- Refinish Concrete Basement Floor
- Best Flooring For Basement
- Basement Gym Flooring Ideas
- Laminate Flooring In Basement
- Basement Concrete Floor Sweating
- Basement Floor Finishing Ideas
- Painting Unfinished Basement Floor
- Unique Basement Flooring
If you are looking to upgrade your basement and make it more comfortable, then installing a floating floor is the perfect solution. With floating flooring, you can easily create a warm and inviting space in your basement without having to worry about any complex installation processes. In this article, we will provide you with a step by step guide to help you install a floating floor in your basement.
What You Will Need:
– Underlayment
– Floating Floor Planks
– Tape Measure
– Pencil
– Chalk Line
– Utility Knife or Saw
– Hammer and Nails
– Glue
– Level
– Vacuum Cleaner
Step 1: Prepare the Subfloor
Before you begin the installation of your floating floor, it is important to properly prepare the subfloor. This means that all debris should be removed, and the subfloor should be cleaned and leveled. Any irregularities in the subfloor should be smoothed out with concrete patching compound. Once the subfloor has been prepared, you can move on to the next step.
Step 2: Install Underlayment
After the subfloor has been prepared, you can now begin to install the underlayment. This is an important step in the process as it provides extra cushioning for your floating floor and helps to reduce sound transmission. When installing the underlayment, make sure that it is laid out evenly and that all seams are taped down securely.
Step 3: Measure and Cut Planks to Size
Once the underlayment has been installed, it is time to measure and cut your floating floor planks to size. Using a tape measure and pencil, measure each wall in your basement and mark where each plank should be cut. Once all of the planks have been measured and marked, use a saw or utility knife to cut them to size.
Step 4: Install Planks
Now that your planks have been cut, it is time to start installing them in your basement. Starting at one corner of the room, use a hammer and nails to secure the first plank in place. Make sure that each plank is aligned properly with the one before it before nailing it down. Once all of the planks have been installed, use a level to check that they are even.
Step 5: Secure Planks with Glue
Once all of your planks have been installed, use an adhesive glue to further secure them in place. Begin by applying glue along each seam between two planks, ensuring that there is an even coat of glue applied along each seam. Use a damp cloth or vacuum cleaner to remove any excess glue from the surface of your planks.
Step 6: Allow Planks to Dry
Once all of your planks have been secured with glue, allow them some time to dry completely before walking on them or adding any furniture or rugs. Usually this will take at least 24 hours for the glue to completely dry and set.
Congratulations! You have now successfully installed a floating floor in your basement! By following these simple steps you will be able to quickly and easily upgrade your basement with a beautiful new flooring solution.