The wood look comes from a thin veneer of the selected wood, which is pressed upon several tiers of substrate. You'll in addition save the cash you will have spent on supplies and applications that are required for the installation. If the floors is porous, including hardwoods, it's a fort for harboring germs as well as microorganisms. The tough, worn, lived in appearance will not show the scratches and marks a result of everyday use.
Images Related to How To Install Engineered Wood Flooring Nail Down
How To Install Engineered Wood Flooring Nail Down
This is an important step since the boards can be composed out of an all natural material, they must be permitted to acclimatise to the brand new room temperature and moisture levels they will be subjected to. Because a lot of laminates simply click together without any specific glues it is quickly to install. At this time there are risk involved should you use wood in a kitchen or bathroom.
How to Lay Engineered Wood Floors – This Old House
/cdn.vox-cdn.com/uploads/chorus_image/image/65891794/wood_floors_toutxlbanner.0.jpg)
With the ever increasing amount of DIY shows on tv, many individuals are attempting to bring back their own wood floors only to discover it is not as simple as appears on telly. They can also be very stylish in patterns as tile, realistic stones and hardwood visuals. Also, you may want to consider installing tile in your entry ways, since it is the space where the heaviest traffic typically occurs.
How to Nail Down an Engineered Wood Floor- ReallyCheapFloors.com Install Series
Part 2: Is Nail-down Installation The Best? Unique Wood Floors Blog

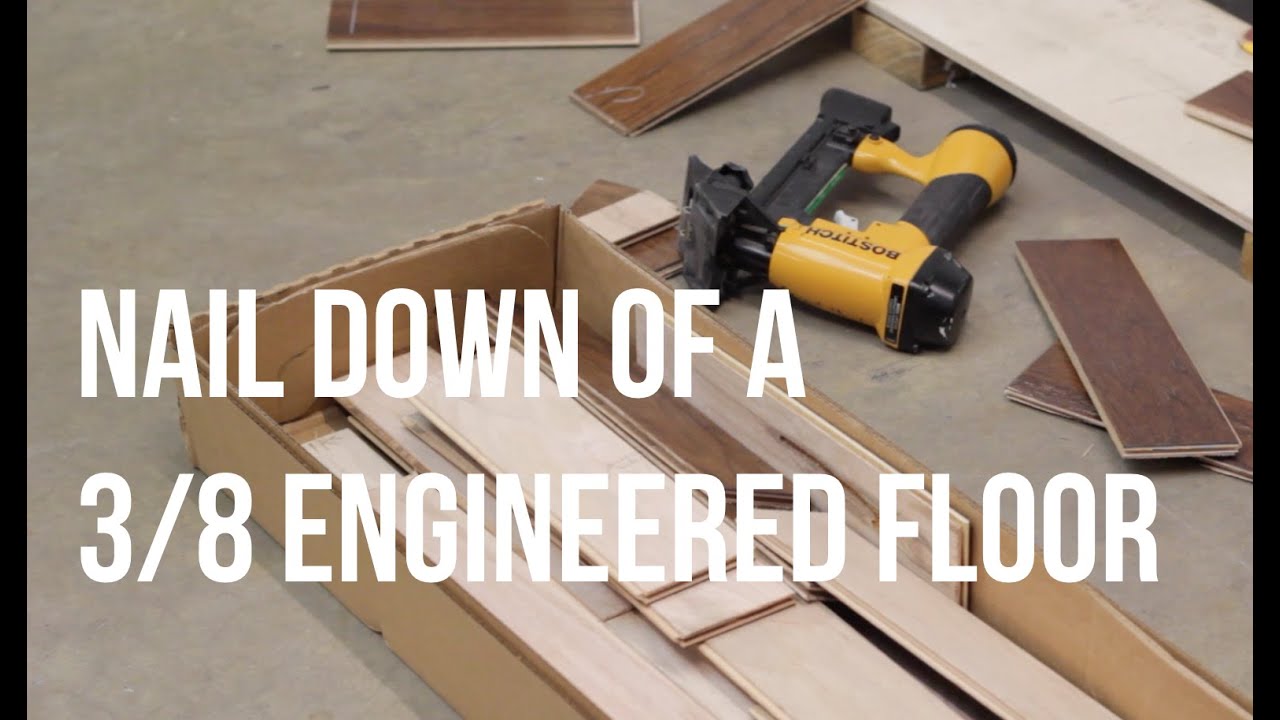
How to Install Engineered Hardwood u2013 Nail Down Method

Which Method Should I Use to Install My Engineered Wood Floor

Engineered Hardwood Flooring Installation: Tips and Common

Which Method Should I Use to Install My Engineered Wood Floor

How to Install an Engineered Hardwood Floor
How to install hardwood flooring (Nail down) // Home Renovation I Like To Make Stuff
Engineered Hardwood Floors Installation – Hardwood Floor
Tips for Installing an Engineered Hardwood Floor

How To Install Click Lock Engineered Hardwood Flooring
How To Lay Engineered Wood Flooring A DIY Guide For Everyone

Related articles:
- Black Walnut Wood Flooring
- Wood Flooring Designs
- Wood Flooring Options For Kitchens
- Contemporary Wood Flooring Ideas
- Dark Wood Floor Bedroom Ideas
- Real Wood Flooring For Kitchens
- Natural Wood Floor Stain
- Oak Wood Flooring
- Birch Wood Flooring Reviews
- Wood Floor Damage Repair
Preparing the Subfloor
The most important step in any flooring installation is preparing the subfloor. The subfloor should be level and clean before you start. If there are any gaps or depressions, fill them with a quality leveling compound. Make sure you let the compound dry completely before you begin the installation.
Layout and Measurement
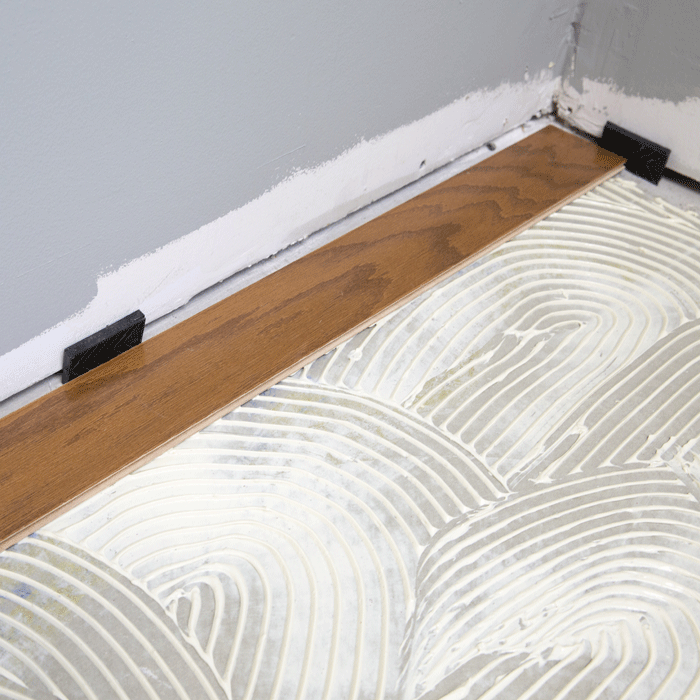
Before you start nailing down your engineered wood floors, you need to plan out your layout. This includes deciding on a starting point, such as a wall or a doorway, measuring the room, and making sure you have enough flooring to cover the entire area. To ensure accuracy, measure twice and cut once. It’s also important to take into consideration the expansion gap around the edges of the room which should be 1/4” – 3/8” wide.
Acclimation of Your Flooring
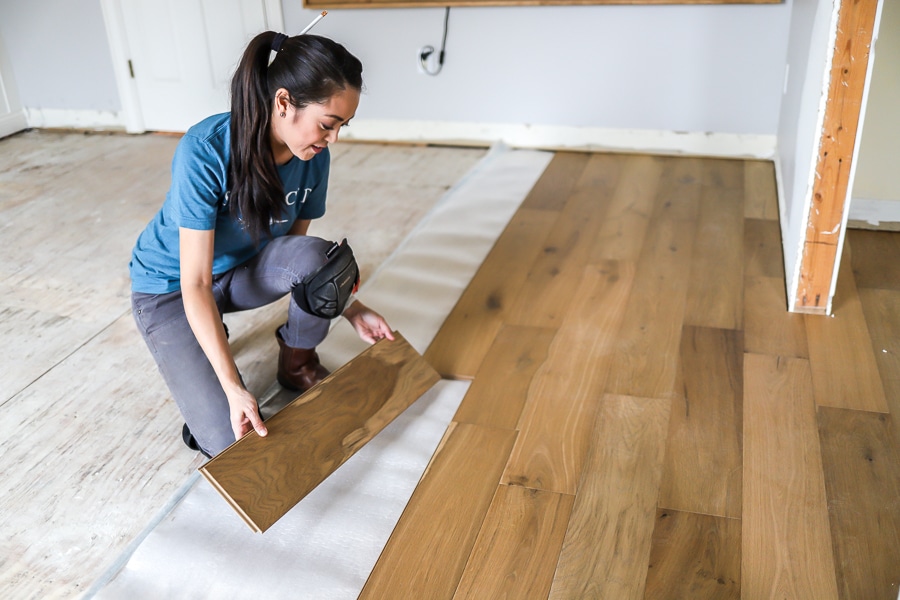
Before you begin installing your floors, it’s important to let them acclimate. This means allowing them to sit in the room they will be installed in for at least 48 hours so they can get used to their new environment. This will help prevent any issues such as buckling or cupping that can occur if the flooring isn’t given time to adjust.
Fastening the Floor
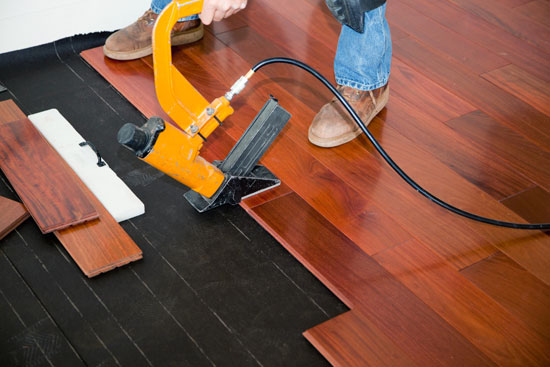
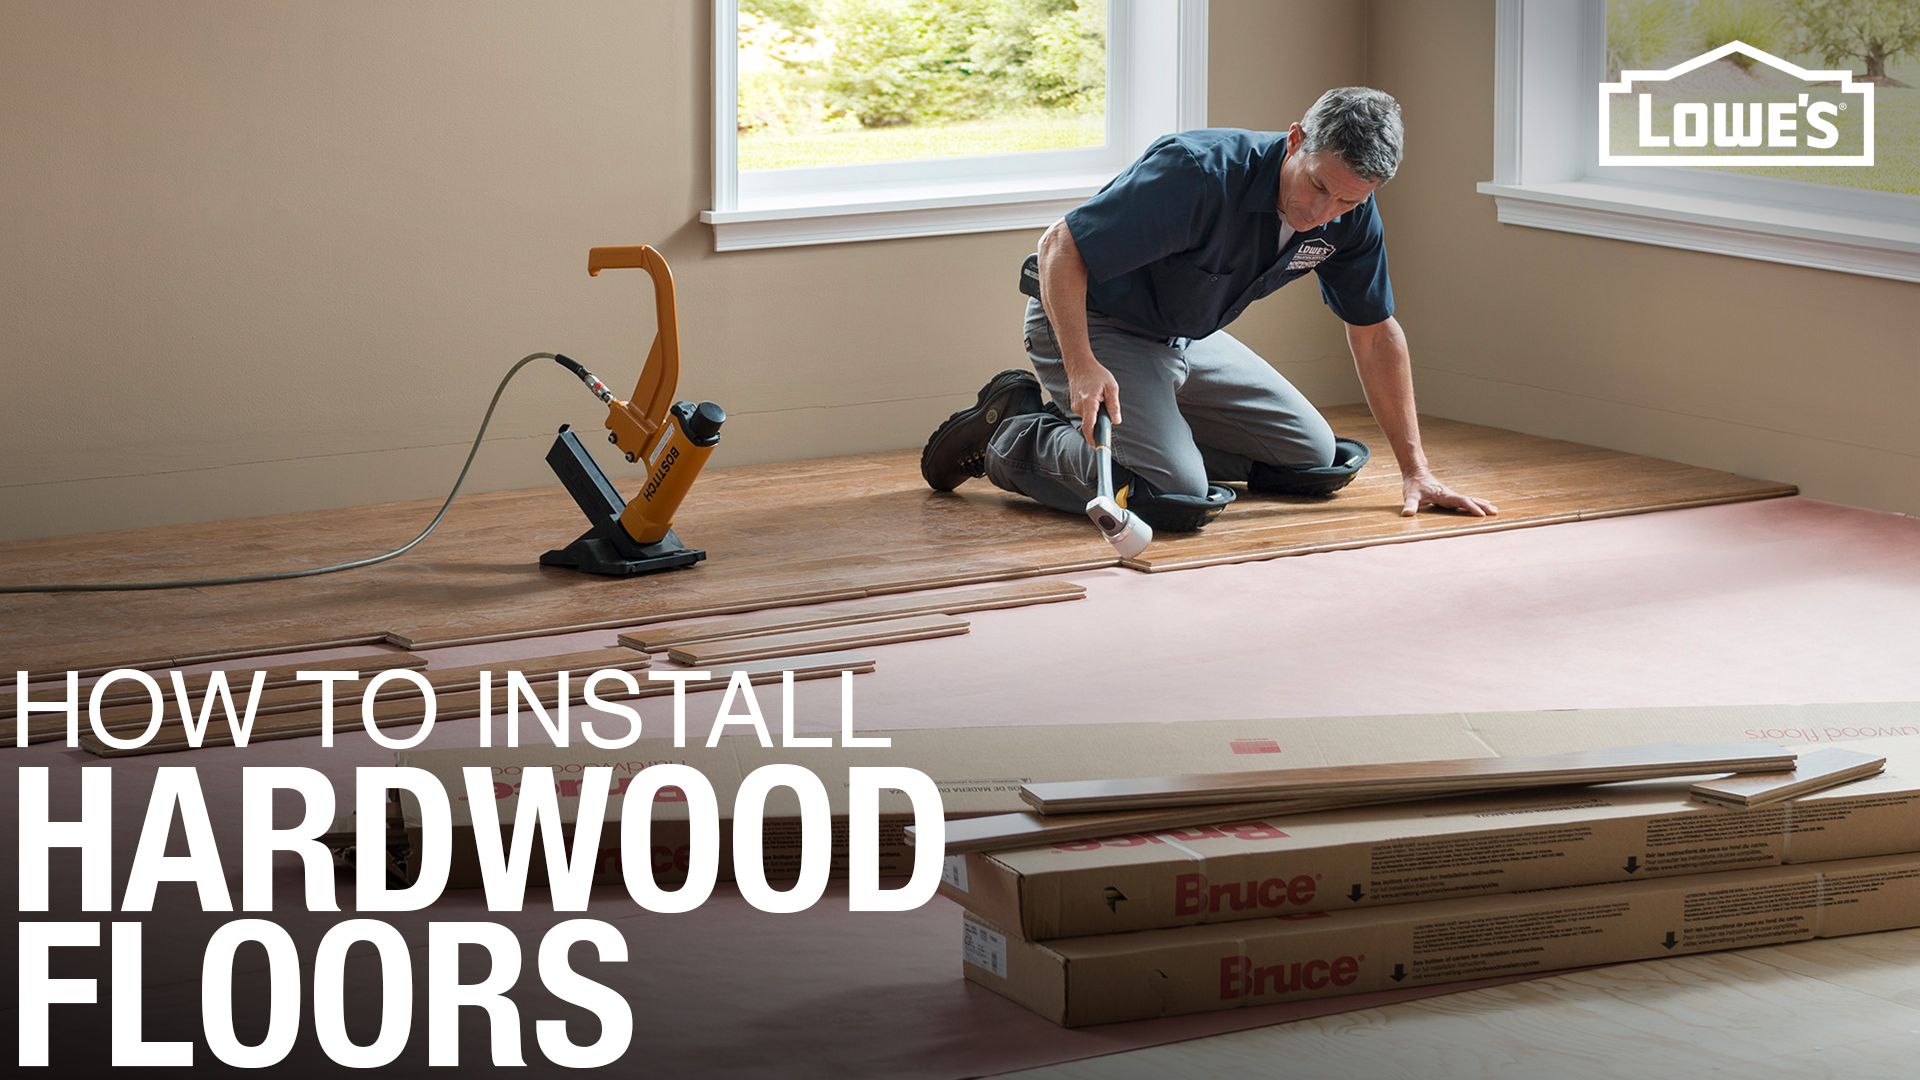
Once your floor is acclimated, you’re ready to start fastening it down. Start by nailing down a row of boards along the starting wall using a pneumatic floor nailer. This will ensure that your first row is straight and secure. When nailing down subsequent rows, make sure you stagger them so that the ends of each board don’t line up with the previous row. You should also use spacers between each board to maintain an even gap throughout your flooring installation.
Finishing Touches
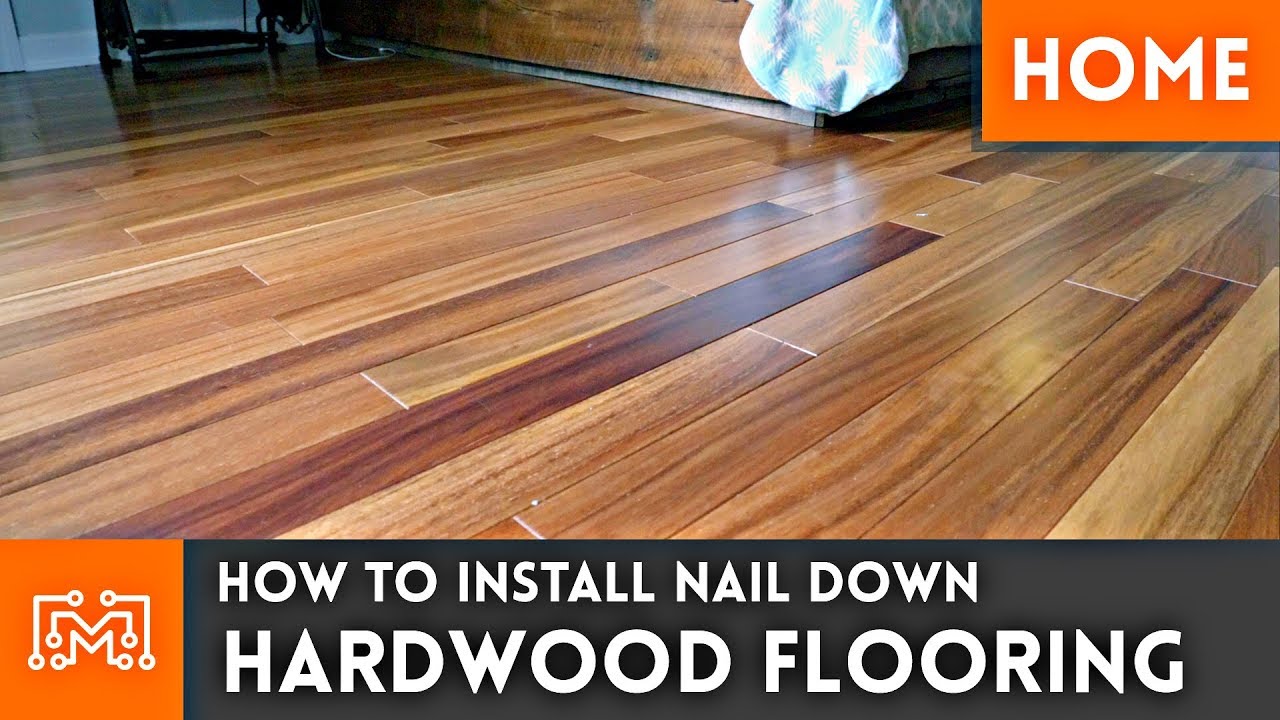
Once all of your boards are installed, there are a few finishing touches that will help ensure your floor looks its best. If there are any exposed nail heads, countersink them with a nail set. Then use a putty knife and wood filler to fill any holes or gaps between boards. Once this is done, sand the entire floor with an orbital sander to create an even surface before applying a finish of your choice.
Common Questions & Answers
Q: What kind of subfloor should I use?
A: The subfloor should be flat, dry, and clean before you begin installing your engineered wood floors, preferably plywood or oriented strand board (OSB).
Q: Do I need an expansion gap around my floors?
A: Yes, it’s important to leave an expansion gap around the edges of the room for expansion and contraction due to changes in humidity and temperature which can cause warping or buckling if not accounted for. The size of the gap should be 1/4” – 3/8” wide.
Q: How do I get my boards straight and level?
A: You can use shims or wedges to level out any uneven spots in your subfloor before laying down your boards. You can also use a straight edge or measuring tape when laying each row to make sure they’re straight and level.