As well, dust is seen more quickly on wood floors than it is on linoleum or on carpet, particularly in the sunlight and especially if the floor features a dark stain. Since solid hardwoods are actually prone to dents & scratches, you have to spend special attention to its species. Homeowners must also consider that on site finishing will emit noxious VOCs into the home environment.
Here are Images about How To Install Click Lock Engineered Hardwood Flooring
How To Install Click Lock Engineered Hardwood Flooring

If you are purchasing floor surfaces from an organization and having your very own contractor install the flooring you plan to make certain the installer of yours is an expert. If you pick hardwood in yellow or red, be sure that they enhance the colors of fixtures that are already installed in the home of yours. These will thrust into the wood if remaining unprotected.
How to Install Click Flooring (Project Tutorial) – Bob Vila

If their toenails are actually clicking on the hardwoods of yours, it is some time to clip them back. These days, many variations in hardwood flooring have developed the project tough for the owners to select the very best for the home of theirs. This particular finishing process can be done multiple time in the future to reestablish the beauty of the floor as it wears over time. That's unless you have got destructive pleasure tendencies.
Images Related to How To Install Click Lock Engineered Hardwood Flooring
How to Install Click Together Flooring Mitre 10 Easy As DIY
How To Install Click Lock Engineered Hardwood Flooring
How To Install Click Lock Engineered Hardwood Flooring
Glueless Click Installation for Floating Hardwood Floors

How To Install Click Lock Engineered Hardwood Flooring
Engineered Hardwood Floor Installation: Part 1
How To Install Click Lock Engineered Hardwood Flooring
How To Install Click Lock Engineered Hardwood Flooring

How To Install Click Lock Engineered Hardwood Flooring
Which Method Should I Use to Install My Engineered Wood Floor

How To Install Click Lock Engineered Hardwood Flooring Hardwood

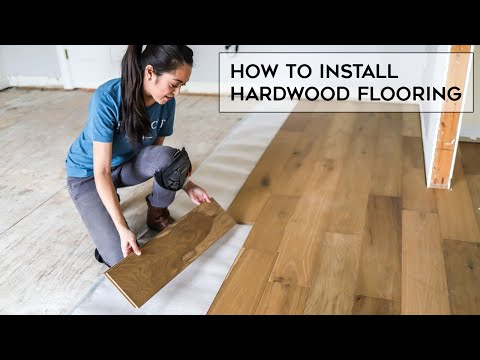
How to Install an Engineered Hardwood Floor

Related articles:
- Hardwood Floor Finish Brands
- Hand Scraped Hardwood Flooring
- Home Hardwood Floor
- Hardwood Floor Deep Cleaner
- Engineered Hardwood Floor
- Cherry Hardwood Flooring Reviews
- Hardwood Floor Cleaning And Refinishing
- Wide Plank Pine Hardwood Flooring
- Hardwood Flooring Designs Photos
- Hardwood Floor Selection Guide
Title: A Comprehensive Guide on Installing Click Lock Engineered Hardwood Flooring
Introduction:
Installing click lock engineered hardwood flooring is an excellent way to enhance the aesthetic appeal and value of your home. This type of flooring offers durability, ease of installation, and a wide range of design options. Whether you are a DIY enthusiast or a homeowner looking to save on professional installation costs, this guide will provide you with step-by-step instructions on how to install click lock engineered hardwood flooring.
I. Preparing for Installation:
Before diving into the installation process, it is crucial to prepare the area properly. Follow these steps to ensure a smooth and successful installation:
1. Measure and Estimate: Begin by measuring the area where you plan to install the flooring. This will help you determine the amount of materials needed, including the number of boxes of engineered hardwood planks required.
FAQ: How do I calculate the amount of engineered hardwood flooring I need?
To calculate the square footage, multiply the length and width of the room in feet. Add 5-10% extra to account for waste or future repairs.
2. Acclimate the Flooring: Engineered hardwood needs time to adjust to its new environment. Place unopened boxes of flooring in the room where it will be installed for at least 48 hours before installation. This allows it to acclimate to temperature and humidity levels.
FAQ: Can I skip acclimating the engineered hardwood?
Acclimating the flooring is essential as it prevents expansion or contraction after installation due to changes in temperature and humidity levels.
3. Prepare Subfloor: Ensure that your subfloor is clean, dry, level, and structurally sound. Remove any existing flooring materials such as carpet, vinyl, or laminate. Patch any holes or cracks in the subfloor using a suitable filler.
FAQ: Can I install click lock engineered hardwood over an existing floor?
In most cases, it is recommended to remove existing flooring materials to ensure a stable and level surface for installation. However, you can install click lock engineered hardwood over certain types of existing floors, such as vinyl or ceramic tiles, with proper preparation.
II. Installation Process:
Once you have prepared the area, it’s time to start installing your click lock engineered hardwood flooring. Follow these steps carefully:
1. Lay Underlayment: Install an underlayment over the subfloor to provide cushioning and reduce noise. Roll out the underlayment perpendicular to the direction in which you plan to lay the planks. Trim any excess using a utility knife.
FAQ: What type of underlayment should I use?
The choice of underlayment depends on factors such as moisture levels, sound insulation requirements, and subfloor type. Common options include foam, cork, or rubber underlayment.
2. Plan Your Layout: Begin planning your layout by determining the starting point and direction of installation. It is generally recommended to start from a corner and work towards the main entrance of the room for a more visually appealing result.
FAQ: Can I install click lock engineered hardwood flooring diagonally?
While it is technically possible to install engineered hardwood flooring diagonally, it requires additional expertise and may lead to more waste due to angled cuts. It is best suited for experienced DIYers or professionals.
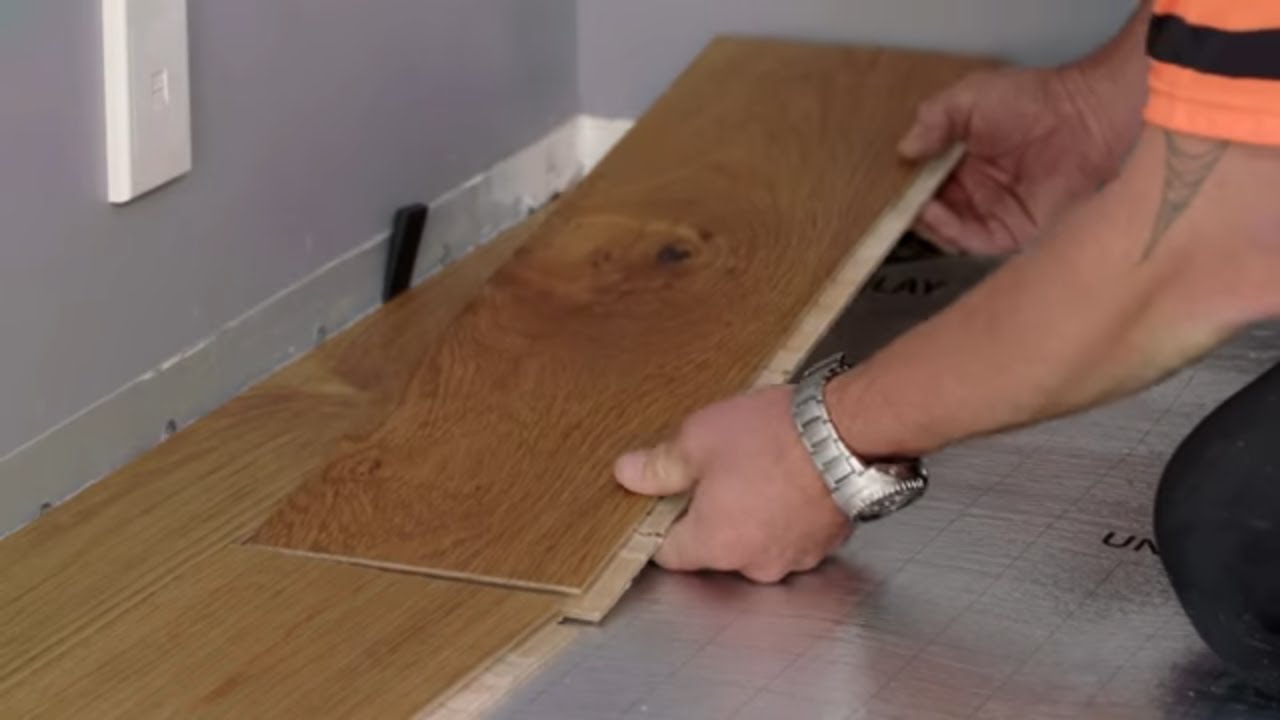
3. Install First Row: Begin installing the first row of planks by placing them with their tongue side facing the wall. Leave a 1/4-inch gap between the wall and the plank using spacers. This gap allows for expansion of The engineered hardwood flooring. Connect the planks together by angling the tongue of one plank into the groove of the previous plank and pressing down firmly. Use a tapping block and mallet to ensure a tight fit.
FAQ: Do I need to glue or nail down click lock engineered hardwood?
No, click lock engineered hardwood is designed to be floated over the subfloor without the need for glue or nails. The planks interlock securely, providing a stable and durable installation.
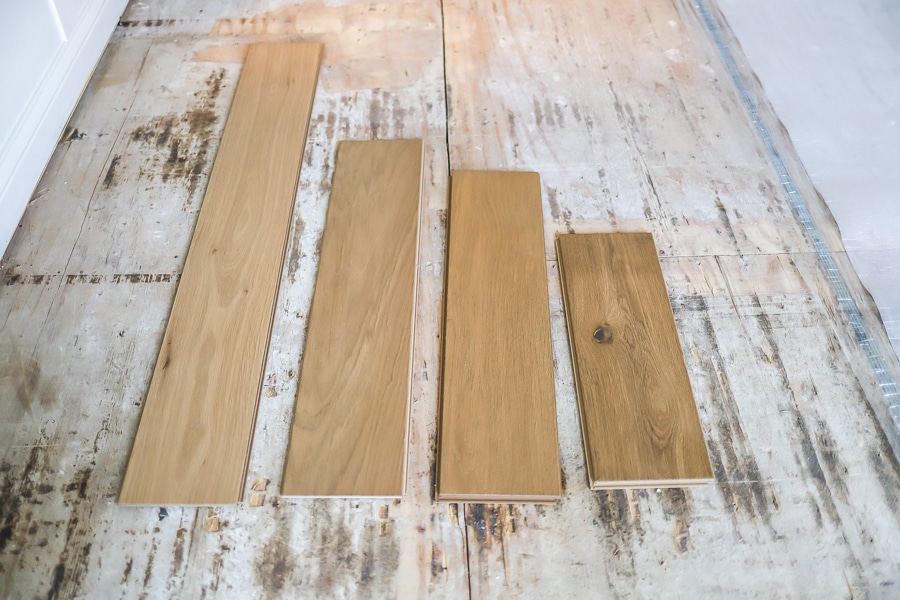
4. Continue Installation: Continue installing subsequent rows of planks by connecting them in the same manner as the first row. Stagger the end joints of adjacent rows by at least 6 inches to create a more visually appealing and structurally sound floor.
FAQ: Can I use a miter saw to cut the planks?
Yes, a miter saw can be used to make straight cuts on engineered hardwood planks. However, for angled or intricate cuts, it is recommended to use a jigsaw or circular saw with a fine-toothed blade.
5. Trim and Finish: Once all planks are installed, remove spacers and trim any excess underlayment around the edges using a utility knife. Install baseboards or quarter round molding to cover expansion gaps and provide a finished look.
FAQ: How long do I have to wait before walking on the newly installed flooring?
It is best to wait at least 24 hours before allowing regular foot traffic on the newly installed click lock engineered hardwood flooring. This allows time for any adhesive used in the installation process to fully cure.
Remember to refer to the manufacturer’s installation instructions for specific guidance on your click lock engineered hardwood flooring. Following proper installation techniques will ensure a successful and long-lasting result. Some additional tips for installing click lock engineered hardwood flooring are:
1. Acclimate the flooring: Before installation, allow the planks to acclimate to the room’s temperature and humidity for at least 48 hours. This helps prevent expansion or contraction after installation.
2. Use a moisture barrier: If installing over concrete or in a high-moisture area, it is recommended to use a moisture barrier underlayment to protect the flooring from moisture damage.
3. Use a tapping block and mallet: When connecting the planks, use a tapping block and mallet to ensure a tight fit and eliminate any gaps between the planks.
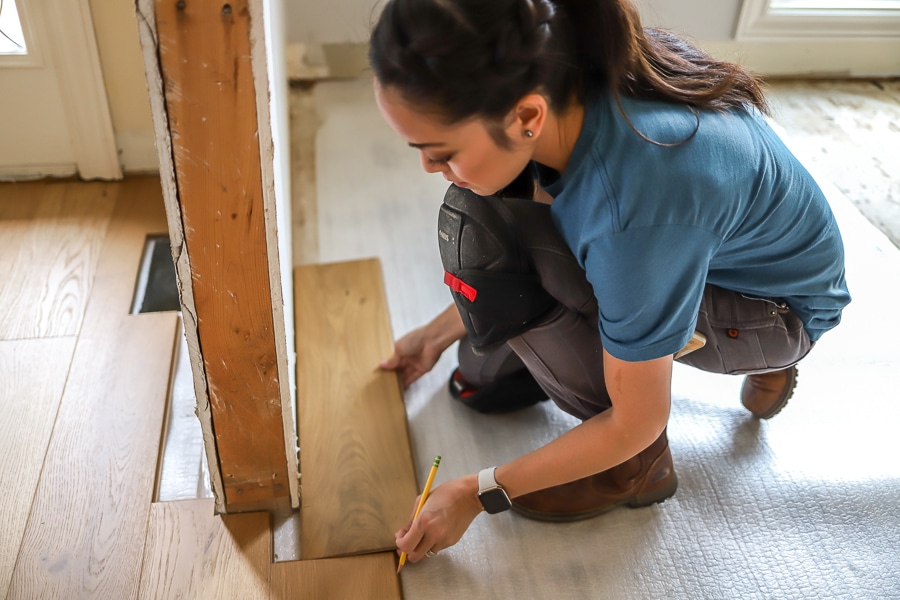
4. Trim door jambs: If necessary, trim the bottom of door jambs to allow the flooring to slide underneath. This creates a clean and professional look.
5. Maintain proper expansion gaps: Leave expansion gaps around the perimeter of the room and at transitions between rooms to allow for natural expansion and contraction of the flooring.
6. Clean as you go: It’s important to clean up any excess adhesive or debris as you install each row of planks. This will prevent it from drying and becoming difficult to remove later on.
7. Take your time: Installing engineered hardwood flooring requires precision and attention to detail. Take your time and double-check measurements before making cuts or connecting planks to ensure a professional-looking result.
Remember, always consult the manufacturer’s instructions for specific guidelines on installing your particular click lock engineered hardwood flooring. Click lock engineered hardwood flooring is a popular choice for homeowners due to its ease of installation and durability. Here are some general steps to follow when installing click lock engineered hardwood flooring:
1. Prepare the subfloor: Ensure that the subfloor is clean, dry, and level. Remove any existing flooring and repair any damaged areas.
2. Install underlayment: Lay down a moisture barrier underlayment to protect the flooring from moisture damage. This is especially important if installing over concrete or in a high-moisture area.
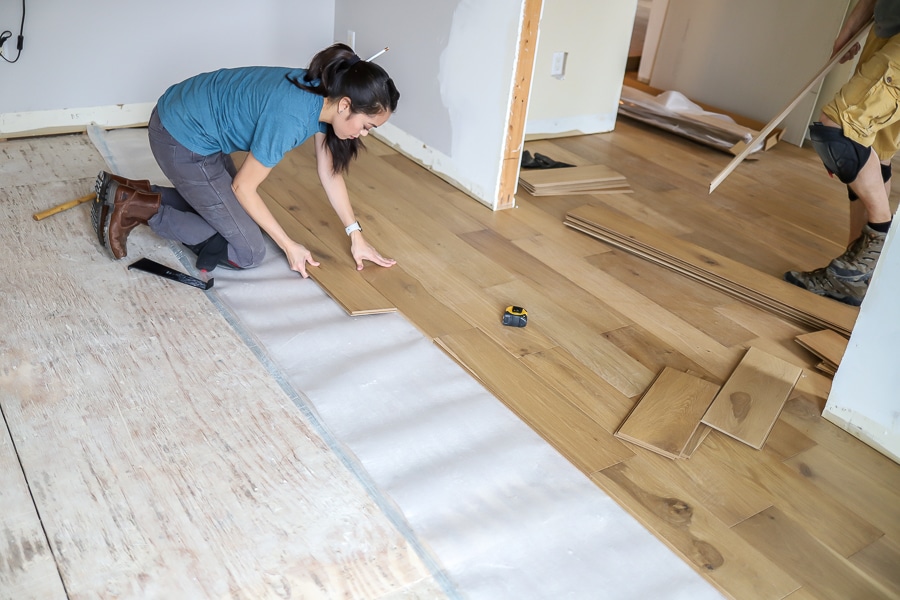
3. Start in a corner: Begin installation in a corner of the room, preferably against a wall with an expansion gap. Lay the first row of planks with the tongue side facing the wall.
4. Click and lock: Align the second plank at an angle with the first plank and gently tap it into place using a tapping block and mallet. Continue this process for each subsequent plank, ensuring a tight fit by tapping them together.
5. Stagger the planks: To create a natural look, stagger the end joints of each row by at least 6 inches. This helps distribute weight and prevents the formation of visible seams.
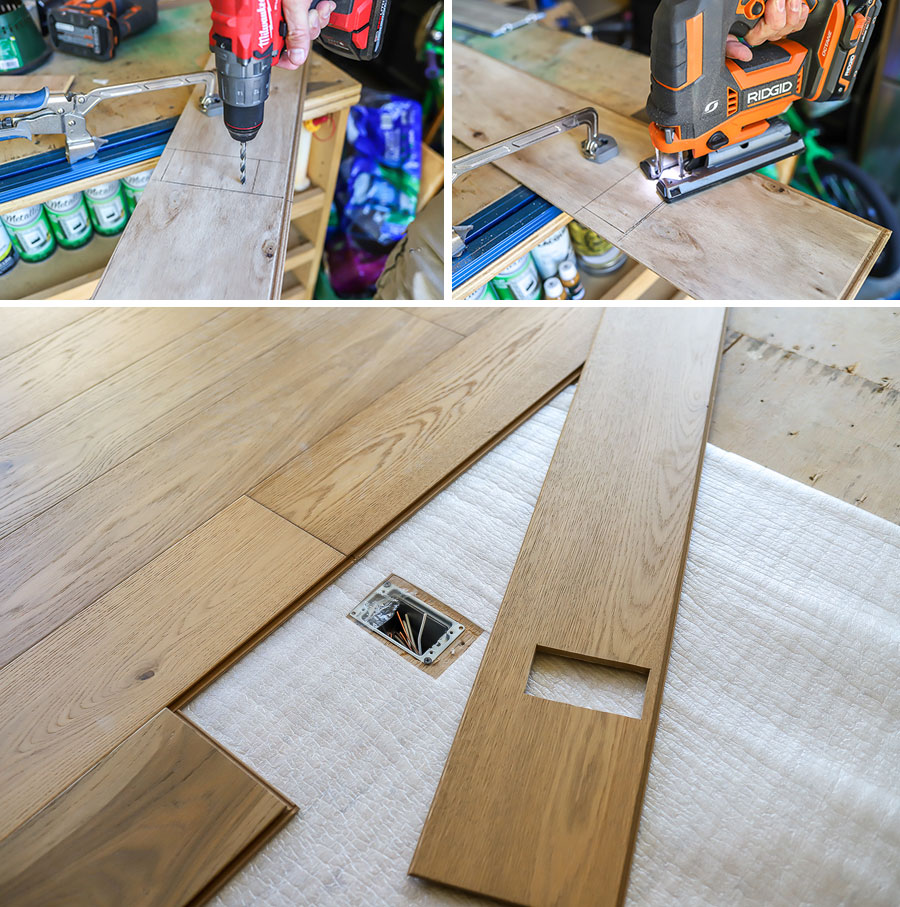
6. Cut and trim: Measure and cut planks as needed to fit around obstacles such as doorways or vents using a miter saw or jigsaw. Trim door jambs if necessary to allow for a seamless installation.
7. Angle cuts: For angled or intricate cuts, use a jigsaw or circular saw with a fine-toothed blade for more precision.
8. Trim and finish: Once all planks are installed, remove spacers and trim any excess underlayment around the edges using a utility knife. Install baseboards or quarter round molding to cover expansion gaps and provide a finished look.
9. Allow time to cure: It is best to wait at least 24 hours before allowing regular foot traffic on the newly installed click lock engineered hardwood flooring. This allows time for any adhesive used in the installation process to fully cure.
Remember to always refer to the manufacturer’s installation instructions for specific guidance on your click lock engineered hardwood flooring. Following proper installation techniques will ensure a successful and long-lasting result.