Epoxy flooring is a real low maintenance option. Make sure that you know how to combine it. Apart from that you can find scratch edit and therefore are resistant to chemical substances, water, grease, dust along with other similar chemical agents. Polyurethane as well as latex floor paints won't work with a brand new epoxy floor. Epoxy flooring gives you the profit of not re doing the floor again and again.
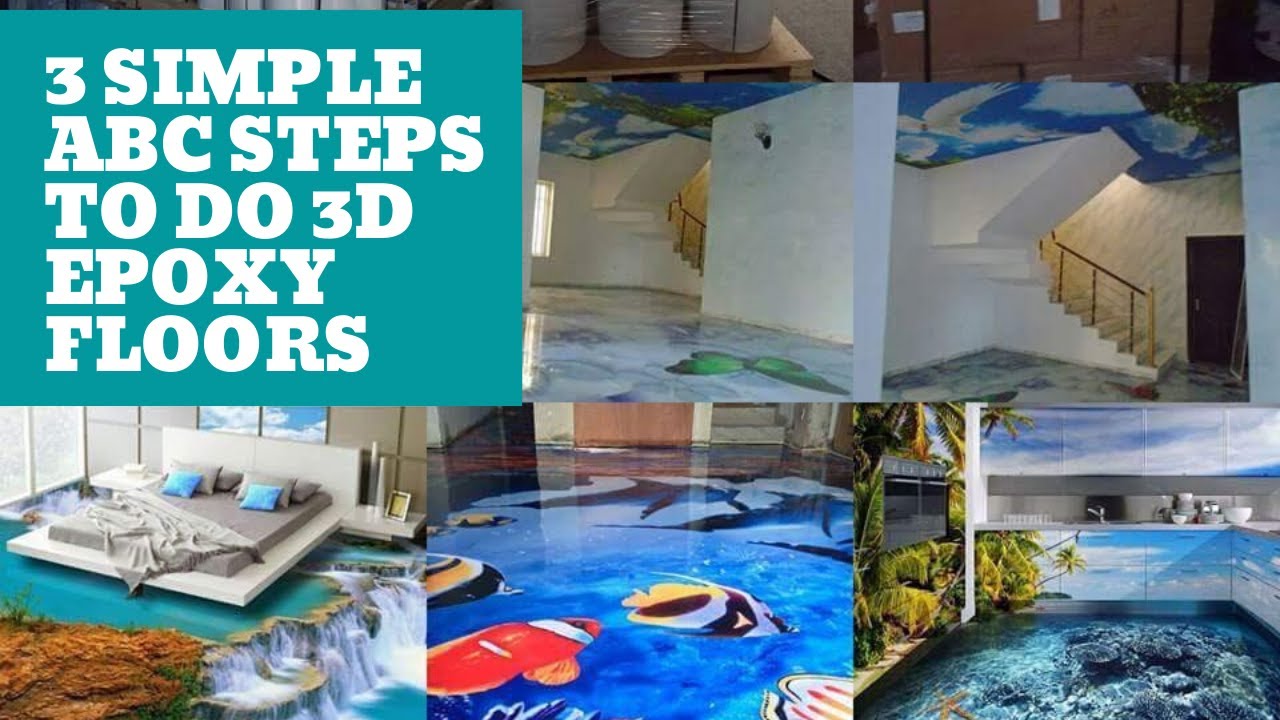
Here are Images about How To Install 3d Epoxy Flooring
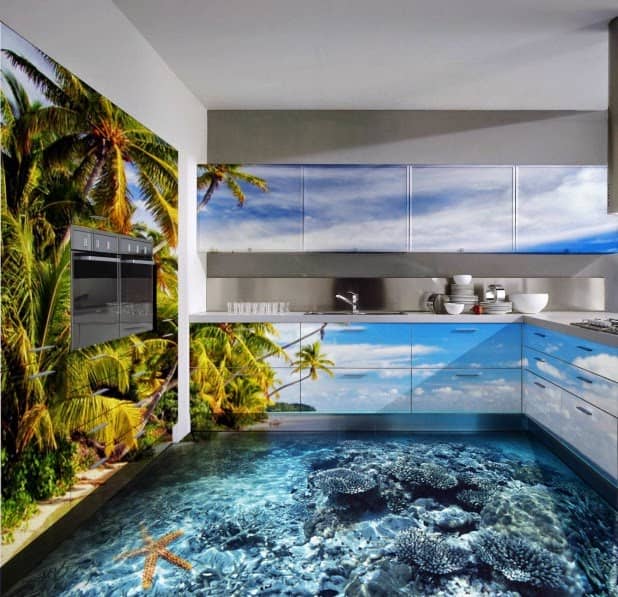
How To Install 3d Epoxy Flooring
Based on the mix and color and style of epoxy, the durable finished product can tolerate between 800 4000 psi. One common solution to each of these flooring challenges, which can satisfactorily deliver the results in an assortment of scenarios, is actually epoxy flooring. For each and every room in the house there is a form of epoxy application. Another idea is to have it blended to ensure that you can merely use it on the floor.
Epoxy 3D Floor u2013 Everything You Need to Know – Advance Industrial

If the epoxy floor paint of yours is solvent-based it is much more toxic but more powerful than epoxy that is water-based. The advantages are a lot in relation to installing epoxy flooring in your garage or store. Manufacturing epoxy flooring covering products stand above the rest in giving you the highest quality as well as best performance in industrial floor apps.
Images Related to How To Install 3d Epoxy Flooring
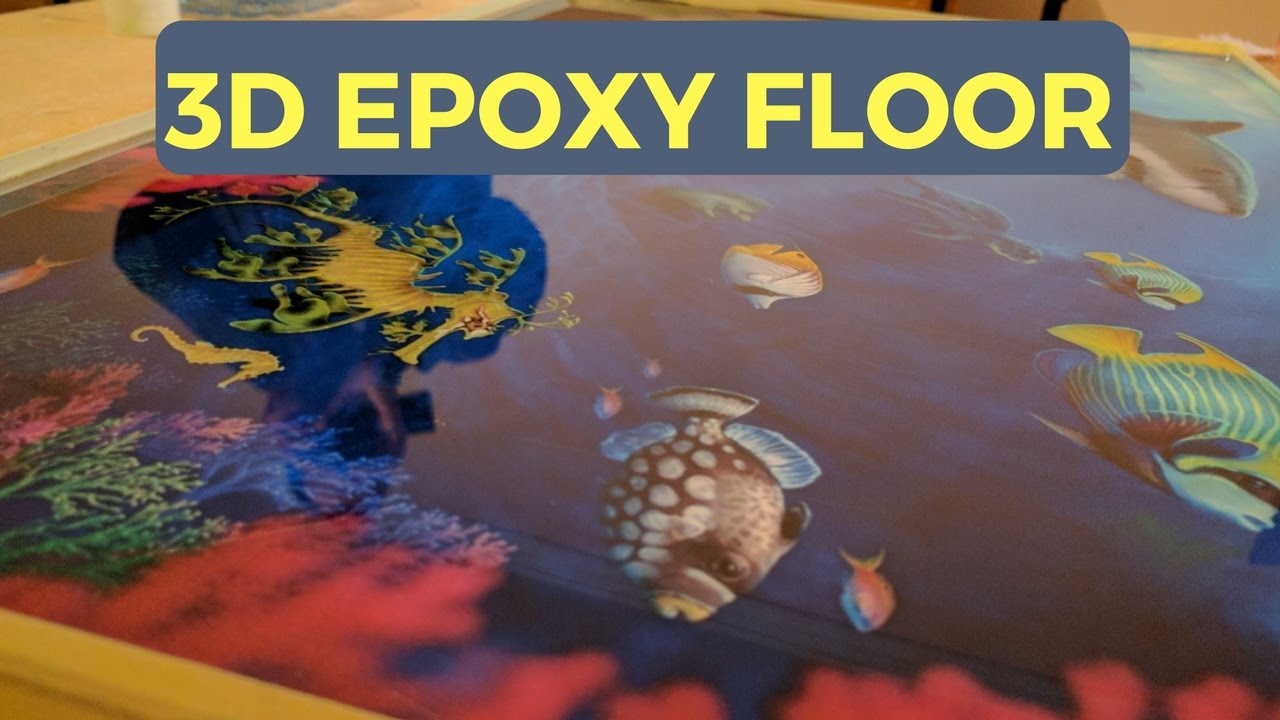
Step by step to install 3d epoxy flooring and how to make 3d floor

Epoxy 3D Floor u2013 Everything You Need to Know – Advance Industrial
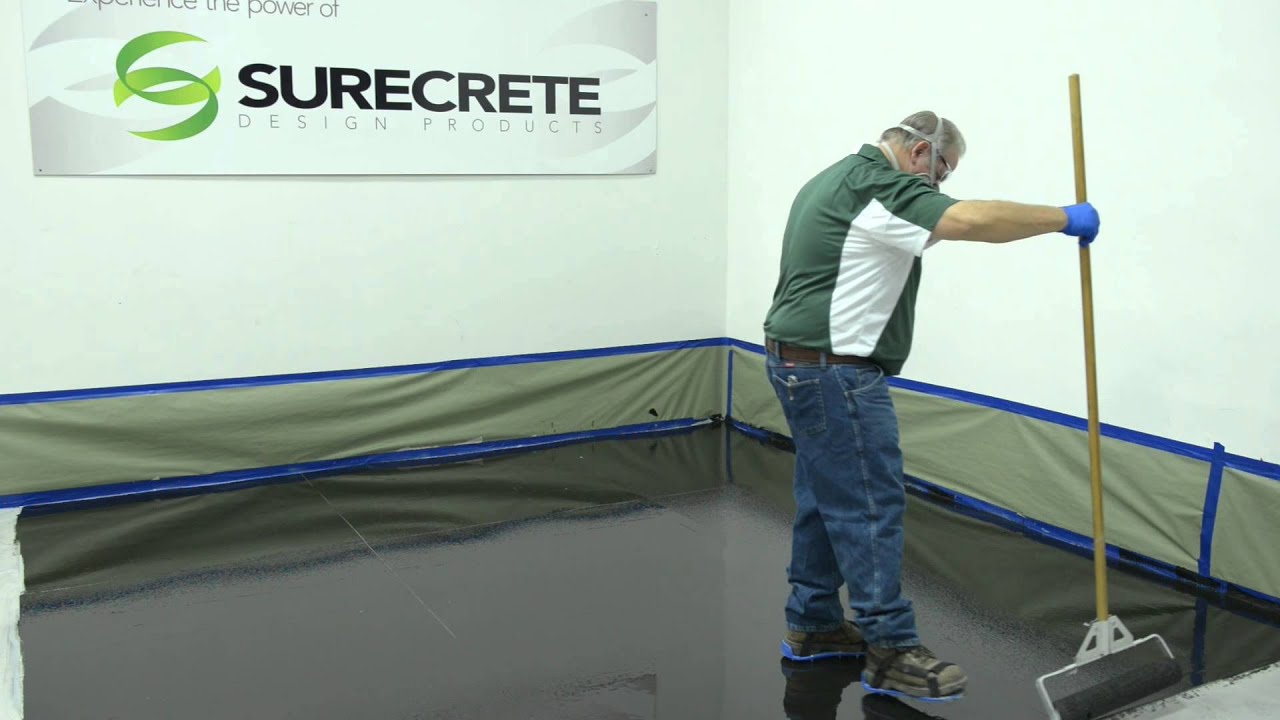
How to Make a 3D Metallic Floor – System by Surecrete
A complete guide to 3D flooring installation
Epoxy 3D Floor u2013 Everything You Need to Know – Advance Industrial
How to apply a 3d Epoxy Floor
Epoxy 3D Floor u2013 Everything You Need to Know – Advance Industrial

3D Epoxy Flooring – How to Make 3D Floor Art With Epoxy Resin

Quantum 3D Epoxy flooring technology systems – Home Facebook

3d Epoxy Flooring,3d Wallpaper Nd Wall Panel Installation added a

How to Do Epoxy Flooring (with Pictures) – wikiHow

Dampproof Install 3D Epoxy Floor

Related articles:
- Epoxy Flooring Living Room
- 3D Epoxy Flooring
- Epoxy Flooring Ideas
- Residential Epoxy Flooring
- Epoxy Flooring Waterproof
- Epoxy Floor Coating Tips
- Metallic Epoxy Floor Designs
- Epoxy Flooring Contractors
- Epoxy Floor Coating Material
- Epoxy Floor Coating With Flakes
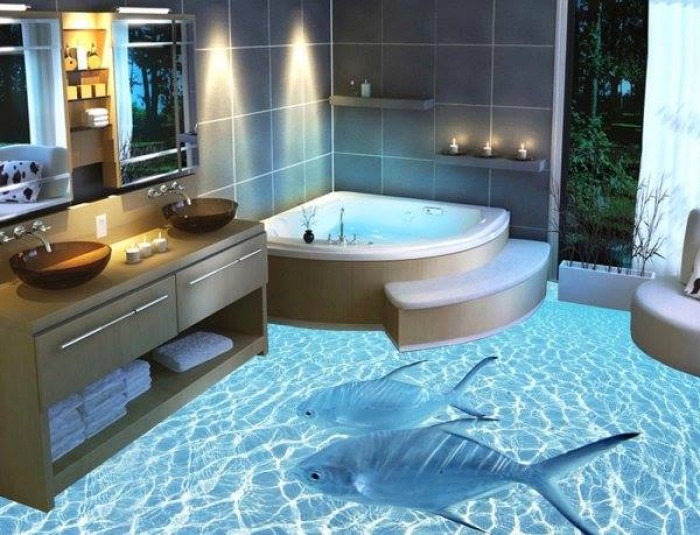
3D epoxy flooring is a stunning and unique flooring option that can transform any space into a work of art. With its eye-catching designs and durability, it has become increasingly popular in homes, offices, and commercial spaces. If you are looking to install 3D epoxy flooring in your space, follow these detailed steps to achieve a beautiful and long-lasting finish.
1. Planning and Preparation
Before you begin the installation process, it is essential to plan and prepare the space properly. Start by measuring the area where you want to install the 3D epoxy flooring and calculate the amount of material needed. Remove any existing flooring, clean the surface thoroughly, and repair any cracks or imperfections. Make sure the surface is level and smooth before proceeding with the installation.
FAQs:
Q: Can I install 3D epoxy flooring over existing tile or hardwood floors?
A: Yes, you can install 3D epoxy flooring over existing tile or hardwood floors as long as the surface is clean, level, and free of any damage.
Q: Do I need to hire a professional installer for 3D epoxy flooring?
A: While it is possible to install 3D epoxy flooring yourself, it is recommended to hire a professional installer for a flawless finish and to ensure durability.
2. Mixing the Epoxy Resin
The key to achieving a successful 3D epoxy flooring installation is proper mixing of the epoxy resin. Follow the manufacturer’s instructions carefully when mixing the resin and hardener to ensure a uniform consistency. Use a drill with a paddle attachment to mix the components thoroughly until no streaks are visible.
FAQs:
Q: How long do I have to wait before applying the mixed epoxy resin?
A: The pot life of mixed epoxy resin varies depending on the product used, so always refer to the manufacturer’s guidelines for specific timing instructions.
Q: Can I add color pigments or metallic powders to the epoxy resin?
A: Yes, you can customize the color of your 3D epoxy flooring by adding color pigments or metallic powders to the epoxy resin before application.
3. Applying the Base Coat
Once the epoxy resin is mixed correctly, apply a base coat onto the prepared surface using a roller or squeegee. Make sure to spread the base coat evenly and avoid leaving any puddles or streaks. Allow the base coat to cure according to the manufacturer’s instructions before proceeding with the next step.
FAQs:
Q: How many coats of base coat do I need to apply?
A: It is recommended to apply at least two coats of base coat for better adhesion and durability of your 3D epoxy flooring.
Q: How long does it take for the base coat to cure completely?
A: The curing time for the base coat varies depending on environmental conditions such as temperature and humidity, so always refer to the manufacturer’s guidelines for specific curing times.
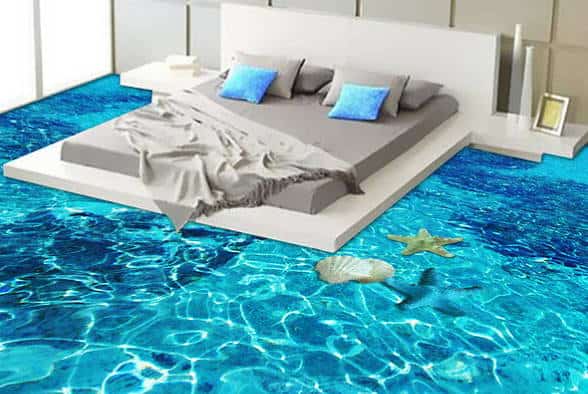
4. Creating 3D Designs
One of the most exciting aspects of 3D epoxy flooring is creating unique designs that add depth and visual interest to your space. You can use stencils, templates, or freehand techniques to create intricate patterns or images on the base coat before applying the final topcoat. Be creative and experiment with different design ideas to achieve a personalized look.
FAQs:
Q: Can I incorporate logos or custom graphics into my 3D epoxy flooring design?
A: Yes, you can customize your 3D epoxy flooring with logos or custom Graphics by using stencils or templates to create the desired image on the base coat before applying the final topcoat.
Q: Do I need any special tools or equipment to create 3D designs on my epoxy flooring?
A: While basic tools such as brushes, rollers, and stencils can be used to create 3D designs, you may also consider using specialized tools like trowels or squeegees for more intricate patterns or textures.
5. Applying the Topcoat
Once your 3D designs are in place and the base coat has cured completely, it’s time to apply the final topcoat of epoxy resin. Use a roller or squeegee to apply an even layer of topcoat over the entire surface, making sure to cover the entire design. Allow the topcoat to cure according to the manufacturer’s instructions before using the space.
FAQs:
Q: How thick should the topcoat be for 3D epoxy flooring?
A: The thickness of the topcoat depends on the desired level of durability and protection. It is recommended to apply a minimum of two coats of topcoat for optimal performance.
Q: How long does it take for the topcoat to cure completely?
A: The curing time for the topcoat varies depending on environmental conditions, so refer to the manufacturer’s guidelines for specific timing instructions.
6. Maintaining Your 3D Epoxy Flooring
To ensure the longevity and beauty of your 3D epoxy flooring, it’s important to maintain it properly. Regular cleaning with a mild detergent and water solution will help keep your floors looking new. Avoid using harsh chemicals or abrasive cleaners that can damage the epoxy surface. Additionally, consider applying a protective wax or sealer every few years to enhance durability and shine.
FAQs:
Q: Can I use a steam mop to clean my 3D epoxy flooring?
A: It is not recommended to use a steam mop on 3D epoxy flooring as high heat can damage the epoxy surface. Stick to gentle cleaning methods with a mild detergent and water solution.
Q: How often should I reapply a protective wax or sealer on my 3D epoxy flooring?
A: Depending on the level of foot traffic and wear, it is recommended to reapply a protective wax or sealer every 1-2 years to maintain the finish and durability of your 3D epoxy flooring.
Overall, creating and maintaining 3D epoxy flooring with custom designs can add a unique and creative touch to any space. With the right tools, techniques, and care, you can enjoy stunning 3D effects that will impress guests and enhance the aesthetic of your home or business. If you have any additional questions or concerns about 3D epoxy flooring, be sure to consult with a professional installer or manufacturer for personalized guidance.
In conclusion, 3D epoxy flooring is a versatile and visually appealing option for adding a touch of creativity to your space. By following the steps outlined above, you can create stunning designs and patterns that will enhance the aesthetic of your home or business. With proper maintenance and care, your 3D epoxy flooring can continue to impress for years to come. If you have any further questions or need assistance with your 3D epoxy flooring project, don’t hesitate to reach out to a professional installer or manufacturer for expert guidance.