They're highly-resistant to physical impact, water, chemicals, and oil from mechanical lots and pedestrian traffic. And, if you have painted floors, the best choice for you is to remove the old paint before applying any type of epoxy. Furthermore, the self-leveling characteristic of epoxy compound provides an even surface in spite of floors with bumps as well as splits.
Here are Images about How To Apply Epoxy Flooring
How To Apply Epoxy Flooring
This makes epoxy a great alternative for the garage floor coating. Epoxy floor surfaces are really effective and can be worn at the most demanding manufacturing locations in addition to supply a lovely addition to a typical trafficked floor. Epoxy resins are actually employed in a number of uses for development coming from flooring surfaces to counter tops.
How to Apply Epoxy Floor Paint – A 7 step guide
This substance treatment on the floors is helpful particularly when there are chemical solutions going on or perhaps if the floors have a heavy footfall on them. Simply attempt to remember in your purchase of epoxy flooring coatings, you have to be exact of what you actually need. They're 100 % sound epoxy, solvent-based and water-based epoxies.
Images Related to How To Apply Epoxy Flooring
How to Do Epoxy Flooring (with Pictures) – wikiHow

How to Apply Garage Floor Epoxy Coatings The DIY Guide All
Do-It-Yourself Epoxy Floor Coating
How to Do Epoxy Flooring (with Pictures) – wikiHow

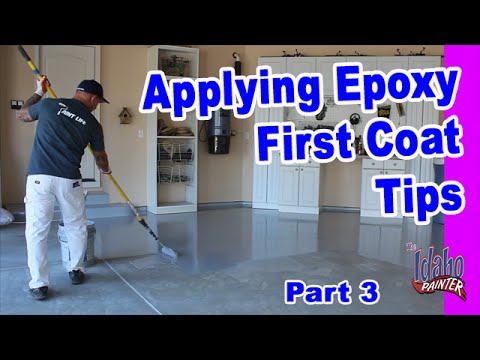
Applying Epoxy The First Coat. Epoxy Floor Application Instructions. Instructions applying epoxy.
How to Apply Epoxy Floor Paint – A 7 step guide

How to Install Epoxy Flooring » Residence Style
How to Apply Garage Floor Epoxy Coatings The DIY Guide All
How to apply metallic epoxy – Epoxy Pro

How Thick Should an Epoxy Floor Coating Be? – Florock

Applying Epoxy Floor Coating in Cold Temperature
Fast Dry Epoxy Floors Are Ready Overnight Minimal Downtime

Related articles:
- Epoxy Flooring Living Room
- 3D Epoxy Flooring
- Epoxy Flooring Ideas
- Residential Epoxy Flooring
- Epoxy Flooring Waterproof
- Epoxy Floor Coating Tips
- Metallic Epoxy Floor Designs
- Epoxy Flooring Contractors
- Epoxy Floor Coating Material
- Epoxy Floor Coating With Flakes
How to Apply Epoxy Flooring
Epoxy flooring is a popular choice for its durability, versatility, and aesthetic appeal. Whether you are considering applying epoxy flooring in your home or commercial space, it is important to understand the process and steps involved in achieving a successful installation. In this article, we will guide you through the detailed steps of how to apply epoxy flooring, providing valuable insights and tips along the way.
1. Assessing the Surface
Before applying epoxy flooring, it is crucial to assess the surface that will receive the coating. The surface needs to be clean, dry, and free from any contaminants such as oil, grease, or previous coatings. Start by thoroughly cleaning the floor with a mild detergent or degreaser and rinse it well. If there are any cracks or damages on the surface, repair them using an appropriate filler or patching compound. It is also essential to ensure that the substrate is structurally sound and level.
FAQ: Can I apply epoxy flooring over existing tiles?
Answer: Yes, epoxy flooring can be applied over existing tiles as long as they are in good condition and properly prepared. Ensure that the tiles are thoroughly cleaned and any loose or damaged ones are replaced before applying epoxy.
2. Surface Preparation
Proper surface preparation is key to achieving a successful epoxy flooring application. After assessing the surface, proceed with mechanical preparation methods such as grinding or shot blasting to create a rough profile on the floor. This will enhance adhesion between the epoxy coating and the substrate. Use a commercial-grade grinder or shot blaster for larger areas or handheld tools for smaller spaces.
Once the surface has been roughened, vacuum thoroughly to remove all dust and debris. Follow this with another round of cleaning using a solvent-based cleaner to ensure there are no remaining contaminants on the floor.
FAQ: Can I skip surface preparation if my floor is already clean?
Answer: No, even if your floor appears clean, it is still essential to perform surface preparation. The rough profile created through grinding or shot blasting helps the epoxy adhere better to the substrate, ensuring a long-lasting and durable finish.
3. Primer Application
Before applying the epoxy coating, a primer must be applied to enhance adhesion and provide a consistent base for the epoxy. Choose a primer specifically designed for epoxy flooring applications and follow the manufacturer’s instructions for mixing and application.
Using a roller or brush, apply the primer evenly across the floor in thin coats. Allow each coat to dry according to the recommended curing time before applying additional coats. Typically, two coats of primer are sufficient, but this may vary depending on the specific product and substrate conditions.
FAQ: Can I skip the primer application?
Answer: No, skipping the primer application can lead to poor adhesion of the epoxy coating to the substrate, resulting in premature delamination or failure of the flooring system. The primer serves as a crucial bonding layer between the substrate and the epoxy.
4. Mixing and Applying Epoxy Coating
Once the primer has cured, it is time to mix and apply the epoxy coating. Start by carefully reading and following the manufacturer’s instructions regarding mixing ratios and pot life. It is important to mix the components thoroughly to ensure proper curing and performance of the epoxy.
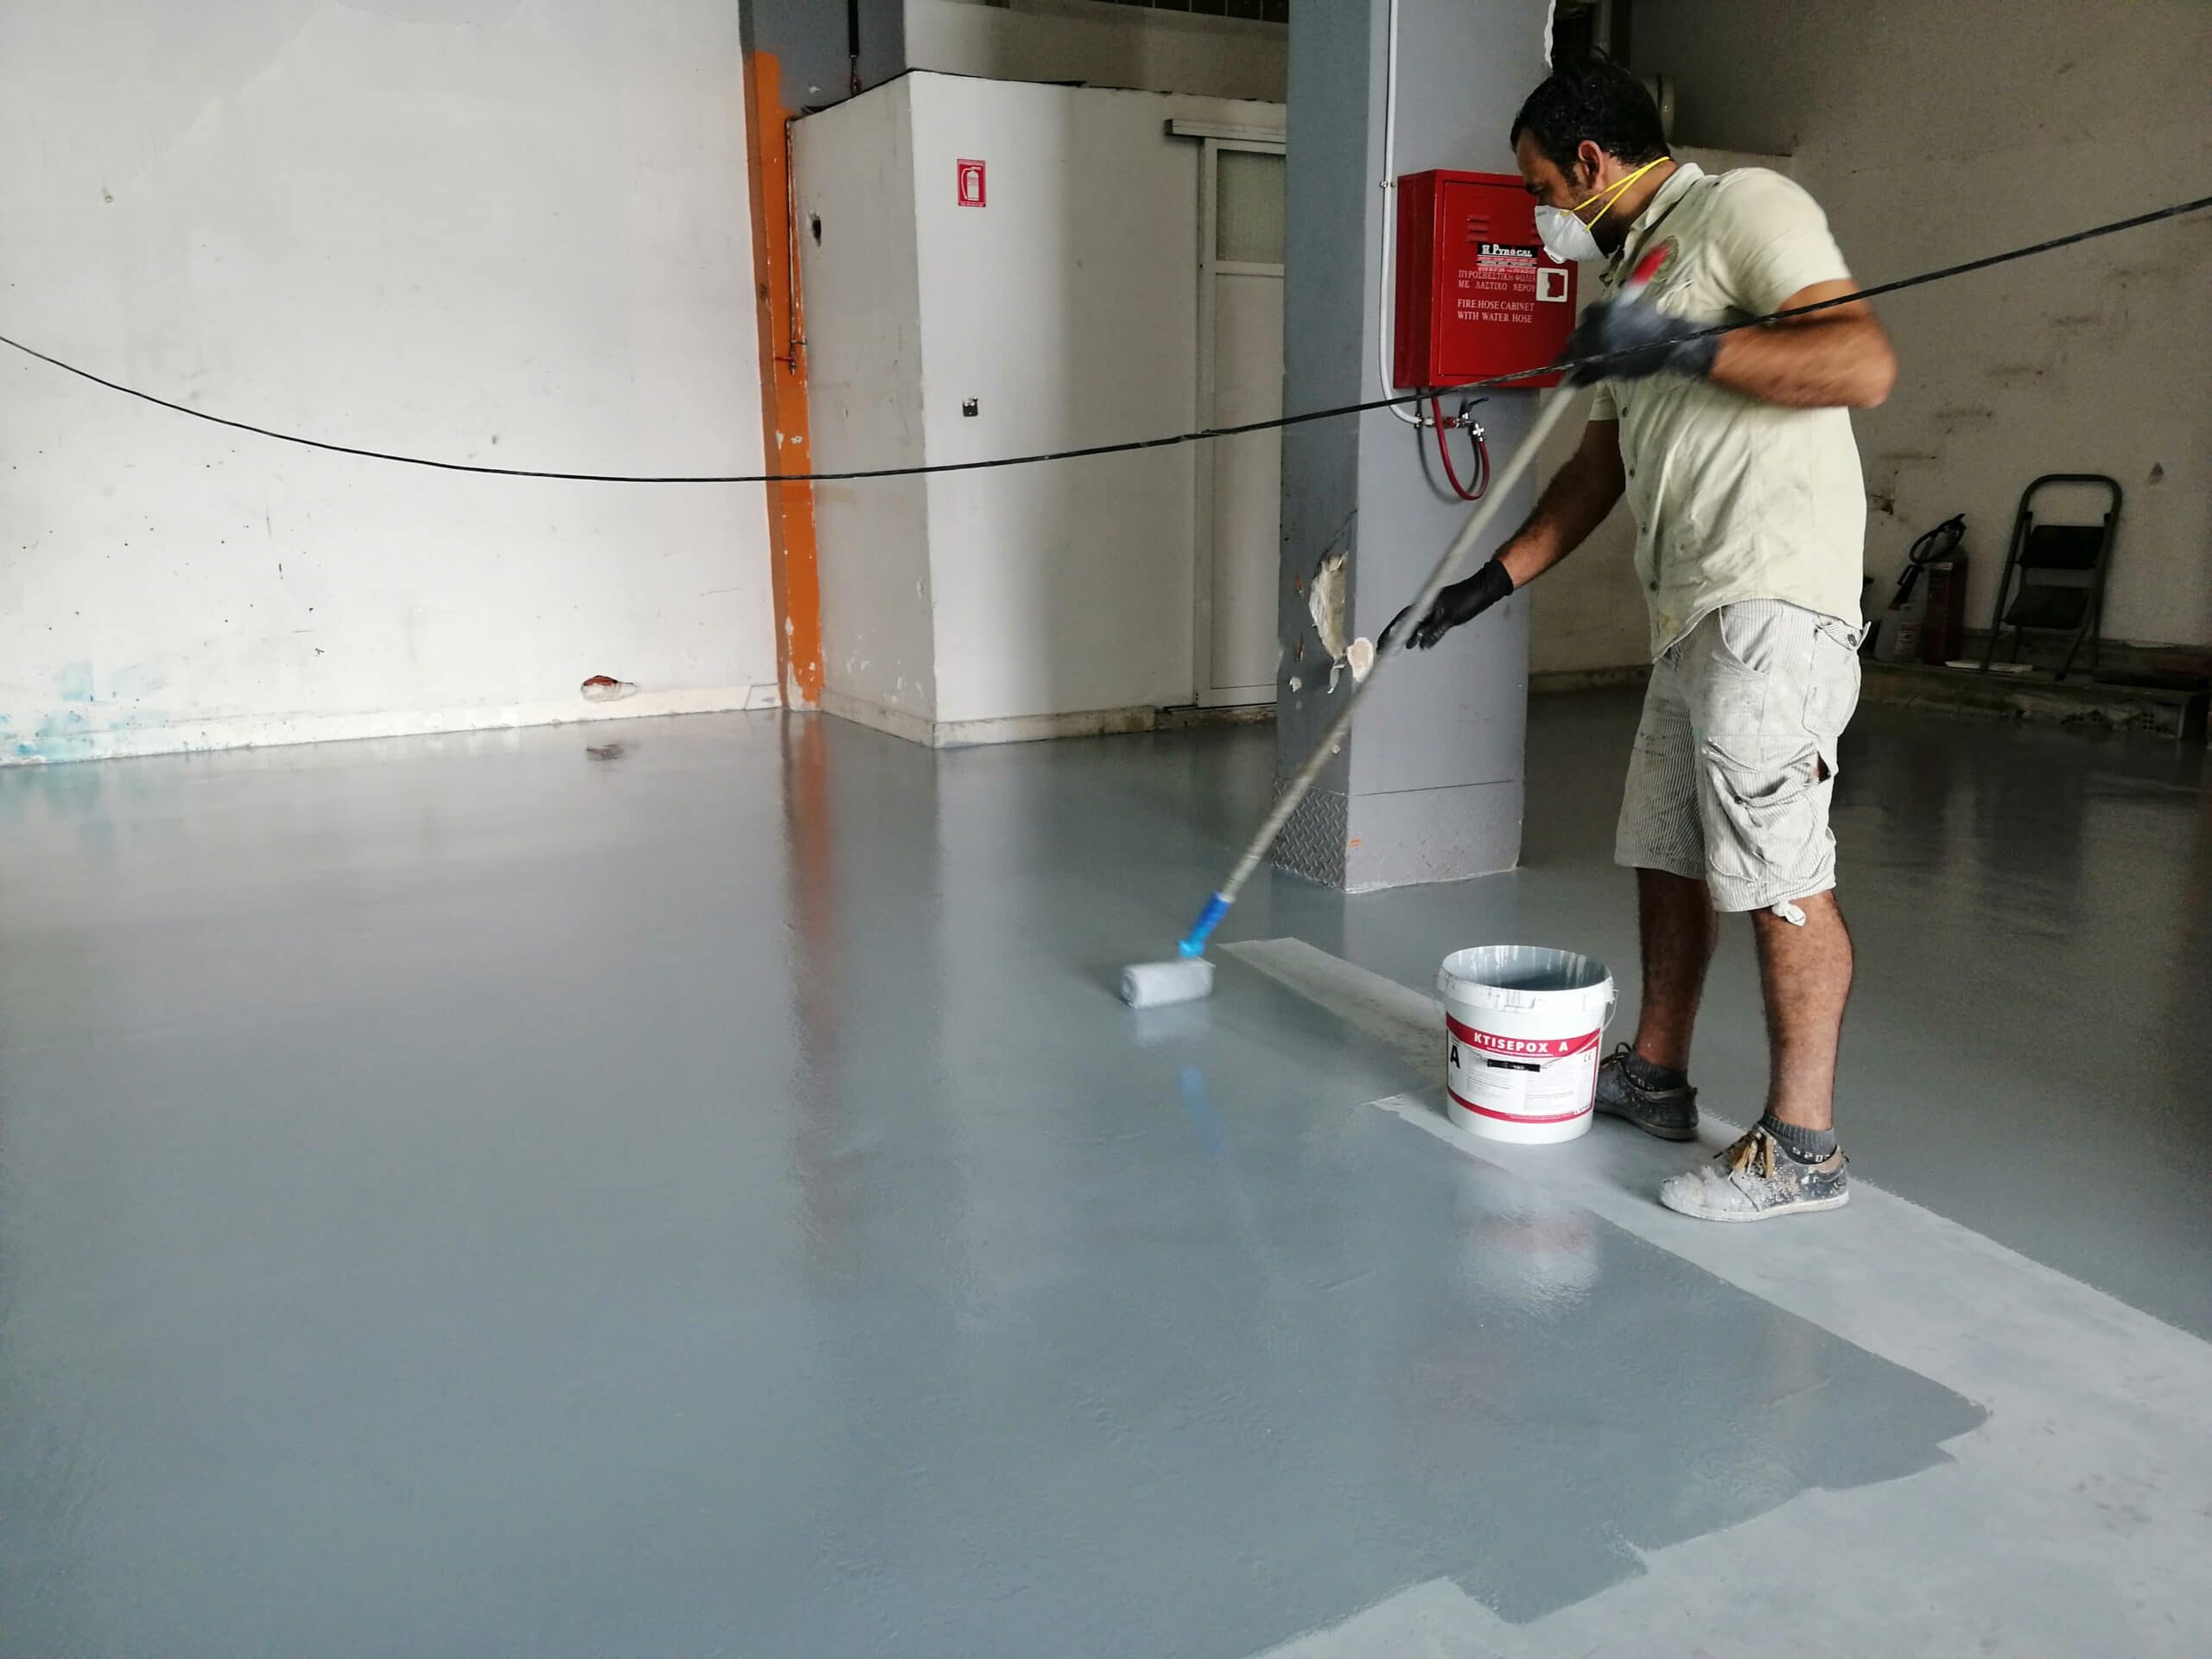
Pour a portion of Part A (resin) into a clean mixing container followed by an equal amount of Part B (hardener). Mix them together using a mechanical stirrer or paddle attachment until they are thoroughly blended. Avoid mixing large quantities at once to prevent Wasting material or having the epoxy cure before it can be applied.
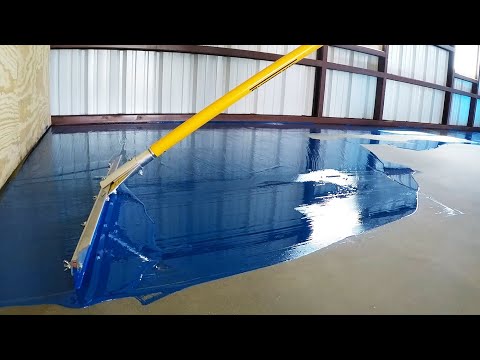
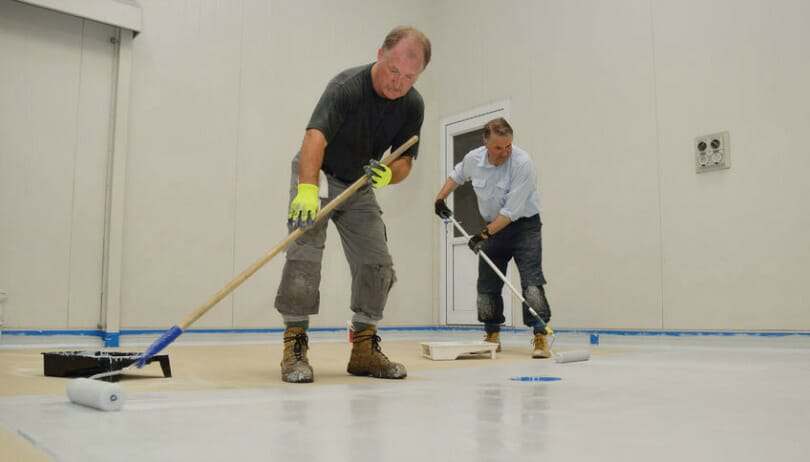
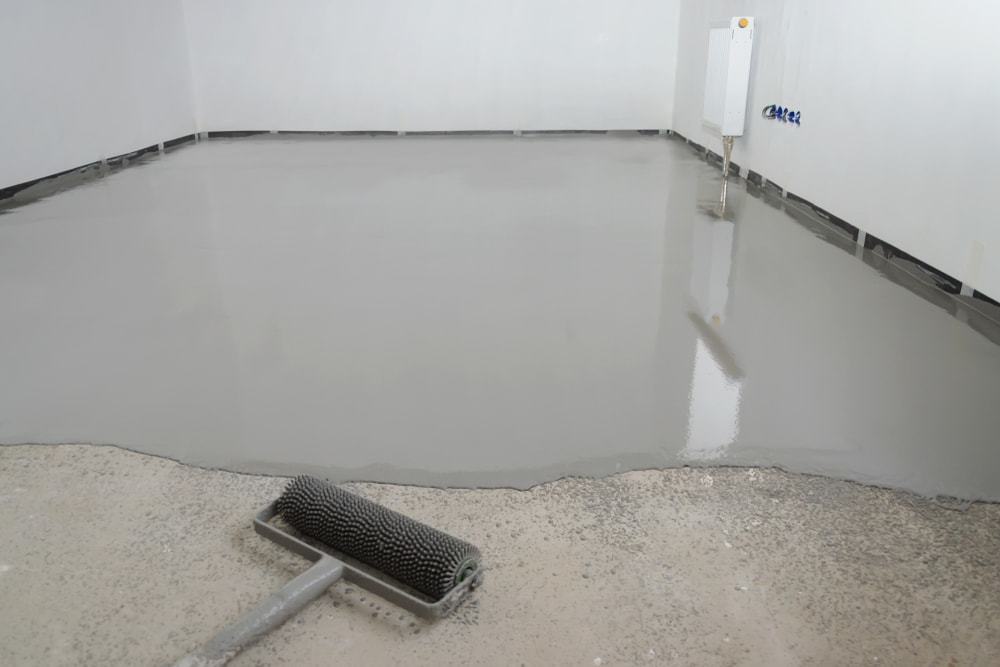
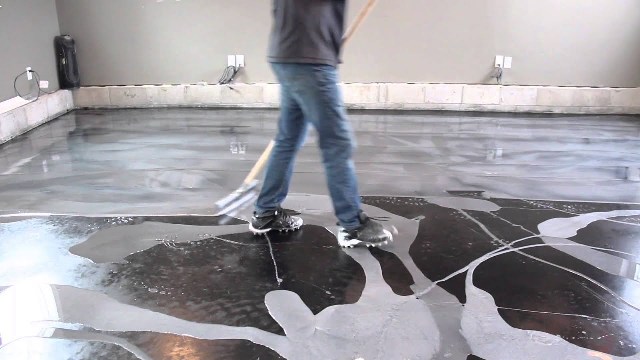
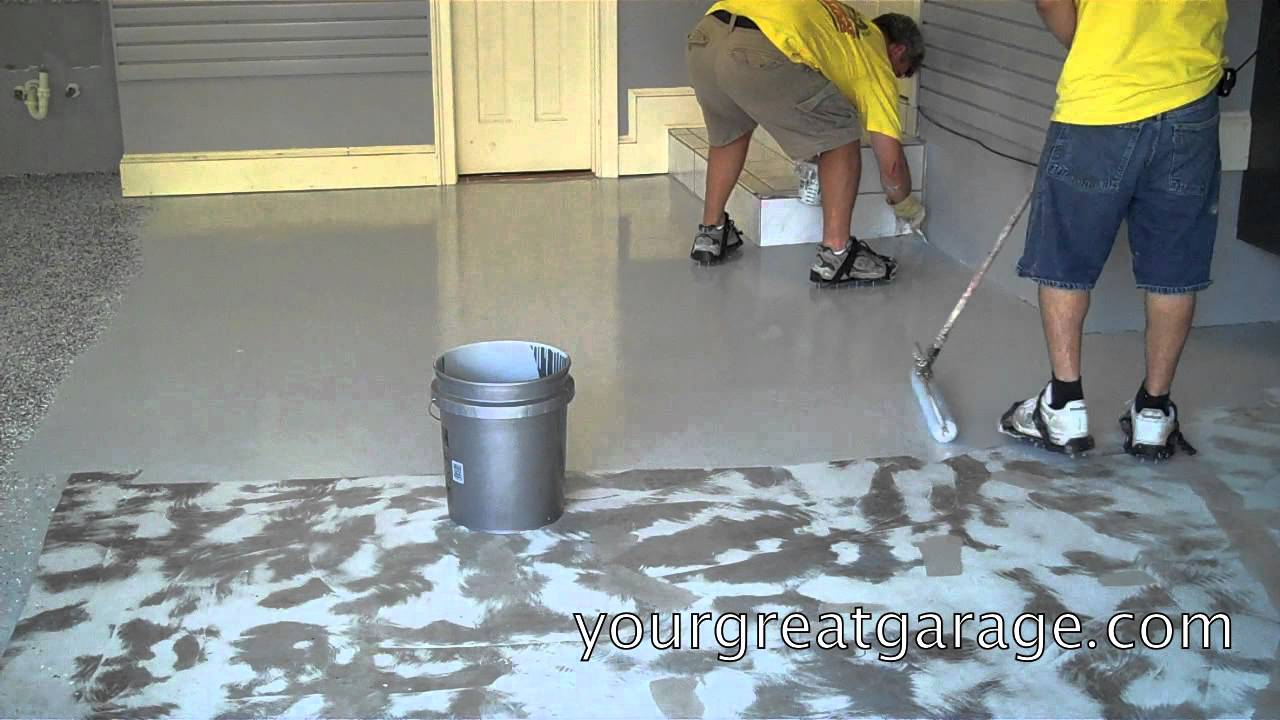
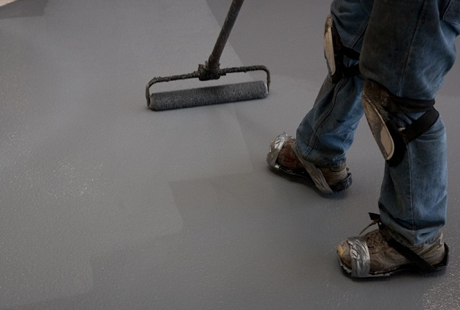
Once the epoxy is mixed, use a roller or brush to apply it evenly across the floor. Start at one corner and work your way towards an exit to avoid trapping yourself in a corner. Apply the epoxy in thin coats, making sure to spread it evenly and avoid any puddles or thick areas.
FAQ: Can I apply multiple coats of epoxy for a thicker finish?
Answer: Yes, you can apply multiple coats of epoxy to achieve a thicker finish. However, make sure to follow the manufacturer’s instructions regarding curing time between coats. Applying additional coats too soon can interfere with proper curing and adhesion.
5. Curing and Maintenance
After applying the epoxy coating, allow it to cure according to the manufacturer’s instructions. This usually involves leaving it undisturbed for a specified amount of time, typically 24-72 hours. Avoid walking on or placing heavy objects on the freshly coated floor during this time to prevent damage.
Once the epoxy has cured, regular maintenance is important to keep the floor looking its best. Sweep or vacuum regularly to remove dirt and debris that could scratch the surface. Clean up spills promptly using a mild detergent and water. Avoid using harsh chemicals or abrasive cleaners that could damage the epoxy.
FAQ: How long does epoxy flooring last?
Answer: With proper installation and maintenance, epoxy flooring can last for many years. The exact lifespan will depend on factors such as traffic volume, maintenance practices, and substrate conditions. Regular inspections and touch-ups can help extend the life of the flooring system.
In conclusion, proper surface preparation, primer application, and careful mixing and application of epoxy are essential steps in achieving a successful epoxy flooring application. Following these steps and manufacturer’s instructions will help ensure a long-lasting and durable finish that enhances the appearance and performance of your floor. It is important to follow the manufacturer’s instructions for applying epoxy coating. Here are the steps to follow:
1. Read and follow the manufacturer’s instructions: This includes information about mixing ratios and pot life, which is the amount of time you have to work with the mixed epoxy before it starts to cure.
2. Mix the epoxy components: Pour a portion of Part A (resin) into a clean mixing container, followed by an equal amount of Part B (hardener). Thoroughly mix them together using a mechanical stirrer or paddle attachment until they are well blended. Avoid mixing large quantities at once to prevent wasting material or premature curing.
3. Apply the epoxy coating: Use a roller or brush to apply the epoxy evenly across the floor. Start at one corner and work your way towards an exit to avoid trapping yourself in a corner. Apply thin coats, spreading the epoxy evenly and avoiding any puddles or thick areas.
4. Apply multiple coats if desired: If you want a thicker finish, you can apply multiple coats of epoxy. However, be sure to follow the manufacturer’s instructions regarding curing time between coats to ensure proper adhesion and curing.
5. Allow the epoxy to cure: After applying the epoxy coating, leave it undisturbed for the specified amount of time according to the manufacturer’s instructions, typically 24-72 hours. Avoid walking on or placing heavy objects on the freshly coated floor during this time to prevent damage.
6. Maintain the epoxy flooring: Regular maintenance is important to keep the floor looking its best. Sweep or vacuum regularly to remove dirt and debris that could scratch the surface. Clean up spills promptly using a mild detergent and water, avoiding harsh chemicals or abrasive cleaners that could damage the epoxy.
Epoxy flooring can last for many years with proper installation and maintenance. Regular inspections and touch-ups can help extend its lifespan. Following these steps and manufacturer’s instructions will help ensure a successful epoxy flooring application.