Reclaimed wood has actually been unveiled into the laminate floor surfaces industry giving a small piece of history mixed with modern technology of today. The installation strategy can additionally be the foundation in classifying the wood floors materials. This's especially the case with hardwood floors. Obviously, one of the typical varieties that is both attractive and durable is sound oak wood flooring.
Images Related to Honey Oak Engineered Wood Flooring
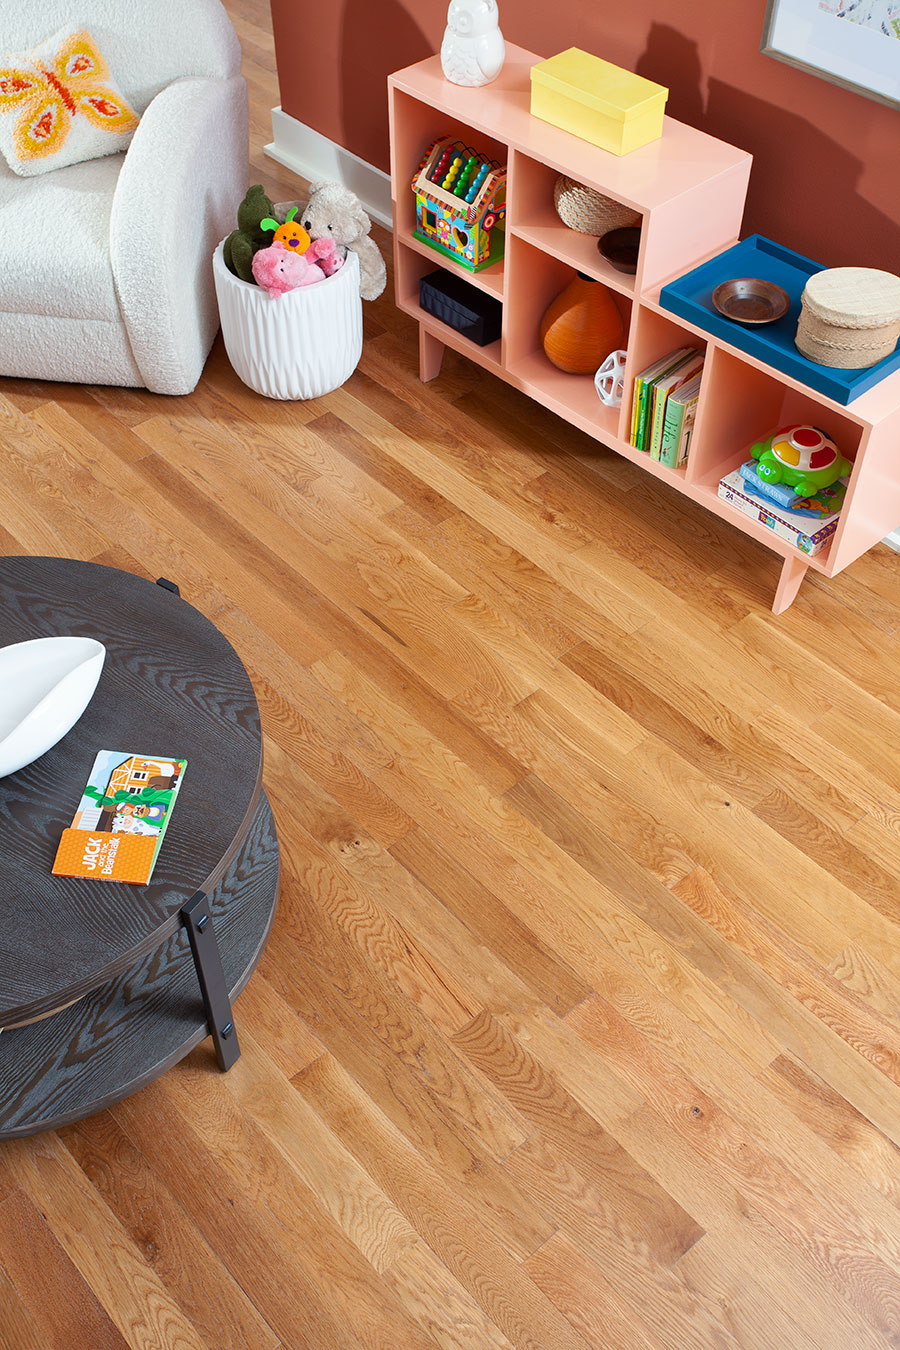
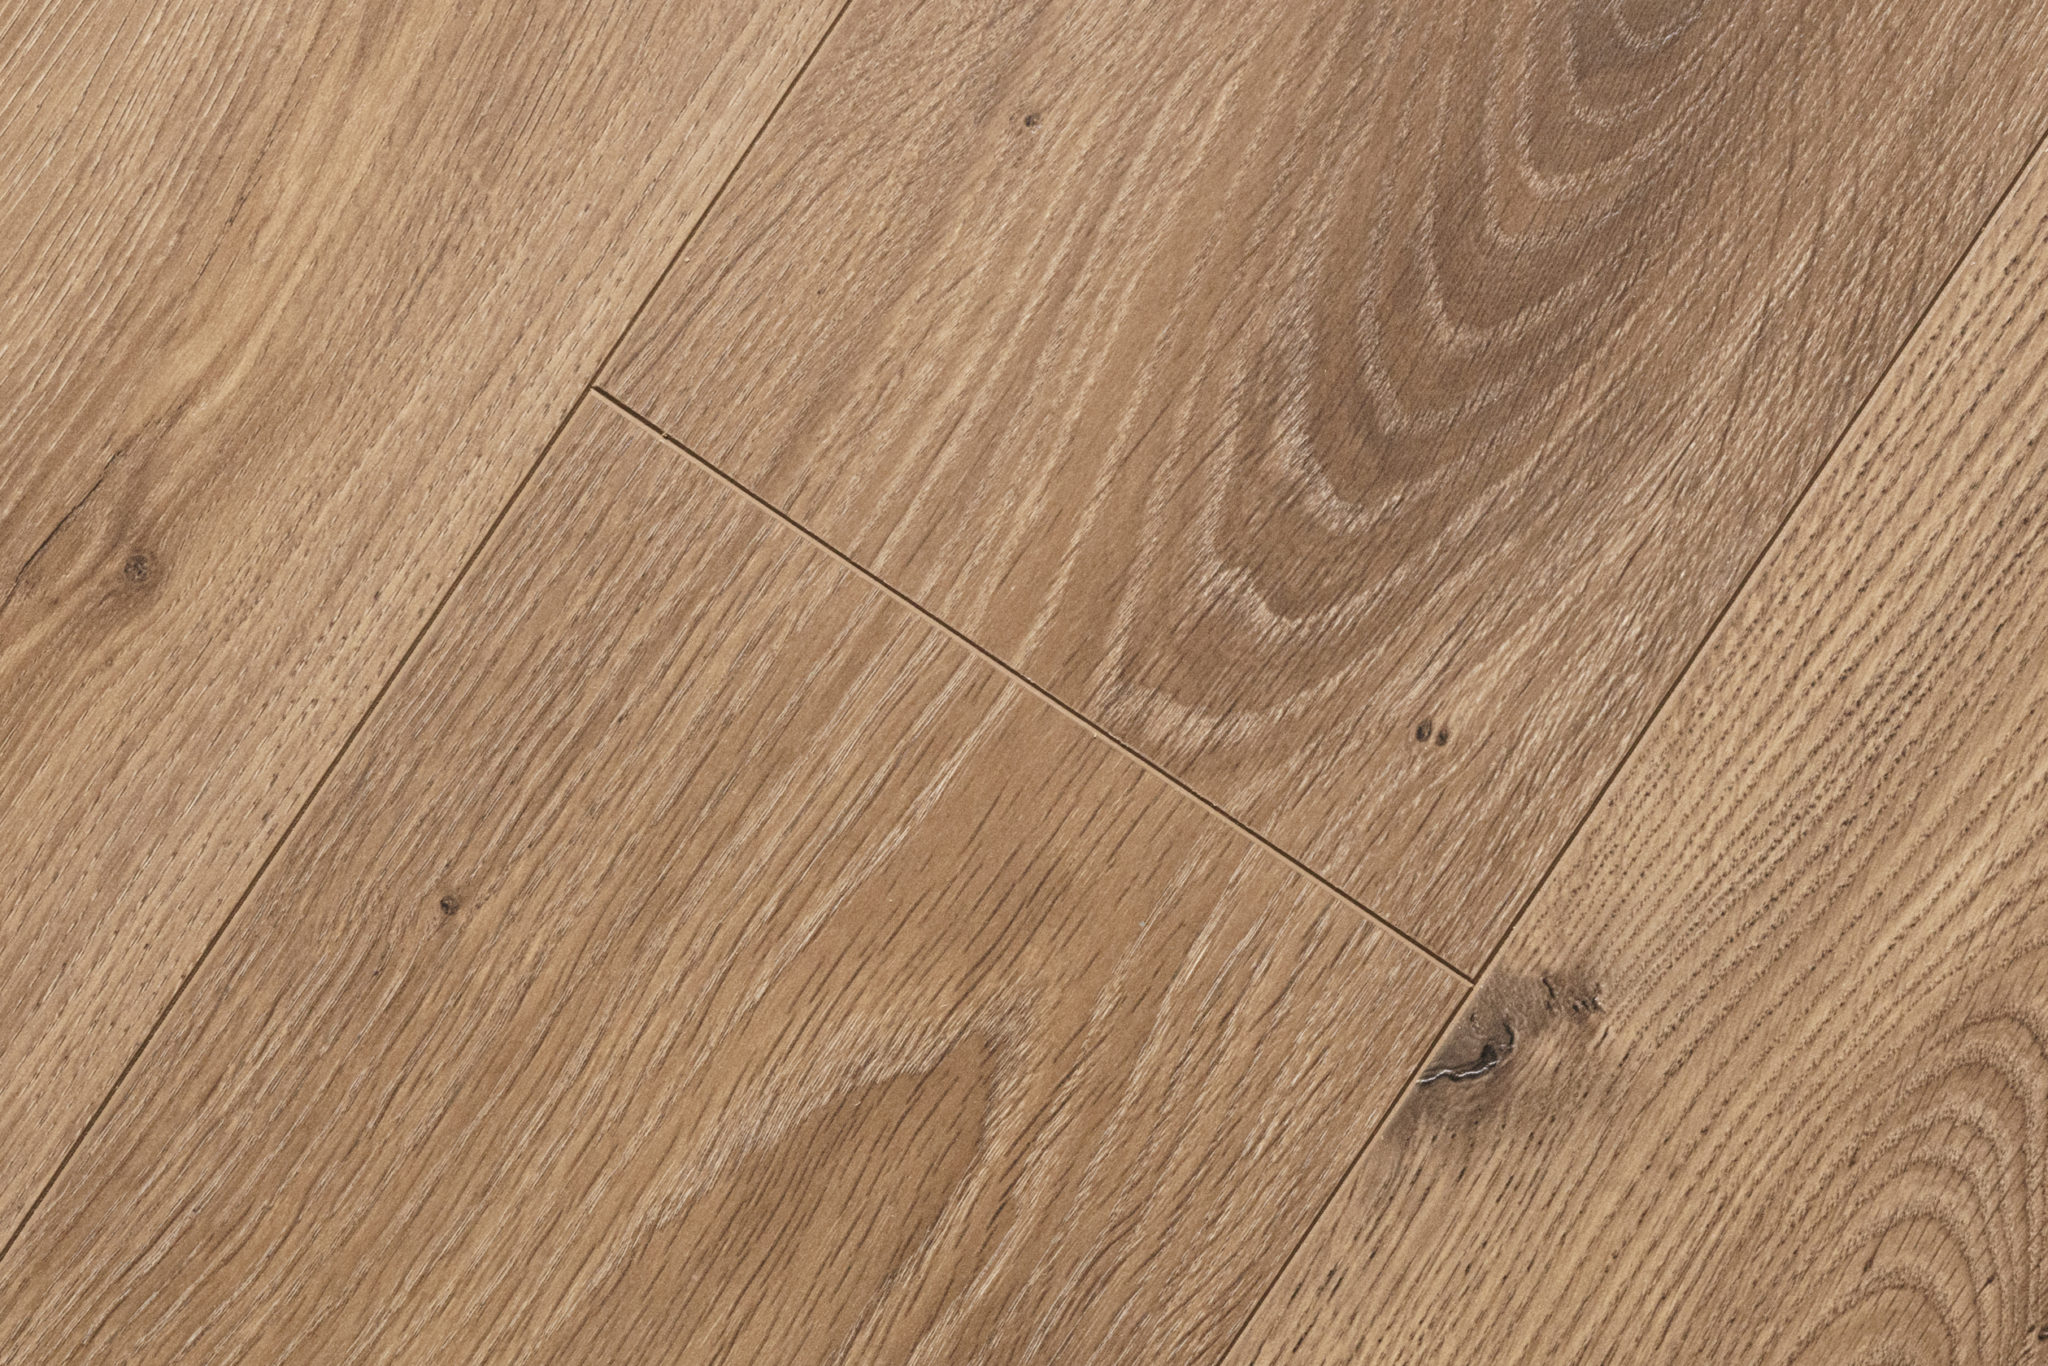
Honey Oak Engineered Wood Flooring

There's no importance to arrange for individual visits or perhaps risk working to get it done yourself and ruin an important investment like the overall look of the home of yours when the options is really simple and cost effective. Before you buy some sort of wood flooring you need to understand what you are getting. More and more people are choosing wood floors for anyone with allergies.
White Oak Flooring – Wire Brushed Honey 6″ Hardwood Bargains
Sooner or later, hardwood floors will need refinishing and even sanding & refinishing, but may be sanded can times over. Reclaimed wood is produced from wood which would typically land in a landfill or burned or even disposed of in some other manner. Foremost check in case you had any of the boards left over if the floor was fitted, in many cases the fitter will advise keeping some of the left over floors in the loft in case you need to repair a section.
Oak Honey 3″ Great Lakes Flooring Quality. Service. Innovation.
Mannington American Oak Honey Grove 5/8″ x 5″ Engineered Hardwood

Manhattan Honey Oak Lacquered Engineered Wood Flooring
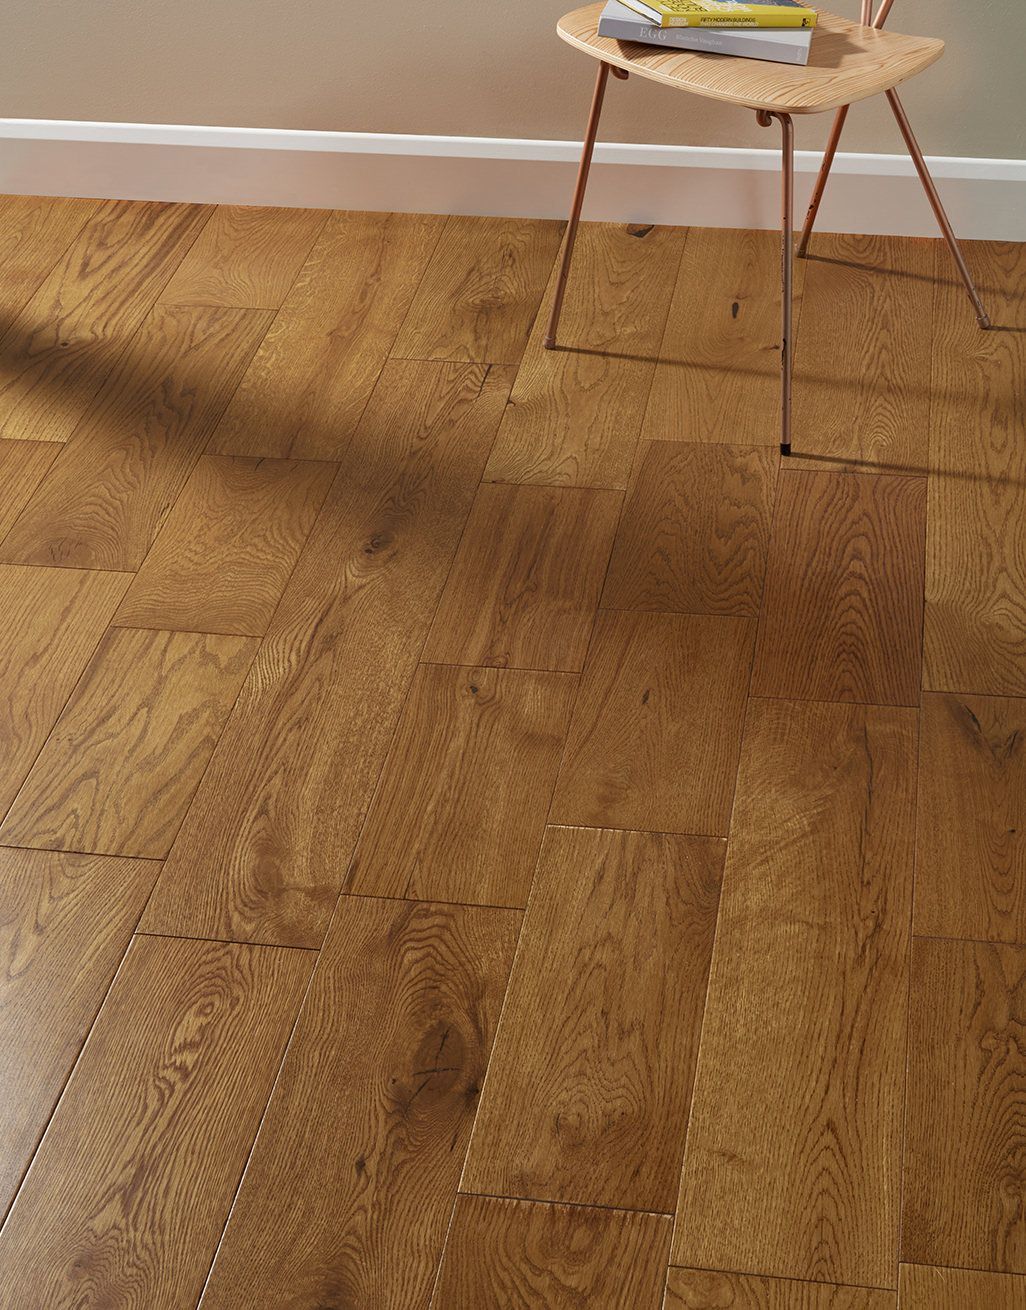
Studio Honey Oak Lacquered Engineered Wood Flooring Engineered

Valinge – Woodura Hardened Wood Flooring Honey Oak
Hampton Honey – Impressions Flooring Collection
Bruce (Sample) Nature of wood premium Prefinished Honey Oak

Vintage Honey

Great Lakes Wood Floors Oak 3/4 x 3 Solid Hardwood Flooring (24 sq

HONEY OAK Oasis Laminate Flooring Los Angeles
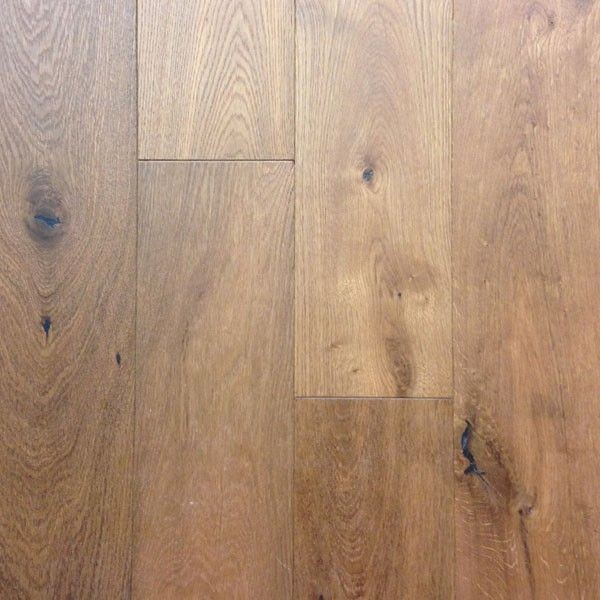
China White Grained Honey Oak Engineered Wide Plank Wood Flooring

Swanson White Oak Engineered Hardwood Floor and Decor
Related articles:
- Natural Wood Floor Stain
- Oak Wood Flooring
- Birch Wood Flooring Reviews
- Wood Floor Damage Repair
- Dove Grey Wood Flooring
- Engineered Wood Floor Bathroom
- What Is Composite Wood Flooring
- Wood Floor Covering Options
- Black Solid Wood Flooring
- Best Wood Floor Filler
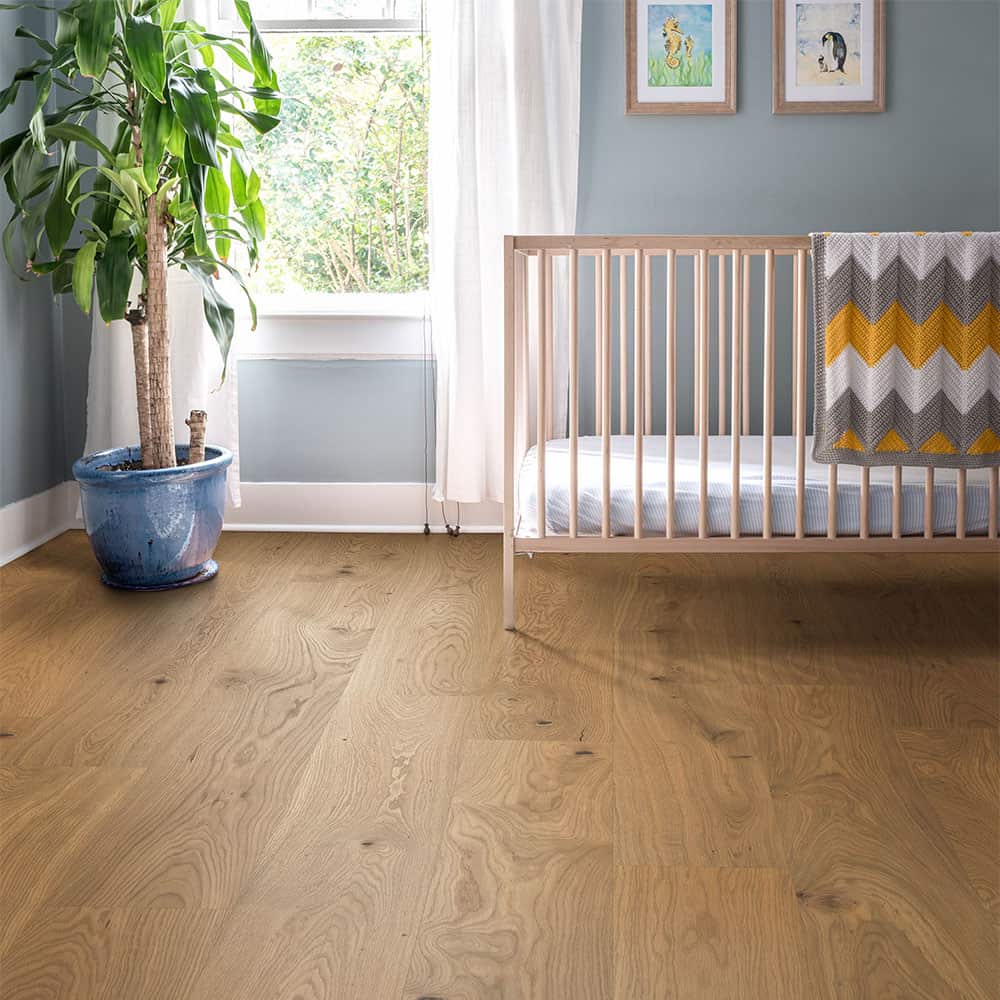
Are you looking for a warm, classic look for your home? Honey oak engineered wood flooring is the perfect choice! With its traditional charm, honey oak flooring is the perfect addition to any home. Here, we’ll discuss the benefits of choosing honey oak for your flooring and provide helpful tips for installation and maintenance.
What is Honey Oak Engineered Wood Flooring?
Honey oak engineered wood flooring is composed of several layers of real wood, topped with a layer of hardwood veneer. This makes it more durable than traditional hardwood flooring and suitable for installation over a variety of surfaces. The natural honey color adds warmth and depth to any room, while the classic grain pattern gives it an air of timelessness.
Benefits of Honey Oak Engineered Wood Flooring
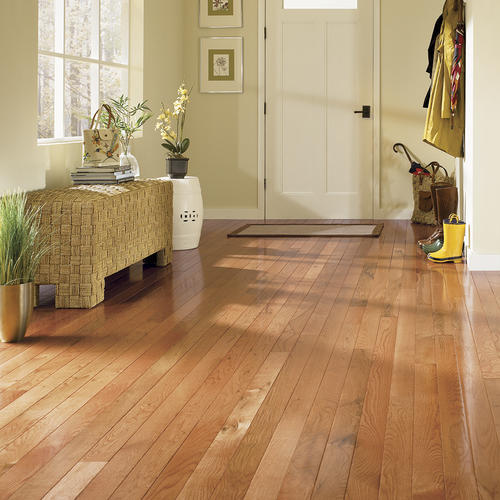
Honey oak engineered wood flooring offers a number of advantages over traditional hardwood flooring. It’s more durable and stable, making it ideal for high-traffic areas like living rooms and kitchens. It’s also easier to install and can be used with underfloor heating systems. Plus, it’s easier to maintain, requiring only regular sweeping and occasional mopping.
Tips for Installing Honey Oak Engineered Wood Flooring
Installing honey oak engineered wood flooring is relatively simple. First, make sure the subfloor is level and free from any debris. Next, lay down an underlayment and use glue or nails to secure the planks in place. Make sure to leave a gap between the wall and the planks to allow for expansion. Finally, use a damp cloth to clean off any excess glue or debris before enjoying your new floors!
Maintenance Tips for Honey Oak Engineered Wood Flooring
Honey oak engineered wood flooring requires very little maintenance. To keep your floors looking their best, vacuum or sweep them on a regular basis to remove dirt and debris. When necessary, mop with a damp cloth or mop and mild detergent. Avoid using abrasive cleaners or wax as this can dull the finish of the wood over time. Additionally, use felt pads on furniture legs to protect the surface from scratches or dents.
Conclusion
Honey oak engineered wood flooring is the perfect choice if you’re looking for a warm, classic look for your home. It’s more durable and easier to install than traditional hardwood flooring and requires very little maintenance once installed. With its timeless beauty, honey oak engineered wood flooring will bring warmth and charm to any room in your home.