When you're installing hardwood flooring using the glue down method, you are able to rest certain that you are using a strategy that has been time-tested. Price for engineered hardwood flooring is based on the thickness of this substrate or levels of plywood information that comprises the overall composition and the choice of the completed top layer.
Here are Images about Hardwood Floor Glue Installation
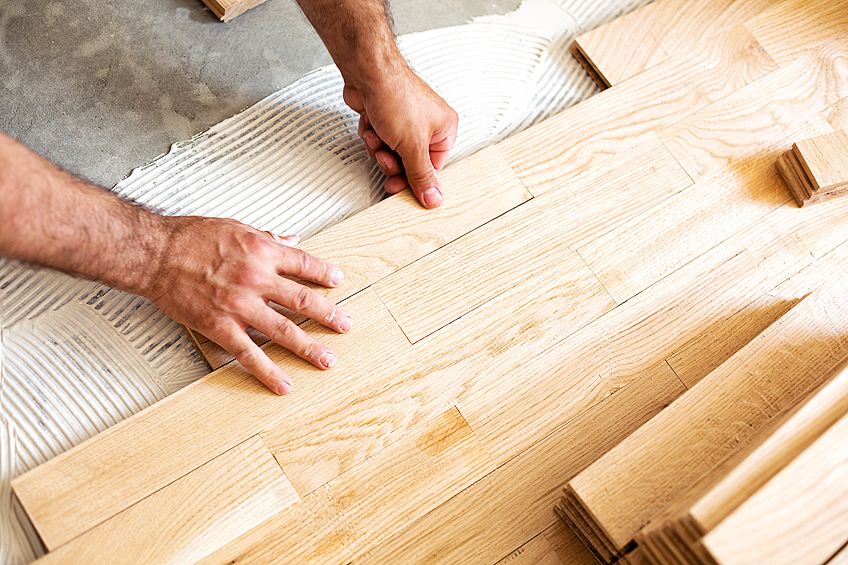
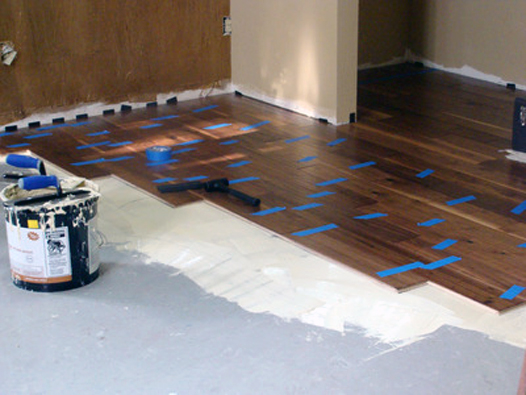
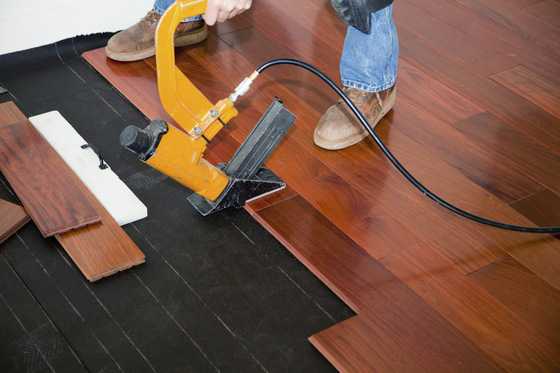
Hardwood Floor Glue Installation
Additionally, your local hardwood floor contractors will have expert wood flooring sales as well as service reps on duty that will help you design custom wood flooring! There are unquestionably hundreds of wood inlay types and patterns to select from. Installing hardwood flooring is actually a major financial commitment which pays off in a huge way in the long term. And, the floating flooring is a lot easier to maintain.
Fitting Glue Down Wood Flooring
The very first point that a person notice when they enter a particular home is the floor. If the retail merchant offering you flooring does not employ a moisture meter and will take a look at the moisture content for you next I'd suggest you run. Strong hardwood flooring demands special care to maintain their luster and look. Many hardwoods today are delivered pre finished.
Images Related to Hardwood Floor Glue Installation
How do I glue wooden flooring over concrete? – The Wood Flo

How to Install an Engineered Hardwood Floor
Engineered Hardwood Floors Installation – Hardwood Floor
5 Simple Tips to Help Your Glue-Down Wood Floor Jobs Succeed

How to Glue Down a Hardwood Floor During Installation- Urban Floor

Best Glue for Hardwood Floors – Different Wooden Floor Adhesives
Engineered Hardwood Flooring Installation: Tips and Common

How to Install DIY glue-down engineered hardwood flooring
Bostik GreenForce Makes Glue-Down Hardwood Floor Installs Easier

Floating Floor vs. Nail Down Slaughterbeck Floors, Inc.
How to Install Engineered Hardwood u2013 Glue Down Method

gandswoodfloors: Glue Down Flooring Install Lynn/Boston/Wellesley

Related articles:
- Hardwood Floor Finish Brands
- Hand Scraped Hardwood Flooring
- Home Hardwood Floor
- Hardwood Floor Deep Cleaner
- Engineered Hardwood Floor
- Cherry Hardwood Flooring Reviews
- Hardwood Floor Cleaning And Refinishing
- Wide Plank Pine Hardwood Flooring
- Hardwood Flooring Designs Photos
- Hardwood Floor Selection Guide
Installing a hardwood floor is a great way to upgrade the look of any home. But, if you want to ensure your floors last for years to come, it’s important to use the correct installation method. One of the most reliable methods is glue installation, which can help your flooring stay in place and prevent shifting or squeaking. Here’s a step-by-step guide to hardwood floor glue installation, so you can get the job done right.
What You’ll Need
Before you start the installation, it’s important to make sure you have all the necessary tools and supplies. Here’s a list of what you’ll need:
– Floor adhesive
– Notched trowel
– Chalk line
– Nail gun
– Hardwood flooring
– Hammer
– Pencil
– Tape measure
– Level
– Spacing wedges
– Safety glasses
Step 1: Prepare Your Subfloor
The first step in the process is to prepare your subfloor. Make sure it is clean and free of debris, dust, and dirt. If necessary, fill any cracks or holes with a patching or leveling compound. Allow the subfloor to dry completely before moving on to the next step. To ensure a smooth surface, sand any rough spots with sandpaper or a sander.
Step 2: Measure and Mark Your Floor
Once your subfloor has been prepared, use a measuring tape and pencil to measure and mark your floor. Use a chalk line to draw straight lines across the floor and mark starting points for each row of hardwood planks. This will help you keep everything in alignment as you go.
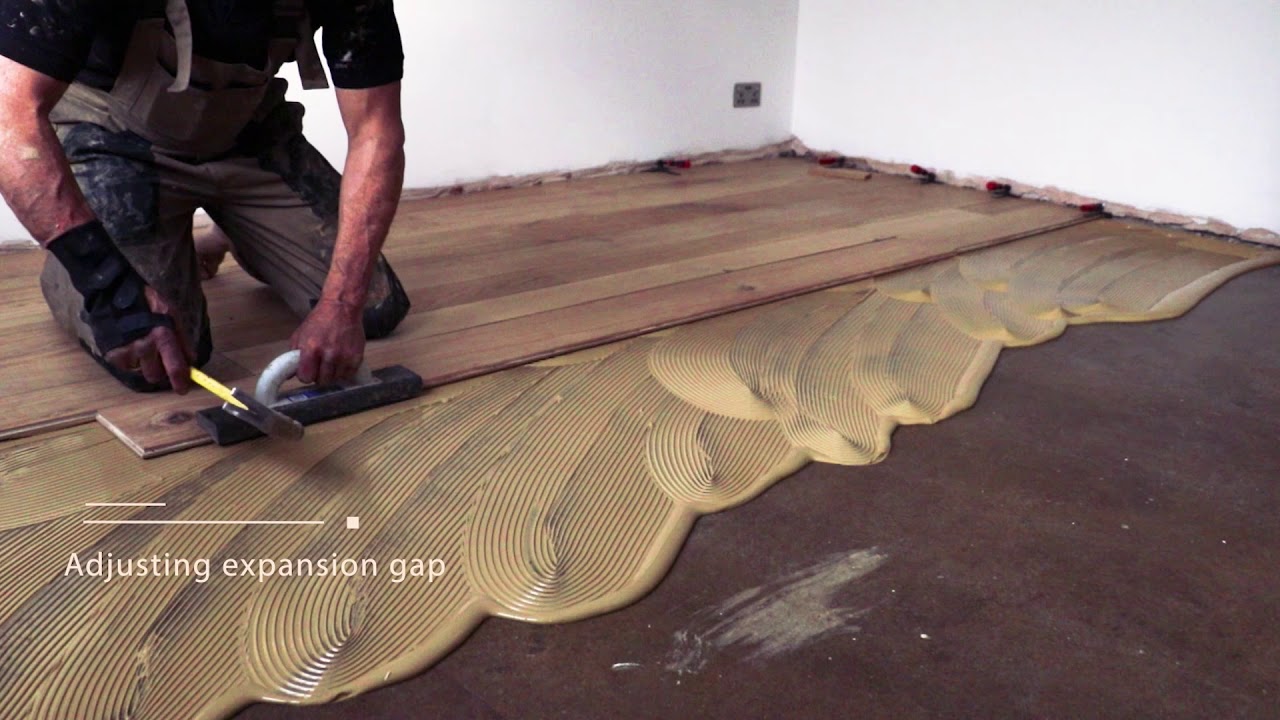
Step 3: Set Up Expansion Gaps
Hardwood floors will expand and contract with changes in temperature and humidity, so it’s important to leave expansion gaps around the room. Install spacing wedges between the wall and the hardwood planks to create these gaps. Measure each gap carefully to ensure that it’s consistent around the room.
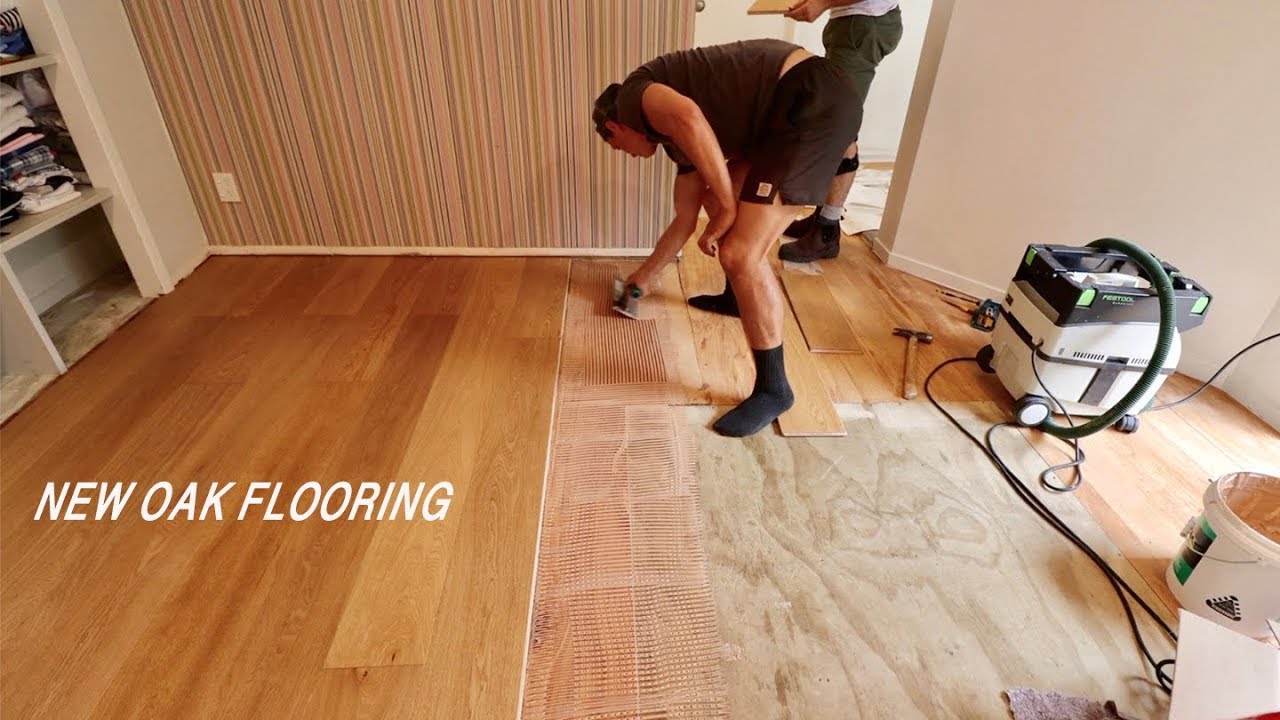
Step 4: Apply Adhesive
Now that your subfloor is ready, it’s time to apply the adhesive. Use a notched trowel to spread adhesive evenly over the surface of your subfloor in an “S” pattern. Make sure that there are no gaps between the adhesive and the subfloor as this could lead to shifting or squeaking down the road.
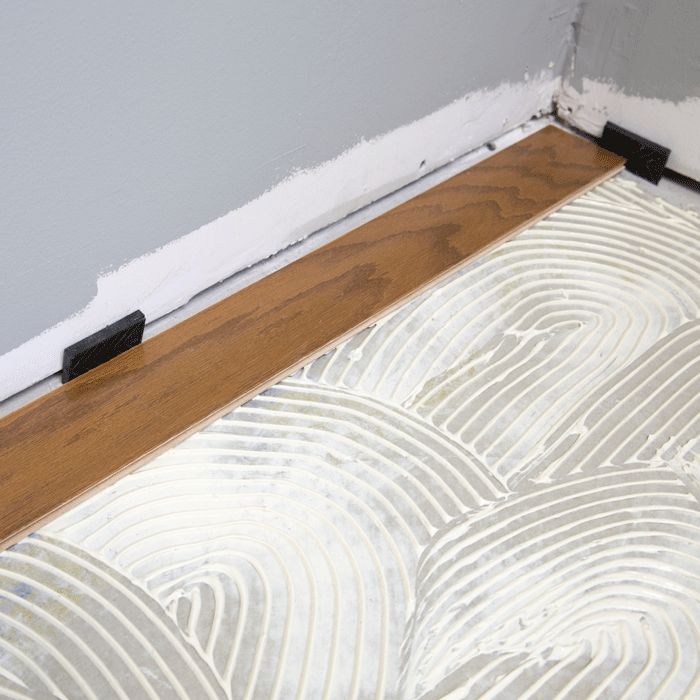
Step 5: Install Hardwood Planks
Once you’ve applied the adhesive, you can begin installing your hardwood planks. Start at one corner of the room and use a hammer or nail gun to secure each plank into place. Be sure to stagger the planks so that any pattern in them isn’t repeated too often across the floor. Keep checking with a level as you go to make sure everything is even and straight. When you reach walls or other obstacles, use a saw or jigsaw to cut planks into smaller pieces that will fit into tight spaces.
Step 6: Check for Adequate Adhesion
Once all of your hardwood planks have been installed, check them for adequate adhesion by lightly pressing down on each one with your fingers. If they feel secure, your hardwood floor glue installation is complete!
Common Questions About Hardwood Floor Glue Installation
Q: How long does it take for adhesive to dry?
A: Most adhesives used for hardwood floor glue installation will be dry within 24 hours of application. However, it’s important to check with your manufacturer for specific drying times as this can vary depending on environmental conditions such as temperature and humidity.
Q: Can I install hardwood flooring over an existing floor?
A: Yes! In most cases, you can install hardwood over an existing floor as long as it is in good condition and securely attached to the subfloor. However, keep in mind that this may require more adhesive than normal as extra