Garage flooring options are not necessarily limited to plain concrete. You are able to make a choice from epoxy floor coatings, rubber flooring, vinyl flooring, interlocking flooring, and even carpet. Garage flooring options are as varied as the cars of yours. We have a tendency to take our garage floors for granted. They’re there when we open the door from the vehicle, and we close the door when we get out. Sometimes they are used as storage space, but more often than not they are ignored. Regardless of the use, garage flooring can enhance the look of any garage. There are several different selections accessible when it involves garage flooring, and a little research will show what the best coverings are for the garage of yours. Garage flooring options are not necessarily limited to plain concrete. You are able to make a choice from epoxy floor coatings, rubber flooring, vinyl flooring, interlocking flooring, and even carpet. Garage flooring options are as varied as the cars of yours. The primary consideration when selecting the garage flooring of yours is the intended use of the garage. Are you only parking your car, or do you use the garage as a workshop?
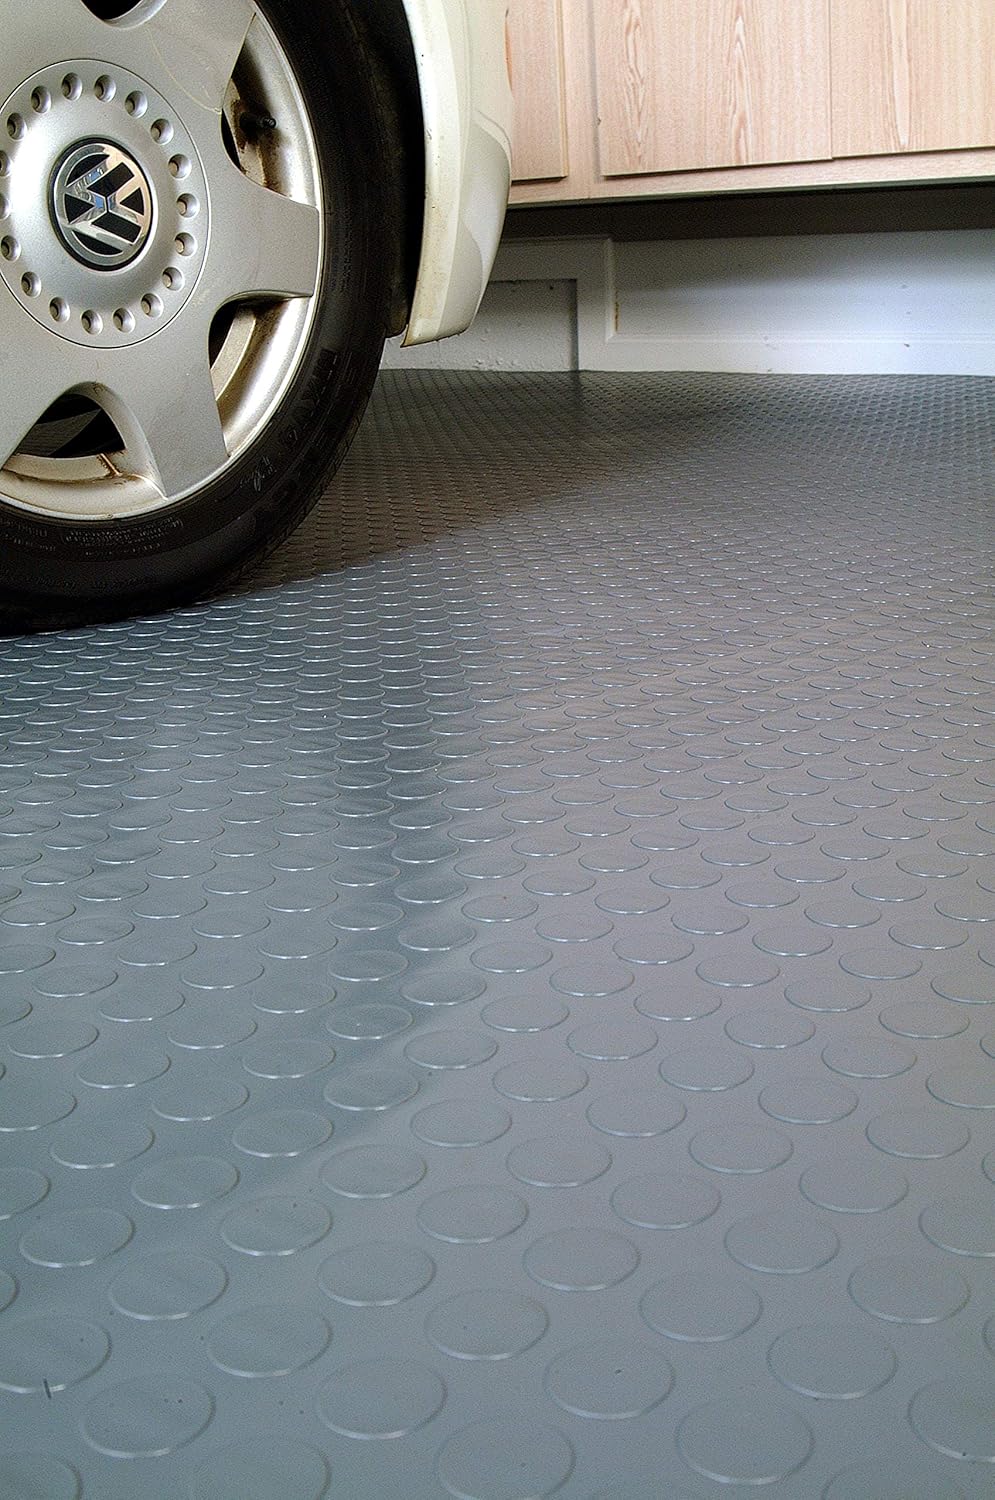
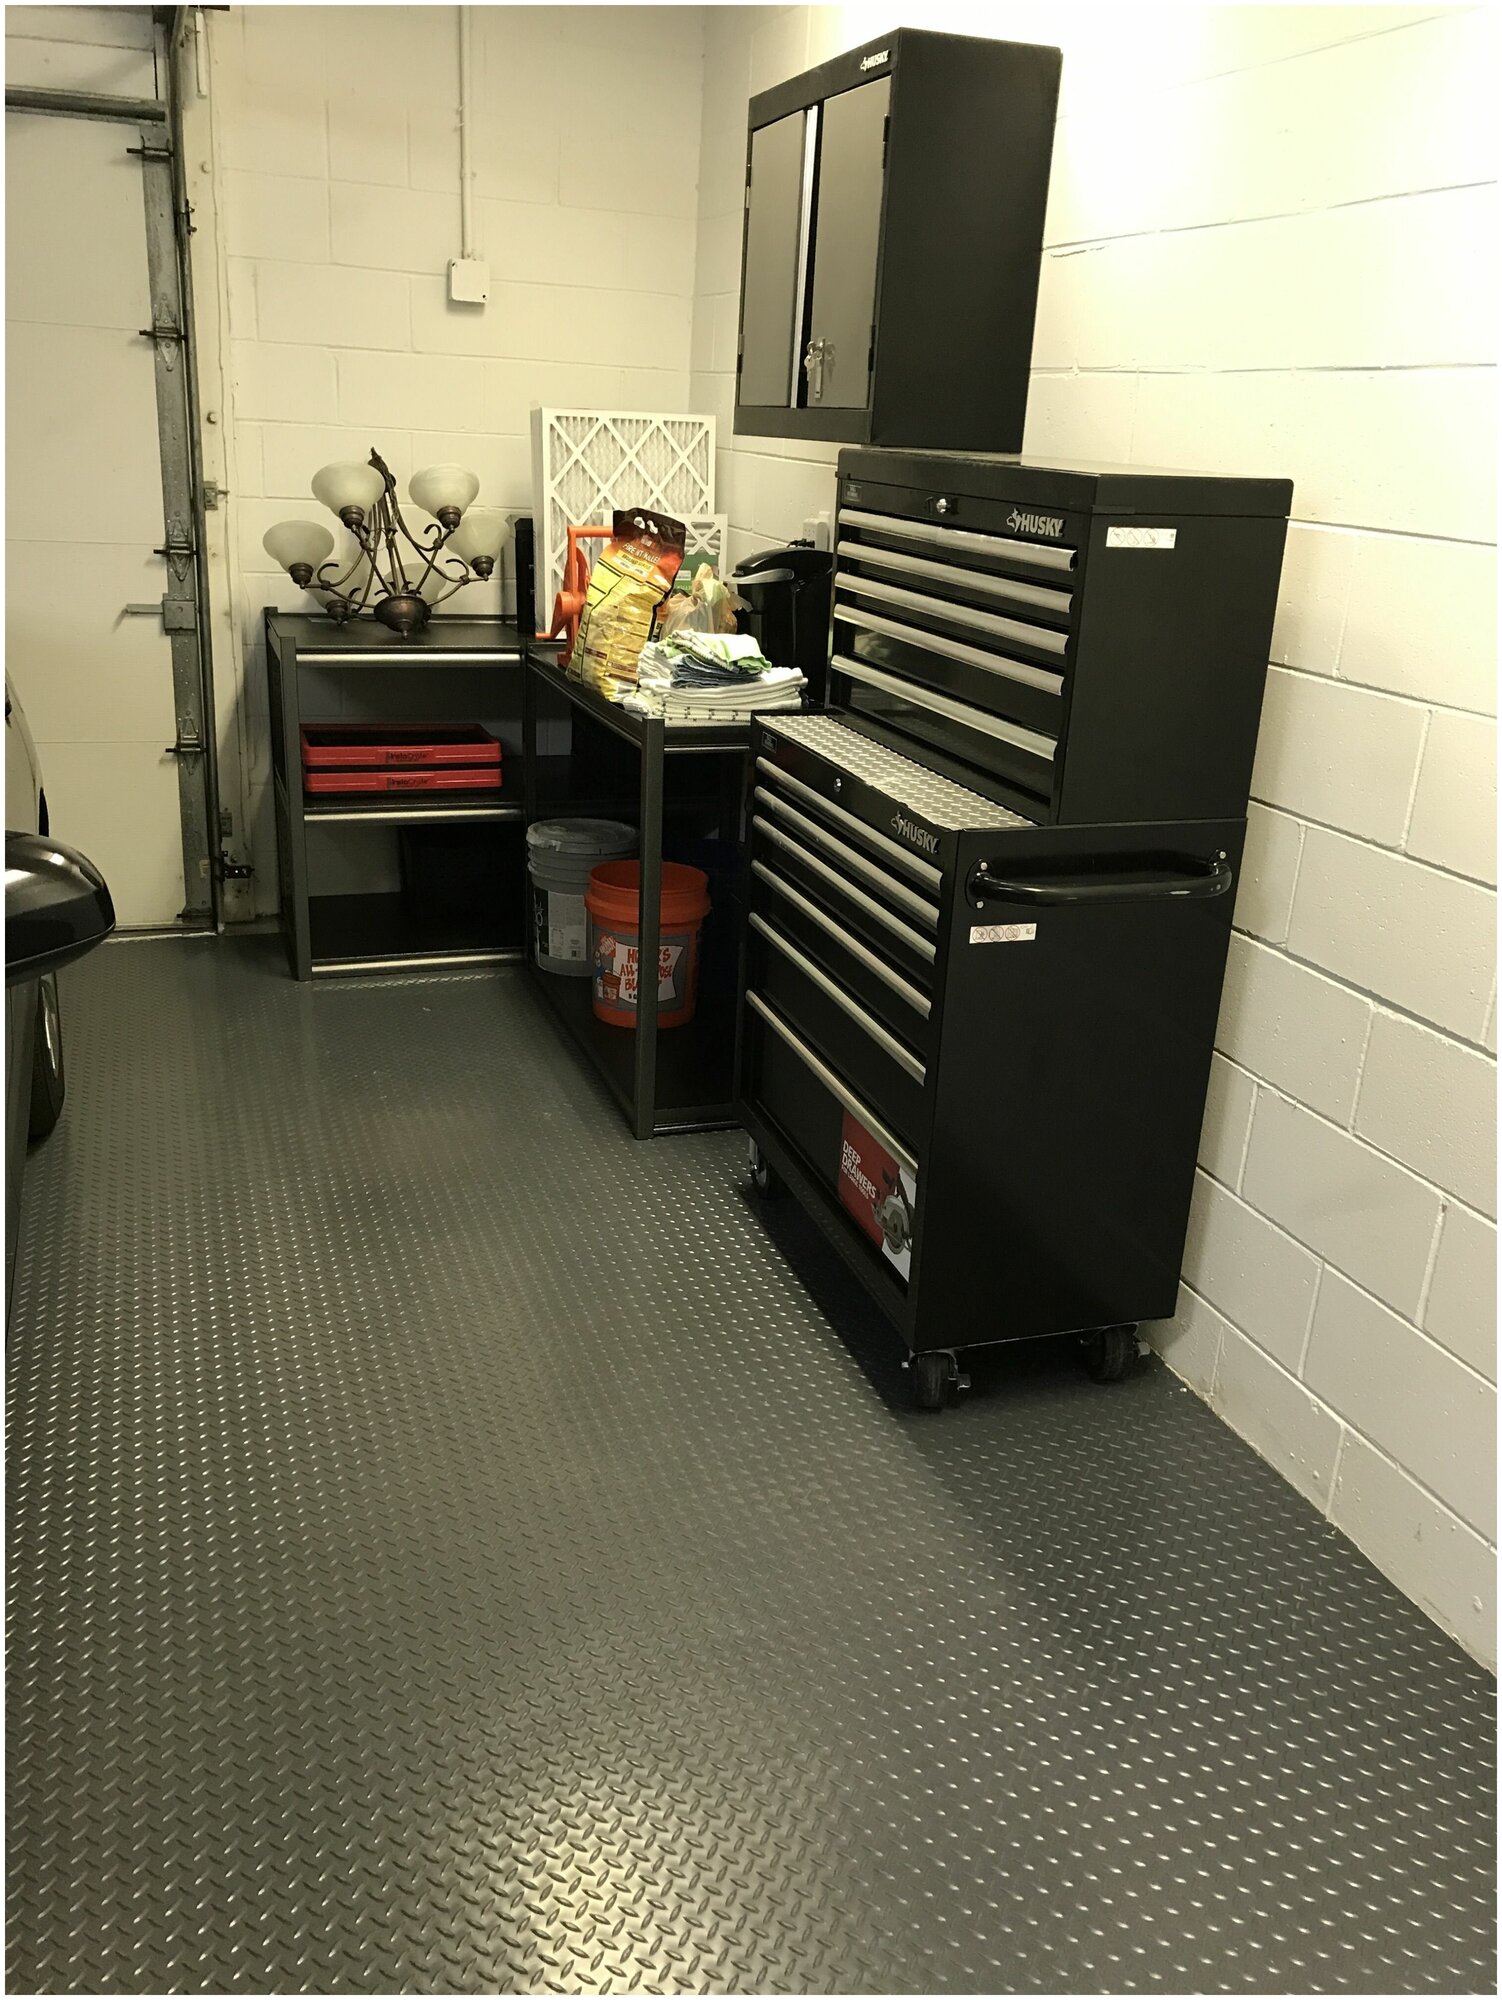
If you use the garage of yours as a workshop, you are going to want to make sure that the flooring is slip resistant. Garage flooring tiles are actually an excellent option in this situation. These interlocking tiles do not soak up oil or fluid, and they’re easy to sweep and wash. You may even purchase tiles with borders if you want to create a cooler or hot rod appearance. For the house mechanic, garage flooring tiles are a great choice. There is a little bit of labor associated with prepping the garage floor and then applying the paint, however, the outcomes may well be very creative and stunning. When you are using a normally lost space for family fun, you will see the value of garage flooring. They generally do change in cost dependent upon the type of mat selected, size and design. When it involves your garage flooring, you have a lot of options. You are able to go with garage floor paint, which is not really expensive, or you are able to even go with a garage floor covering. Both are very economical, with the covering being the more expensive of the 2.
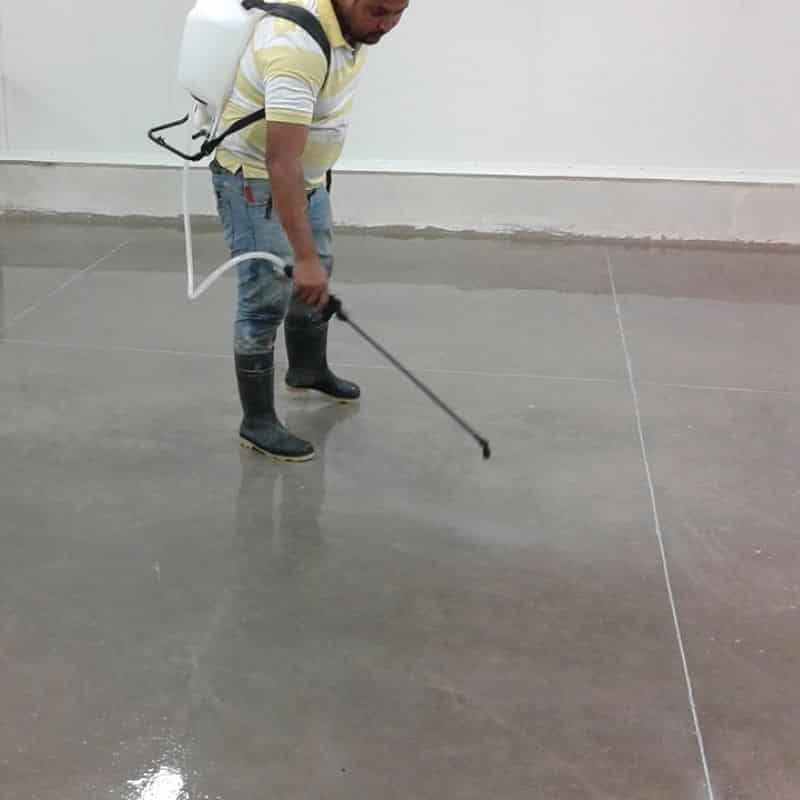
The garage flooring of yours will add a lot to the appearance of the garage of yours, and you are going to want to be sure that it’s done right the first time. You do not need to worry about it later on. Here are Images about Garage Floor Vapor Barrier If you’re simply looking to enhance the appearance of the garage of yours, you are able to get great garage flooring at an inexpensive price. A garage floor covering will make a great addition to the garage of yours. You just need to determine what the primary function of the garage is, and then you’ll be able to buy the flooring that is best suited for your garage.
Garage Floor Vapor Barrier
The only 2 types which will provide durability is latex and epoxy. You are able to find rubber garage area flooring, vinyl garage flooring, garage flooring tiles, epoxy garage floor coating, flexitle accommodating garage flooring and interlocking business garage flooring. Ultimately however, there are factors which are many to pick out one sort of floor with another.
Moisture Vapor Barrier For Concrete Floors in Oregon Smith
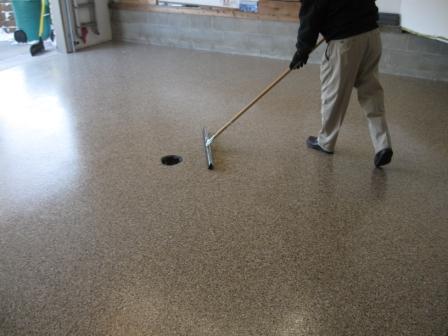
Success will require selecting the best quality storage area floor paint and effectively preparing the floor for the application program of the paint. If you love spending time in the garage of yours or have a fancy car you would like to show off you might wish to install styled mat garage floors. These roll out mats are actually made of materials made to resist and repel petroleum fluids that can stain your concrete.
Images Related to Garage Floor Vapor Barrier
TEC product: LiquiDam EZ moisture vapor barrier

Does my Garage Floor Need an Epoxy Moisture Vapor Barrier? – Blog

CMW 8000 Lithium Moisture Vapor Barrier and Concrete Densifier
How to Install the moisture barrier over concrete subfloor

Vapor Barrier For Garage Floor (10 Important Things You Need To Know)
How to Moisture Test your Concrete or Garage Floor All Garage Floors

Concrete Vapor Barriers: The Pros u0026 Cons of Getting The Vapors
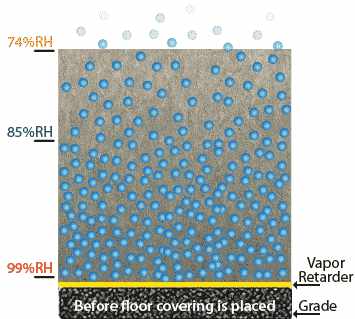
Concrete Vapor Barrier Thickness – How Thick Should A Vapor

Vapor Barrier Under Laminate Floor – Laminate and Floating Floor

Vapor Barriers on Garage Floors: The Pros, Cons, u0026 Needs
Concrete Vapor Barrier – What Is A Vapor Barrier And Do I Need One
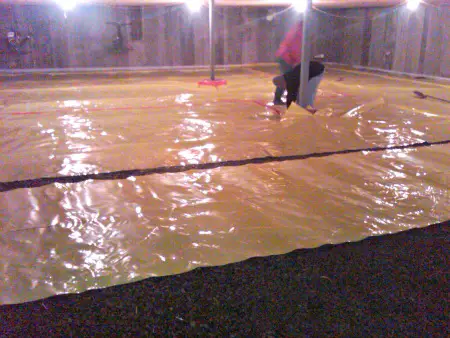
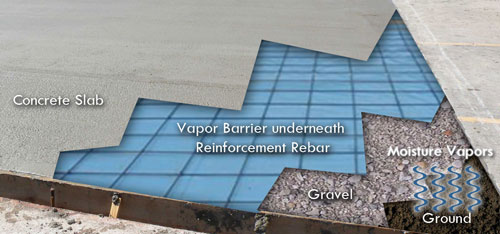
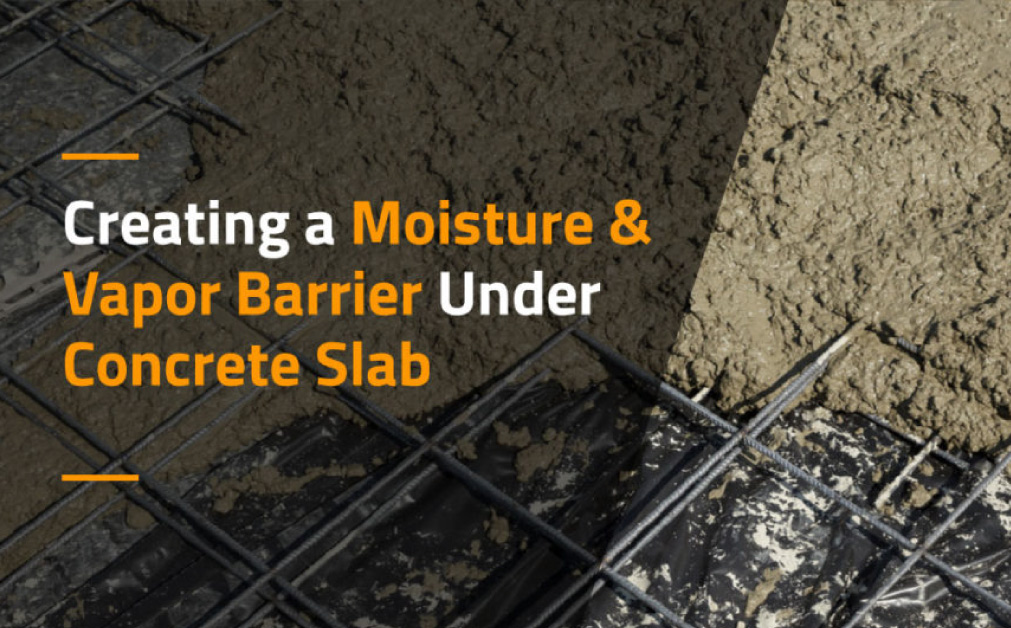
Creating a Moisture u0026 Vapor Barrier Under Concrete Slab Americover
Related articles:
- Interlocking Garage Floor Tiles
- Garage Floor Coatings
- Garage Floor Ideas
- Garage Floor Paint
- Garage Floor Rubber Covering
- Garage Floor Coating Paint
- Garage Floor Epoxy Ideas
- Best Garage Floor Material
- Black Epoxy Garage Floor Coating
- Garage Floor Slab Thickness
Installing a Garage Floor Vapor Barrier: A Step-by-Step Guide
Your garage can suffer from a variety of issues due to moisture, such as mold, mildew, and rot. To protect your garage floor and the items you store inside, it’s important to install a vapor barrier. Here is a step-by-step guide to installing a garage floor vapor barrier so you can keep your space dry and safe.
Step 1: Preparing the Area
The first step in installing your vapor barrier is to prepare the area. Make sure the floor is clear of debris and thoroughly clean it. Then, inspect the floor for cracks or holes. If you have any, fill them with concrete filler before moving on to the next step.
Step 2: Measure and Cut the Barrier
Once the area is prepped, measure the length and width of the space where you will be applying the vapor barrier. Make sure to leave an extra few inches for overlap on each side. Cut the barrier to fit your measurements, using a sharp utility knife or scissors.
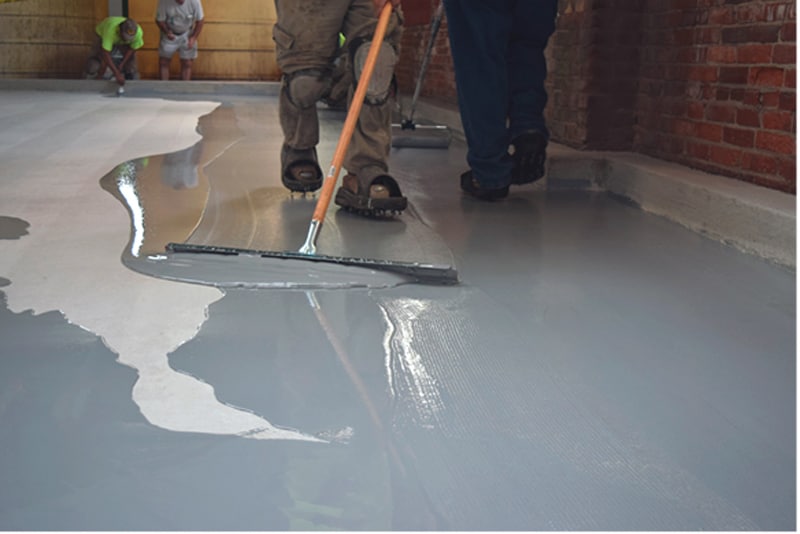
Step 3: Apply Adhesive
Now you will apply adhesive to the concrete floor in sections. Use a notched trowel to spread it evenly over each section of the floor before laying down the vapor barrier. Be sure to cover all corners and edges well with adhesive so that the barrier is held securely in place.
Step 4: Apply Vapor Barrier
Next, unroll and place the vapor barrier onto the adhesive-covered section of floor. Smooth it out with your hands or use a roller if necessary, making sure that there are no wrinkles or bubbles in the material. Repeat this process with each section of floor until you have completed the entire area.
Step 5: Allow Time to Dry
Once all of the sections are in place, give them time to dry completely before walking on them or placing items onto them. This could take up to 24 hours depending on your climate and how thickly you applied the adhesive. Once dry, your garage will be protected from moisture damage!
FAQs
Q: How long does it take for a vapor barrier to dry?
A: It usually takes about 24 hours for a vapor barrier to dry completely. However, this may vary depending on your climate conditions and how thickly you applied adhesive.
Q: How often should I replace my vapor barrier?
A: Generally, a vapor barrier should be replaced every 10-15 years or as needed depending on its condition. Inspect it regularly for tears or signs of wear and tear, and replace it whenever necessary.
Q: What type of adhesive should I use?
A: The type of adhesive you use will depend on what type of vapor barrier you are installing. Always consult manufacturer instructions first and make sure that you are using an adhesive specifically designed for use with your vapor barrier material.