Epoxy color also needs to be mixed properly, but one great touch of this particular sort of paint is the capability to add paint chips for an unusual finish. Fortunately, project managers finally have a very affordable option that doesn't require such a long time investment. Quite often, a garage floors is actually made up of concrete. In addition, you are able to have a brand new floor in less than an hour.
Here are Images about Garage Floor Seal Strip
Garage Floor Seal Strip
Garage floors coatings have come up with improvements of technology and in new and different levels of coatings. Each flooring has good and bad features, therefore you have to complete a bit of house work to pick the best one for you. Repeated contact with caustic agents, such as fossil oil, antifreeze, and rock salt can cause permanent cracks as well as other severe damage to concrete floors.
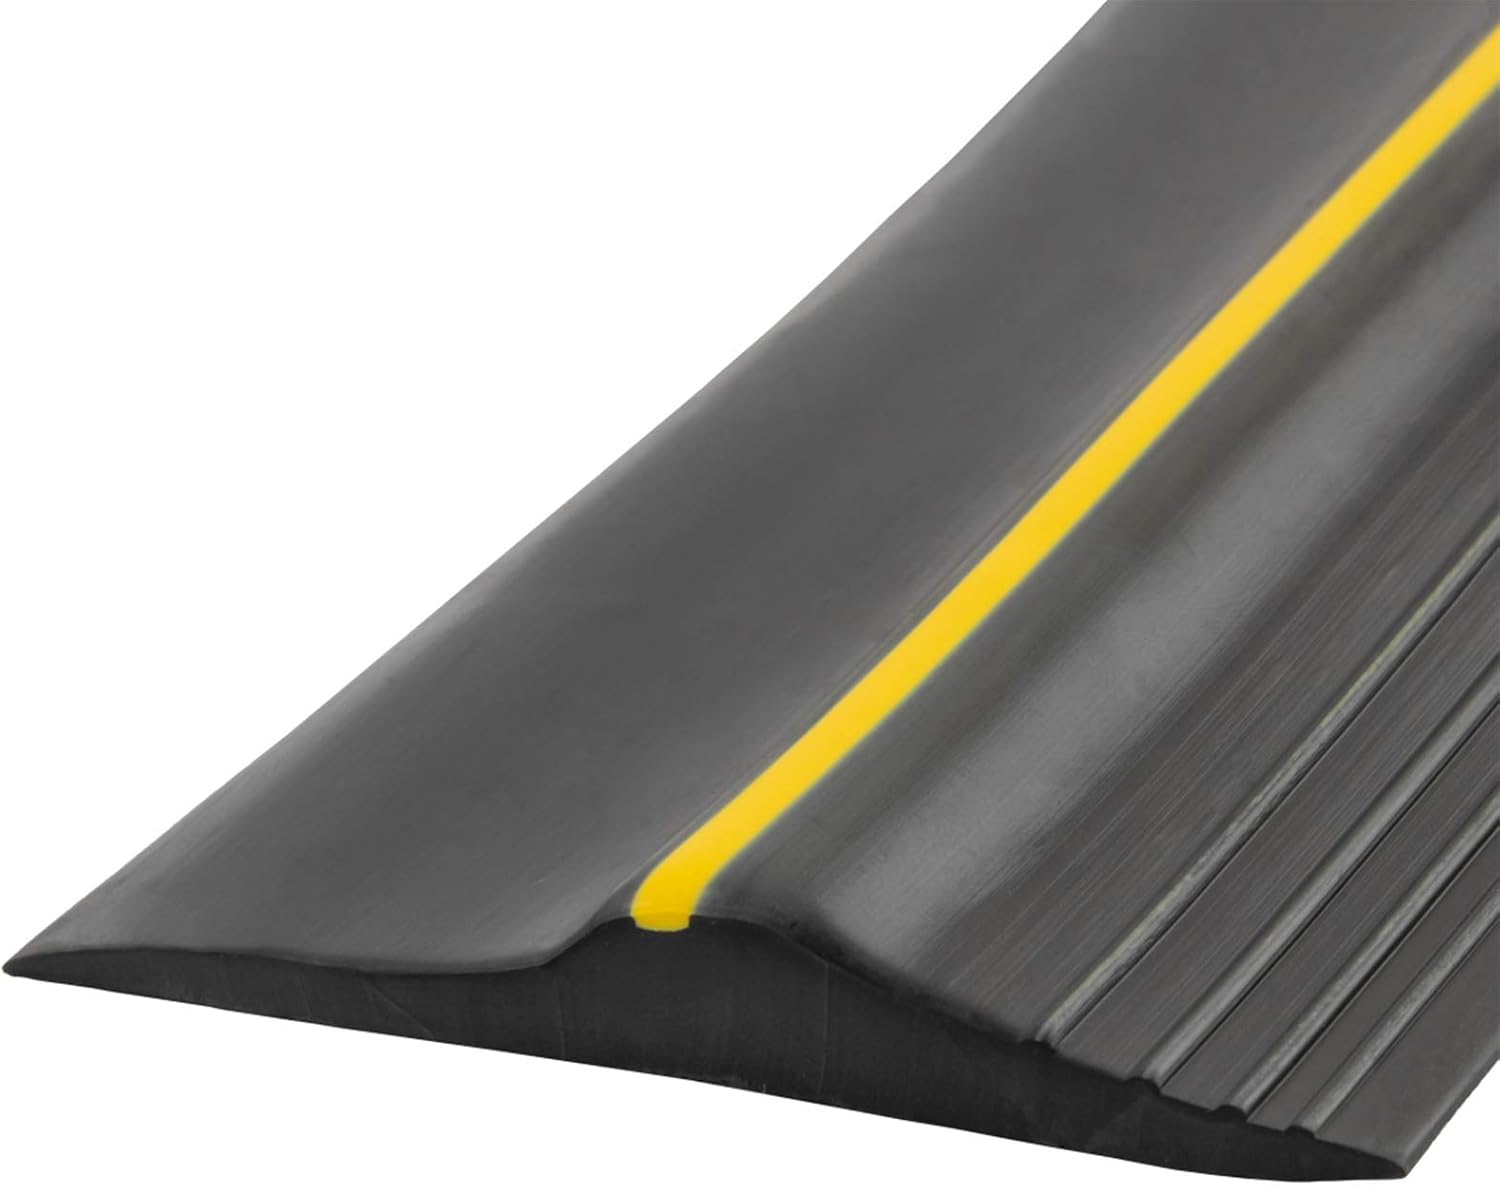
Universal Garage Door Bottom Threshold Seal Strip,Weatherproof Rubber DIY Weather Stripping Replacement, Not Include Sealant/Adhesive (10Ft, Black)
They create a seamless look in a smaller garage or perhaps may be put to use only under the car at a bigger garage. Frequently maintaining the floor of yours is crucial, but relatively easy. As a result of this particular reason, there's an increasing demand in keeping storage area floors a tidier place. You can sometimes paint the garage walls or perhaps put a border strip of wallpaper to match the flooring.
Images Related to Garage Floor Seal Strip
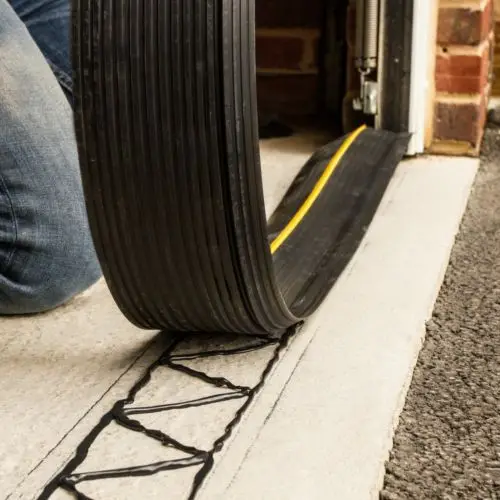
Why you Should Install a Garage Floor Door Seal for the Garage
Weather Defender XL Garage Door Threshold Floor Seal 10u00276″

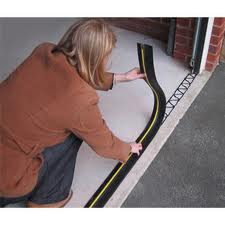
Weather Defender 3.8m Garage Door Floor Seal Strip Draught
Universal Garage Door Threshold Seal, DIY Garage Door Weather Stripping, Weatherproof Floor Buffer Bottom Rubber Strip Replacement, Not Include
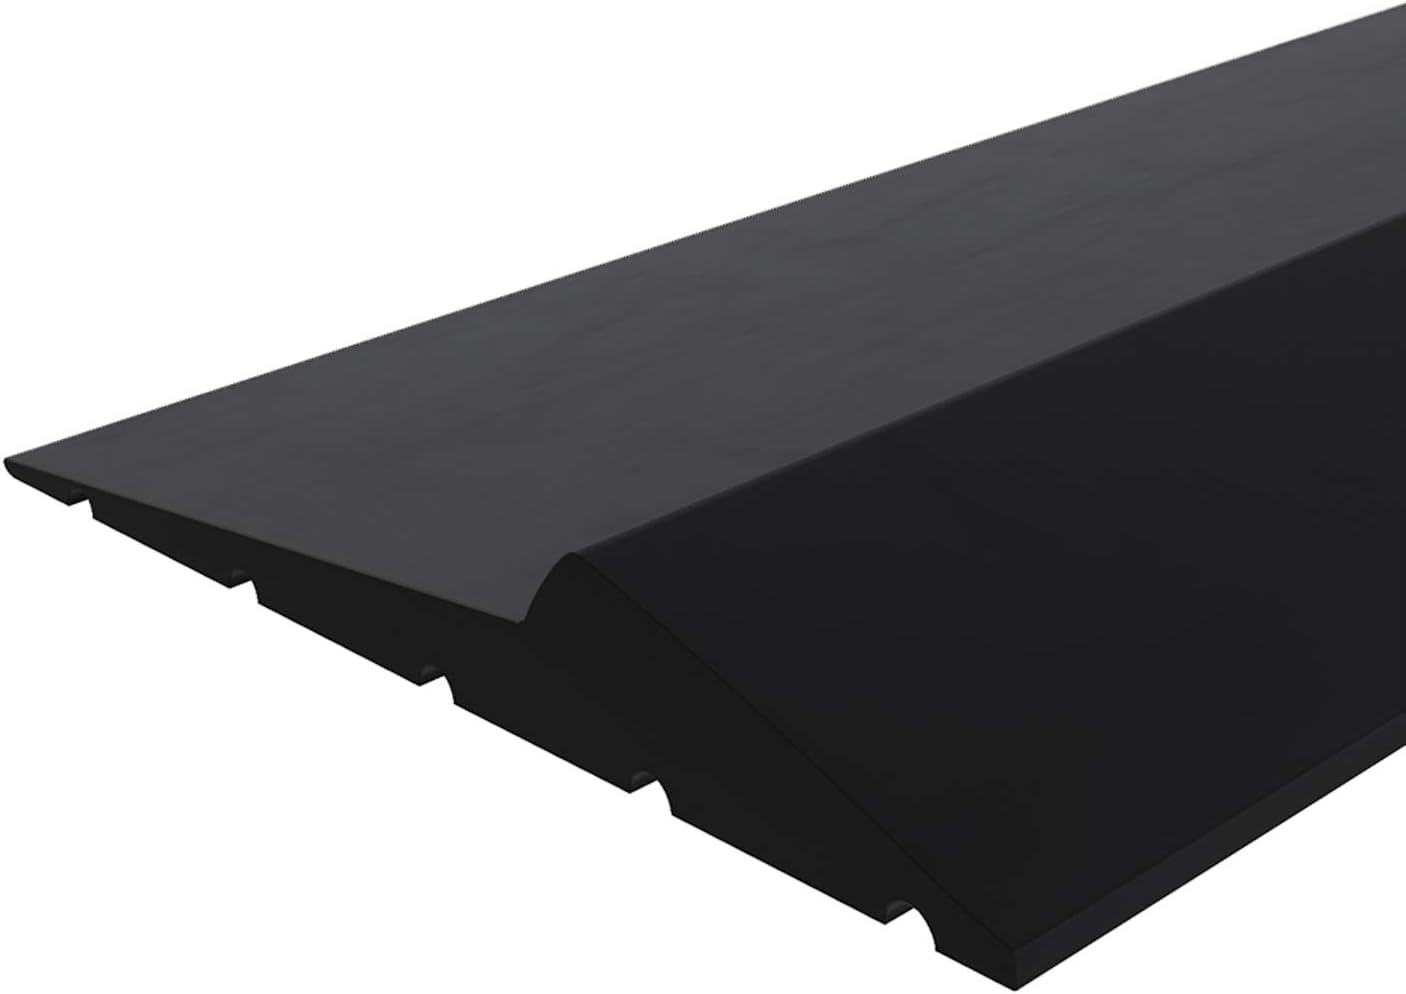
Weatherproof Universal Garage Door Bottom Threshold Seal Strip DIY Weather Stripping Replacement,Not Include Sealant/Adhesive (10Ft, Black)

The Best Garage Door Thresholds of 2022 – Picks from Bob Vila

homeposh.com Garage door weather stripping, Door weather

The Best Garage Door Thresholds of 2022 – Picks from Bob Vila

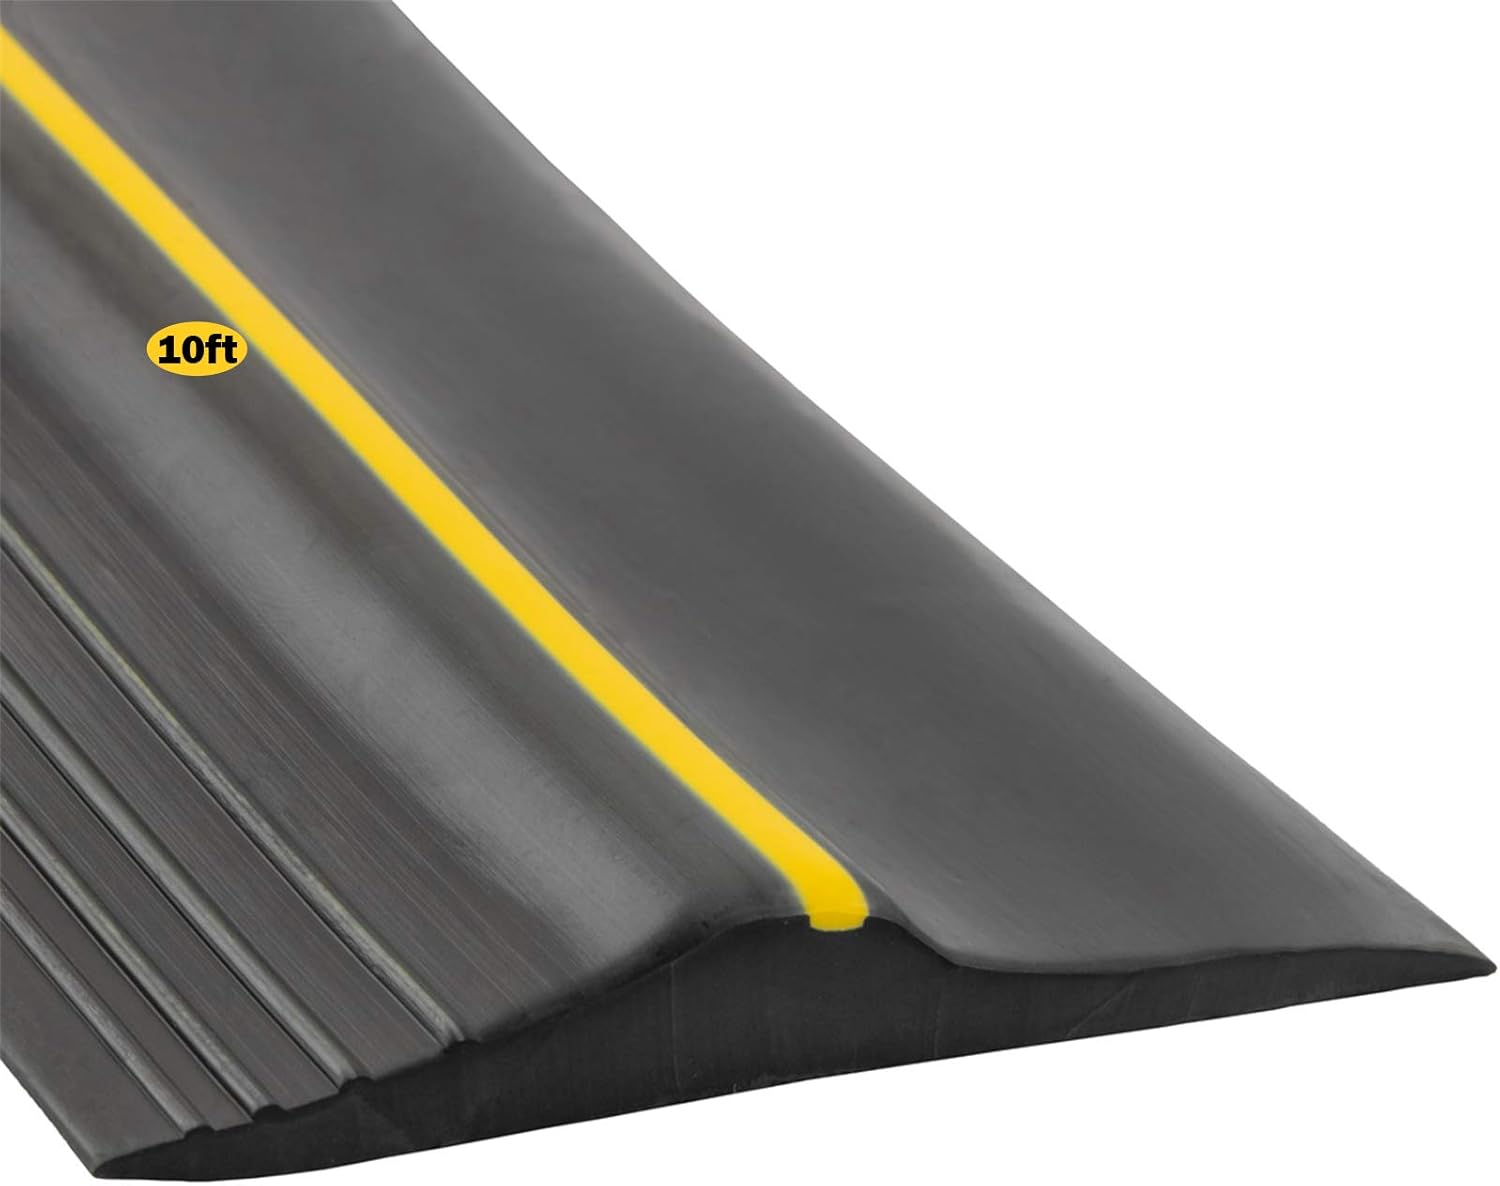
Weatherproof Universal Garage Door Bottom Threshold Seal Strip DIY Weather Stripping Replacement,Not Include Sealant/Adhesive (10Ft, Black)

20Ft/6M Universal Garage Threshold Seal Strip, Garage Door Bottom Weatherproof Strip Rubber DIY Weather Stripping Replacement, Not Include

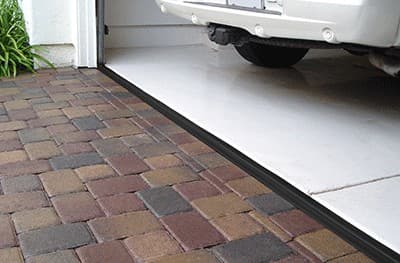
Garage Door Threshold Seal
5 Ways to Weather-Seal a Garage Door
:max_bytes(150000):strip_icc()/what-to-look-for-in-garage-door-seals-1398187-02-0f20fb0e0d294ffaa149c17169e6999e.jpg)
Related articles:
- Interlocking Garage Floor Tiles
- Garage Floor Coatings
- Garage Floor Ideas
- Garage Floor Paint
- Garage Floor Rubber Covering
- Garage Floor Coating Paint
- Garage Floor Epoxy Ideas
- Best Garage Floor Material
- Black Epoxy Garage Floor Coating
- Garage Floor Slab Thickness
Garage Floor Seal Strip: A Comprehensive Guide to Protecting Your Garage
Introduction:
Garages are an essential part of any home, providing a safe and secure space for parking vehicles, storing tools, and engaging in various hobbies. However, without proper maintenance and protection, the garage floor can suffer from wear and tear, which can lead to cracks, stains, and even structural damage. A garage floor seal strip is a cost-effective solution that can help prevent these issues and extend the lifespan of your garage floor. In this comprehensive guide, we will explore the benefits of using a garage floor seal strip, how to install it, and address some frequently asked questions.
Benefits of Using a Garage Floor Seal Strip:
1. Protection Against Damage:
One of the primary advantages of using a garage floor seal strip is its ability to protect against various forms of damage. Whether you frequently park your car in the garage or use it as a workshop, the floor is susceptible to oil spills, chemical leaks, and other substances that can stain or corrode the concrete surface. A seal strip acts as a barrier between these substances and the floor, preventing them from seeping into the porous concrete and causing irreversible damage.
FAQ: Will a garage floor seal strip prevent all types of stains?
While a garage floor seal strip provides excellent protection against most common stains such as oil and grease, it may not be entirely impervious to all substances. It is still recommended to clean up spills promptly to maintain the longevity of your garage floor.
2. Enhanced Durability:
The constant traffic in garages can gradually wear down the concrete surface over time. Cracks may develop due to heavy loads or movement of vehicles. By installing a high-quality seal strip, you can reinforce the strength and durability of your garage floor. It acts as an additional layer of protection that minimizes the impact of heavy objects and prevents cracks from forming.
FAQ: Can I install a garage floor seal strip on a cracked floor?
Yes, you can install a seal strip on a cracked floor. However, it is crucial to repair any significant cracks before installation to ensure the best results. Small cracks can be filled with epoxy or concrete filler, while larger cracks may require professional assistance.
3. Improved Safety:
Slippery floors in garages can pose a significant safety hazard, especially when wet or oily. A garage floor seal strip not only protects against stains and damage but also provides an anti-slip surface that enhances safety. The textured surface of the seal strip provides better traction, reducing the risk of slips and falls.
FAQ: Can I use a garage floor seal strip in areas with heavy vehicle traffic?
Yes, garage floor seal strips are designed to withstand heavy vehicle traffic. However, it is important to choose a seal strip that is specifically marketed for high-traffic areas to ensure optimal durability and performance.
Installation Process:
Now that we have explored the benefits of using a garage floor seal strip, let’s discuss how to install one in your own garage.
1. Preparing the Garage Floor:
Before installing the seal strip, it is essential to prepare the garage floor properly. Start by thoroughly cleaning the surface, removing any dirt, dust, or debris. You can use a broom or vacuum cleaner to ensure a clean workspace. Additionally, if there are any existing stains or spills on the floor, consider using a degreaser or concrete cleaner to remove them completely.
2. Measuring and Cutting:
Next, measure the length of each side of The garage floor where you plan to install the seal strip. Use a measuring tape to get accurate measurements. Once you have the measurements, transfer them onto the seal strip material and mark the cutting lines.
Using a utility knife or a pair of sharp scissors, carefully cut along the marked lines to create strips that are the appropriate length for each side of your garage floor.
3. Applying Adhesive:
Before applying the seal strip, make sure the garage floor is dry and free from any moisture. This will ensure proper adhesion of the strip.
Apply a high-quality adhesive to the backside of the seal strip, following the manufacturer’s instructions. Make sure to apply an even layer of adhesive across the entire length of the strip.
4. Installing the Seal Strip:
Starting at one end of the garage floor, firmly press the adhesive side of the seal strip onto the concrete surface. Slowly work your way along each side, making sure to apply even pressure to ensure proper adhesion.
If necessary, use a rubber mallet or a block of wood to tap down on any areas that may not be sticking properly.
5. Securing the Seal Strip:
To ensure that the seal strip stays in place and properly adheres to the garage floor, consider using heavy objects such as bricks or weights to weigh down and hold it in place for a period of time while the adhesive fully cures. This will help prevent any lifting or peeling of the strip.
6. Allowing for Curing Time:
Once you have installed the seal strip, allow it to cure for at least 24-48 hours before subjecting it to heavy traffic or any spills. This will give the adhesive enough time to fully bond with the concrete surface and ensure maximum durability.
By following these steps, you can successfully install a garage floor seal strip and enjoy its benefits of protection, durability, and improved safety in your garage. Some benefits of using a garage floor seal strip include:
1. Protection: A seal strip creates a barrier between the garage floor and any spills, stains, or chemicals that may come in contact with it. This helps to prevent damage to the floor, such as staining or cracking.
2. Durability: Seal strips are often made from durable materials that can withstand heavy traffic and regular use. They provide added protection to the concrete surface, making it more resistant to wear and tear.
3. Improved Safety: Garage floors can become slippery when wet, posing a safety hazard. A seal strip can help to reduce the risk of slips and falls by providing a non-slip surface and improving traction.
Now let’s discuss how to install a garage floor seal strip:
1. Preparing the Garage Floor:
– Clean the garage floor thoroughly, removing any dirt, dust, or debris.
– Use a broom or vacuum cleaner to ensure a clean workspace.
– Remove any existing stains or spills using a degreaser or concrete cleaner.
2. Measuring and Cutting:
– Measure the length of each side of the garage floor where you plan to install the seal strip.
– Transfer the measurements onto the seal strip material and mark the cutting lines.
– Use a utility knife or sharp scissors to carefully cut along the marked lines.
3. Applying Adhesive:
– Ensure that the garage floor is dry and free from any moisture.
– Apply a high-quality adhesive to the backside of the seal strip, following the manufacturer’s instructions.
– Apply an even layer of adhesive across the entire length of the strip.
4. Installing the Seal Strip:
– Starting at one end of the garage floor, firmly press the adhesive side of the seal strip onto the concrete surface.
– Slowly work your way along each side, applying even pressure for proper adhesion.
– Use a rubber mallet or block of wood to tap down on any areas that may not be sticking properly.
5. Securing the Seal Strip:
– Use heavy objects such as bricks or weights to weigh down and hold the seal strip in place while the adhesive cures.
– This will help prevent any lifting or peeling of the strip.
6. Allowing for Curing Time:
– Allow the seal strip to cure for at least 24-48 hours before subjecting it to heavy traffic or spills.
– This will ensure that the adhesive fully bonds with the concrete surface for maximum durability.
By following these steps, you can successfully install a garage floor seal strip and enjoy its benefits in your own garage.