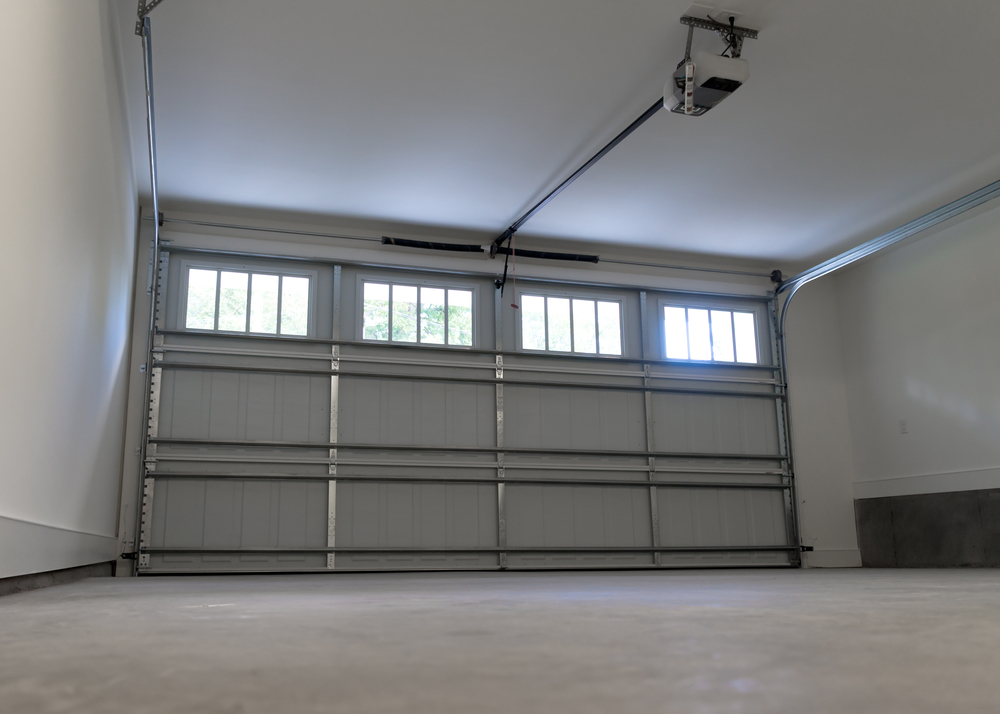
Common fluids which often destroy a garage concrete flooring are actually motor oils, drinking water, as well as other chemical substances which are usually stored and found in any garage. Many people that spend time operating in the garage of theirs will make use of it as a wood shop or car shop. There are many kinds of garage flooring for you to pick from.
Here are Images about Garage Floor Moisture Sealer
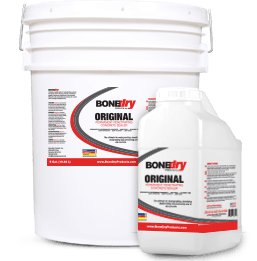
Garage Floor Moisture Sealer
Only choose floor paint that's specifically intended for garage floors. On the downside, paint & sealants seem to use off over time and warm tires are able to do rather a number on the finish. If your concrete is damaged or perhaps has cracks or uneven spots, a garage floors coating will cover up everything. Do this and the seem will run on the length of the garage area.
Garage Floor Sealers Guide From Densifiers to Epoxy Coatings

They produce a seamless appearance in a smaller garage or even is usually put to use solely under the car at a larger garage. Frequently maintaining your floor is crucial, but quite simple. As a result of this reason, there's an increasing need in keeping storage area floors a tidier place. You can also paint the garage walls or maybe insert a border strip of wallpaper to match up with the flooring.
Images Related to Garage Floor Moisture Sealer
CMW 8000 Lithium Moisture Vapor Barrier and Concrete Densifier
E1409CL Moisture Vapor Barrier Epoxy Sealer Primer For Concrete ASTM F3010
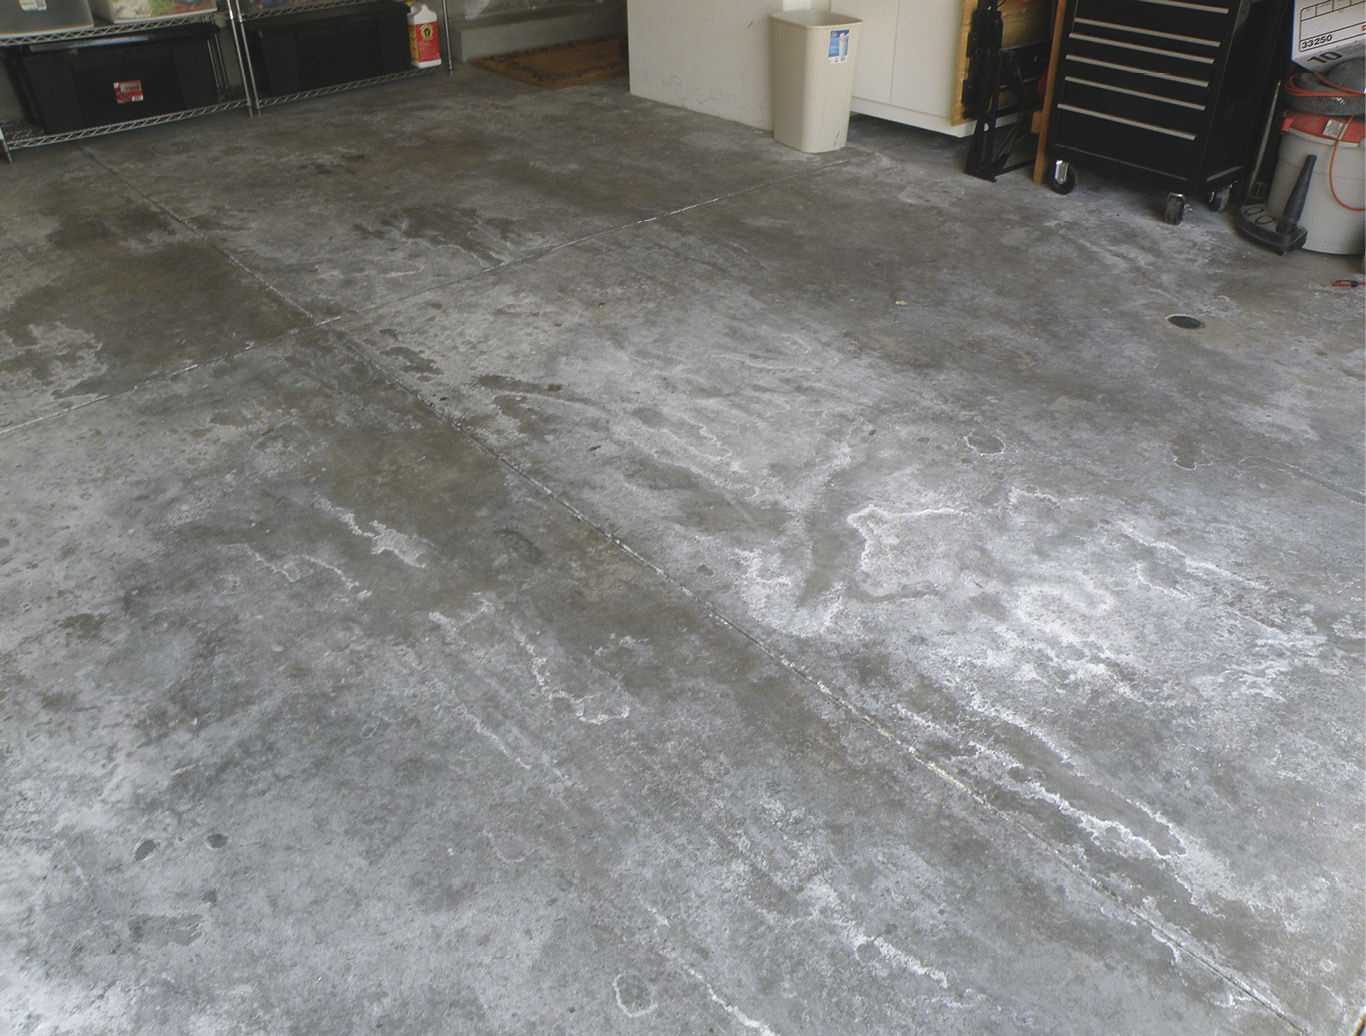
How to Moisture Test your Concrete or Garage Floor All Garage Floors

Best Concrete Floor Sealers – Concrete Sealer Reviews
Does my Garage Floor Need an Epoxy Moisture Vapor Barrier? – Blog

Products-Amazing products for your garage floor coating installation

How to Moisture Test your Concrete or Garage Floor All Garage Floors
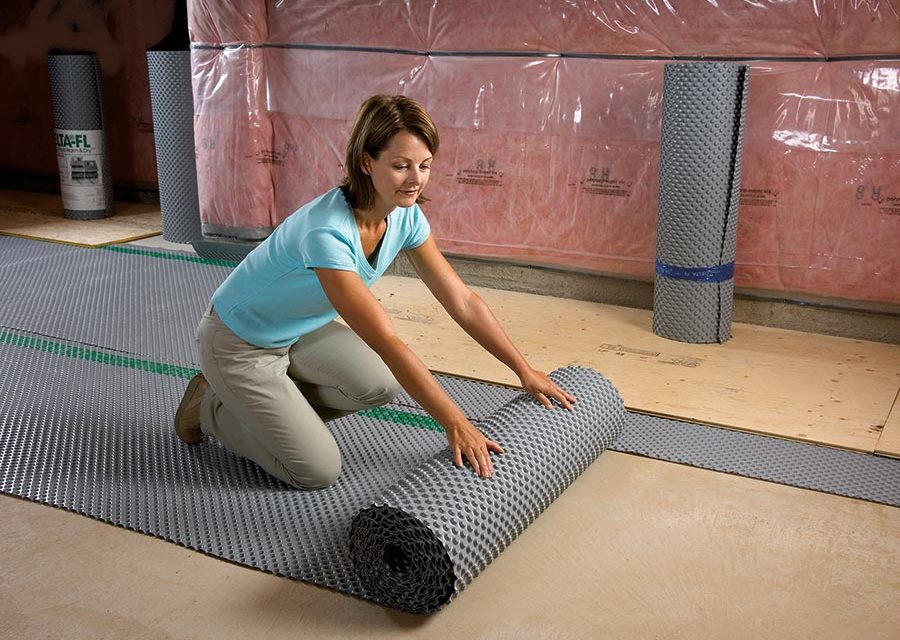
Remediating Moisture in Concrete is Not Complicated – Concrete Decor
Underslab Retrofits: Sealing Slabs WATERPROOF! Magazine
Do You Have Garage Floor Moisture? Packmanu0027s Coatings
Remediating Moisture in Concrete is Not Complicated – Concrete Decor
Garage Floor Sealers Guide From Densifiers to Epoxy Coatings
Related articles:
- Interlocking Garage Floor Tiles
- Garage Floor Coatings
- Garage Floor Ideas
- Garage Floor Paint
- Garage Floor Rubber Covering
- Garage Floor Coating Paint
- Garage Floor Epoxy Ideas
- Best Garage Floor Material
- Black Epoxy Garage Floor Coating
- Garage Floor Slab Thickness
Title: Protect Your Garage with an Effective Moisture Sealer for Long-Lasting Floors
Introduction:
A well-maintained garage floor is essential for both aesthetics and durability. However, moisture can be a significant problem in garages, leading to issues such as the growth of mold and mildew, concrete damage, and even structural problems. To combat these issues and protect your garage floor, investing in a high-quality moisture sealer is crucial. In this article, we will explore the benefits of using a garage floor moisture sealer, discuss the different types available, and answer frequently asked questions to help you make an informed decision.
I. Understanding the Importance of Garage Floor Moisture Sealers
Garage floors are exposed to various sources of moisture, including water tracked in by vehicles or rainwater that seeps through cracks or porous concrete. Moisture can gradually penetrate the surface and cause damage over time. A moisture sealer acts as a barrier, preventing water from entering the concrete and protecting it from deterioration. By sealing your garage floor against moisture, you can extend its lifespan, improve its appearance, and reduce maintenance costs.
FAQs:
1. How does moisture affect garage floors?
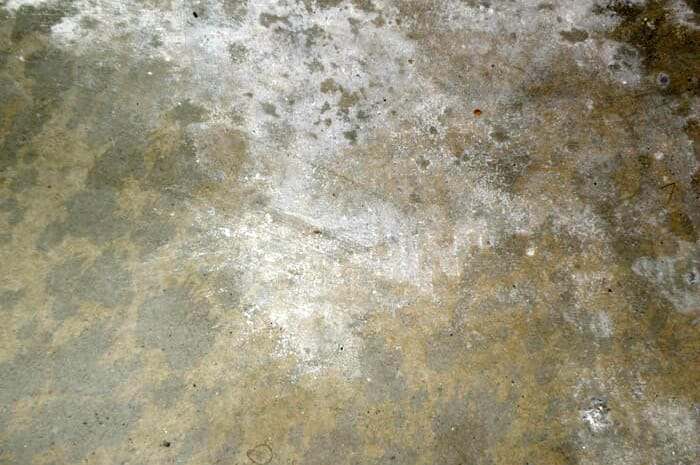
Moisture can weaken the concrete structure, leading to cracks, spalling (flaking), or efflorescence (white powdery residue). It also creates a favorable environment for mold and mildew growth.
2. Can I use any sealer on my garage floor?
While some sealers may work for general purposes, it is advisable to choose a specialized moisture sealer specifically formulated for garage floors. These sealers are designed to withstand heavy vehicle traffic and offer superior protection against water damage.
II. Types of Garage Floor Moisture Sealers
There are several types of moisture sealers available on the market today. Each type offers unique benefits depending on your specific needs and preferences.
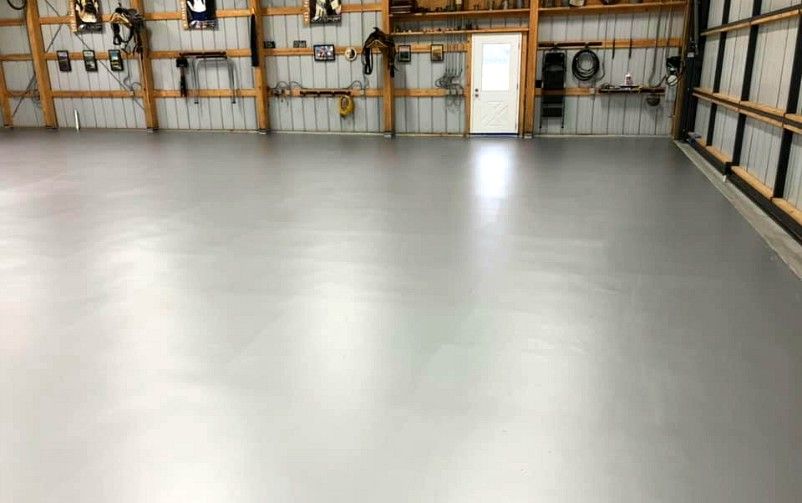
1. Epoxy Sealers:
Epoxy sealers are a popular choice for garage floors due to their exceptional durability and resistance to moisture, chemicals, and abrasion. They create a glossy finish that enhances the appearance of your garage while providing a seamless and impermeable layer of protection. Epoxy sealers also come in various colors and can be customized with decorative flakes or patterns.
2. Polyurethane Sealers:
Polyurethane sealers offer similar benefits to epoxy but with added flexibility. This type of sealer is known for its excellent resistance to UV rays, making it ideal for outdoor garages exposed to sunlight. Polyurethane sealers also provide superior resistance against stains, making them suitable for garages where oil spills or other contaminants may occur frequently.
FAQs:
3. How long does an epoxy sealer last on a garage floor?
When applied correctly and maintained properly, epoxy sealers can last up to 5-10 years or even longer, depending on the level of traffic and usage.
4. Can I apply polyurethane over an existing epoxy sealer?
Yes, you can apply a polyurethane sealer over an existing epoxy sealer. However, ensure that the epoxy is fully cured and properly prepared before applying the polyurethane for optimal adhesion.
III. Applying a Garage Floor Moisture Sealer
Proper application is crucial to ensure the effectiveness and longevity of your moisture sealer. Here’s a step-by-step guide to help you achieve optimal results:
1. Surface Preparation:
Thoroughly clean your garage floor by sweeping away Dirt, dust, and debris. Use a degreaser to remove any oil or grease stains. Repair any cracks or damage in the concrete using a concrete patching compound.
2. Etching:
Etch the surface of the concrete using an etching solution or acid. This will help open up the pores of the concrete, allowing better adhesion for the sealer. Follow the manufacturer’s instructions for proper dilution and application.
3. Rinse and Dry:
Thoroughly rinse the floor with water to neutralize the etching solution. Allow the floor to completely dry before proceeding.
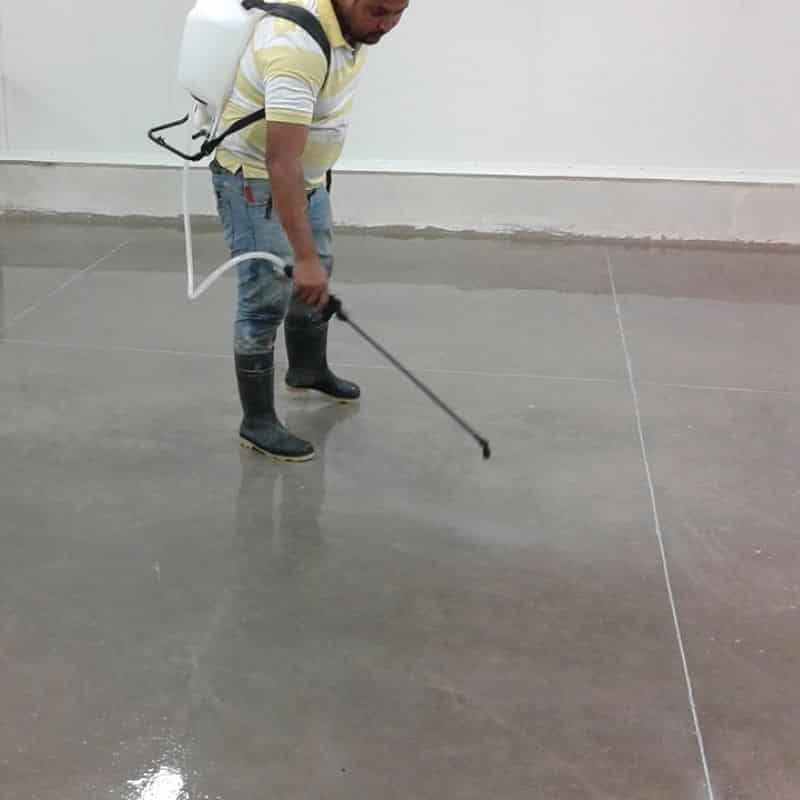
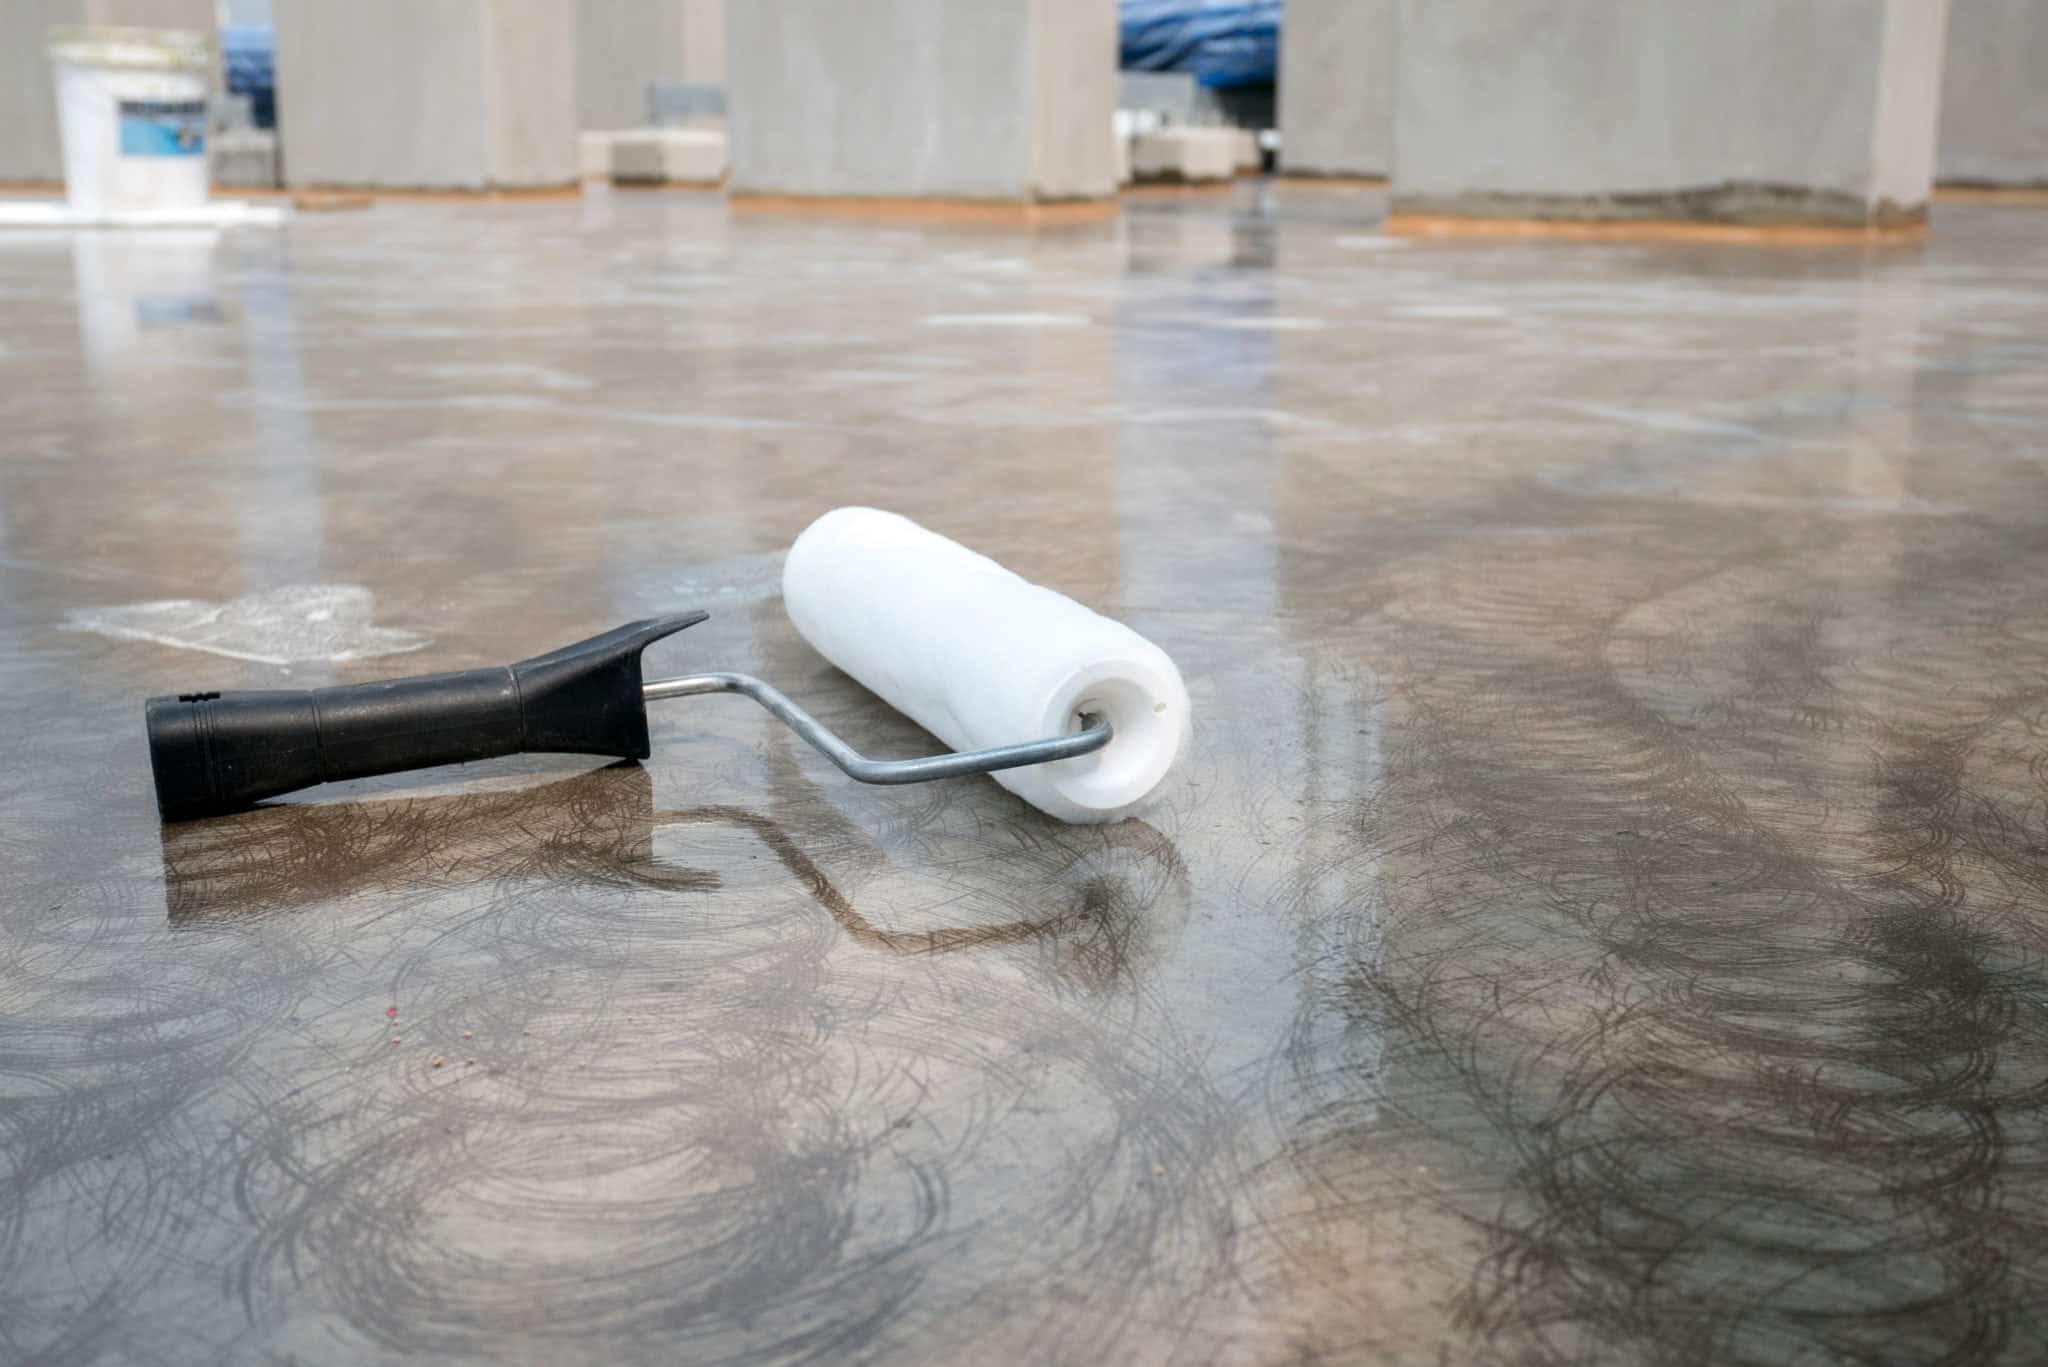
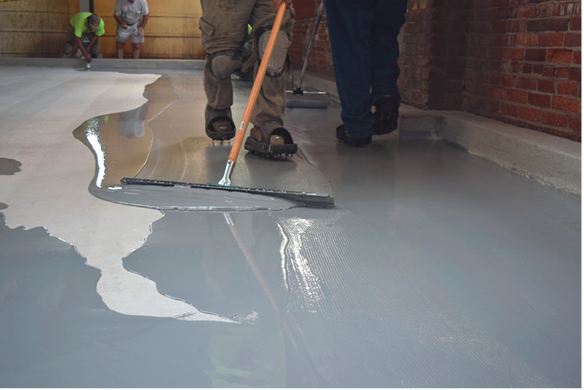
4. Application:
Follow the manufacturer’s instructions for mixing and applying the sealer. Use a paint roller or sprayer to apply an even coat of sealer to the entire garage floor. Work in small sections to ensure thorough coverage.
5. Drying and Curing:
Allow the sealer to dry and cure according to the manufacturer’s instructions. This can take anywhere from a few hours to a few days, depending on the type of sealer used.
6. Additional Coats (optional):
If desired, apply additional coats of sealer for added protection and durability. Follow the manufacturer’s recommended wait time between coats.
7. Maintenance:
Regularly clean your sealed garage floor with a mild detergent and water solution. Avoid using harsh chemicals or abrasive cleaners that can damage the sealer.
IV. Conclusion
Sealing your garage floor against moisture is a smart investment that can greatly benefit your garage’s longevity and appearance. Choose a high-quality moisture sealer that is specifically formulated for garage floors, such as epoxy or polyurethane sealers. Proper surface preparation and application are key to ensuring the effectiveness and durability of the sealer. Regular maintenance will help extend the lifespan of the sealer and keep your garage floor looking its best. Sealing your garage floor against moisture is an important step in protecting the longevity and appearance of your garage. To achieve optimal results, it is crucial to properly prepare the surface and follow the manufacturer’s instructions for application. Here are the steps to apply a garage floor moisture sealer:
1. Surface Preparation:
– Sweep away dirt, dust, and debris from the garage floor.
– Use a degreaser to remove any oil or grease stains.
– Repair any cracks or damage in the concrete using a concrete patching compound.
2. Etching:
– Use an etching solution or acid to etch the surface of the concrete.
– This will open up the pores of the concrete and enhance adhesion for the sealer.
– Follow the manufacturer’s instructions for dilution and application of the etching solution.
3. Rinse and Dry:
– Thoroughly rinse the floor with water to neutralize the etching solution.
– Allow the floor to completely dry before proceeding.
4. Application:
– Follow the manufacturer’s instructions for mixing and applying the sealer.
– Use a paint roller or sprayer to apply an even coat of sealer to the entire garage floor.
– Work in small sections to ensure thorough coverage.
5. Drying and Curing:
– Allow the sealer to dry and cure according to the manufacturer’s instructions.
– The drying and curing time can vary depending on the type of sealer used.
6. Additional Coats (optional):
– If desired, apply additional coats of sealer for added protection and durability.
– Follow the manufacturer’s recommended wait time between coats.
7. Maintenance:
– Regularly clean your sealed garage floor with a mild detergent and water solution.
– Avoid using harsh chemicals or abrasive cleaners that can damage the sealer.
By following these steps and maintaining your sealed garage floor, you can ensure its effectiveness and prolong its lifespan. Choose a high-quality moisture sealer specifically formulated for garage floors, such as epoxy or polyurethane sealers, for the best results.