If you're not comfortable determining how much you need, request help. What would you want to achieve with the new garage floor of yours covering? Are you thinking about safety? The design and style is designed after the checkered flag. They generally have some sort of an attaching device that allows for them to break together and keep in place.
Here are Images about Garage Floor Clear Epoxy Coating
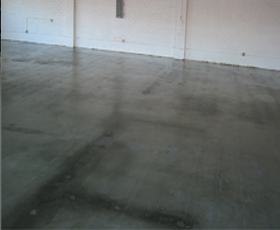
Garage Floor Clear Epoxy Coating
![]()
These paints come in many different colors and styles and are made for outdoor use, thus they are extremely durable. These mats are sold in rolls. The material works by bonding to the cement of yours and is generally made up of epoxy item. There are 3 methods to covering the floor surface: epoxy color, garage floor mats as well as garage floor tiles.
4100 Epoxy Floor Sealant u0026 Primer GarageCoatings.com
Concrete is actually a porous substance which provides the potential for water and other substances to very easily seep through and cause damage. There are more sorts of garage area floor coatings. All most in every component of the planet garage floor coatings are offered by different companies in reasonable prices.
Images Related to Garage Floor Clear Epoxy Coating
What are the Best Clear Coats for Garage Floor Coatings? All
Concrete Coatings Orange County Floor Coatings Orange County
![]()
Garage Flooring u0026 Epoxy Coatings – Scorpion Coatings
![]()
Epoxy 325 Durable Concrete Coating u003e Ghostshield®

6009 Epoxy Floor Coating Industrial u0026 Commercial Low Temp 35°F 100% Solids Quick Cure

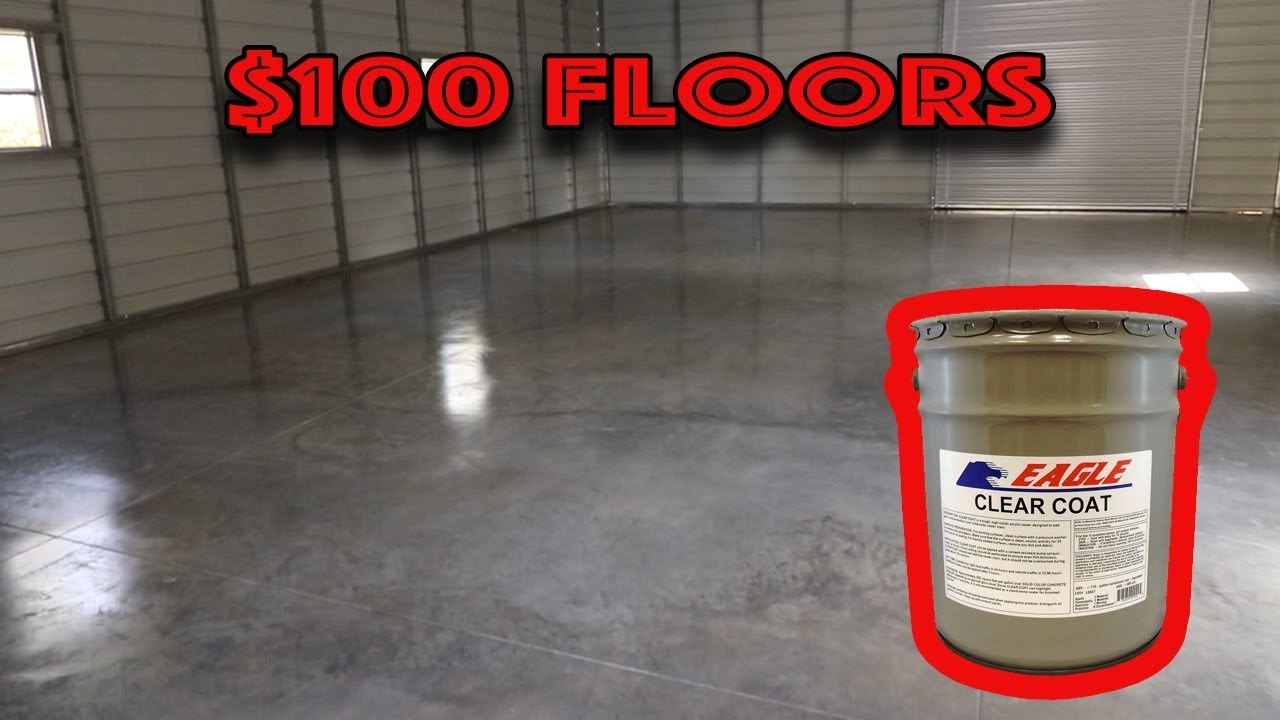
New Garage Floors for $100 dollars Eagle Gloss Sealer
Garage Floor Coating u2013 Everything You Need to Know (2021
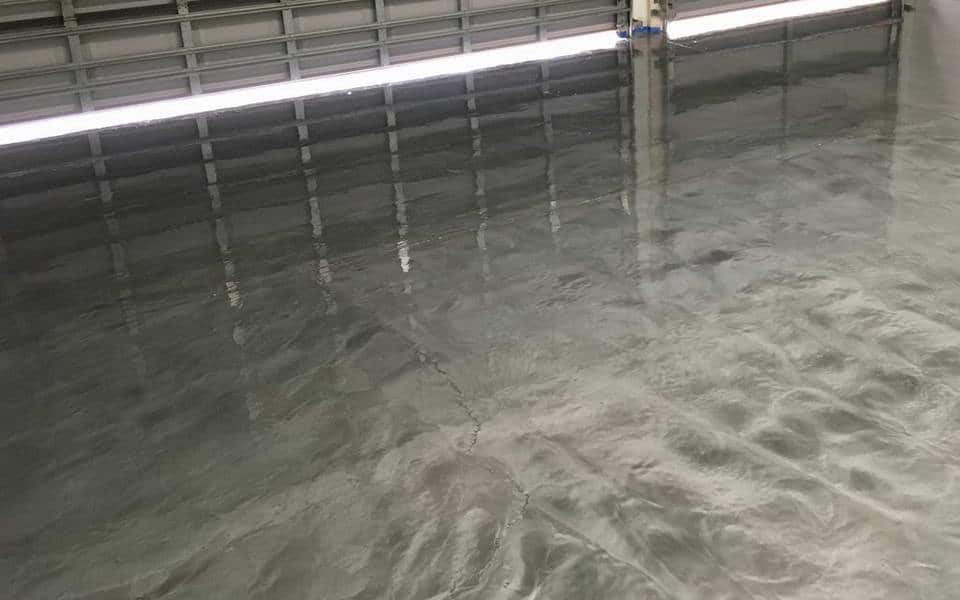
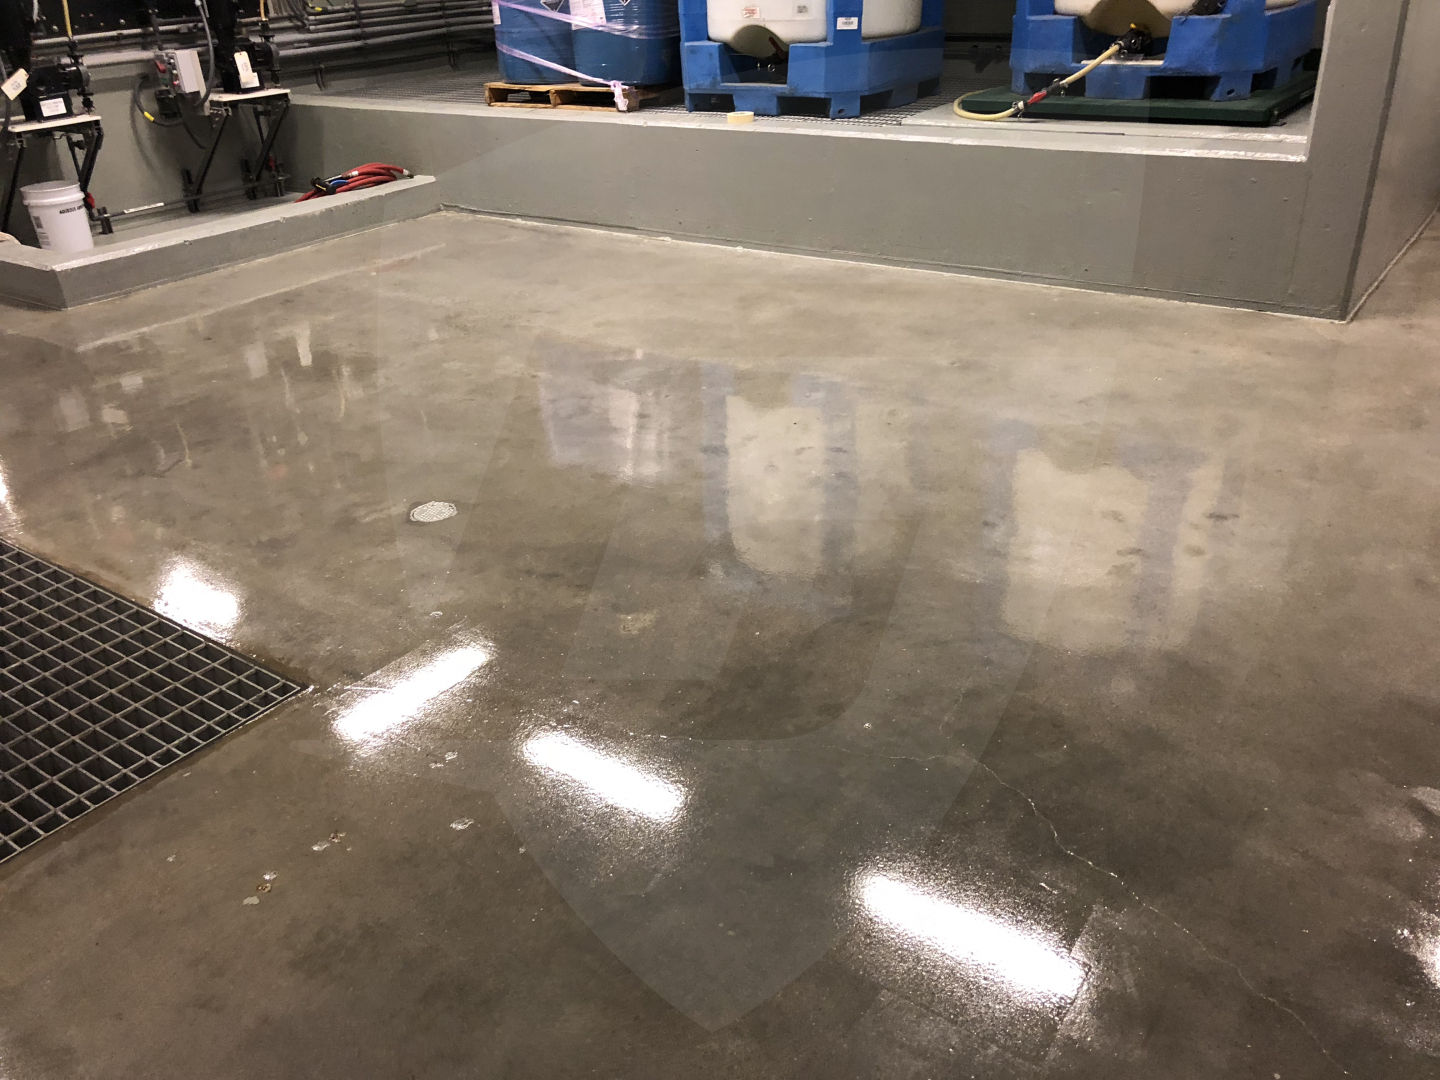
Clear epoxy over concrete flooring

Epoxy 325 Durable Concrete Coating u003e Ghostshield®
Seal-Krete 1-part Clear Gloss Garage Floor Epoxy (1-Gallon) Lowes.com

ARMOR GRANITE GARAGE FLOOR COATING EPOXY KIT

What are the Best Clear Coats for Garage Floor Coatings? All
Related articles:
- Interlocking Garage Floor Tiles
- Garage Floor Coatings
- Garage Floor Ideas
- Garage Floor Paint
- Garage Floor Rubber Covering
- Garage Floor Coating Paint
- Garage Floor Epoxy Ideas
- Best Garage Floor Material
- Black Epoxy Garage Floor Coating
- Garage Floor Slab Thickness
Garage Floor Clear Epoxy Coating: Transform Your Garage into a Durable and Stylish Space
Introduction:
Your garage floor deserves more than just being a dull, drab concrete surface. It’s time to unleash its potential and transform it into a durable, stylish space with a garage floor clear epoxy coating. This innovative solution not only enhances the appearance of your garage but also provides numerous practical benefits. In this comprehensive article, we will delve into the world of garage floor clear epoxy coating, explore its advantages, address common concerns, and guide you through the process of application.
Section 1: Understanding Garage Floor Clear Epoxy Coating
What is Garage Floor Clear Epoxy Coating?
Garage floor clear epoxy coating is a protective layer applied to concrete surfaces to enhance their appearance and durability. Made from a combination of epoxy resin and a hardener, this coating creates a glossy, mirror-like finish that transforms your garage into an attractive and functional space. The clear nature of the coating allows the natural color and texture of the concrete to shine through while offering superior protection against stains, chemicals, and wear.
Why Choose Garage Floor Clear Epoxy Coating?
1. Enhanced Durability: The primary reason homeowners opt for garage floor clear epoxy coating is its exceptional durability. Once applied, it forms a strong bond with the concrete substrate, making it resistant to cracks, chips, stains, and abrasions caused by heavy vehicle traffic or dropped tools.
2. Aesthetic Appeal: With its high-gloss finish, garage floor clear epoxy coating instantly elevates the visual appeal of your garage. It adds depth and dimension to your flooring while creating an inviting atmosphere that can be customized to your style preferences.
3. Easy Maintenance: Cleaning becomes a breeze with garage floor clear epoxy coating. Its smooth surface prevents dirt and grime from penetrating the floor, allowing for effortless cleanup using simple household cleaners or mild soaps. Say goodbye to the hassle of scrubbing stubborn stains off your garage floor!
Section 2: The Application Process
Preparing Your Garage Floor:
Before applying the garage floor clear epoxy coating, proper preparation is key to achieving optimal results. Here’s a step-by-step guide:
1. Clean and Degrease: Thoroughly sweep or vacuum the floor to remove loose debris. Next, use a degreaser to eliminate any oil or grease stains. Scrub the surface with a stiff-bristle brush, and rinse it with clean water. Allow the floor to dry completely before moving on to the next step.
2. Repair Cracks and Damage: Inspect your garage floor for any cracks or minor damage. Use an epoxy patching compound or concrete filler to repair these imperfections. Follow the manufacturer’s instructions for application and drying times.
3. Etching the Surface: Etching the concrete is essential for ensuring proper adhesion of the epoxy coating. Apply an etching solution (available at most hardware stores) according to the manufacturer’s instructions. Allow it to sit for the recommended time before rinsing it off thoroughly with clean water.
Applying Garage Floor Clear Epoxy Coating:
Now that your garage floor is properly prepped, it’s time to apply the garage floor clear epoxy coating. Here’s how:
1. Mix the Epoxy Components: Follow the manufacturer’s instructions to mix the epoxy resin and hardener in a clean bucket. Stir them together thoroughly until they are well blended.
2. Apply the Primer Coat: Use a roller Or brush to apply a thin and even coat of epoxy primer to the entire garage floor. Work in small sections, starting from one corner and moving towards the exit. Make sure to cover the floor completely and avoid leaving any puddles or thick areas. Allow the primer coat to dry according to the manufacturer’s instructions.
3. Apply the Epoxy Coating: Once the primer coat is dry, mix another batch of epoxy resin and hardener following the manufacturer’s instructions. Apply a thick and even coat of epoxy coating using a roller or brush, working in small sections as before. Again, make sure to cover the floor completely and avoid leaving any puddles or thick areas. Use a paintbrush to carefully cut in around edges and corners. Allow the epoxy coating to dry according to the manufacturer’s instructions.
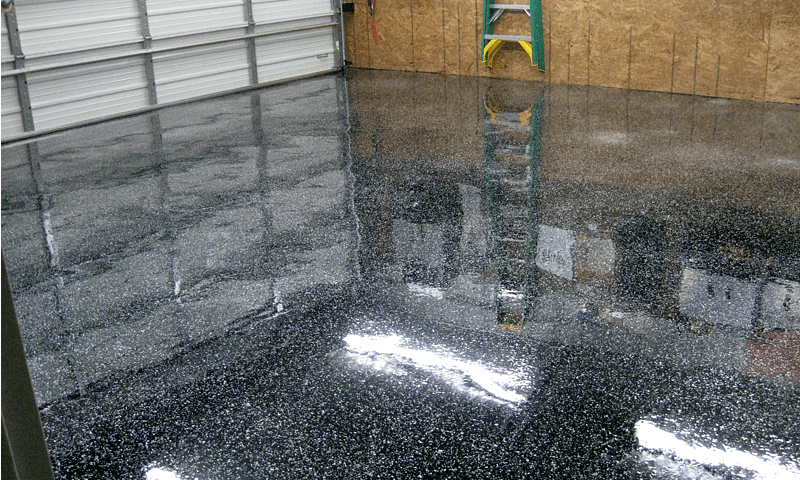
4. Optional: Add Decorative Flakes or Colors: If desired, you can add decorative flakes or colors to enhance the appearance of your garage floor. Sprinkle them onto the wet epoxy coating while it is still tacky. Use a clean roller or brush to gently press them into the surface and remove any excess flakes. Allow the epoxy coating to dry completely.
5. Apply a Topcoat (Optional): For added protection and durability, you can apply a clear topcoat over the epoxy coating. Follow the manufacturer’s instructions for mixing and application, applying it in the same manner as the epoxy coating.
6. Allow for Curing: After applying the final coat, allow your garage floor clear epoxy coating to cure for at least 48 hours before subjecting it to heavy traffic or placing any objects on it.
Conclusion:
Garage floor clear epoxy coating offers numerous benefits, including enhanced durability, aesthetic appeal, and easy maintenance. By following the proper preparation and application process, you can achieve a beautiful and long-lasting finish for your garage floor. Consider hiring a professional if you are unsure about tackling this project yourself. Enjoy your newly transformed garage space! In conclusion, applying a garage floor clear epoxy coating can greatly improve the durability and appearance of your garage floor. By following the steps outlined above, you can achieve a professional-looking finish that will last for years to come. Remember to properly prepare the surface, mix the epoxy components correctly, and apply thin and even coats to ensure a smooth and seamless finish. You can also add decorative flakes or colors for added visual appeal. Finally, allow the epoxy coating to cure for at least 48 hours before subjecting it to heavy traffic. Enjoy your newly transformed garage space! To summarize, here are the steps to apply a garage floor clear epoxy coating:
1. Prepare the Surface: Clean and repair any cracks or damage on the garage floor. Use a degreaser to remove any oil or grease stains. Etch the surface using an acid-based etching solution to promote adhesion.
2. Apply the Primer Coat: Mix the epoxy resin and hardener according to the manufacturer’s instructions. Use a roller or brush to apply a thin and even coat of primer, starting from one corner and moving towards the exit. Make sure to cover the floor completely and avoid leaving any puddles or thick areas. Allow the primer coat to dry according to the manufacturer’s instructions.
3. Apply the Epoxy Coating: Mix another batch of epoxy resin and hardener following the manufacturer’s instructions. Apply a thick and even coat of epoxy coating using a roller or brush, working in small sections as before. Cover the floor completely and avoid leaving any puddles or thick areas. Use a paintbrush to cut in around edges and corners. Allow the epoxy coating to dry according to the manufacturer’s instructions.
4. Optional: Add Decorative Flakes or Colors: Sprinkle decorative flakes or colors onto the wet epoxy coating while it is still tacky. Press them into the surface with a clean roller or brush, removing any excess flakes. Allow the epoxy coating to dry completely.
5. Apply a Topcoat (Optional): For added protection and durability, apply a clear topcoat over the epoxy coating following the manufacturer’s instructions.
6. Allow for Curing: After applying the final coat, allow your garage floor clear epoxy coating to cure for at least 48 hours before subjecting it to heavy traffic or placing objects on it.
By following these steps, you can achieve a durable and visually appealing finish for your garage floor with a clear epoxy coating.