If the prroperty owner does not want to get it done themselves they can get in touch with epoxy flooring business enterprises to do the task. Needless to say the expense of this sort of flooring is justified by its durability since once it's been laid it will last a life time. Try and get the same color of epoxy level so it fits with the remainder of the floor.
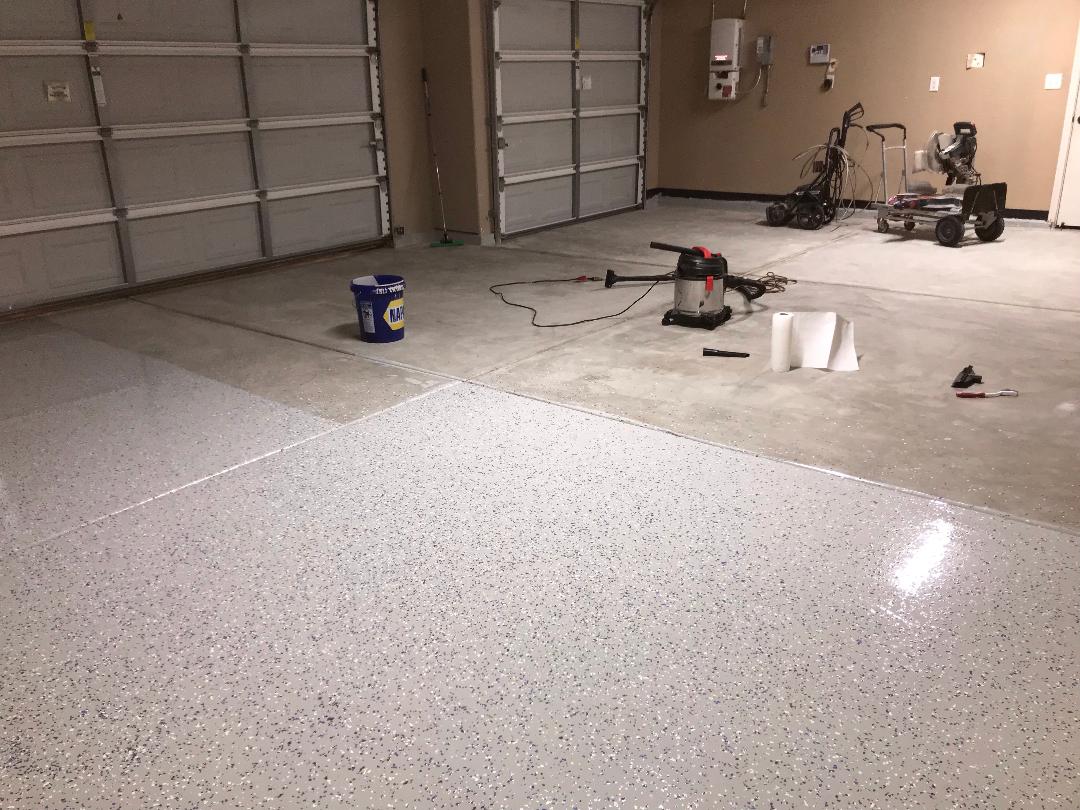
Here are Images about Garage Epoxy Flooring Kit
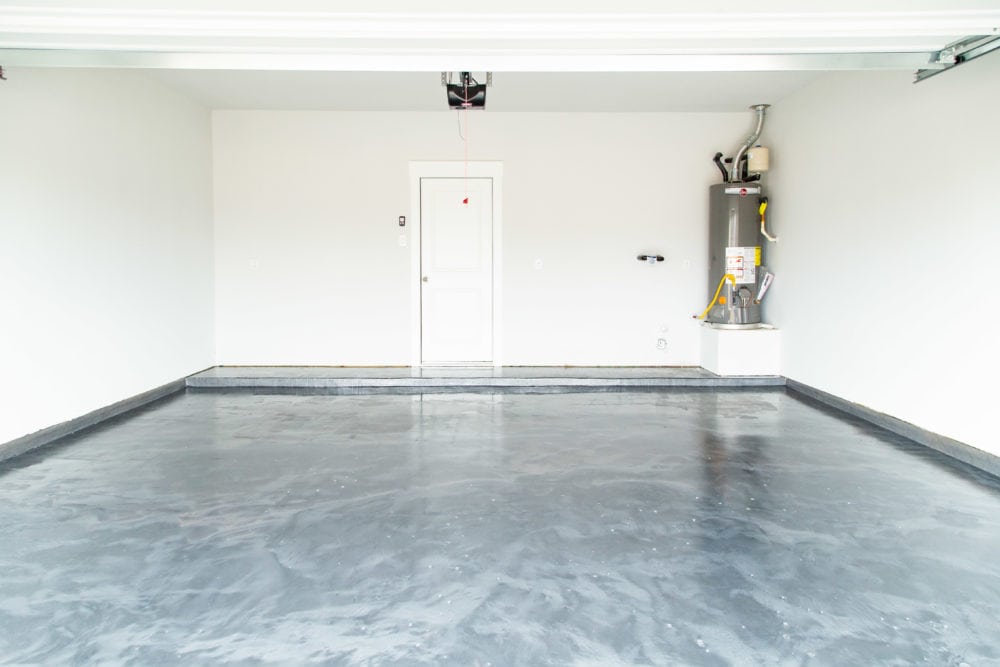
Garage Epoxy Flooring Kit

One more reason this- Positive Many Meanings- epoxy flooring is on a quick list for designers is the fact that it can easily be personalized. Epoxy floorings are floorings applied with levels of tough, long lasting coating called epoxy. The prroperty owner also can have a clear epoxy covering poured over ready hardwood floors. It's imperative that the epoxy is combined properly to confirm correct curing.
SPGX POLYUREA MED. BROADCAST KIT 300 u0026 600 SQ. FT
Epoxy flooring is also very painless to clean because there is nothing for pollutants to hang onto. These may be given the sought-after styles after blending several color agent to them. And additionally the epoxy floor paint is very simple to apply and maintain. It's not so costly and often will outlast various other floor coatings. Actually, it's smarter than majority of other options.
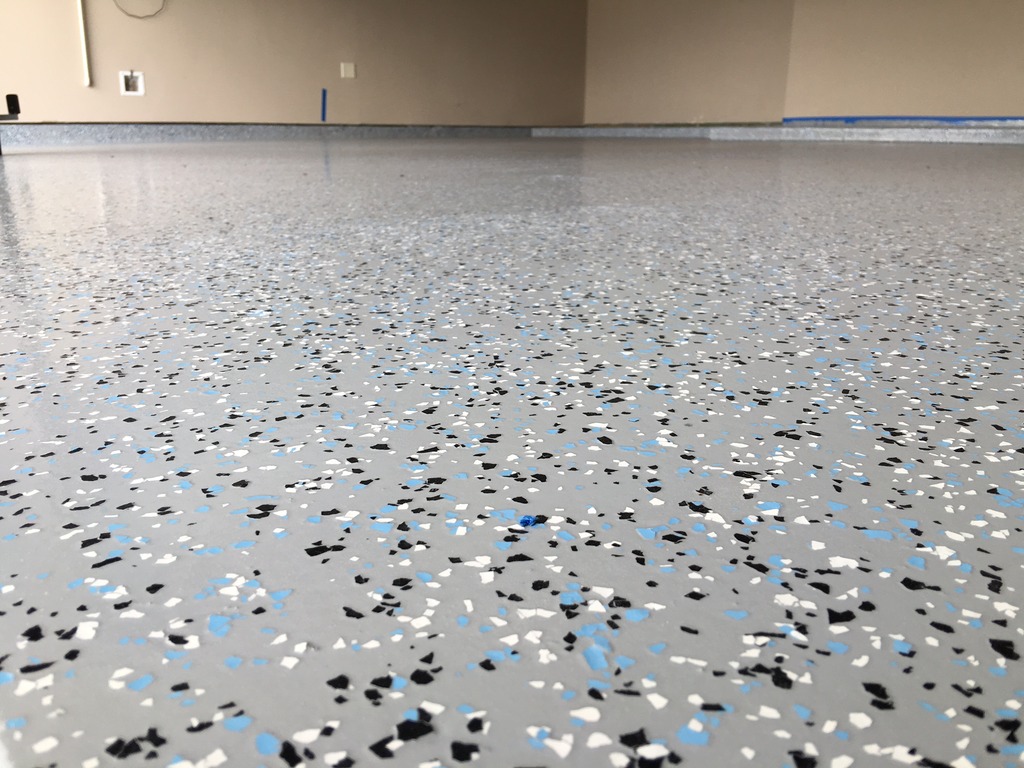
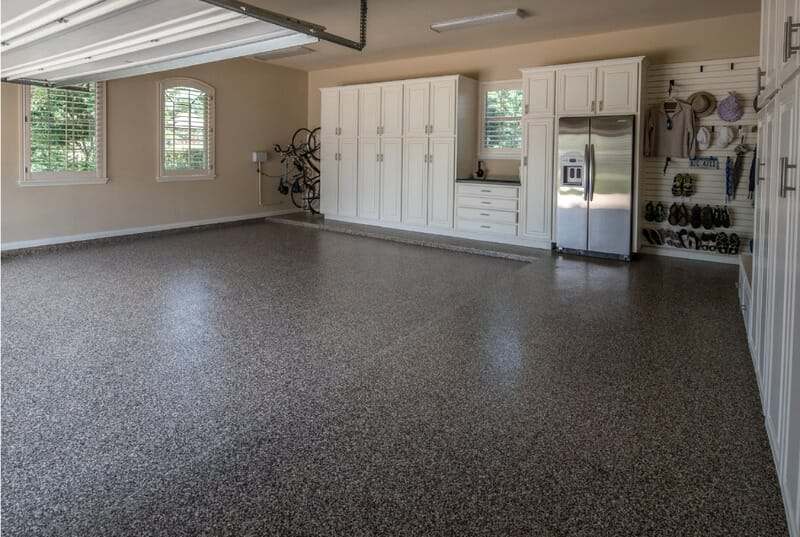
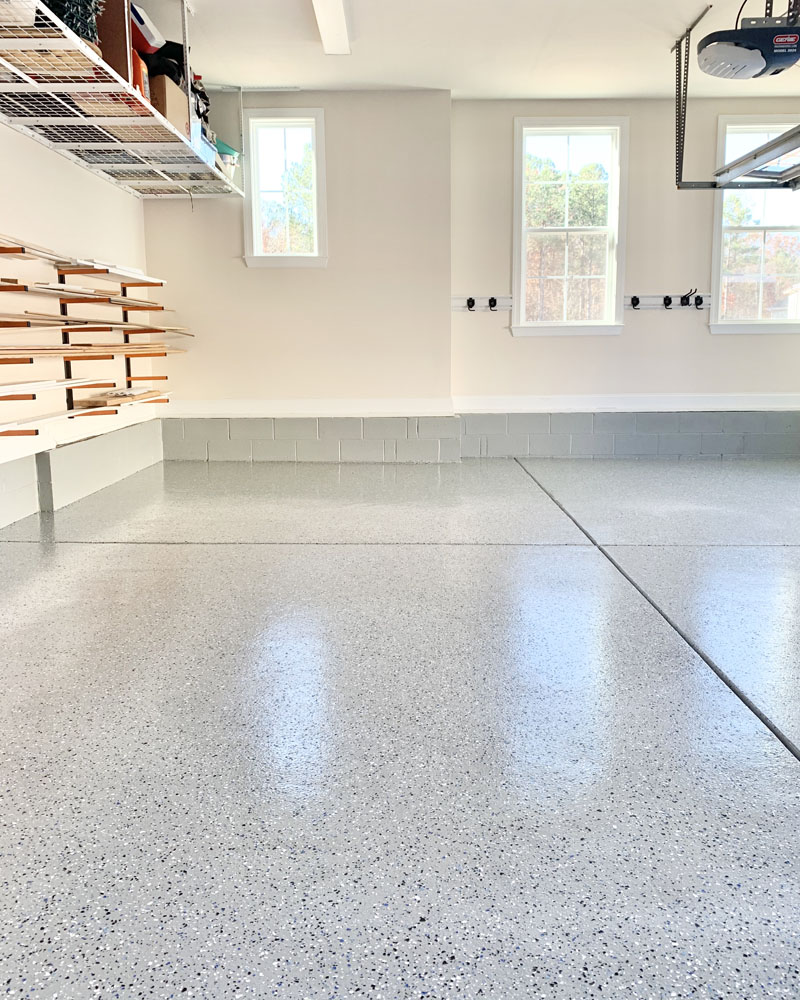
Images Related to Garage Epoxy Flooring Kit
Garage Floor Epoxy Kit For 1-3 Car Garage Original Color Chips
Armorultra ArmorTallic 300 Sq. Ft. Gal Metallic Epoxy Complete Floor Kit 100% Solids
ARMOR GRANITE GARAGE FLOOR COATING EPOXY KIT

High Performance 100% Solids Industrial Floor Epoxy Kits

Best Garage Floor Coating of 2022 – This Old House
/cdn.vox-cdn.com/uploads/chorus_image/image/68830856/1120_FEA_Idea_House_Fairfield_Farmhouse_08142020NR_0078_v3.0.jpg)
Metallic Full Epoxy Floor Coating Kit 300 sq. ft.

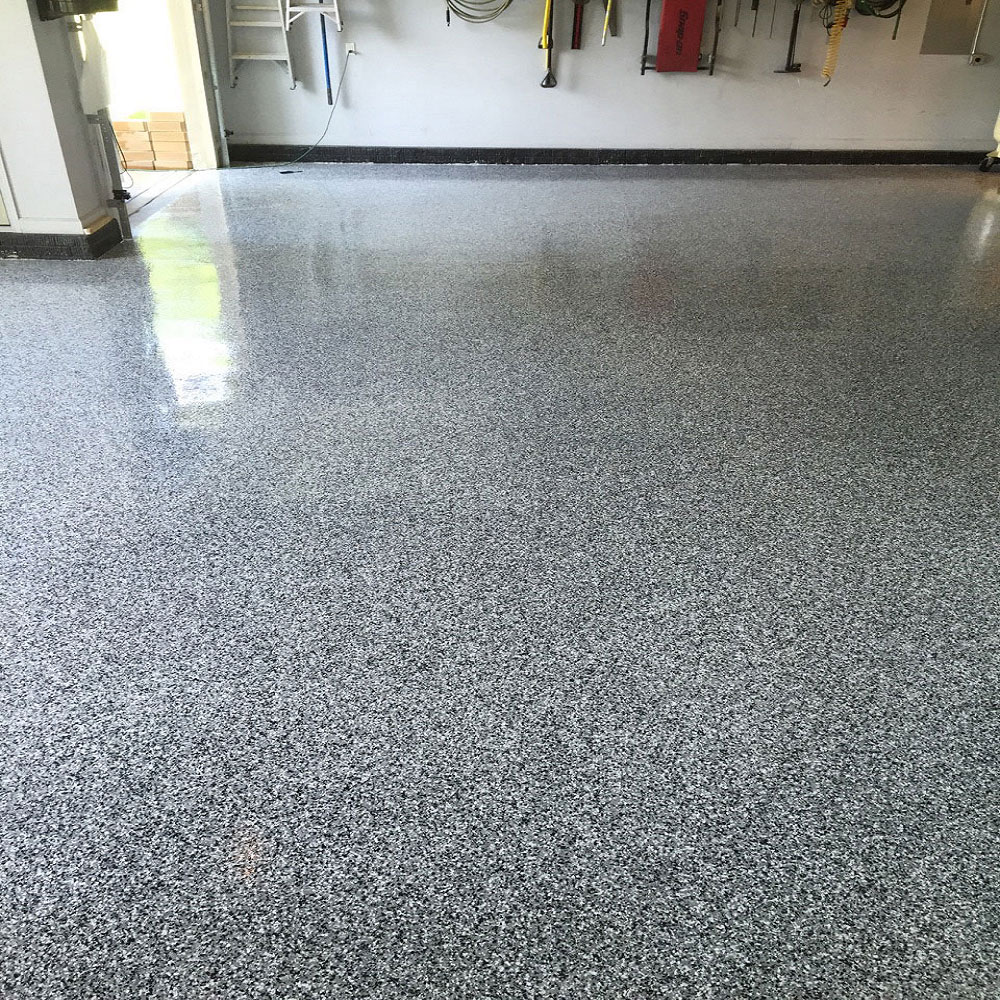
Armor Chip Garage Epoxy Floor Coating ArmorGarage
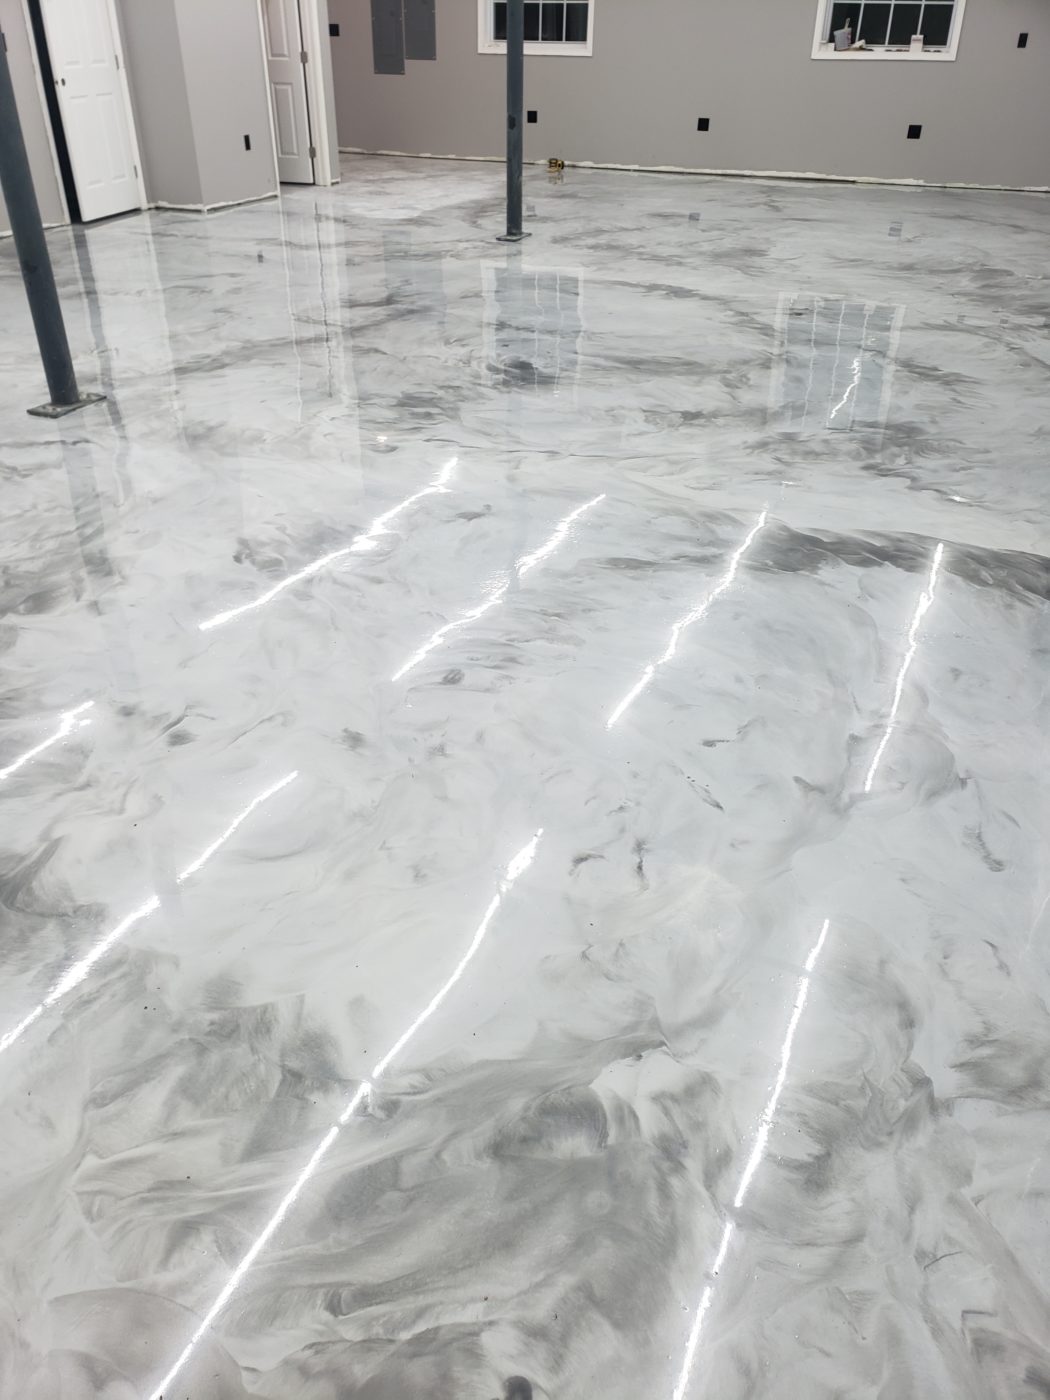
Metallic Epoxy Flooring Systems – GarageFlooringLLC.com

Armor Chip Garage Epoxy Floor Coating ArmorGarage
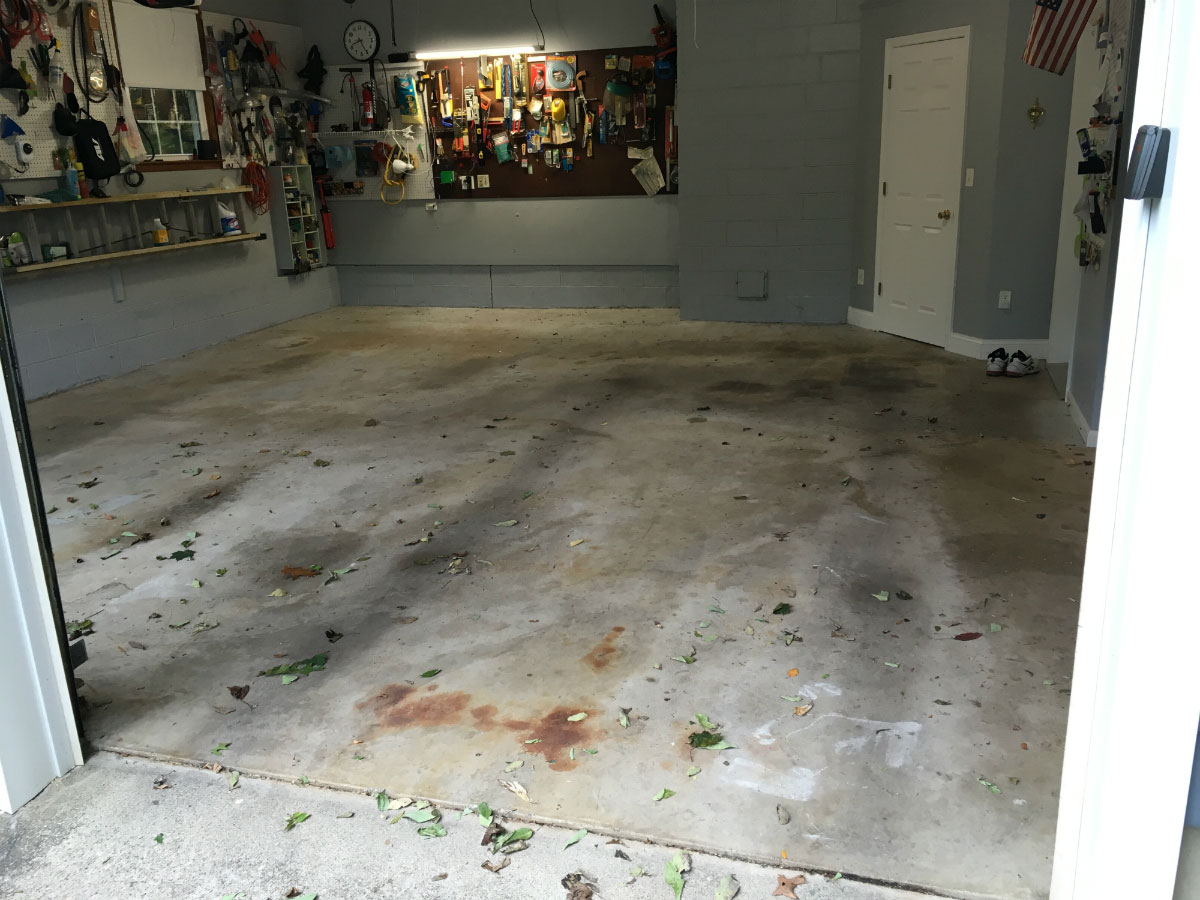
Our DIY Rust-Oleum RockSolid Garage Floor u2013 Love u0026 Renovations
The Benefits of Epoxy Garage Floor Coatings All Garage Floors
DIY Epoxy Garage Floors
Related articles:
- Epoxy Flooring Living Room
- 3D Epoxy Flooring
- Epoxy Flooring Ideas
- Residential Epoxy Flooring
- Epoxy Flooring Waterproof
- Epoxy Floor Coating Tips
- Metallic Epoxy Floor Designs
- Epoxy Flooring Contractors
- Epoxy Floor Coating Material
- Epoxy Floor Coating With Flakes
Garage Epoxy Flooring Kit: Transform Your Garage into a Stunning Space
Introduction:
If you are looking to upgrade your garage and transform it into a stunning, functional space, then look no further than a garage epoxy flooring kit. With its seamless, durable, and aesthetically pleasing finish, epoxy flooring has become increasingly popular among homeowners and DIY enthusiasts. In this article, we will delve into the benefits of using a garage epoxy flooring kit, discuss the installation process, and address some frequently asked questions to help you make an informed decision.
I. The Benefits of Garage Epoxy Flooring:
1. Durability:
One of the primary advantages of opting for a garage epoxy flooring kit is its exceptional durability. Unlike traditional concrete floors that are prone to cracking and staining over time, epoxy flooring can withstand heavy traffic and resist chemicals, oils, and solvents. This robustness ensures that your garage floor will maintain its pristine appearance for years to come.
2. Enhanced Safety:
Epoxy flooring is known for its excellent slip-resistant properties, making it a safe choice for garage environments. Whether you are working on DIY projects or parking your vehicle, the anti-slip surface provides added traction, minimizing the risk of accidents.
3. Easy Maintenance:
Maintaining an epoxy floor is a breeze compared to other flooring options. The seamless nature of epoxy eliminates grout lines where dirt and grime can accumulate, making it effortless to clean with just a simple mop or vacuum. Additionally, the resistant properties of epoxy ensure that stains can be easily wiped away without leaving any residue.
4. Aesthetic Appeal:
Aesthetics play a significant role in any space transformation, and an epoxy floor can instantly elevate the look of your garage. With a wide range of colors and finishes available in garage epoxy flooring kits, you can choose a design that complements your personal style or matches your overall home decor.
II. Installing Your Garage Epoxy Flooring Kit:
1. Surface Preparation:
Before applying epoxy, proper surface preparation is crucial for optimal adhesion and longevity of the coating. Start by thoroughly cleaning the garage floor to remove any dirt, oil, or grease. Use a degreaser and scrub the surface with a stiff brush or pressure washer. Once clean, inspect for any cracks or damage and repair them accordingly.
2. Etching or Grinding:
To ensure a strong bond between the epoxy coating and the concrete floor, it is essential to etch or grind the surface. This step helps open up the pores of the concrete, allowing the epoxy to penetrate and adhere effectively. Etching can be done using an acid-based solution, while grinding involves using a diamond grinder to remove a thin layer of the concrete surface.
3. Applying Epoxy Primer:
After preparing the surface, apply an epoxy primer using a roller or brush. The primer acts as a bonding agent between the concrete and the epoxy topcoat, enhancing adhesion and preventing any potential issues such as bubbling or peeling.
4. Mixing and Applying Epoxy:
Follow the manufacturer’s instructions to mix the epoxy resin and hardener properly. Pour the mixture onto the garage floor in small sections, spreading it evenly using a roller or squeegee. Work quickly but carefully, ensuring complete coverage without leaving any puddles or uneven spots.
5. Adding Decorative Flakes (optional):
For those seeking additional visual appeal, decorative flakes can be sprinkled onto the wet epoxy surface after applying it in small sections. These flakes come In various colors and sizes, allowing you to create a customized design. Sprinkle the flakes lightly and evenly across the surface, and let the epoxy cure before removing any excess flakes.
6. Applying a Topcoat (optional):
To further enhance the durability and longevity of your garage epoxy floor, you can apply a clear topcoat. This additional layer adds an extra level of protection against stains, abrasions, and UV damage. Follow the manufacturer’s instructions for mixing and applying the topcoat, ensuring complete coverage.
7. Curing Time:
After applying the epoxy and any optional topcoat or flakes, allow sufficient time for curing. This typically takes around 24 to 48 hours, depending on the specific product used. During this time, avoid walking or driving on the surface to prevent any damage or imperfections.
III. Maintaining Your Garage Epoxy Floor:
1. Regular Cleaning:
To maintain the appearance and cleanliness of your epoxy floor, regularly sweep or dust mop to remove loose dirt and debris. Use a pH-neutral cleaner mixed with warm water for routine cleaning. Avoid using harsh chemicals or abrasive cleaners that can damage the epoxy surface.
2. Spill and Stain Prevention:
While epoxy is resistant to stains, it is still important to clean up spills promptly to prevent any potential discoloration or long-term damage. Wipe up spills with a soft cloth or paper towel, and if necessary, use a mild detergent or cleaner specifically formulated for epoxy floors.
3. Protective Measures:
To minimize wear and tear on your garage epoxy floor, place protective mats or rugs in high-traffic areas, such as near entrances or workstations. This helps to prevent dirt, gravel, or sharp objects from scratching or damaging the surface.
4. Regular Inspections:
Periodically inspect your epoxy floor for any signs of damage or wear. If you notice any cracks, chips, or peeling, address them promptly to prevent further deterioration. Depending on the extent of the damage, you may need to reapply epoxy or perform minor repairs.
By following these installation and maintenance guidelines, you can enjoy a beautiful and durable garage epoxy floor that enhances the functionality and aesthetics of your space for years to come. The instructions provided give a step-by-step guide on how to install and maintain a garage epoxy floor. It emphasizes the importance of proper surface preparation, mixing and applying the epoxy, and allowing sufficient curing time. Optional steps such as adding flakes for a customized design and applying a topcoat for added protection are also mentioned.
In terms of maintenance, regular cleaning with a pH-neutral cleaner is recommended to remove dirt and debris. Promptly cleaning up spills is important to prevent stains and damage. Protective measures like using mats or rugs in high-traffic areas and conducting regular inspections for any signs of damage are also advised.
Following these guidelines will help ensure that the garage epoxy floor remains in good condition and retains its functionality and aesthetics for a long time. Overall, it is important to follow the recommended installation and maintenance guidelines for a garage epoxy floor in order to ensure its longevity and appearance. By taking proper care of the floor, you can enjoy a beautiful and durable surface that enhances your garage space.