Obviously, it’s strength also allow it to be resistant to chemical and salt damage, so even if cleaners, paint thinner, or perhaps some other chemical compounds you may keep in your basement gets spilled, you only must clean it up and forget about it! Choosing basement flooring can be tricky and you might have to sacrifice what you prefer for what’ll work in your house.
Here are Images about Floating Laminate Floor Basement
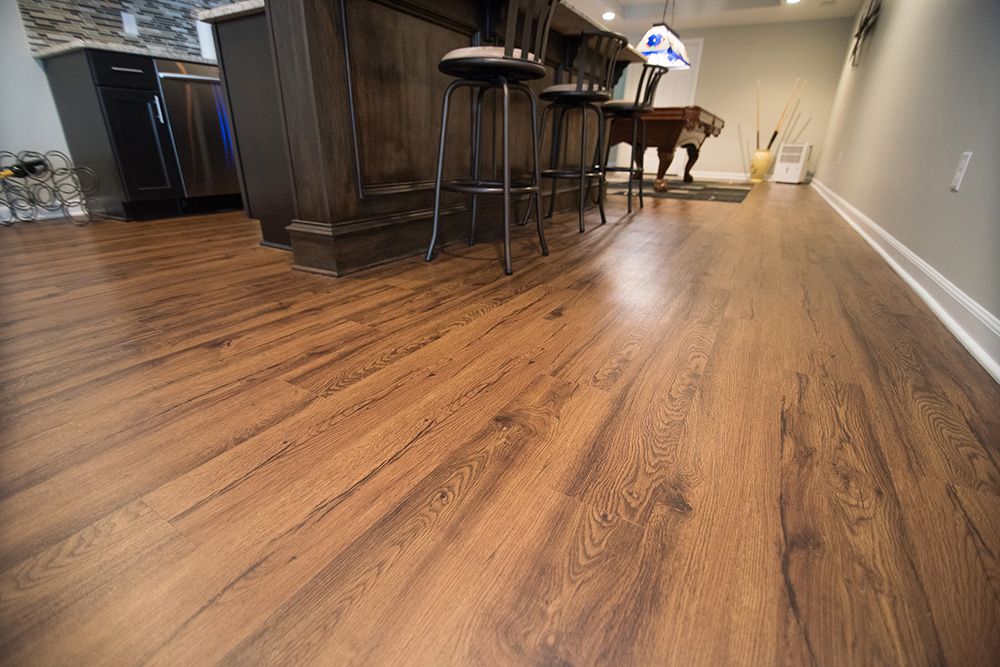
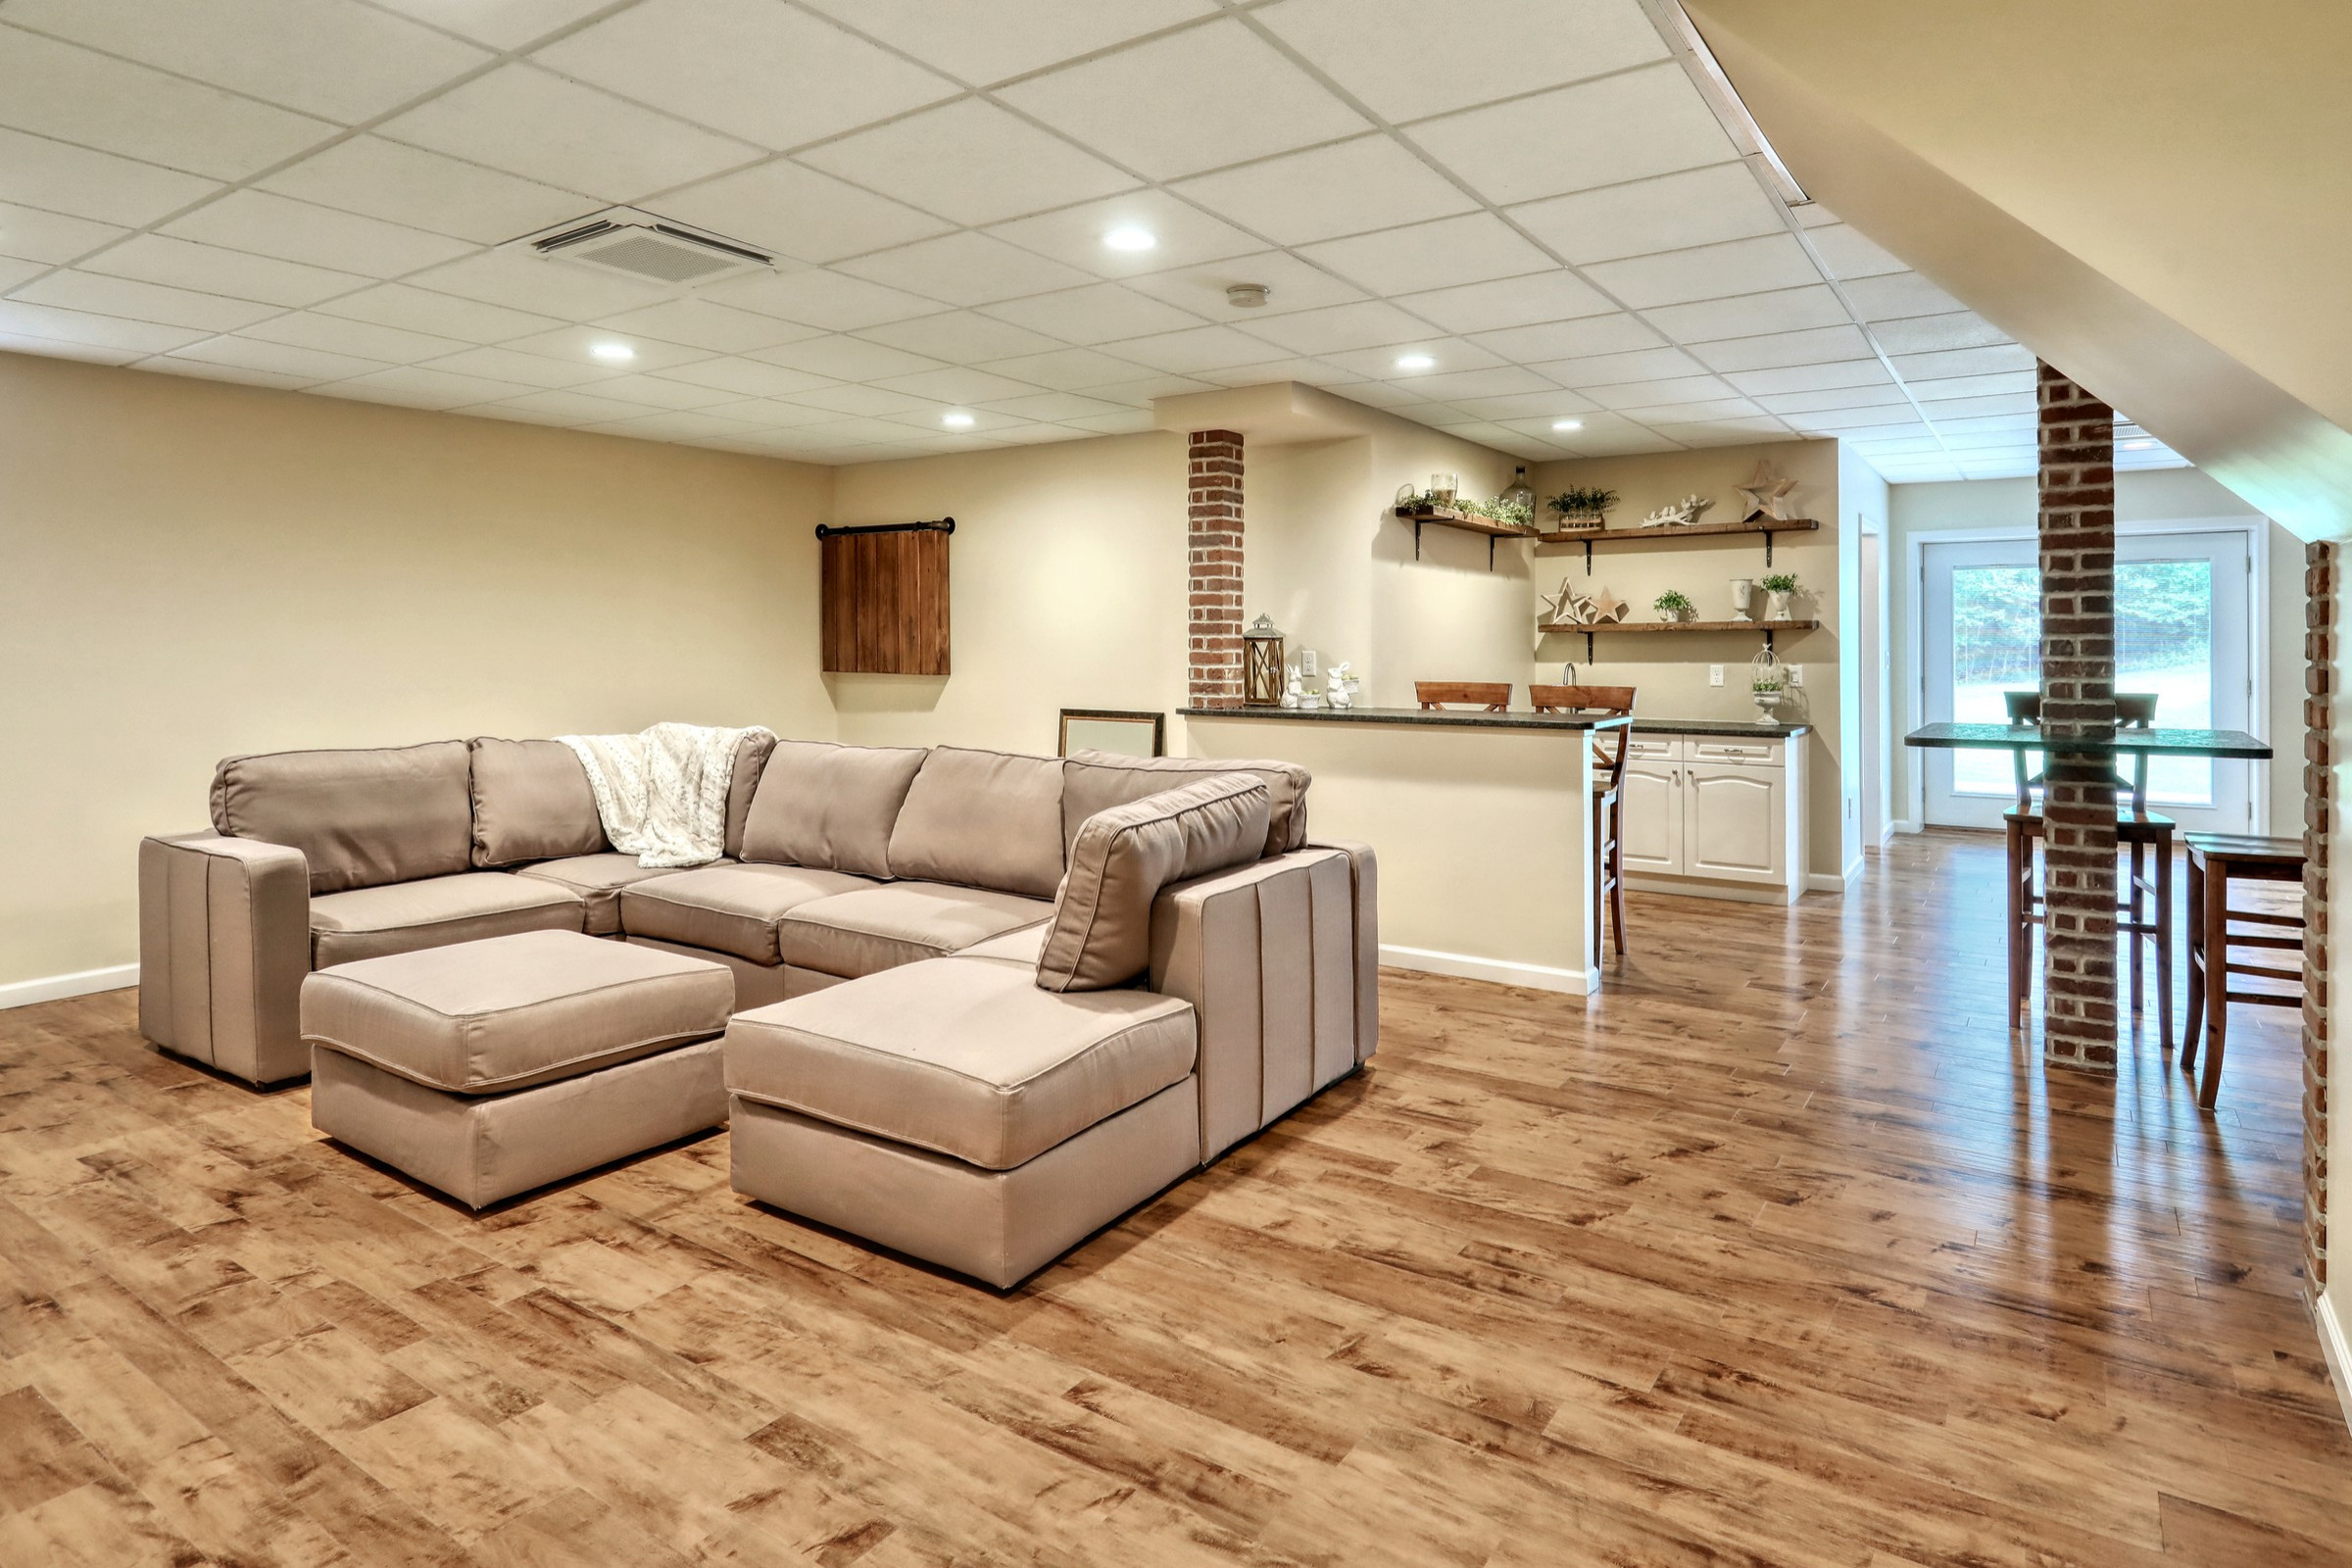
Floating Laminate Floor Basement

These elements are around the outside of the home of yours and should not be a high-priced fix. Leave it for one day or even 2 and then check to see if there’s some condensate on the under edge of the plastic, if not, you’re ready to go. No matter whether it’s a wash area, a gym, an entertainment region, or even an underground bedroom will call for several floor features.
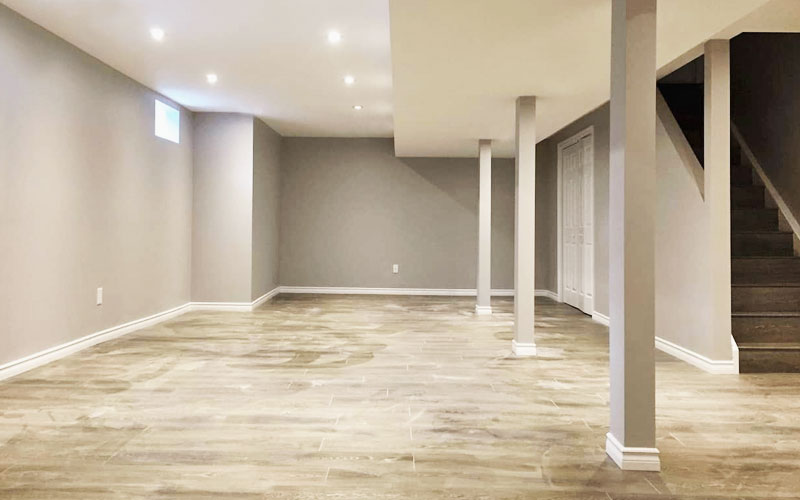
Best Basement Flooring Options (Get the Pros and Cons)
These days, people realize the possibility of this space for something a lot more for instance additional living area, family suites as well as bedrooms. A number of steps are involved with adding the basement floor. Generally keep in your mind that a basement is not as well ventilated as the various other rooms of the home, are relatively colder, and let in little or perhaps no natural sunlight.
Images Related to Floating Laminate Floor Basement
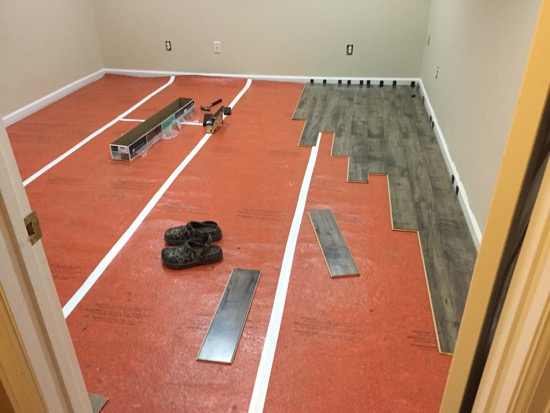
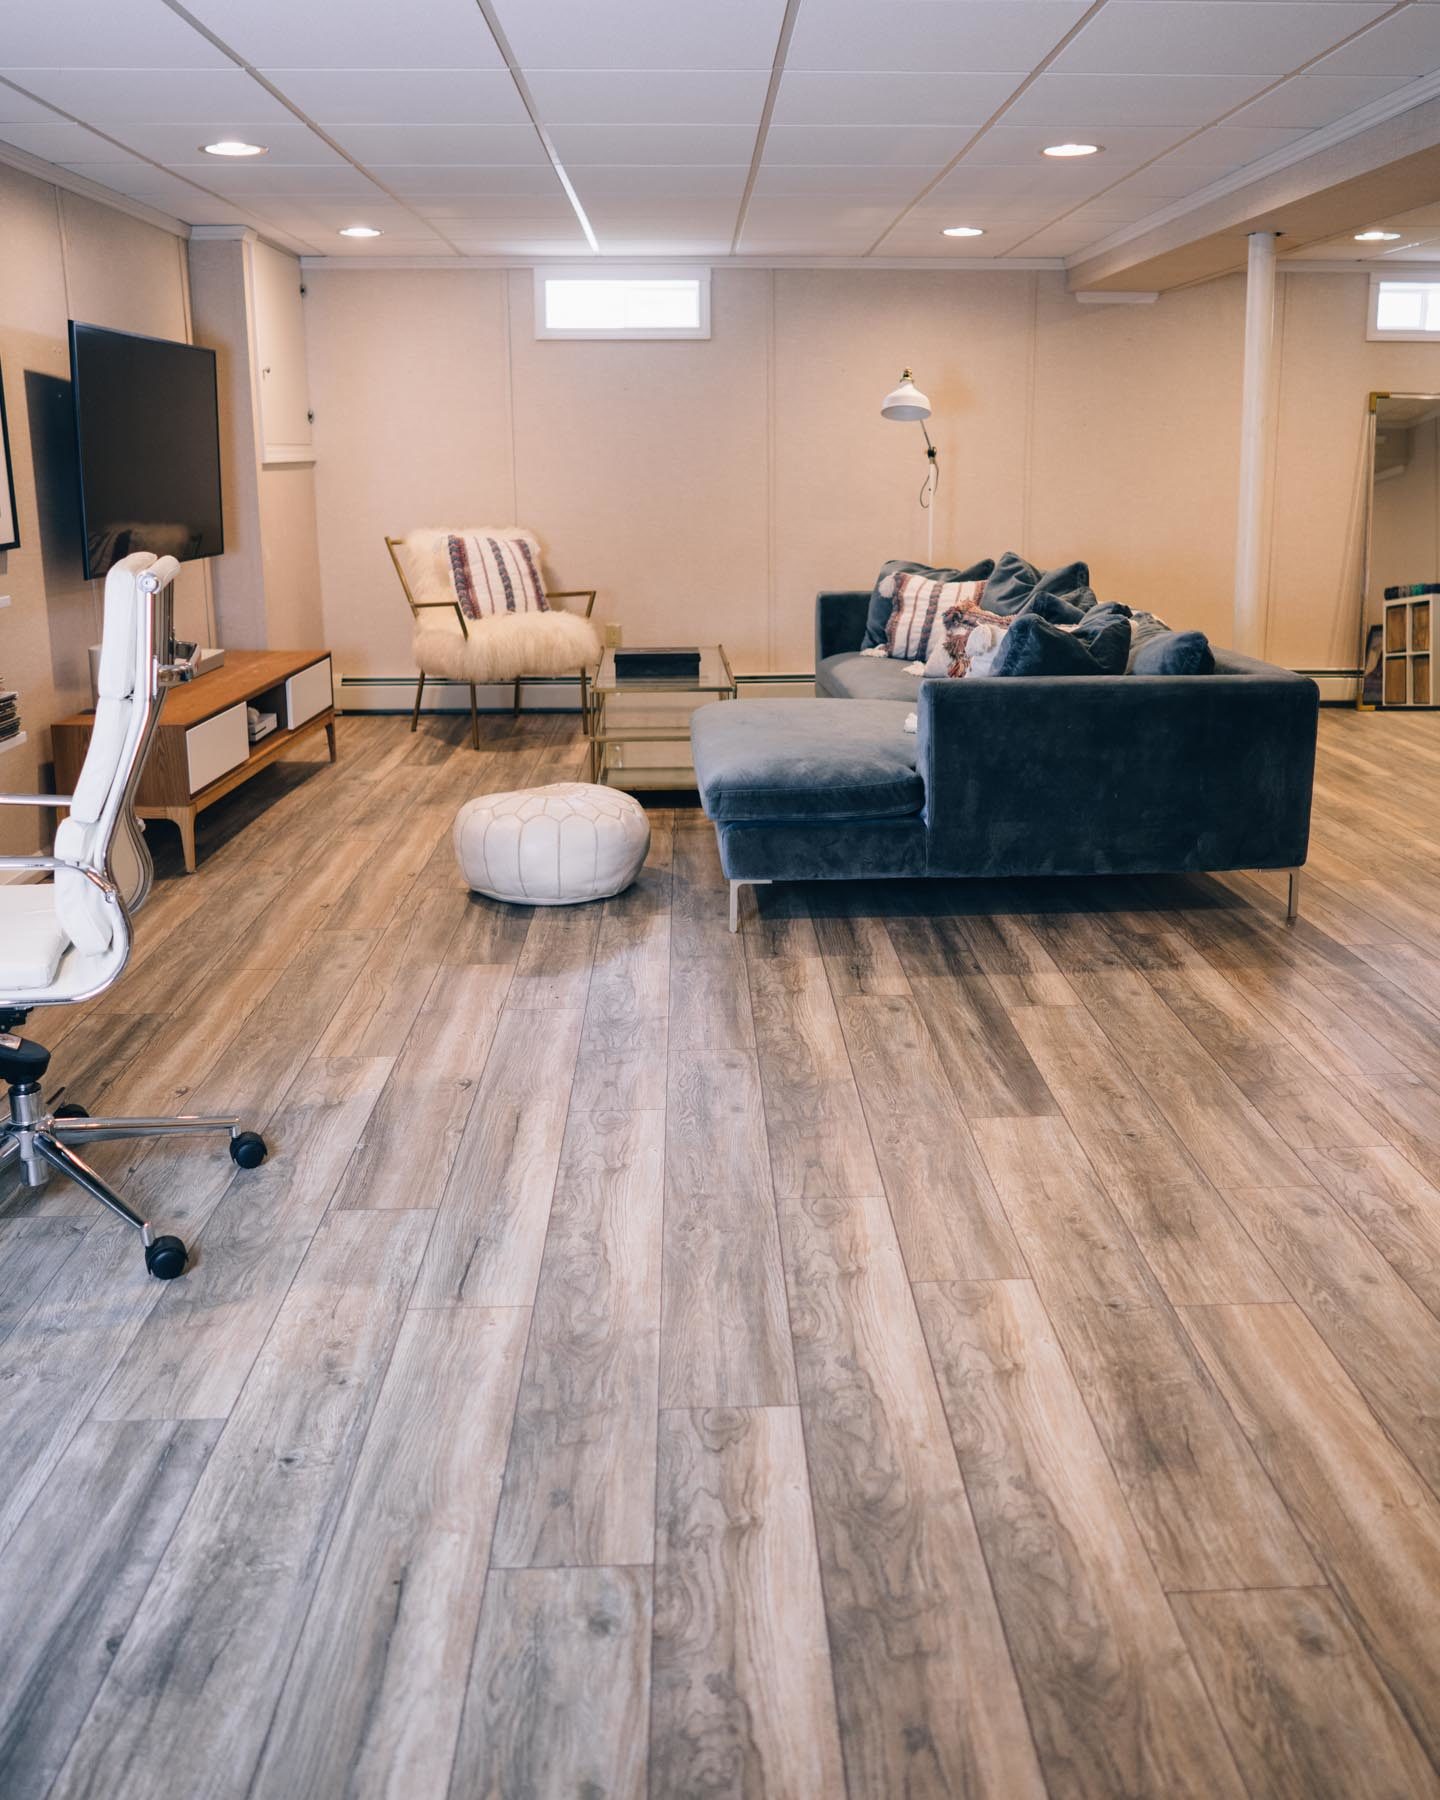
Our first DIY project – laminate flooring in Benu0027s basement office
Floating Basement Floors Ask the Home Flooring Pros 2021

What You Need to Know When Selecting the Right Flooring for Your
Laminate Flooring in Basement: Install a Floating Laminate Floor
Laminate Flooring for Basements HGTV

Floating Wood Floor for Basement Ideas

How to Install Laminate Floor in a Basement – YouTube

75 Laminate Floor Basement Ideas Youu0027ll Love – March, 2022 Houzz
Can a Floating Floor be Glued? u2013 Home Inspection Insider
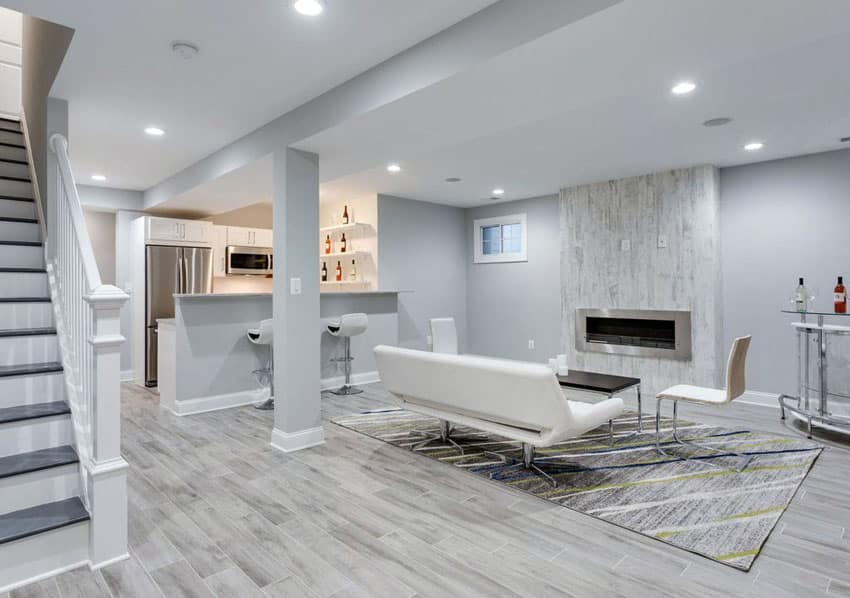
Basement Flooring Ideas (Best Design Options) – Designing Idea
What is the Best Flooring For Basement u2013 Rubber, Vinyl or Laminate?

Best Basement Flooring Options
/basement-flooring-1821693-PSD-V5-49348cb1c6da402a84016234b9b51f09.png)
Related articles:
- Stained Concrete Basement Floor
- Finishing Basement Floor
- Refinish Concrete Basement Floor
- Best Flooring For Basement
- Basement Gym Flooring Ideas
- Laminate Flooring In Basement
- Basement Concrete Floor Sweating
- Basement Floor Finishing Ideas
- Painting Unfinished Basement Floor
- Unique Basement Flooring
Title: Transform Your Basement with a Floating Laminate Floor
Introduction:
Basements are often underutilized spaces in our homes, but with the right flooring choice, they can become functional and comfortable living areas. One excellent option to consider is a floating laminate floor. This type of flooring offers numerous benefits, including easy installation, durability, and affordability. In this article, we will delve into the details of floating laminate floors for basements, exploring their advantages, installation process, maintenance requirements, and frequently asked questions.
I. Understanding Floating Laminate Flooring
Floating laminate flooring is a highly versatile option that can be installed over various types of subfloors. It is composed of several layers that are fused together through a lamination process. The top layer features a high-resolution image that mimics the appearance of real wood or stone. Below this layer lies a core layer made of high-density fiberboard (HDF) or medium-density fiberboard (MDF), which provides stability and strength to the floor. Finally, an underlayment layer helps to reduce noise and improve insulation.
FAQs:
1. Can I install floating laminate flooring directly on concrete?
Yes, floating laminate floors can be installed directly on a concrete subfloor as long as it is clean, dry, and level. However, it is recommended to use a moisture barrier or underlayment to protect the flooring from potential moisture issues.
2. Is floating laminate flooring suitable for high-moisture areas?
While laminate flooring itself is resistant to water damage, excessive moisture can seep into the joints between planks and cause swelling or warping. It is not recommended for areas prone to standing water or extreme humidity.
II. Benefits of Floating Laminate Flooring in Basements
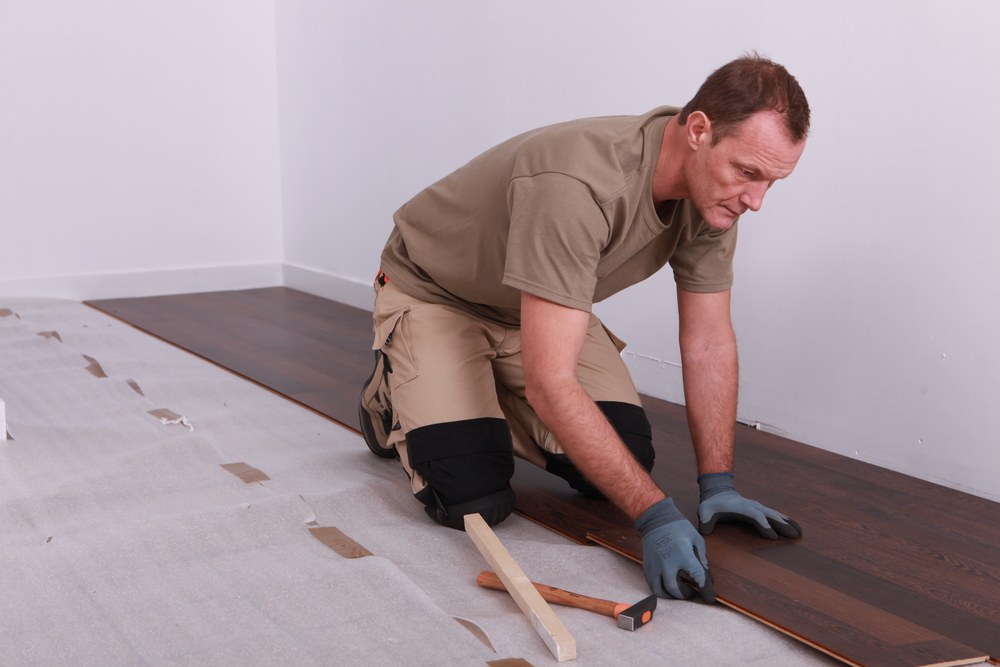
1. Easy Installation:
One of the main advantages of floating laminate flooring is its straightforward installation process. Unlike traditional hardwood floors that require nailing or gluing down individual planks, floating laminate floors simply click or lock together without the need for adhesives. This makes it a suitable DIY project for homeowners with basic skills.
2. Durability and Resilience:
Floating laminate floors are designed to withstand heavy foot traffic and resist scratches, stains, and fading. The protective top layer ensures that the flooring maintains its original appearance even in high-traffic areas such as basements. Additionally, laminate floors are more resistant to moisture compared to hardwood floors, making them a durable choice for basement environments.
3. Cost-Effective:
Compared to other flooring options like hardwood or tile, floating laminate flooring is relatively affordable. With its realistic design options and durability, it offers excellent value for money. Homeowners on a budget can achieve the look of real wood or stone without breaking the bank.
FAQs:
1. Can I install underfloor heating with floating laminate flooring?
Yes, floating laminate floors are compatible with underfloor heating systems. However, it is essential to follow the manufacturer’s guidelines and use appropriate insulation materials to prevent heat loss.
2. Can floating laminate floorboards be refinished?
Unlike solid hardwood floors, laminate floors cannot be refinished as they have a wear layer protecting the surface. If damage occurs, individual planks can be replaced instead.
III. Installing Floating Laminate Flooring in Basements
1. Preparing the Subfloor:
Before installation, ensure that the basement’s concrete subfloor is clean and level. Remove any debris or protrusions and repair any cracks or imperfections. Additionally, check for moisture issues by conducting A moisture test. If the subfloor has excessive moisture, it may need to be sealed or repaired before installing the laminate flooring.
2. Installing a Moisture Barrier:
To protect the laminate flooring from moisture, it is recommended to install a moisture barrier or underlayment. This will help prevent any potential water damage and provide a smooth surface for the flooring to float on.
3. Acclimating the Flooring:
Before installation, allow the laminate flooring to acclimate to the basement’s temperature and humidity for at least 48 hours. This will help prevent any potential expansion or contraction of the planks after installation.
4. Installing the Laminate Flooring:
Begin by laying down the first row of planks along one wall, leaving a small gap between the planks and the wall to allow for expansion. Use spacers to maintain an even gap throughout the installation process. Continue installing subsequent rows, connecting them by clicking or locking them together. Use a tapping block and rubber mallet to ensure a tight fit.
5. Trimming and Finishing:
Once all the planks are installed, trim any excess length from the last row using a saw. Install baseboards or quarter round molding around the perimeter of the room to cover the expansion gap and give a finished look.
6. Regular Maintenance:
To keep your floating laminate flooring in good condition, regularly sweep or vacuum to remove dirt and debris. Wipe up any spills immediately, as excess moisture can damage the floor over time. Avoid using harsh cleaning chemicals or abrasive tools that can scratch or dull the surface of the flooring.
To summarize, laminate floors are compatible with underfloor heating systems, but proper insulation is necessary to prevent heat loss. Floating laminate floorboards cannot be refinished, but individual planks can be replaced if damaged. When installing laminate flooring in basements, it is important to prepare the subfloor by cleaning and leveling it, addressing any moisture issues, and installing a moisture barrier or underlayment. The flooring should also acclimate to the basement’s temperature and humidity before installation. The laminate planks are then installed by starting with the first row along one wall, leaving a gap for expansion, and connecting subsequent rows. Trim any excess length from the last row and finish the installation with baseboards or molding. Regular maintenance includes sweeping or vacuuming to remove dirt and debris and promptly cleaning up spills to avoid damage. Harsh chemicals and abrasive tools should be avoided as they can scratch or dull the surface of the flooring. To protect laminate flooring from moisture, it is important to take several steps during installation and regular maintenance. Here is a summary of the key points:
1. Use a Moisture Barrier: Install a moisture barrier or underlayment to protect the laminate flooring from potential water damage and provide a smooth surface for the flooring to float on.
2. Acclimate the Flooring: Allow the laminate flooring to acclimate to the basement’s temperature and humidity for at least 48 hours before installation. This helps prevent expansion or contraction of the planks after installation.
3. Install Laminate Flooring: Begin by laying down the first row of planks along one wall, leaving a small gap between the planks and the wall for expansion. Use spacers to maintain an even gap throughout the installation process. Connect subsequent rows by clicking or locking them together, using a tapping block and rubber mallet to ensure a tight fit.
4. Trim and Finish: Once all planks are installed, trim any excess length from the last row using a saw. Install baseboards or quarter round molding around the perimeter of the room to cover the expansion gap and give a finished look.
5. Regular Maintenance: Sweep or vacuum regularly to remove dirt and debris from the laminate flooring. Wipe up spills immediately to prevent moisture damage. Avoid using harsh cleaning chemicals or abrasive tools that can scratch or dull the surface of the flooring.
By following these steps, you can help protect your laminate flooring from moisture and maintain its appearance and durability over time.