The trouble is most customers do not take the time frame to read through the warranty and are surprised every time they figure out the matter they're experiencing with the flooring is among the "exclusions". Installation of nearly all engineered hardwood floors are actually carried out by the glue down or even floating floor technique. You can in addition check the web for certain helpful info including the hardness scale for some wood flooring species.
Here are Images about Finishing New Hardwood Floors Yourself
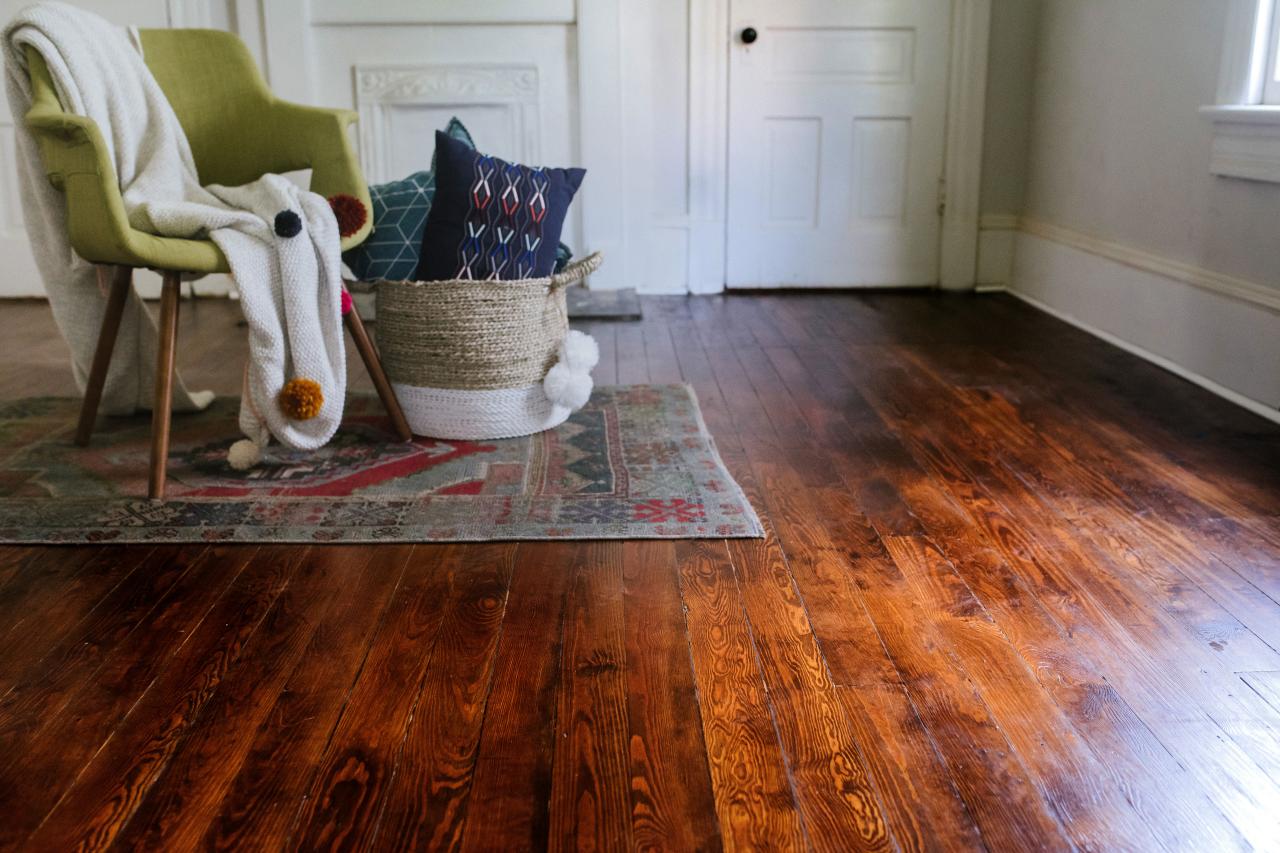
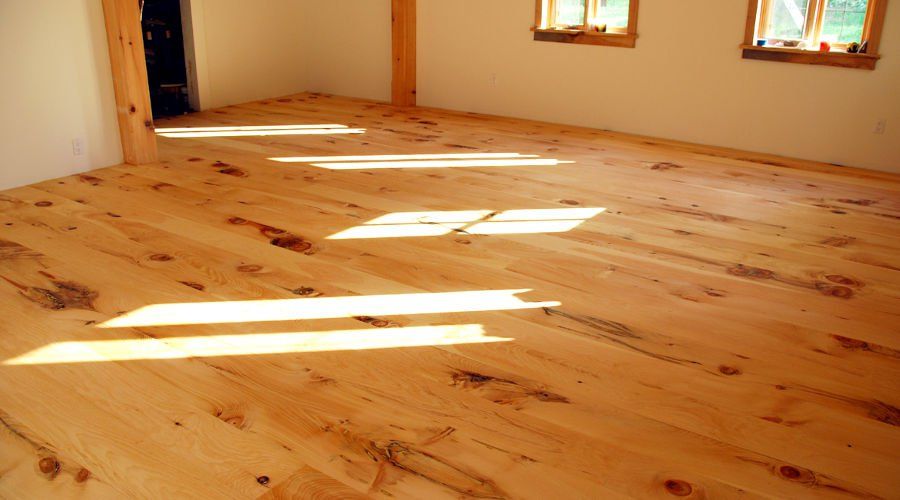
Finishing New Hardwood Floors Yourself

The first thing that an individual notice when they get into a particular rooms the floor. In case the retailer selling you flooring doesn't have a moisture meter and can take a look at the moisture content for you after that I'd advise you run. Solid hardwood flooring needs special care to maintain their luster and appearance. Most hardwoods today are sent pre finished.
How To Refinish Hardwood Floors – DIY Home Improvement HGTV
Right after a few years, when the organic wood has weathered a little bit, it will be necessary to get the floors resurfaced. Though it is important to check out with the maker specifications for this procedure and it's just as significant if not more so that the current sub floor is actually steady and well adhered to the joists to avoid shifting, heaving or breakage of the newly installed item.
Images Related to Finishing New Hardwood Floors Yourself
How To Sand u0026 Refinish Hardwood Floors
Hardwood Floor Finishing: Screening, Sanding, and Finishes – This
/cdn.vox-cdn.com/uploads/chorus_asset/file/19491106/refinishing_x.jpg)
Remodelaholic How To Finish Solid Wood Flooring; Step by Step
How To Refinish Hardwood Floors – DIY Home Improvement HGTV
How to Refinish Hardwood Floors

How To Refinish Hardwood Floors
We Hit A Snag And Had to Refinish Our Floors Twice – DIY Fail
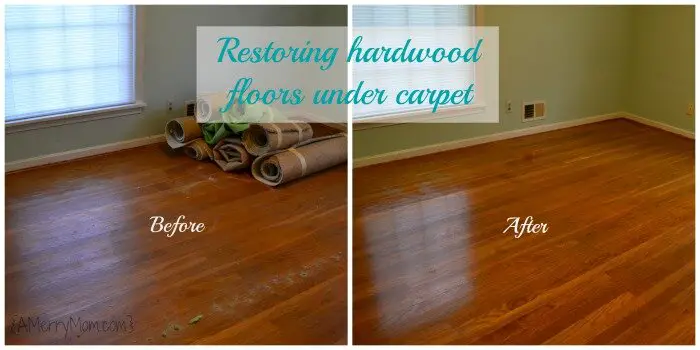
Restoring hardwood floors under carpet – without refinishing the
How To Refinish Hardwood Floors – DIY Home Improvement HGTV
How to Refinish Hardwood Floors True Value

DIY Guide for Sanding Wood Floors when Refinishing – Ecohome
Hardwood Floor Sanding: Do It Yourself Tips (DIY) Family Handyman
Related articles:
- Compare Bamboo And Hardwood Flooring
- Refinishing Hardwood Floors Cost Estimates
- Sundance Hardwood Flooring Reviews
- Cheap Red Oak Hardwood Flooring
- Hardwood Flooring On The Ceiling
- How To Clean Candle Wax From Hardwood Floor
- Hardwood Floor Compass Inlay
- Where To Find Bona Hardwood Floor Cleaner
- Shaw Brazilian Cherry Hardwood Flooring
- Maple Hardwood Flooring Durability
When it comes to finishing new hardwood floors, many homeowners opt to take on the task themselves. While hiring a professional can ensure a flawless finish, DIYing the project can be a rewarding experience that saves money and allows for customization. With the right tools, materials, and knowledge, anyone can achieve professional-looking results. In this article, we will discuss the step-by-step process of finishing new hardwood floors yourself, along with tips, FAQs, and troubleshooting advice.
Choosing the Right Finish
Before you begin the finishing process, it’s essential to choose the right finish for your hardwood floors. There are three main types of finishes: polyurethane, oil-based, and water-based. Polyurethane finishes provide a durable protective layer that resists scratches and stains. Oil-based finishes offer a warm amber hue that enhances the natural beauty of wood. Water-based finishes are eco-friendly and dry quickly with minimal odor. Consider factors such as durability, appearance, and ease of application when selecting a finish for your hardwood floors.
FAQ: Can I apply a different finish over an existing finish?
Answer: While it is possible to apply a new finish over an existing one, it is crucial to ensure that the current finish is clean and free of debris. Sanding or stripping the old finish may be necessary to achieve proper adhesion.
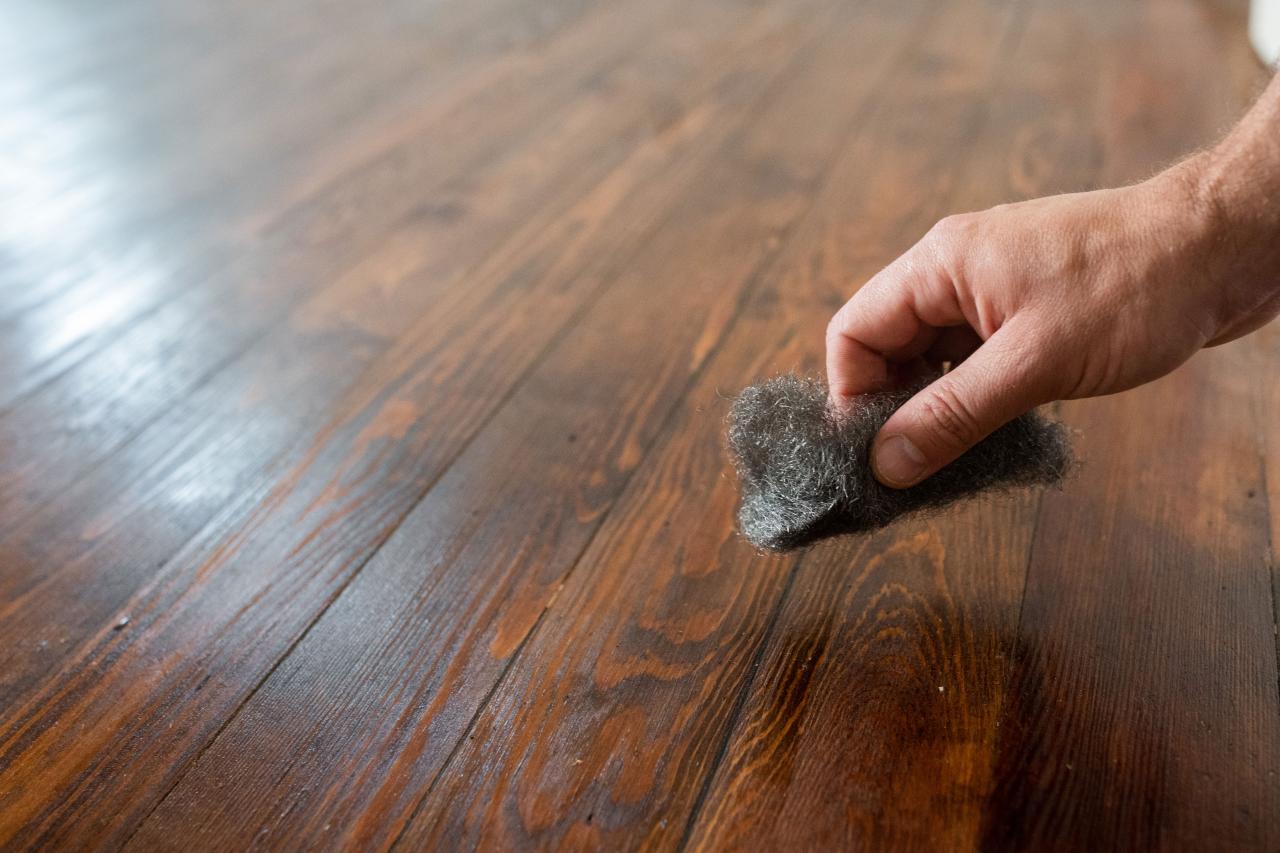
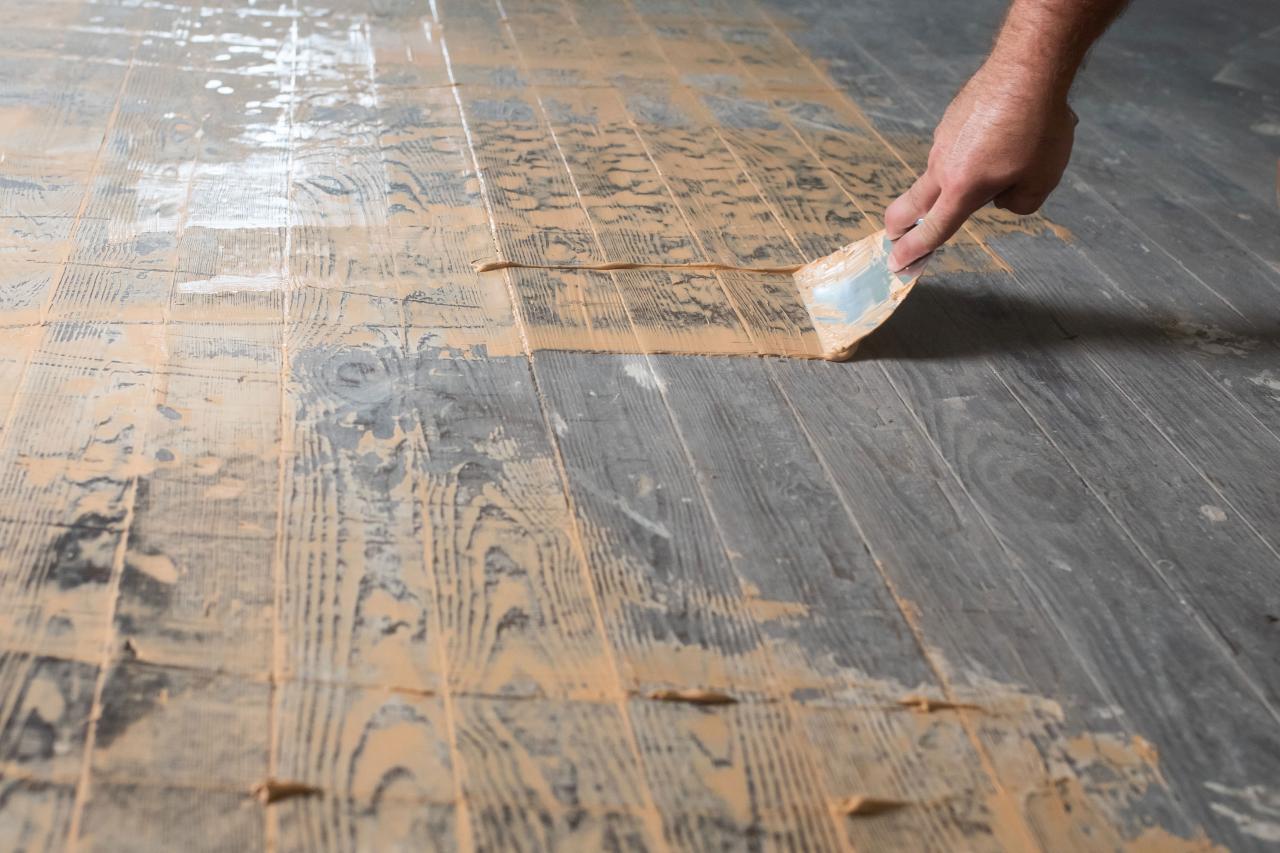
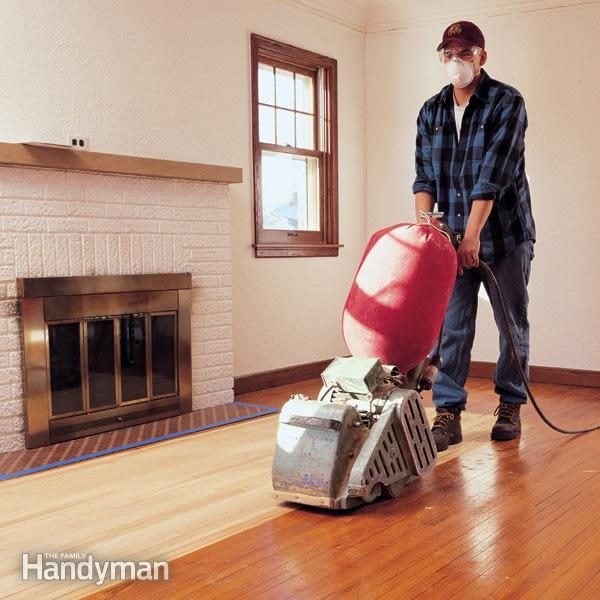
Preparing the Surface
The key to a successful finish is proper surface preparation. Start by sanding the hardwood floors using a drum sander or orbital sander with progressively finer grit sandpaper. Remove any existing finish, stains, or imperfections until the wood surface is smooth and uniform. Vacuum or sweep up dust between sanding passes to prevent particles from clogging the wood pores. Finally, wipe down the floors with a tack cloth to remove any remaining dust or debris.
FAQ: How do I know when to stop sanding?
Answer: It’s essential to sand until all imperfections are removed, and the wood surface feels smooth to the touch. Avoid over-sanding, as this can damage the wood and affect the final finish.
Staining (Optional)
If you desire a colored finish for your hardwood floors, staining is an option to consider. Stains come in a variety of colors and can enhance the natural grain patterns of wood. Apply stain evenly using a brush or rag, following the manufacturer’s instructions for drying times and number of coats. Allow the stain to penetrate the wood before wiping off excess with a clean cloth. Once dry, you can proceed with applying your chosen finish.
FAQ: Do I need to seal stained hardwood floors?
Answer: Yes, it is essential to seal stained hardwood floors with a clear topcoat to protect the color and enhance durability.
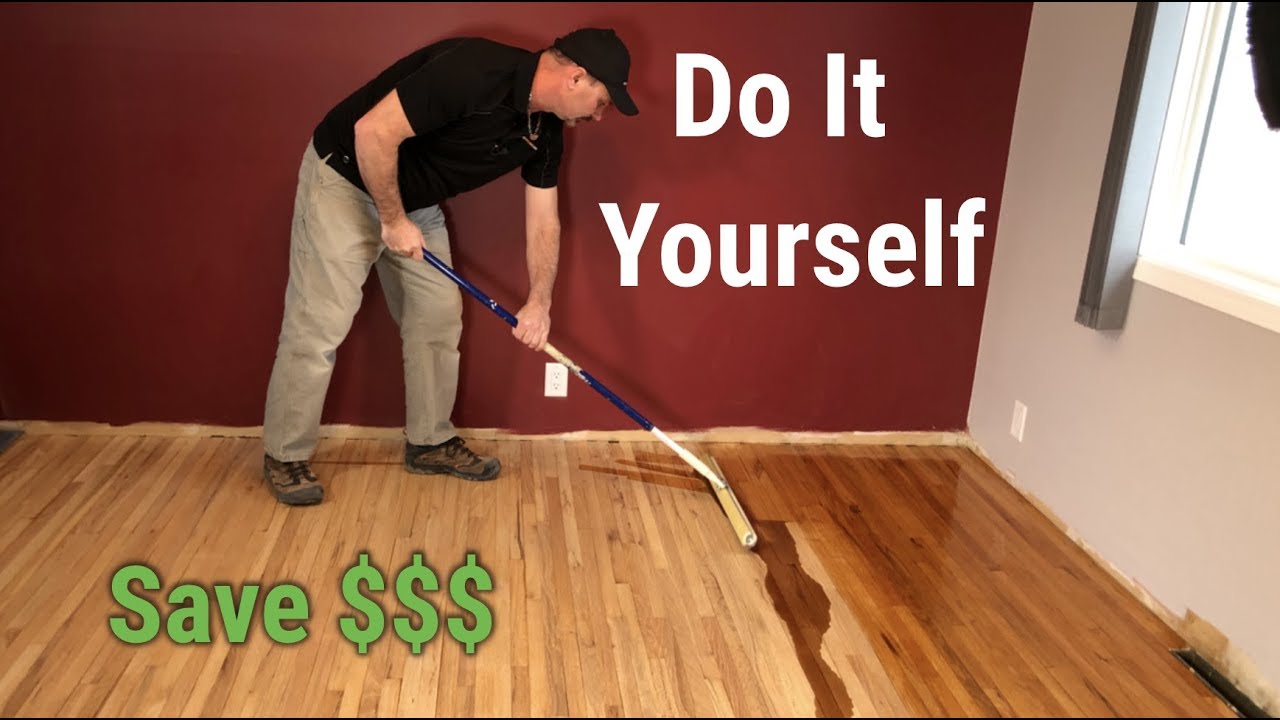
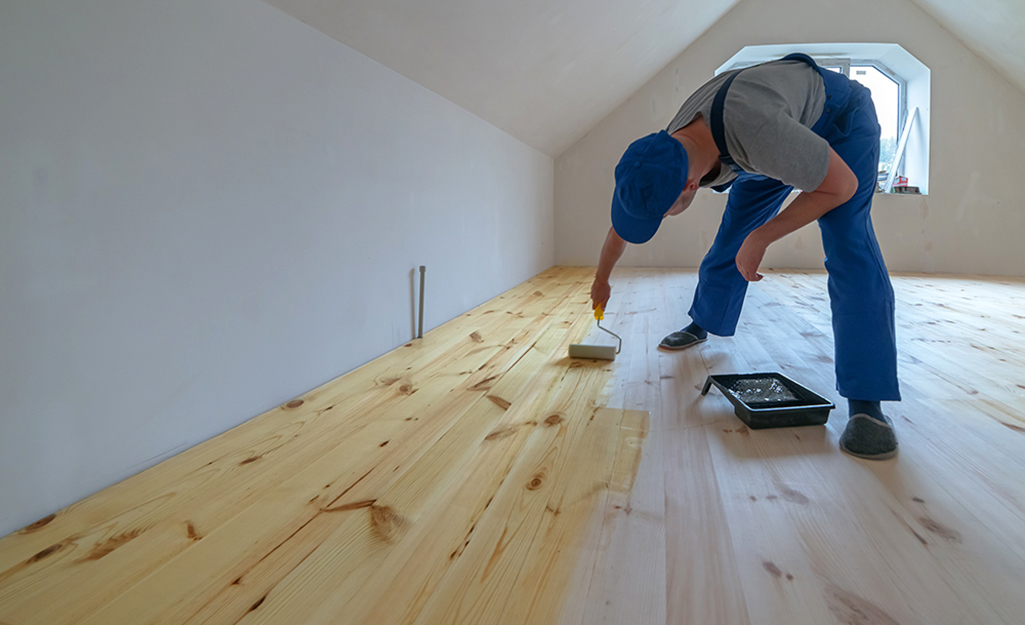
Applying the Finish
The final step in finishing new hardwood floors is applying the chosen finish. Start by pouring a small amount of finish into a clean container and using a high-quality brush or applicator pad to apply an even coat along the grain of the wood. Work in small sections at a time, overlapping each pass slightly to avoid streaks or uneven coverage. Allow the first coat to dry according to manufacturer recommendations before applying additional coats for added protection.
FAQ: How many coats of finish should I apply?
Answer: It is recommended to apply at least three coats of finish for optimal durability and protection against wear and tear.
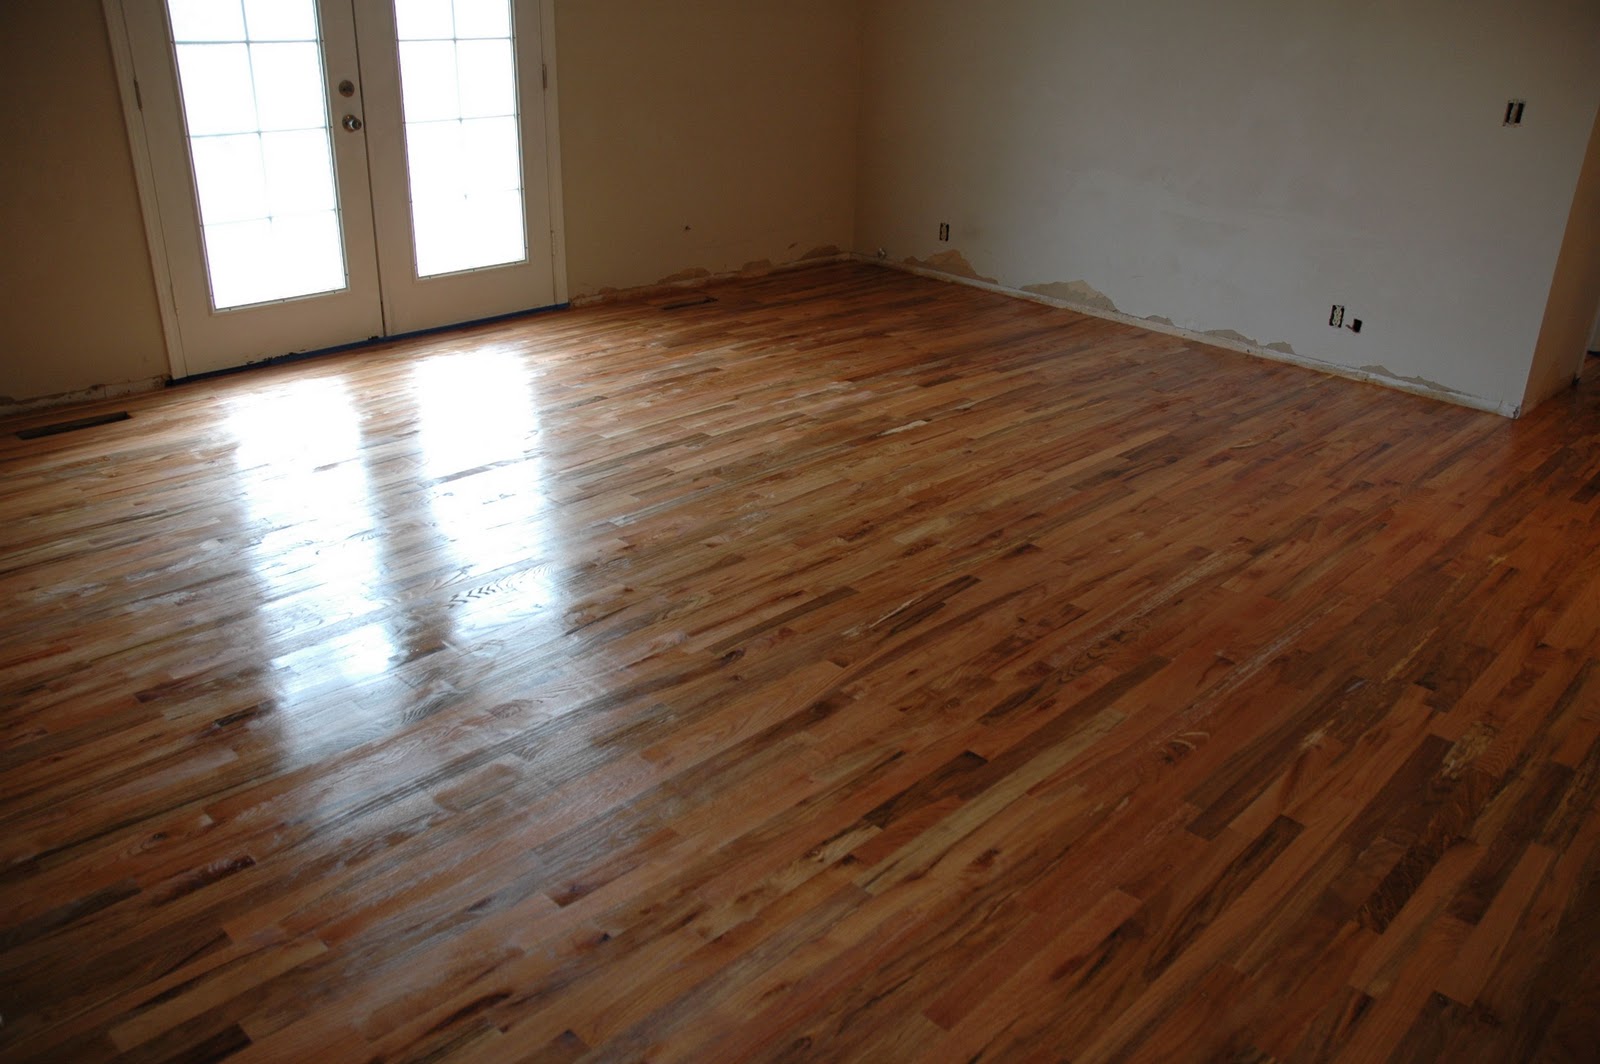
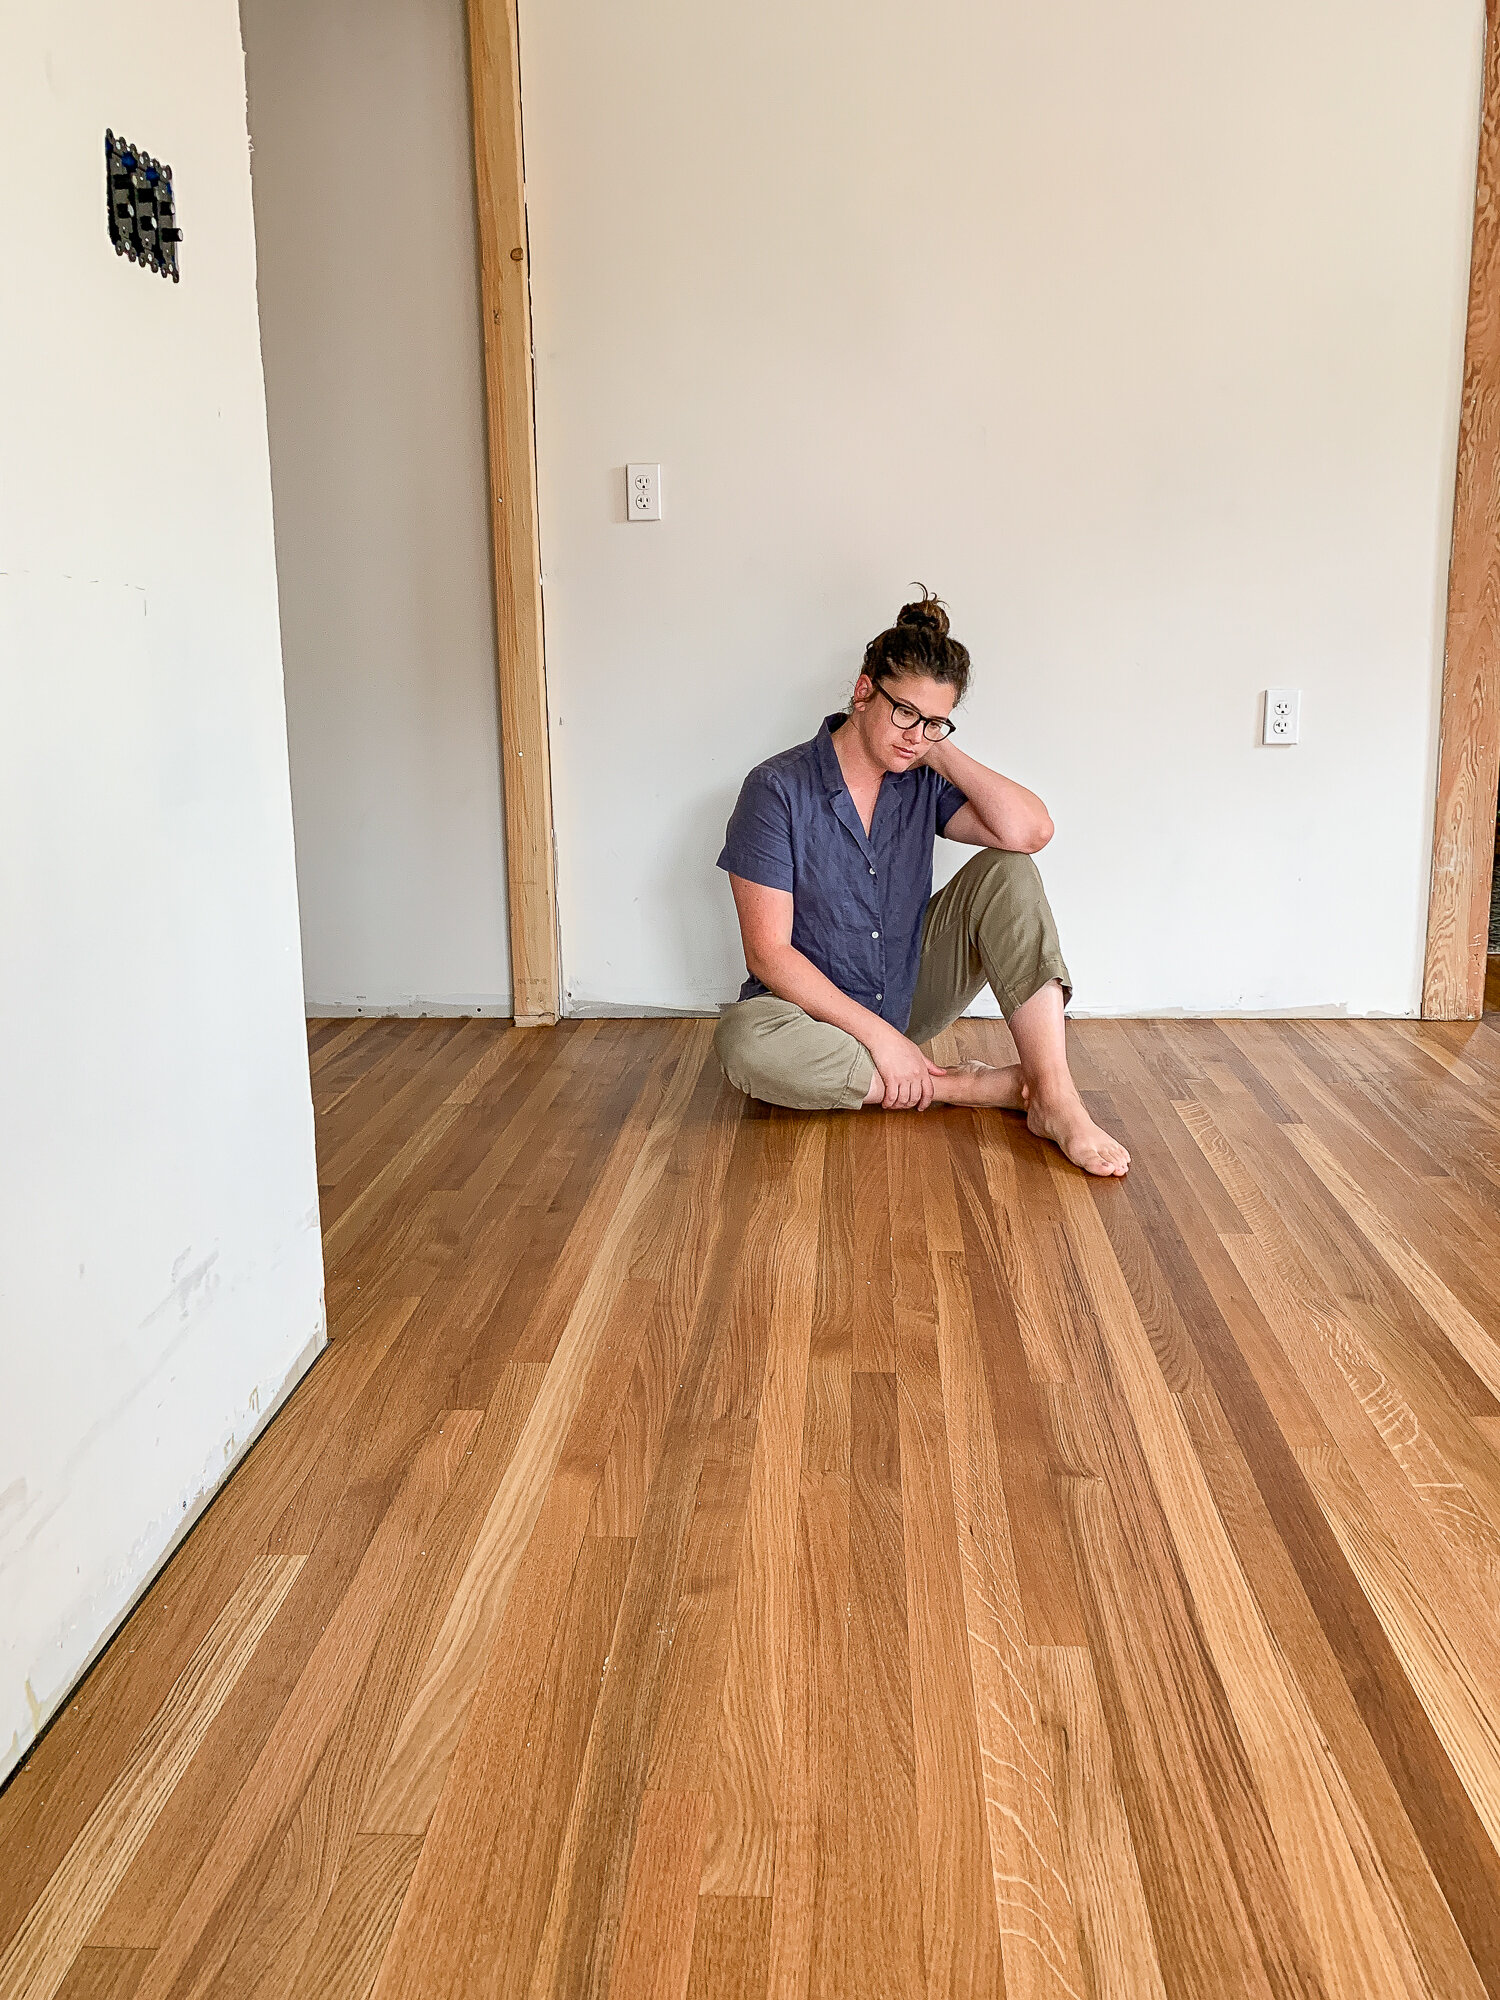
Curing and Maintenance
After applying the final coat of finish, allow ample time for curing before walking on or placing furniture on your newly finished hardwood floors. Follow manufacturer guidelines for Curing times, which typically range from 24 to 72 hours. Once cured, maintain the finish by regularly cleaning with a hardwood floor cleaner and avoiding excessive moisture or harsh chemicals. Periodically buffing or recoating the floors can help extend the life of the finish and keep them looking their best for years to come.
Overall, finishing hardwood floors is a rewarding DIY project that can enhance the beauty and durability of your home’s flooring. By following proper techniques and guidelines, you can achieve professional-quality results that will last for years to come. If you have any further questions or concerns about finishing hardwood floors, consult with a professional contractor or flooring specialist for personalized advice and assistance.
FAQ: Can I walk on my newly finished hardwood floors right away?
Answer: It is important to allow the finish to fully cure before walking on the floors to prevent damage. Follow the manufacturer’s recommendations for curing times before resuming normal foot traffic.
In conclusion, finishing hardwood floors is a detailed process that requires patience and attention to detail. By following these steps and guidelines, you can achieve beautiful, long-lasting results that will enhance the overall look and value of your home. If you are unsure about any step in the process, don’t hesitate to seek guidance from a professional to ensure the best possible outcome for your hardwood floors. Thank you for reading our guide on finishing hardwood floors. We hope it has been helpful in your DIY project. If you have any further questions or need assistance, feel free to reach out to us or consult with a professional contractor or flooring specialist. Good luck with your hardwood floor finishing project!