In case the empty has backed up, the plumber is going to install safety valves or replace leaking pipes just before making use of some waterproofing solutions. Drains must be maintained, meaning you will need to get it serviced or maybe "snaked" to keep it purposeful. Make each room of your home have a cushy feeling. You should never install over a concrete subfloor until it passes pH alkalinity as well as calcium chloride assessments.
Here are Images about Finishing A Dirt Floor Basement
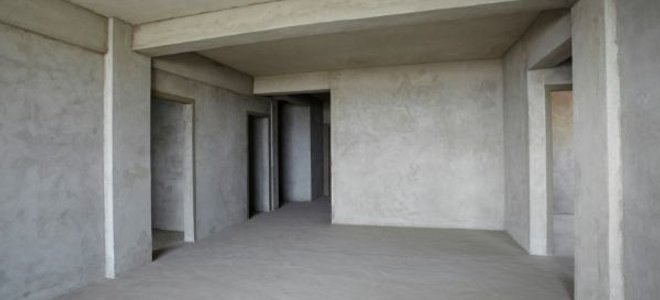
Finishing A Dirt Floor Basement
In relation to selecting a floor sort for the basement of yours, the alternatives of yours are somewhat limited. They're easy to set up and can perk up a basement with affordable style options. You need to select flooring which looks great, but also one that might take on the conditions in the basement of yours.
Turning an unused, dirt-floor basement into a living space? : r

Polyurea is significantly longer lasting compared to an epoxy flooring covering (about four times longer lasting), and it is flexible, making it much more natural and comfy. Choosing basement flooring for your home might be challenging as you negotiate about factors as moisture problems and a number of different flooring choices. A empty will rid you of any sort of additional water and could aid to protect against flooding.
Images Related to Finishing A Dirt Floor Basement
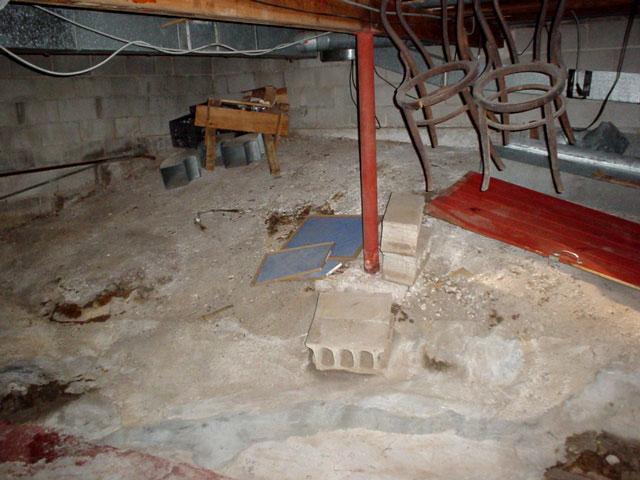
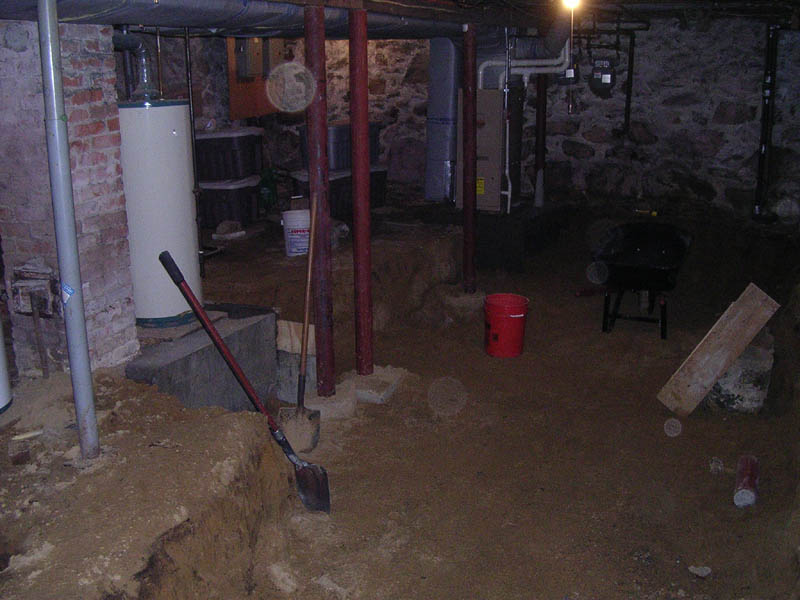
How to Transform A Damp, Dark Basement with A Dirt Floor

Dig Out Basement – How to Dig Out and Finish Basement Video
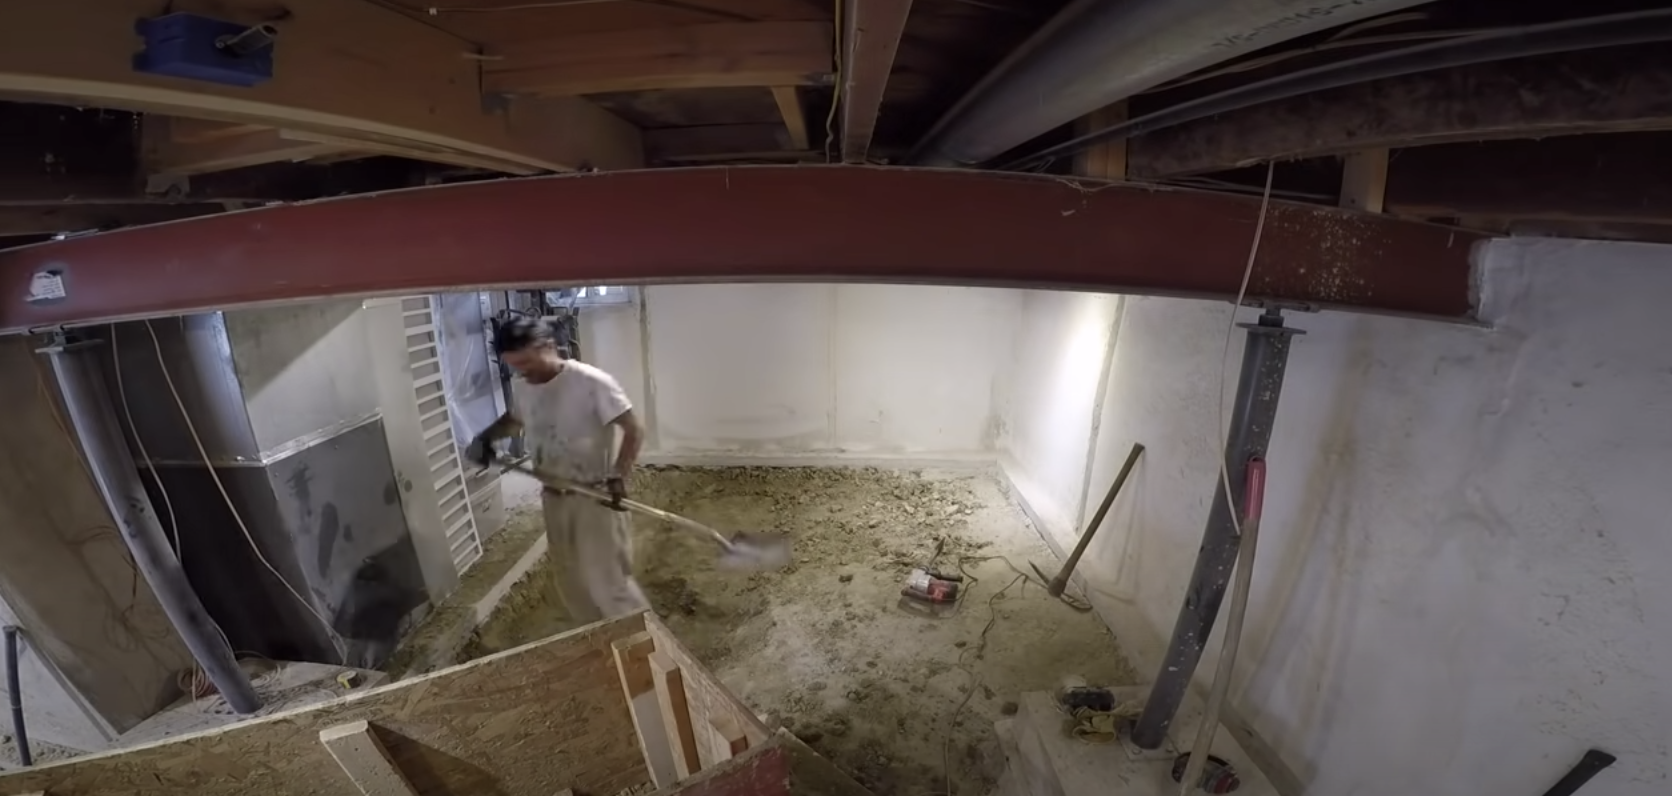
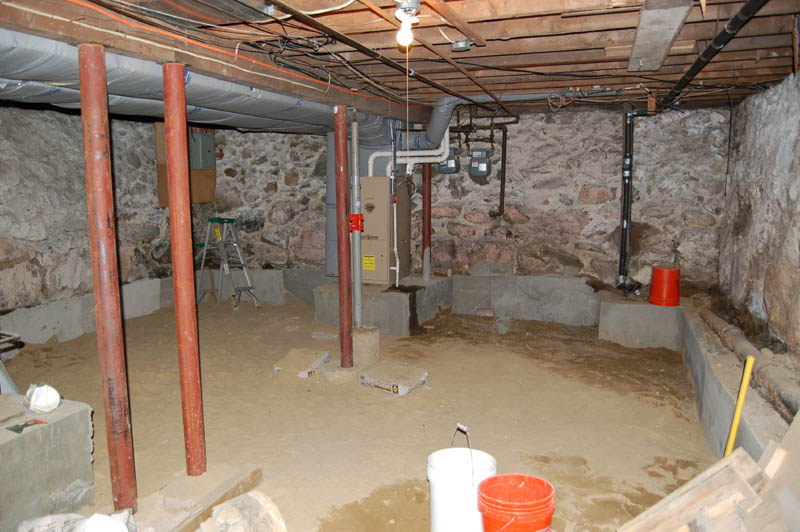
Renovating a 100 year old basement u2013 Raam Dev
How to Remodel a Dirt Basement Floor DoItYourself.com
How to Remodel a Dirt Basement Floor DoItYourself.com
How to Transform A Damp, Dark Basement with A Dirt Floor Dark

Dirt Floors in Crawl Spaces – Basement Masters Waterproofing

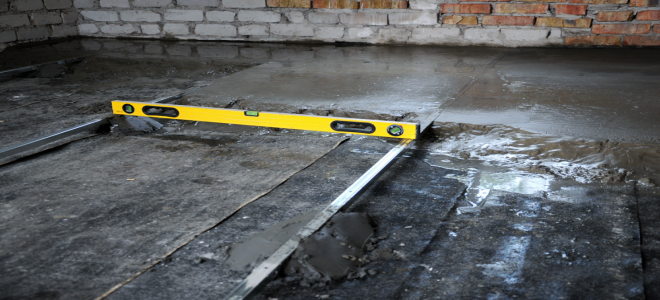
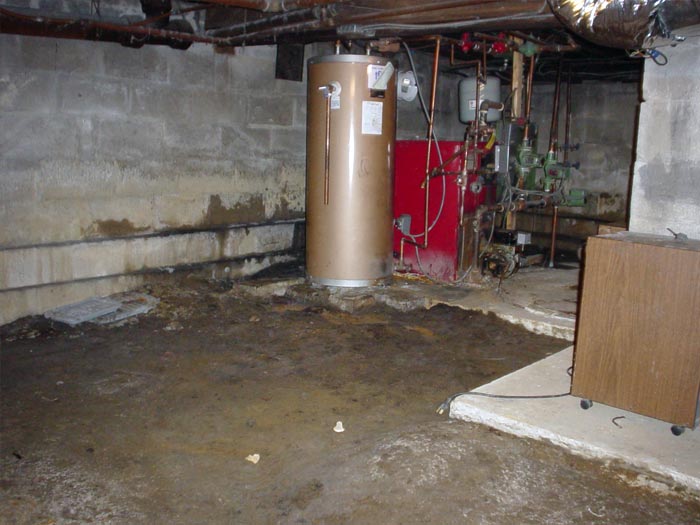
Concrete Basement Flooring and Repair in Bangor, Portland

Renovating a 100 year old basement u2013 Raam Dev
Dirt floor basementanyone? : r/Portland

Waterproofing Basements With Dirt Floors, Stone Walls, Dirt Floors

Concrete Basement Flooring and Repair in Bangor, Portland
Related articles:
- Stained Concrete Basement Floor
- Finishing Basement Floor
- Refinish Concrete Basement Floor
- Best Flooring For Basement
- Basement Gym Flooring Ideas
- Laminate Flooring In Basement
- Basement Concrete Floor Sweating
- Basement Floor Finishing Ideas
- Painting Unfinished Basement Floor
- Unique Basement Flooring
Finishing a Dirt Floor Basement: Transforming Your Space
Introduction:
A dirt floor basement can often be an uninviting and underutilized space in your home, but with the right approach and a little bit of hard work, it can be transformed into a functional and comfortable area. Whether you are looking to create a storage area, a playroom for your children, or even an additional living space, finishing a dirt floor basement is an exciting project that can significantly increase the value and functionality of your home. In this article, we will guide you through the process of finishing a dirt floor basement, providing detailed information on each step along the way.
I. Assessing the Condition of Your Basement:
The first step in finishing a dirt floor basement is to assess its current condition. This involves inspecting the walls, ceiling, and overall structure of the space. Look for any signs of water damage, such as mold or mildew growth, as well as cracks or other structural issues. It is important to address these problems before proceeding with any renovations to ensure a solid foundation for your finished basement.
FAQ 1: How can I determine if there is moisture in my dirt floor basement?
Answer: One way to check for moisture in your dirt floor basement is by placing a plastic sheet on the ground and monitoring it for condensation or dampness over several days. Additionally, you can use a moisture meter to measure the moisture content in the air.
FAQ 2: What should I do if I find water damage or mold in my dirt floor basement?
Answer: If you discover water damage or mold in your dirt floor basement, it is essential to address these issues before proceeding with any renovations. Consult with a professional contractor who specializes in waterproofing and mold remediation to ensure that these problems are properly resolved.
II. Waterproofing Your Basement:
Once you have assessed the condition of your dirt floor basement and addressed any water-related issues, the next step is to waterproof the space. This is crucial for preventing future water damage and ensuring a dry and comfortable environment.
1. Installing a Sump Pump System:
A sump pump system is an effective way to manage water that may seep into your basement. It consists of a pump that removes water from the sump pit and directs it away from your home’s foundation. Installing a sump pump system can help prevent flooding and water damage in your finished basement.
FAQ 3: Can I install a sump pump system myself?
Answer: While it is possible to install a sump pump system yourself, it is recommended to hire a professional for this task. They have the expertise and knowledge to ensure that the system is installed correctly and functions optimally.
2. Applying Waterproofing Membrane:
Applying a waterproofing membrane to the walls of your dirt floor basement is another essential step in preventing moisture from seeping through. A waterproofing membrane creates a barrier between the concrete walls and any potential sources of moisture, such as groundwater or rainwater.
FAQ 4: Can I use regular paint as a waterproofing membrane?
Answer: Regular paint is not suitable as a waterproofing membrane for basements. It does not provide the same level of protection as specialized waterproofing products. Instead, opt for a high-quality waterproofing membrane specifically designed for basements.
III. Creating a Solid Foundation:
Before proceeding with finishing touches, it is crucial to create a solid foundation for your dirt floor basement. This involves leveling the floor, reinforcing the Structure, and addressing any potential issues that may affect the stability and safety of the space. Here are some steps to consider:
1. Leveling the Floor:
If your dirt floor basement is not level, it is important to address this before proceeding with any further renovations. Uneven floors can lead to structural problems and make it difficult to install flooring materials. Consult with a professional contractor who can assess the floor condition and provide solutions for leveling.
2. Reinforcing the Foundation:
To ensure the stability of your finished basement, reinforcing the foundation is crucial. This may involve repairing any cracks or weak spots in the walls or floor and reinforcing them with appropriate materials such as concrete or steel. A professional contractor can guide you through this process and ensure that your foundation is strong and secure.
3. Addressing Ventilation and Insulation:
Proper ventilation and insulation are essential for creating a comfortable and energy-efficient basement space. Consider installing vents or fans to improve air circulation and prevent moisture buildup. Additionally, insulate the walls and ceiling to regulate temperature and reduce energy costs.
IV. Finishing Touches:
Once you have established a solid foundation for your finished basement, you can proceed with the final touches to create a functional and visually appealing space. Here are some ideas:
1. Flooring Options:
Choose flooring materials that are durable, moisture-resistant, and suitable for basements. Options include laminate, vinyl, tile, or carpet tiles with moisture-resistant backing.
2. Lighting Solutions:
Install proper lighting fixtures that provide adequate brightness in your finished basement. Consider recessed lighting, track lighting, or pendant lights depending on your desired aesthetic and functional needs.
3. Furnishing and Decorating:
Furnish your finished basement with comfortable furniture, storage solutions, and decorative elements that reflect your personal style. Consider using light colors and mirrors to create an illusion of more space in a potentially small area.
By following these steps and consulting with professionals when needed, you can transform your dirt floor basement into a functional and enjoyable living space that adds value to your home. 1. Leveling the Floor: Consult with a professional contractor to assess and level the dirt floor basement before proceeding with any renovations.
2. Reinforcing the Foundation: Repair any cracks or weak spots in the walls or floor and reinforce them with appropriate materials like concrete or steel to ensure the stability of the finished basement.
3. Addressing Ventilation and Insulation: Install vents or fans for improved air circulation and prevent moisture buildup. Insulate the walls and ceiling to regulate temperature and reduce energy costs.
4. Flooring Options: Choose durable, moisture-resistant flooring materials suitable for basements such as laminate, vinyl, tile, or carpet tiles with moisture-resistant backing.
5. Lighting Solutions: Install proper lighting fixtures like recessed lighting, track lighting, or pendant lights to provide adequate brightness in the finished basement.
6. Furnishing and Decorating: Furnish the finished basement with comfortable furniture, storage solutions, and decorative elements that reflect your personal style. Use light colors and mirrors to create an illusion of more space in a potentially small area.
By following these steps and consulting professionals when needed, you can transform your dirt floor basement into a functional and enjoyable living space that adds value to your home.