The better heavy duty pro grade mats generally cost much more than light duty ones With all the various styles, patterns, and duty ratings, you will be able to select a roll through garage mat that fits the criteria of yours. Improving the overall look of your garage, or fixing those issue areas is a great time to use garage floor coatings.
Here are Images about Epoxy Garage Floor Video
Epoxy Garage Floor Video
Garage floor coatings takes relatively a shorter time to complete. However, considering how much the garage is used, to hold lawnmowers, automobiles as well as providing a smart spot for kids to enjoy during weather that is bad, implementing the best choice of garage area floor paint won't just enhance the overall look of the whole garage.
How to do Epoxy Floors – STEP BY STEP GUIDE – S3E3
Additionally if you want you can include a flaking substance which is commonly manufactured of stone and this provides you with a little more grip along with providing your garage floor with a tad classier appear to it. If perhaps you have some old, heavy oil stains try eliminating them with coarse scrub pads as well as chemicals.
Images Related to Epoxy Garage Floor Video
HOW TO Epoxy Floor Countertop Epoxy Copper Epoxy Floor Epoxy Garage Floor Epoxy floor DIY

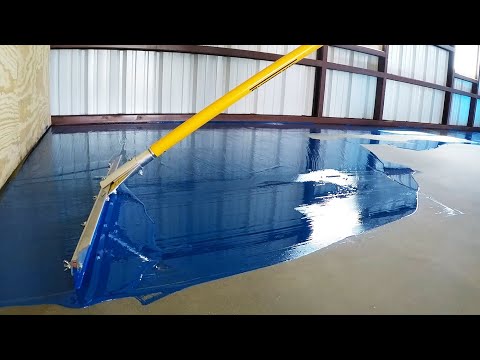
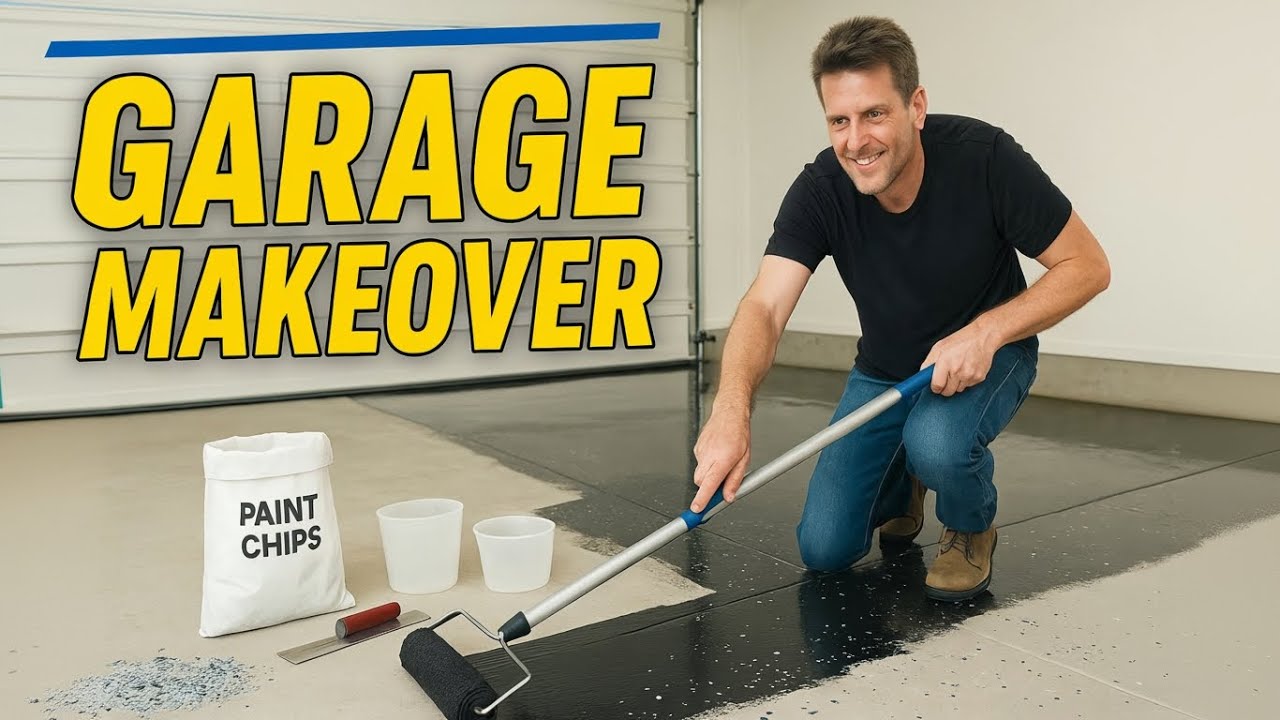
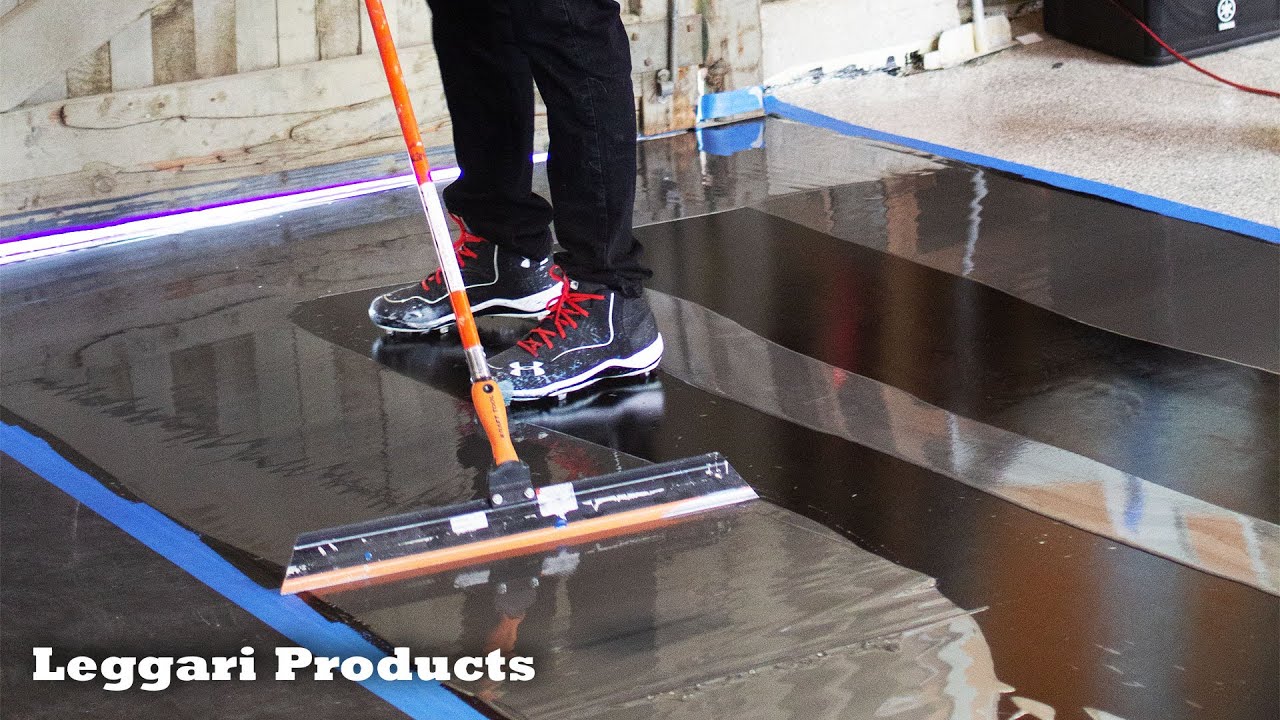
DIY Garage Floor Makeover: Black Epoxy
Designer Epoxy Floor Installation That You Can Do Yourself
Epoxy Garage Floor Season Has Begun

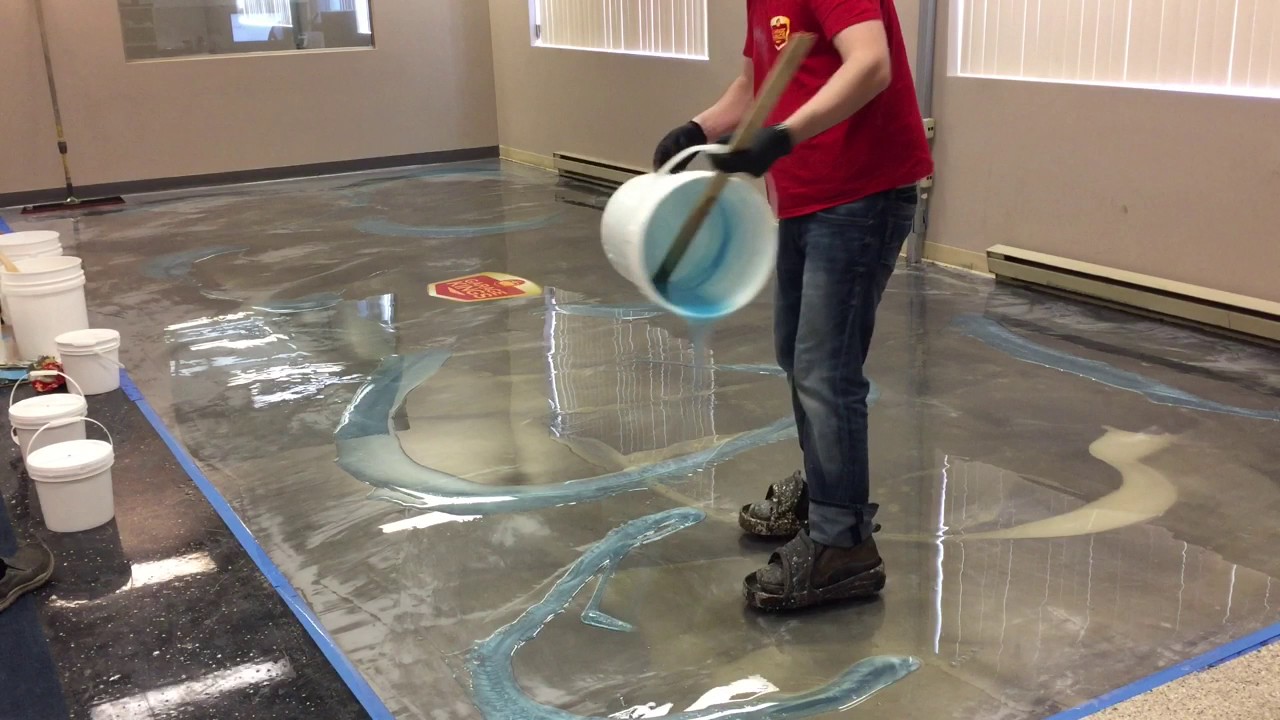
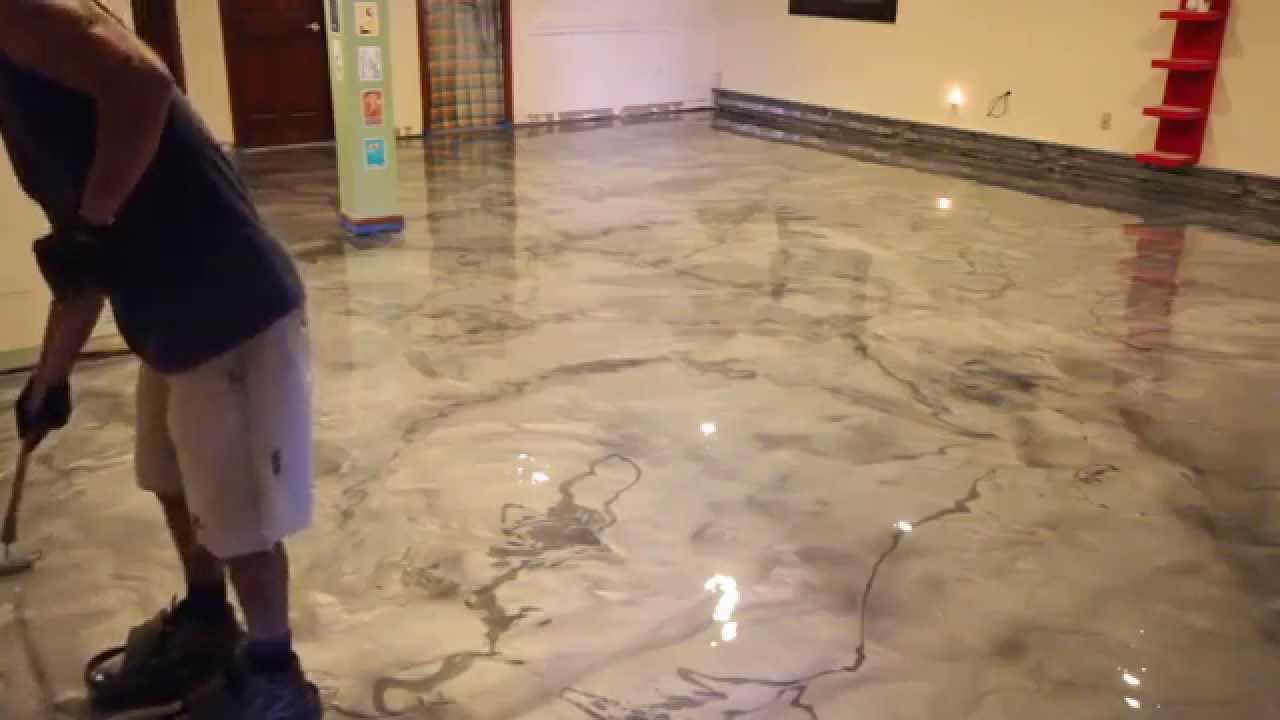
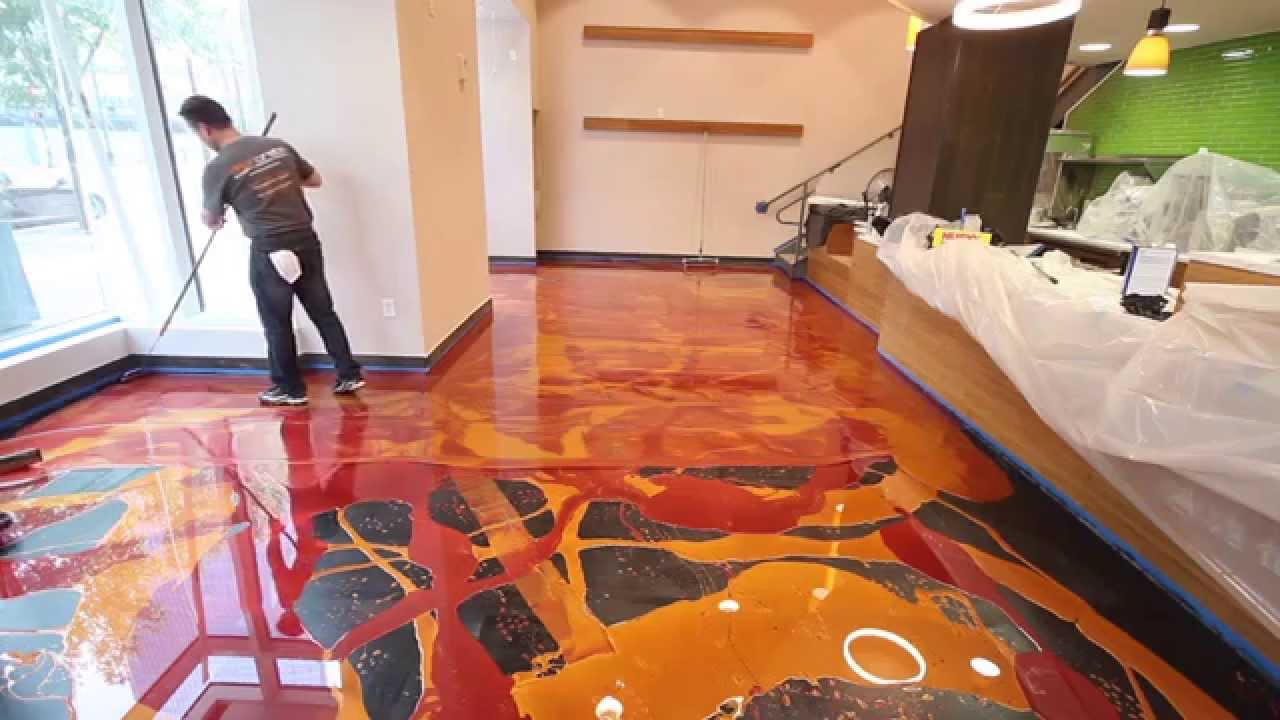
Creative Metallic Epoxy Installation – Metallic Epoxy Floor
How to Apply Epoxy Floor Coatings to a Garage Floor (Start to Finish)
Epoxy Coating Garage Floor with Acrylic Flake
Drawbacks of Epoxy Flooring
Learn to install metallic epoxy – Orange Gold u0026 Wine Red
Epoxy Floor Coatings Garage Floor Coatings – GarageFloorCoating.com

Blue Flake Epoxy Garage Floor Installation Timelapse Intricate

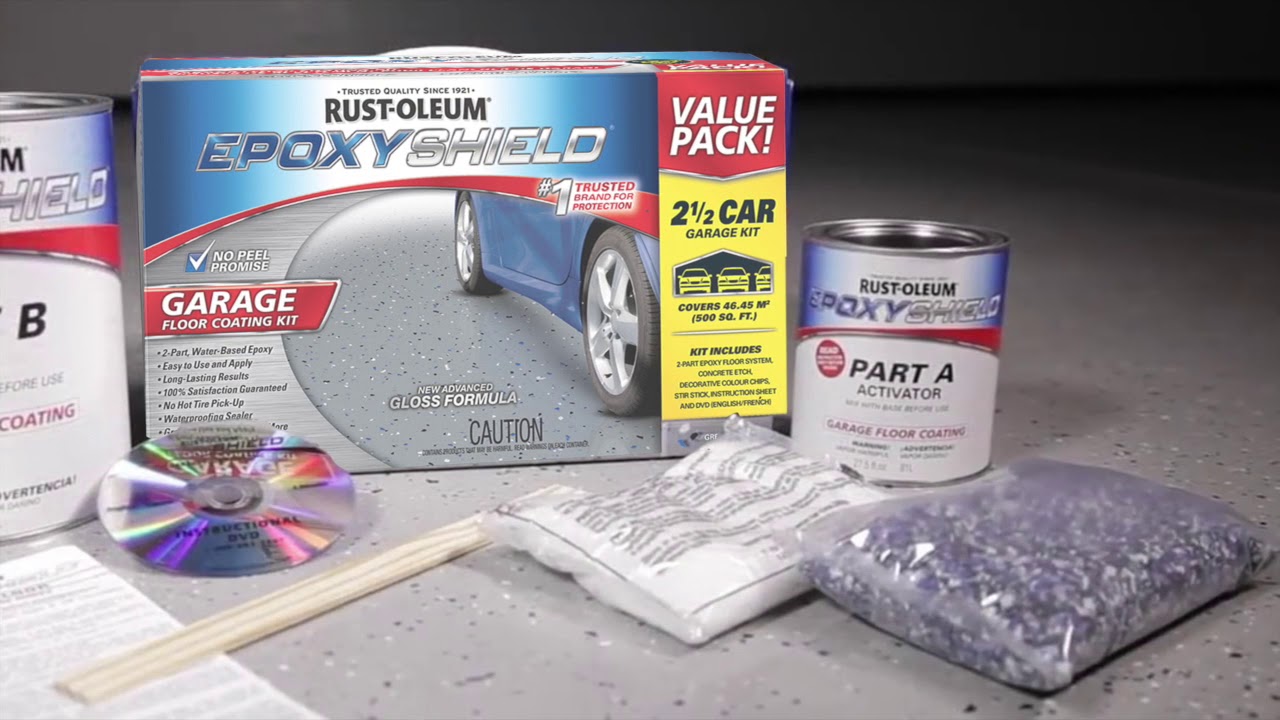
How to Use Rust-Oleum® Epoxyshield® Garage Floor Coating Kit to Transform Your Floor
Related articles:
- Interlocking Garage Floor Tiles
- Garage Floor Coatings
- Garage Floor Ideas
- Garage Floor Paint
- Garage Floor Rubber Covering
- Garage Floor Coating Paint
- Garage Floor Epoxy Ideas
- Best Garage Floor Material
- Black Epoxy Garage Floor Coating
- Garage Floor Slab Thickness
Epoxy Garage Floor Video: A Complete Guide to Transforming Your Garage
Introduction:
If you’re looking to transform your garage into a functional and visually appealing space, epoxy flooring is the way to go. With its durability, easy maintenance, and attractive finish, epoxy has become increasingly popular among homeowners. However, applying epoxy to a garage floor can be a daunting task if you’re not familiar with the process. That’s where an epoxy garage floor video comes in handy. In this comprehensive guide, we will explore the benefits of using epoxy for your garage floor and provide step-by-step instructions on how to achieve professional-looking results. Additionally, we will address some frequently asked questions to ensure you have all the information you need before embarking on this project.
Benefits of Epoxy Garage Floors:
1. Durability: One of the primary reasons homeowners choose epoxy flooring for their garages is its exceptional durability. Epoxy creates a hard surface that can withstand heavy foot traffic, vehicle movement, and even chemical spills. It acts as a protective layer that prevents damage from oil stains, tire marks, and abrasions.
2. Easy Maintenance: Another advantage of epoxy garage floors is their low maintenance requirements. Unlike traditional concrete floors that are prone to staining and require constant cleaning, epoxy-coated surfaces can be easily wiped clean with a damp mop or cloth. This makes them ideal for garages where dirt and debris are common.
3. Enhanced Safety: Epoxy flooring is known for its slip-resistant properties, making it safer for both pedestrians and vehicles in the garage. The smooth finish of epoxy reduces the likelihood of accidents due to slipping or skidding on wet or oily surfaces.
4. Aesthetic Appeal: Aesthetics play a significant role in any home improvement project, and epoxy garage floors certainly deliver in this aspect as well. Available in a wide range of colors and finishes, epoxy allows you to customize your garage floor according to your preferences. Whether you prefer a glossy, high-gloss finish or a more subtle matte look, epoxy has options to suit every taste.
Step-by-Step Guide to Applying Epoxy Garage Floors:
Before diving into the step-by-step process, it’s important to note that an epoxy garage floor video can be an invaluable resource in visualizing each stage of the installation. Now let’s go through the detailed steps involved in transforming your garage with epoxy:
Step 1: Preparing the Garage Floor
The first crucial step is to prepare your garage floor properly. Start by removing any objects from the area and thoroughly clean the surface using a degreaser or concrete cleaner. This ensures that the epoxy adheres properly and prevents any imperfections from affecting the final result.
FAQ: Do I need to repair cracks or imperfections in my garage floor before applying epoxy?
Answer: Yes, it is essential to repair any cracks or imperfections in your garage floor before applying epoxy. These flaws can compromise the adhesion and durability of the coating. Use a concrete patching compound to fill in cracks and smooth out uneven areas.
Step 2: Etching or Grinding the Surface
To enhance adhesion, it is recommended to etch or grind the concrete surface. This process creates a slightly rough texture that allows the epoxy to bond effectively. Etching can be done using an acid solution, while grinding requires specialized equipment such as a diamond grinder.
FAQ: Can I skip etching or grinding if my garage floor is new?
Answer: While new concrete surfaces May not require etching or grinding, it is still recommended to ensure proper adhesion of the epoxy. It is best to consult the manufacturer’s instructions or seek professional advice to determine if this step is necessary for your specific situation.
Step 3: Applying the Primer
After preparing the garage floor, it’s time to apply the primer. The primer acts as a bonding agent between the concrete and the epoxy coating, ensuring a strong and durable finish. Follow the manufacturer’s instructions for mixing and applying the primer, using a roller or brush for even coverage.
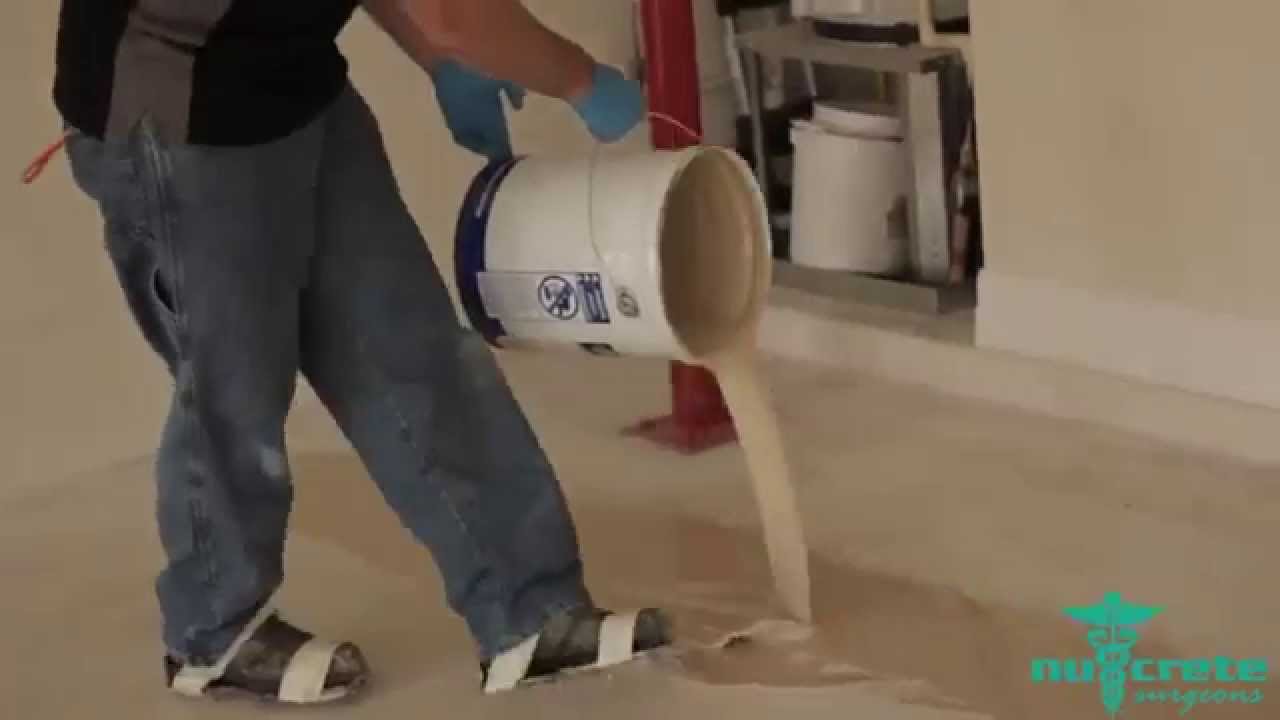
Step 4: Applying the Epoxy Coating
Once the primer has dried (according to the manufacturer’s instructions), you can proceed with applying the epoxy coating. Mix the epoxy components thoroughly, following the instructions provided. Use a roller or brush to apply the epoxy evenly across the entire garage floor, working in small sections at a time. Be sure to follow any specific application guidelines from the manufacturer.
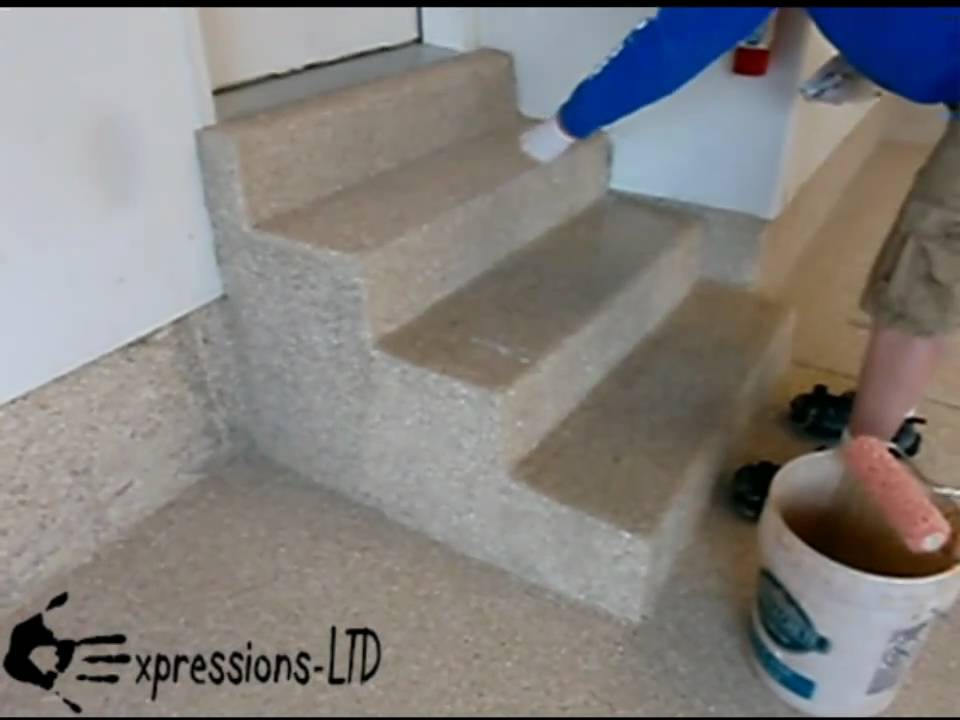
Step 5: Adding Decorative Flakes (optional)
If desired, you can add decorative flakes to enhance the appearance of your garage floor. Sprinkle the flakes onto the wet epoxy surface while it is still tacky, allowing them to settle evenly. Use a clear topcoat to seal in the flakes and provide additional protection.
Step 6: Allowing Proper Drying and Curing Time
After applying the epoxy coating and any additional decorative flakes or topcoat, it’s crucial to allow sufficient drying and curing time. Follow the manufacturer’s instructions for recommended drying times before walking or driving on the surface. This typically ranges from 24-72 hours, depending on the specific epoxy product used.
Step 7: Regular Maintenance
To keep your epoxy garage floor looking its best, regular maintenance is necessary. Sweep or vacuum the floor regularly to remove dirt and debris. Wipe up spills promptly to prevent staining. If deeper cleaning is required, use a mild detergent and warm water, followed by rinsing and drying the surface thoroughly.
In conclusion, applying epoxy garage floors offers numerous advantages, including durability, easy maintenance, enhanced safety, and aesthetic appeal. By following a step-by-step guide and proper maintenance practices, you can transform your garage into a functional and visually appealing space. Remember to always consult the manufacturer’s instructions and seek professional advice when necessary to ensure the best results for your specific situation. This guide provides step-by-step instructions for applying epoxy garage floors. Epoxy is a popular choice for garage floors due to its durability, easy maintenance, and aesthetic appeal. Here are the steps to follow:
Step 1: Preparing the Garage Floor
Before applying epoxy, it’s important to prepare the garage floor properly. This includes cleaning the surface thoroughly, removing any existing coatings or sealants, and repairing any cracks or damage.
Step 2: Etching the Concrete (optional)
Etching the concrete can help improve adhesion between the concrete and the epoxy coating. Follow the manufacturer’s instructions for etching products and use protective gear during this process.
Step 3: Applying the Primer
The primer acts as a bonding agent between the concrete and the epoxy coating. Follow the manufacturer’s instructions for mixing and applying the primer, using a roller or brush for even coverage.
Step 4: Applying the Epoxy Coating
Once the primer has dried according to the manufacturer’s instructions, apply the epoxy coating. Thoroughly mix the epoxy components as per instructions provided and use a roller or brush to apply it evenly across the entire garage floor, working in small sections at a time.
Step 5: Adding Decorative Flakes (optional)
If desired, you can enhance the appearance of your garage floor by adding decorative flakes. Sprinkle them onto the wet epoxy surface while it is still tacky, allowing them to settle evenly. Use a clear topcoat to seal in the flakes and provide additional protection.
Step 6: Allowing Proper Drying and Curing Time
After applying epoxy coating and any additional decorative flakes or topcoat, allow sufficient drying and curing time. Follow the manufacturer’s instructions for recommended drying times before walking or driving on the surface. This typically ranges from 24-72 hours, depending on the specific epoxy product used.
Step 7: Regular Maintenance
To keep your epoxy garage floor looking its best, regular maintenance is necessary. Sweep or vacuum the floor regularly to remove dirt and debris. Wipe up spills promptly to prevent staining. If deeper cleaning is required, use a mild detergent and warm water, followed by rinsing and drying the surface thoroughly.
By following these steps and proper maintenance practices, you can transform your garage into a functional and visually appealing space with an epoxy garage floor. Always consult the manufacturer’s instructions and seek professional advice when necessary to ensure the best results for your specific situation.