Some of the floors are more affordable to purchase and several more affordable to install. Is money the most significant concern? Are you installing the flooring yourself? Are tools as well as parts likely to impact the garage floor covering? To coat your garage floor with this epoxy material is able to help safeguard it from cracking, weathering, oil spills and various other forms of moisture that may threaten to wear and length of using of your garage floor.
Here are Images about Epoxy Garage Floor Pics
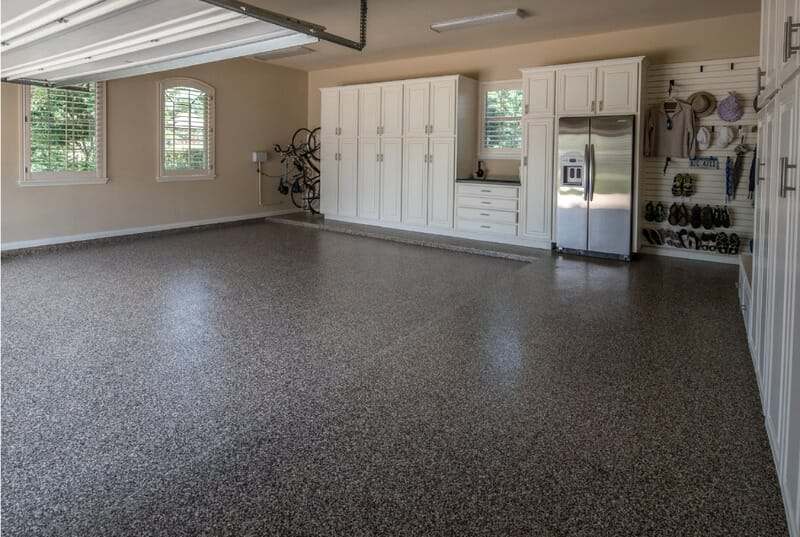
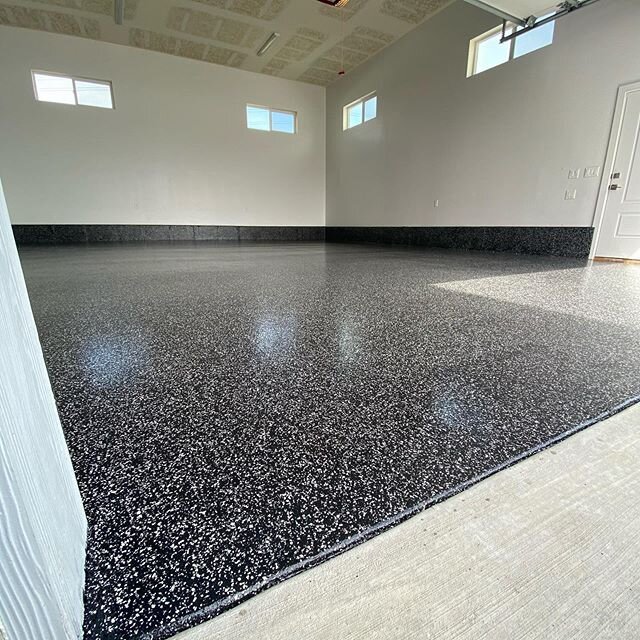
Epoxy Garage Floor Pics
You can find businesses which model the garage, in such a way that plenty of stuff may be saved. For instance, probably the hardest garage floor protector to apply will be epoxy, and yes it is able to generally be finished to a single day. But for exactly the same quantity of cash, the rolled floor will last much longer and look a lot better. That, nonetheless, might be overkill for you.
Epoxy Flooring Contractors in Palmdale, CA – Epoxy.LA
Although this's an incredible durable as well as material which is powerful, there are still a great amount of deterrents and risks that are likely and often seen to take place which could compromise the quality as well as integrity of the entire structure. The interlocking tiles provide a better set up for working together station.
Images Related to Epoxy Garage Floor Pics
Is It Worth It To Epoxy Garage Floor? Garage Floor Epoxy
DIY vs. Professional Garage Floor Coatings u2014 Advanced Flooring Systems
Concrete Coating Contractors in Draper, Utah Lifetime Epoxy Utah
Classic Finish Garage Floor Epoxy With Full Flake
Kansas City Epoxy Garage Floors-Amazing Garage Floors #1 KC

Epoxy Flooring Orlando Garage Floor Epoxy Coating Experts

2022 Epoxy Flooring Cost Garage Floor Coating u0026 Painting Prices

Armor Chip Garage Epoxy Floor Coating ArmorGarage

Epoxy Garage Flooring Contractor – Dallas/Ft. Worth Artisan

How to Apply Epoxy Coating to a Garage Floor
/clean-garage-178594527-ed57fd7843ba42f59bb637cf7cf5d47d.jpg)
Epoxy Flooring u0026 Floor Paint Garage Floor Coating of Boston

90 Garage Flooring Ideas For Men – Paint, Tiles And Epoxy Coatings

Related articles:
- Interlocking Garage Floor Tiles
- Garage Floor Coatings
- Garage Floor Ideas
- Garage Floor Paint
- Garage Floor Rubber Covering
- Garage Floor Coating Paint
- Garage Floor Epoxy Ideas
- Best Garage Floor Material
- Black Epoxy Garage Floor Coating
- Garage Floor Slab Thickness
Epoxy Garage Floor Pics: Transform Your Garage with a Stunning and Durable Flooring Solution
Introduction:
A garage is often seen as a functional space, dedicated to storing vehicles and various tools. However, with the right flooring solution, your garage can be transformed into a stylish and inviting extension of your home. One such solution that has gained immense popularity in recent years is epoxy garage floor coatings. These coatings not only provide a sleek and modern appearance but also offer exceptional durability and resistance to stains, chemicals, and wear. In this article, we will explore the world of epoxy garage floor pics, discussing the benefits, installation process, maintenance tips, and more.
Benefits of Epoxy Garage Floor Coatings:
Epoxy garage floor coatings offer numerous benefits that make them an excellent choice for transforming your garage. Here are some key advantages:
1. Enhanced Durability: Epoxy coatings create a tough and resilient surface that can withstand heavy traffic, dropped tools, and other potential sources of damage. This durability ensures that your garage floor will continue to look pristine for many years to come.
2. Resistance to Stains and Chemicals: Epoxy coatings are highly resistant to stains caused by oil spills, grease, chemicals, and other common substances found in garages. This makes cleaning up messes effortless, ensuring that your floor maintains its beauty without any unsightly stains.
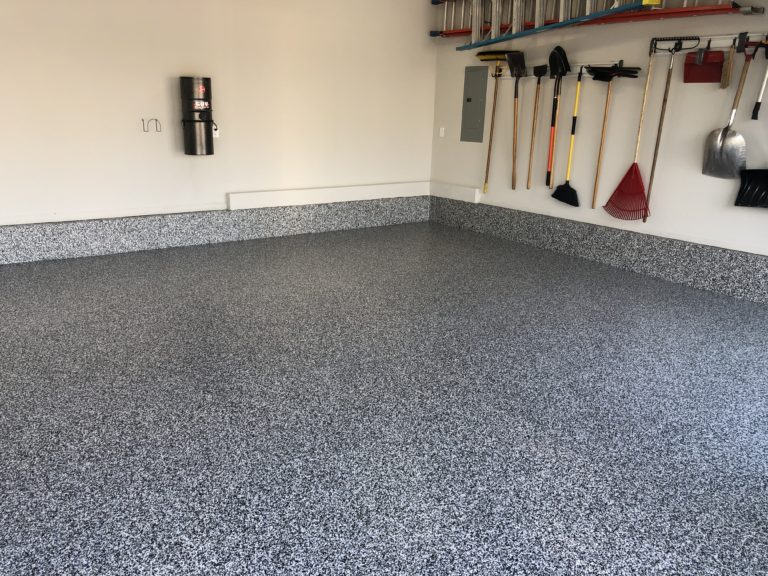
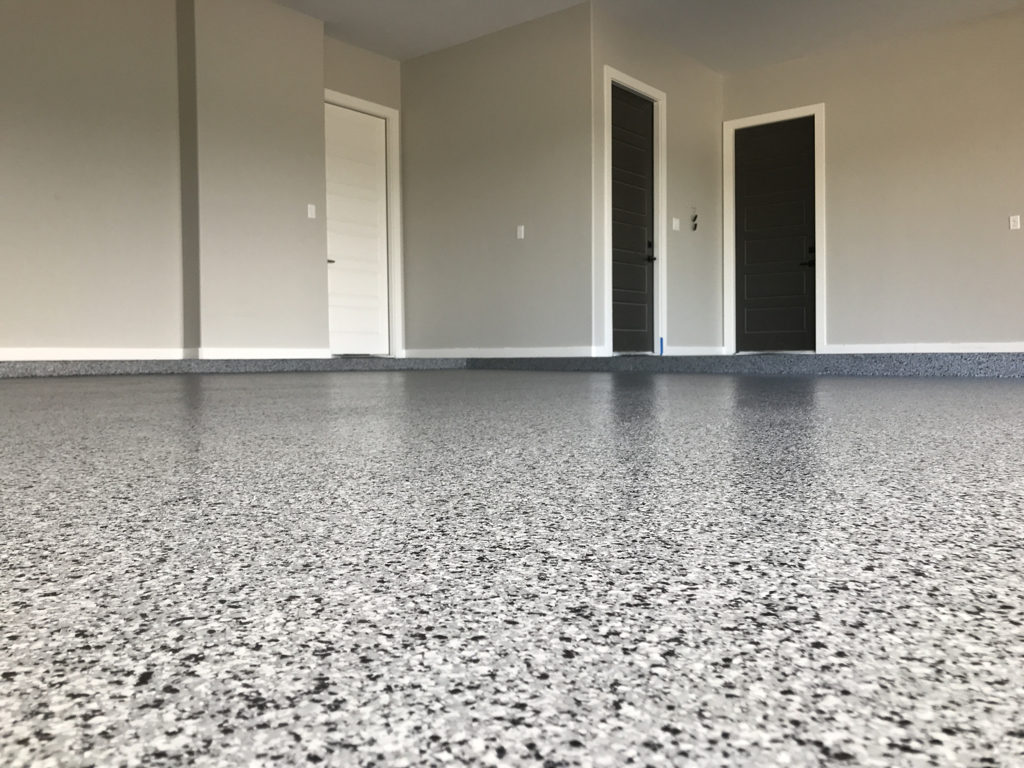
3. Aesthetic Appeal: One of the most significant advantages of epoxy garage floor coatings is their ability to enhance the overall aesthetic appeal of your garage. Available in a wide range of colors and finishes, epoxy coatings can be customized to match your personal style and complement the existing design elements in your space.
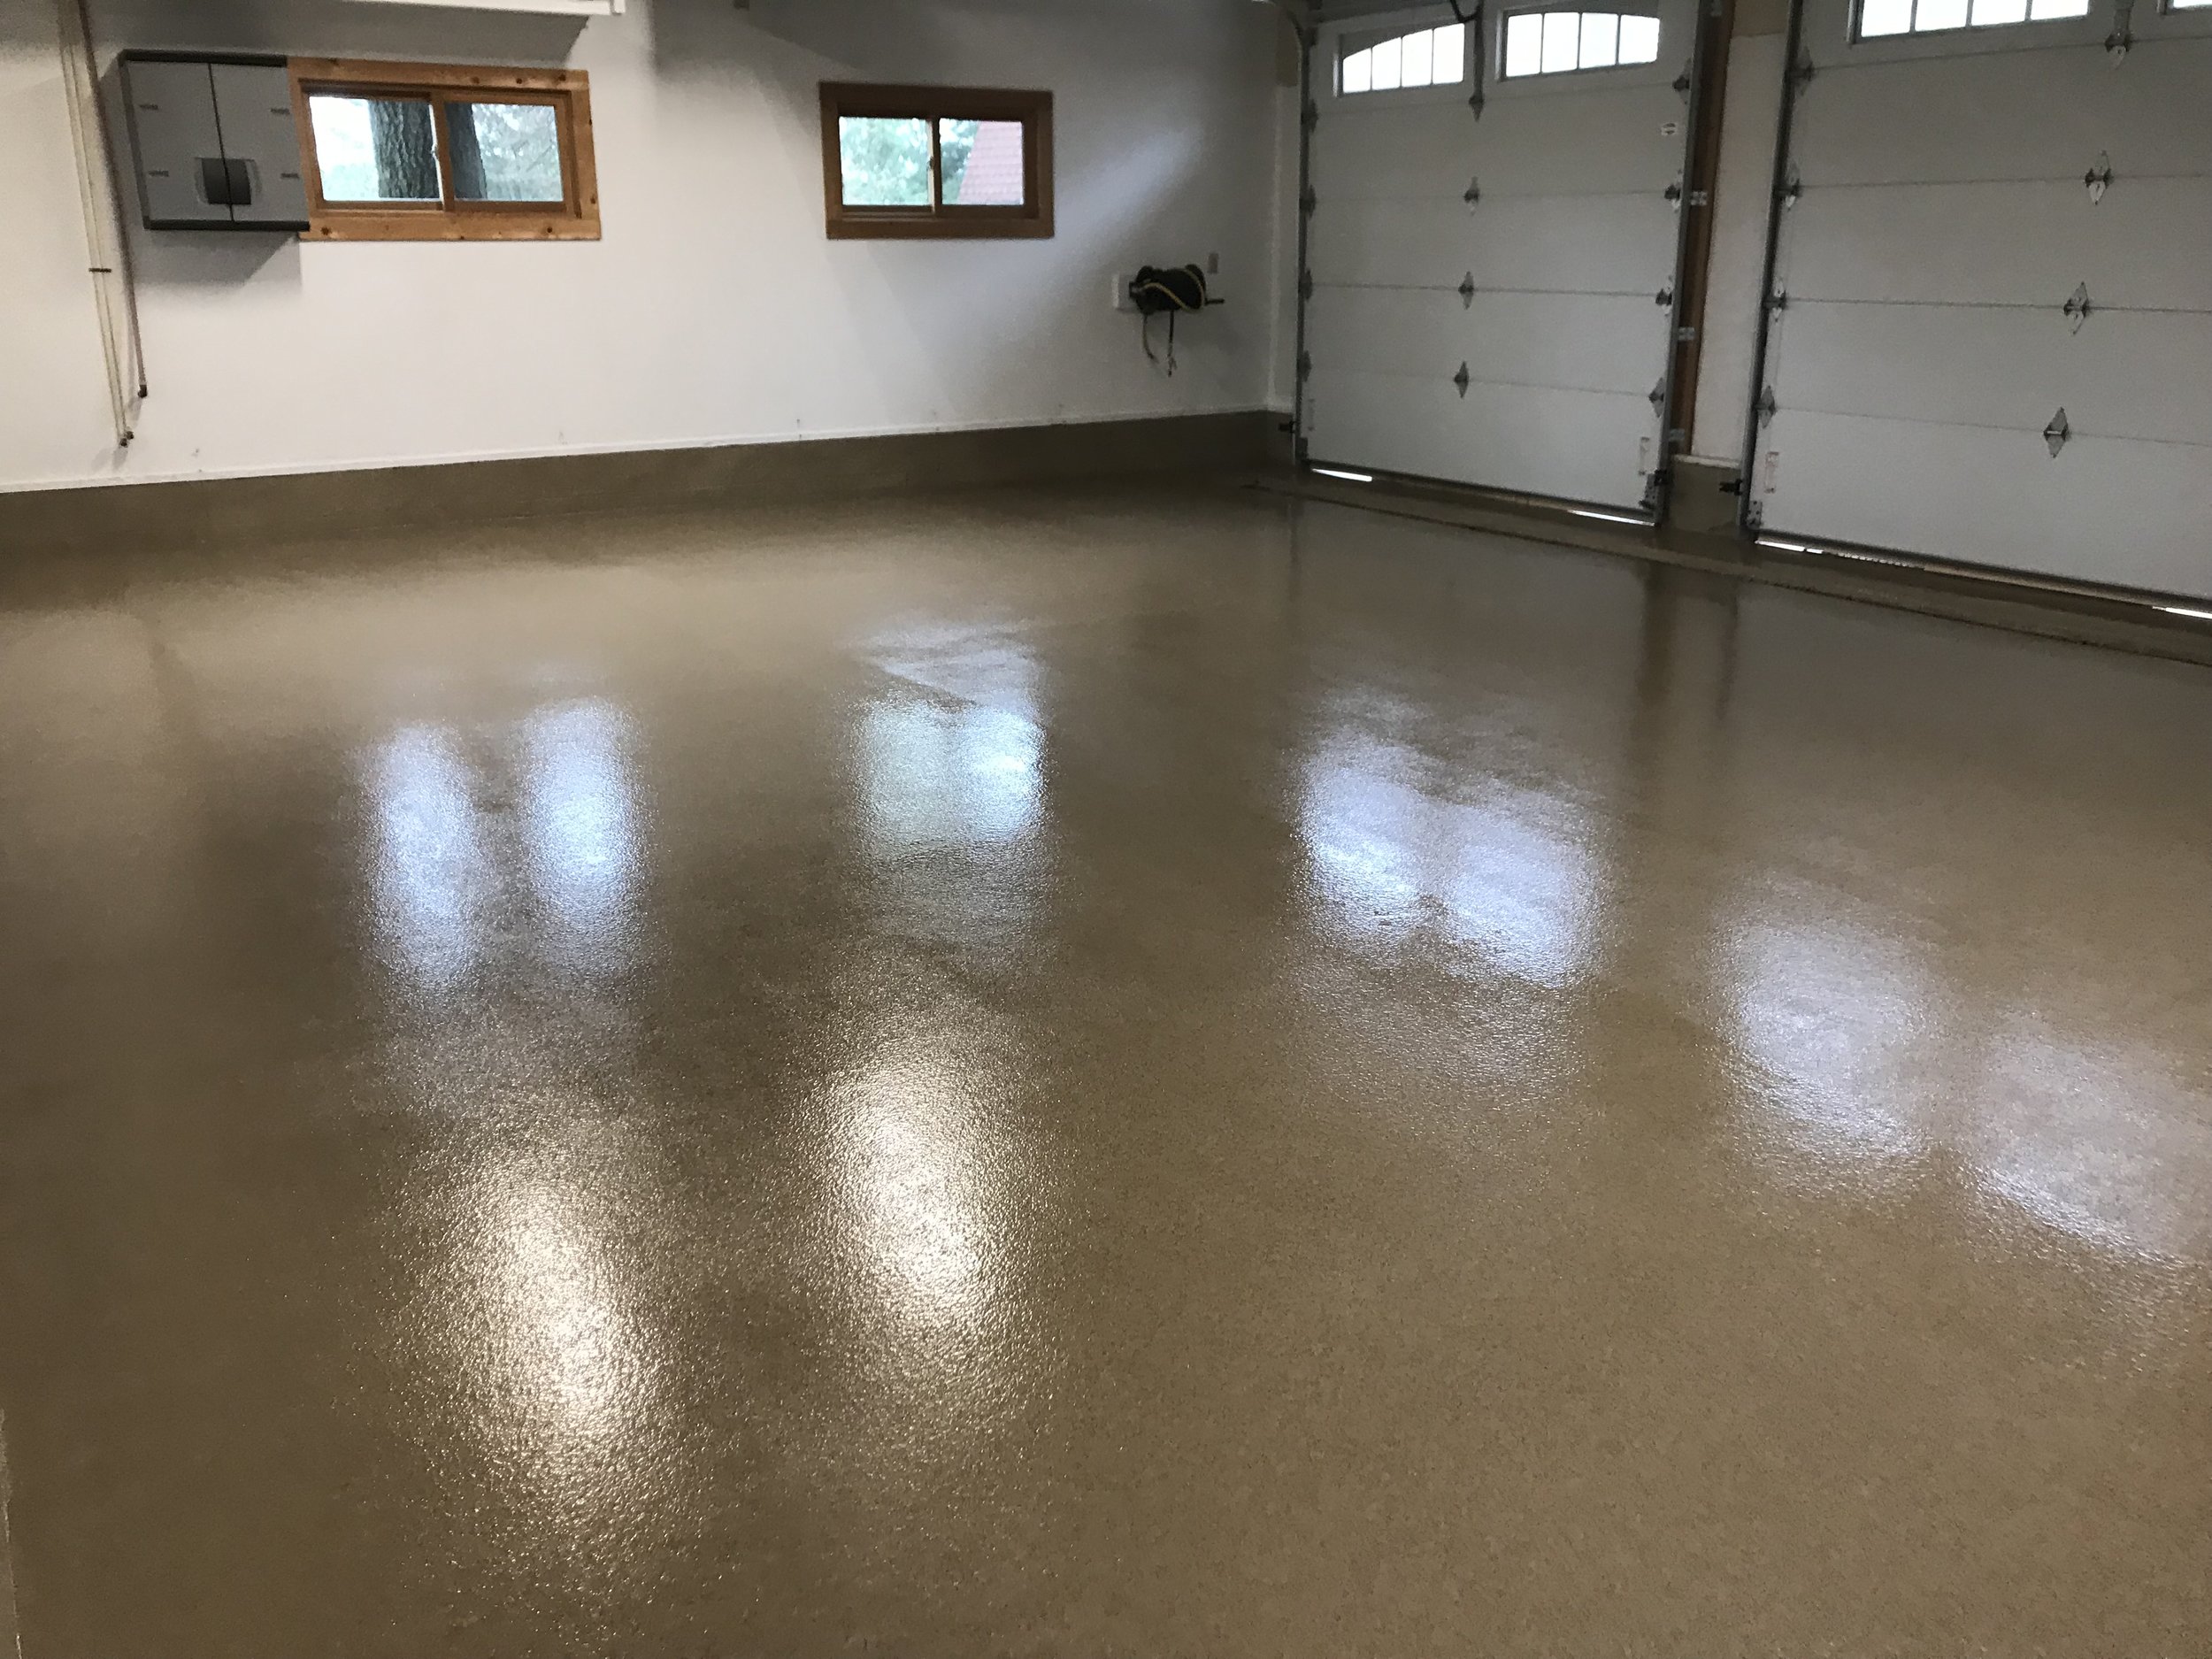
4. Increased Safety: Epoxy coatings can also improve safety in your garage by providing a slip-resistant surface. This is particularly beneficial when it comes to wet or oily conditions, reducing the risk of accidents or injuries.
Installation Process:
Now that we have explored the benefits of epoxy garage floor coatings, let’s delve into the installation process. While it is recommended to hire a professional for this task, some enthusiastic DIYers may choose to tackle it themselves. Here is a step-by-step guide to installing epoxy garage floor coatings:
1. Surface Preparation: The first and most crucial step in the installation process is preparing the garage floor. This involves thoroughly cleaning the surface, removing any existing coatings or sealants, and repairing any cracks or imperfections. Proper surface preparation ensures proper adhesion of the epoxy coating.
2. Priming: Once the floor is prepared, a primer is applied to enhance adhesion further. The primer should be spread evenly using a roller or brush and allowed to dry completely as per the manufacturer’s instructions.
3. Mixing and Applying Epoxy: Next, it’s time to mix the epoxy resin and hardener according to the manufacturer’s instructions. This mixture should be poured onto the floor and spread using a roller or squeegee, ensuring even coverage. It is essential to work quickly as epoxy has a limited pot life.
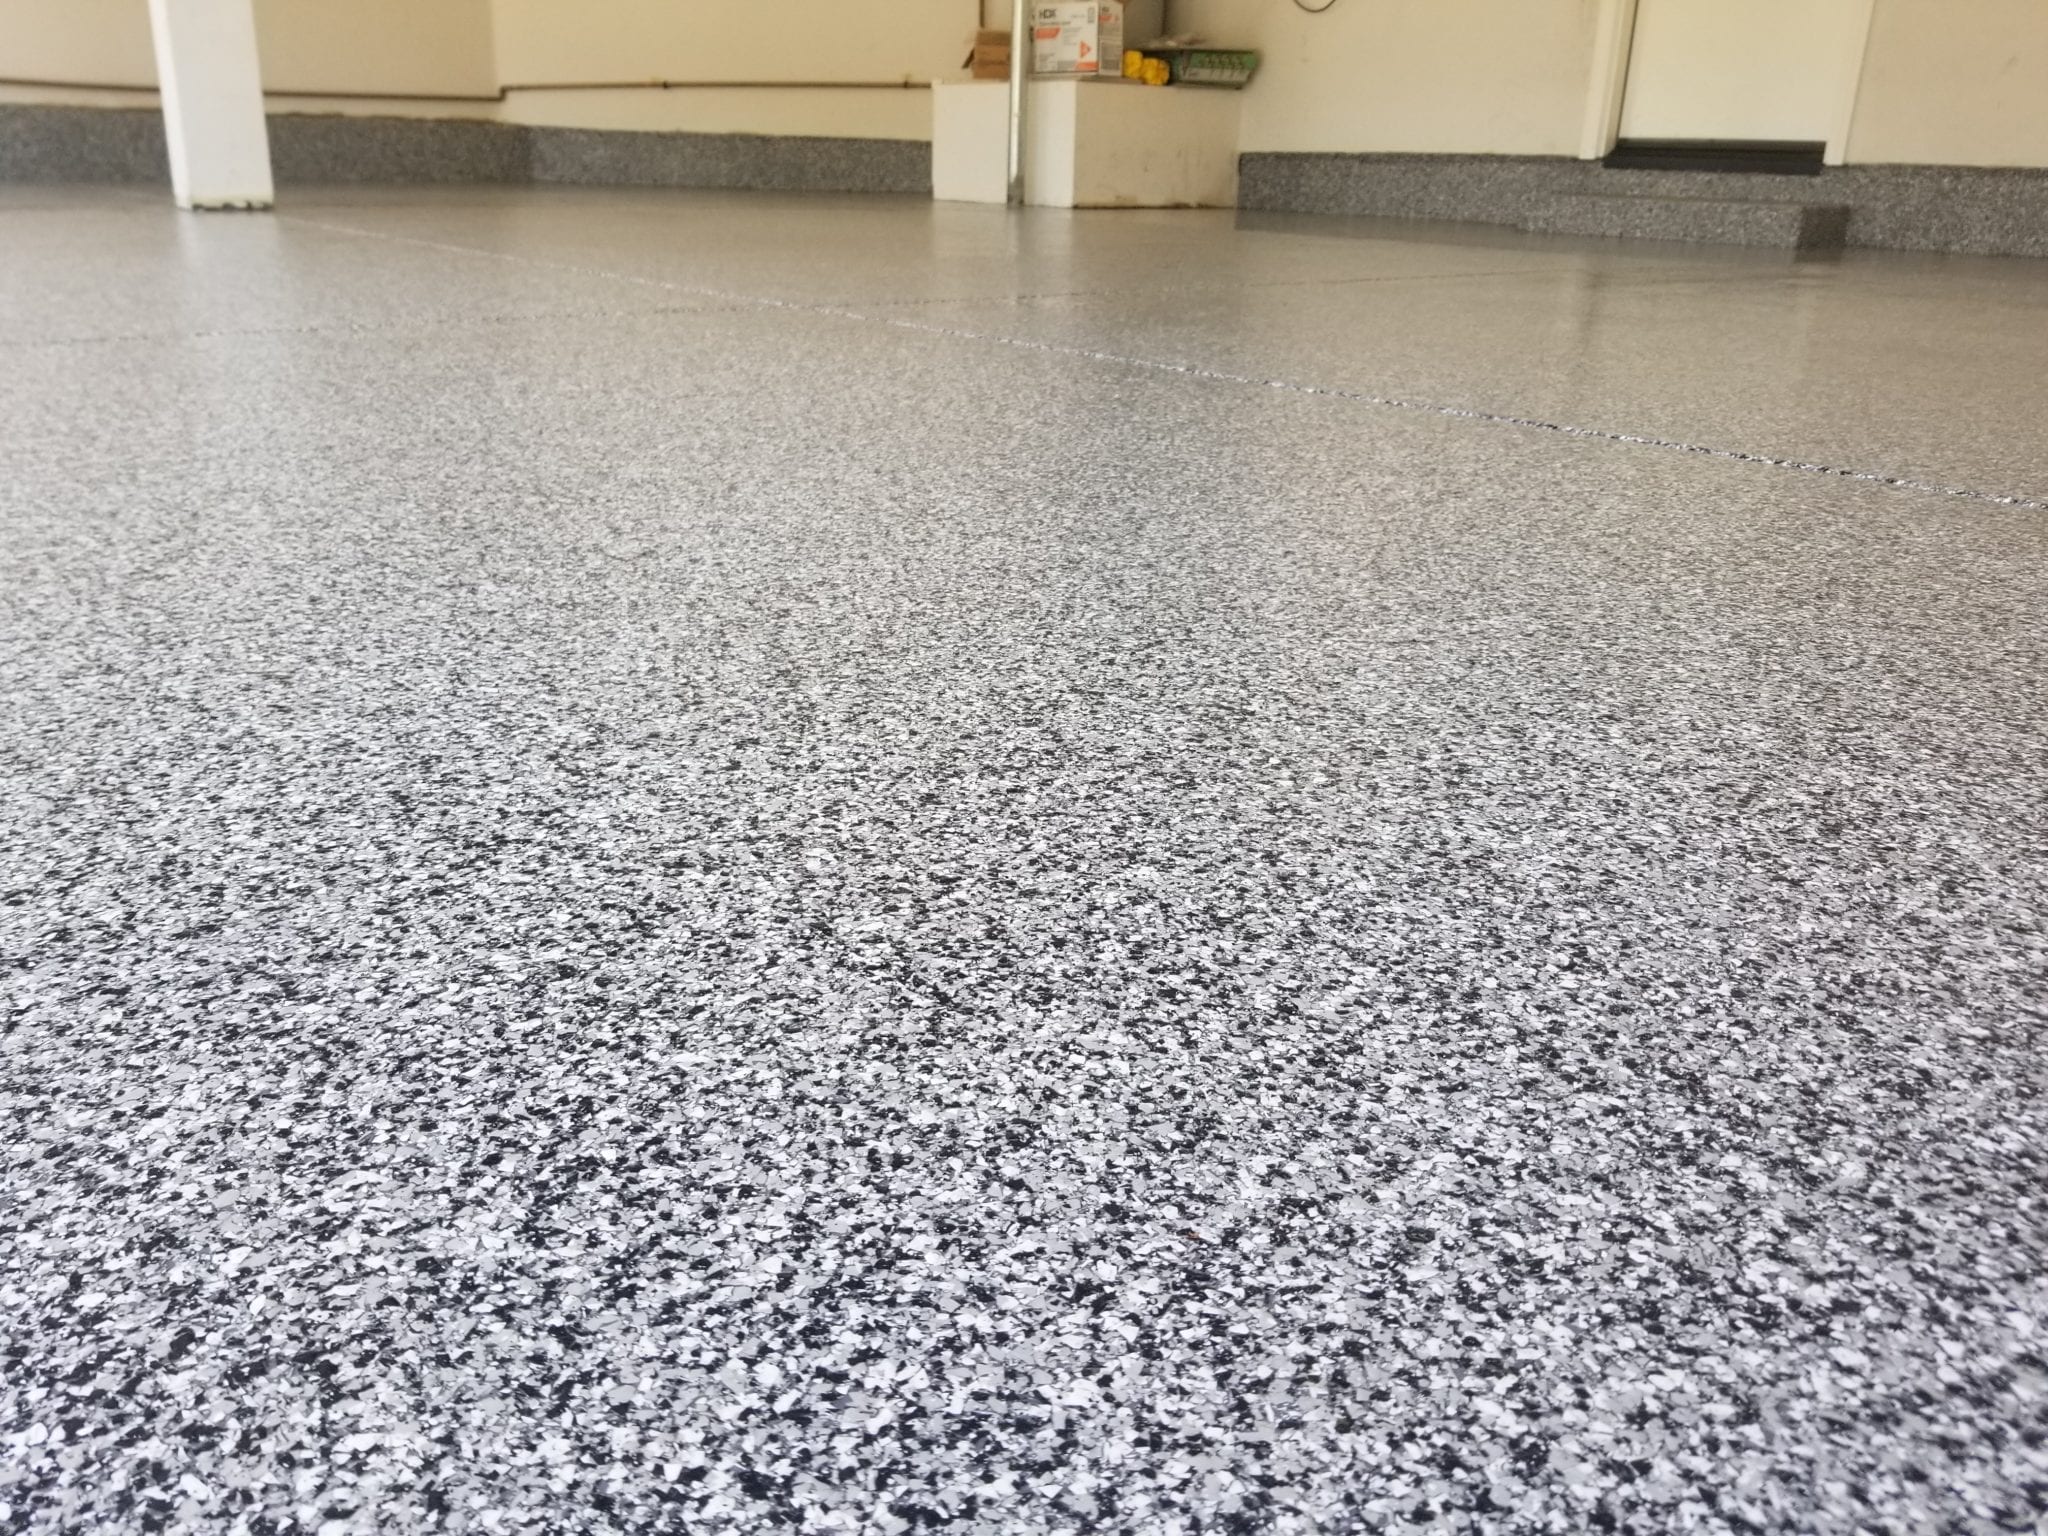
4. Adding Decorative Elements (Optional): If desired, decorative elements such as colored flakes or metallic pigments can be added during the application process to create a unique and visually appealing finish.
5. Curing: After applying the epoxy coating, it needs time to cure properly. This typically takes around 24-48 hours, depending on the specific product used and environmental conditions. During this time, it is crucial to avoid foot traffic and keep dust or Debris from settling on the surface.
6. Optional Topcoat: Once the epoxy coating has cured, a topcoat can be applied for additional protection and durability. This step is not necessary but can provide added benefits such as UV resistance and increased resistance to abrasion.
7. Regular Maintenance: To ensure the longevity and beauty of your epoxy garage floor coating, regular maintenance is required. This includes sweeping or vacuuming to remove dirt and debris, as well as periodically mopping with a mild detergent to keep the surface clean.
It is important to note that while epoxy garage floor coatings are durable and long-lasting, they are not indestructible. Heavy impacts or sharp objects may cause damage, so it is recommended to use caution when moving heavy objects or using tools in the garage.
Overall, epoxy garage floor coatings offer numerous benefits, including durability, resistance to stains and chemicals, aesthetic appeal, and increased safety. By following the proper installation process and maintaining the coating regularly, your garage floor can remain pristine for many years to come. Installing epoxy garage floor coatings can be a rewarding DIY project. Here is a step-by-step guide to help you through the process:
1. Surface Preparation: Start by thoroughly cleaning the garage floor to remove any dirt, oil, or debris. Use a degreaser and scrub brush to ensure a clean surface. Next, remove any existing coatings or sealants using a floor grinder or chemical stripper. Repair any cracks or imperfections in the concrete using a concrete patching compound and allow it to dry completely.
2. Priming: Apply a primer to the prepared floor using a roller or brush. Make sure to spread it evenly and follow the manufacturer’s instructions for drying time.
3. Mixing and Applying Epoxy: Mix the epoxy resin and hardener according to the manufacturer’s instructions. Pour the mixture onto the floor and spread it using a roller or squeegee, ensuring even coverage. Work quickly as epoxy has a limited pot life.
4. Adding Decorative Elements (Optional): If you want to add colored flakes or metallic pigments for a decorative finish, sprinkle them onto the wet epoxy while it is still wet. Use a roller or brush to lightly press them into the surface.
5. Curing: Allow the epoxy coating to cure for 24-48 hours, depending on the specific product and environmental conditions. During this time, avoid foot traffic and keep dust or debris from settling on the surface.
6. Optional Topcoat: Apply a topcoat for added protection and durability if desired. Follow the manufacturer’s instructions for application and drying time.
7. Regular Maintenance: To maintain your epoxy garage floor coating, regularly sweep or vacuum to remove dirt and debris. Periodically mop with a mild detergent to keep the surface clean.
Remember that although epoxy garage floor coatings are durable, they are not indestructible. Take caution when moving heavy objects or using tools in the garage to avoid damage.
By following these steps and properly maintaining your epoxy coating, you can enjoy a durable and visually appealing garage floor for years to come. Epoxy garage floor coatings provide a durable and attractive solution for protecting your garage floor. They offer numerous benefits, including resistance to stains, chemicals, and impacts. However, it is important to remember that they are not indestructible and can be damaged by heavy impacts or sharp objects. Therefore, it is recommended to use caution when moving heavy objects or using tools in the garage.
To install an epoxy garage floor coating, follow these steps:
1. Surface Preparation: Start by thoroughly cleaning the garage floor to remove any dirt, oil, or debris. Use a degreaser and scrub brush to ensure a clean surface. Next, remove any existing coatings or sealants using a floor grinder or chemical stripper. Repair any cracks or imperfections in the concrete using a concrete patching compound and allow it to dry completely.
2. Priming: Apply a primer to the prepared floor using a roller or brush. Make sure to spread it evenly and follow the manufacturer’s instructions for drying time.
3. Mixing and Applying Epoxy: Mix the epoxy resin and hardener according to the manufacturer’s instructions. Pour the mixture onto the floor and spread it using a roller or squeegee, ensuring even coverage. Work quickly as epoxy has a limited pot life.
4. Adding Decorative Elements (Optional): If you want to add colored flakes or metallic pigments for a decorative finish, sprinkle them onto the wet epoxy while it is still wet. Use a roller or brush to lightly press them into the surface.
5. Curing: Allow the epoxy coating to cure for 24-48 hours, depending on the specific product and environmental conditions. During this time, avoid foot traffic and keep dust or debris from settling on the surface.
6. Optional Topcoat: Apply a topcoat for added protection and durability if desired. Follow the manufacturer’s instructions for application and drying time.
7. Regular Maintenance: To maintain your epoxy garage floor coating, regularly sweep or vacuum to remove dirt and debris. Periodically mop with a mild detergent to keep the surface clean.
Remember that while epoxy garage floor coatings are durable, they are not indestructible. Take caution when moving heavy objects or using tools in the garage to avoid damage. By following these steps and properly maintaining your epoxy coating, you can enjoy a durable and visually appealing garage floor for years to come.