You can find three main kinds of epoxy for floor surfaces. Not simply are these sorts of floorings mechanically powerful but they are also unwilling to chemical based components once they start to be sound as well as being extremely adhesive throughout the stage whenever they changed from liquid to the rock solid form you see on a lot of floors today.
Here are Images about Epoxy Flooring Video
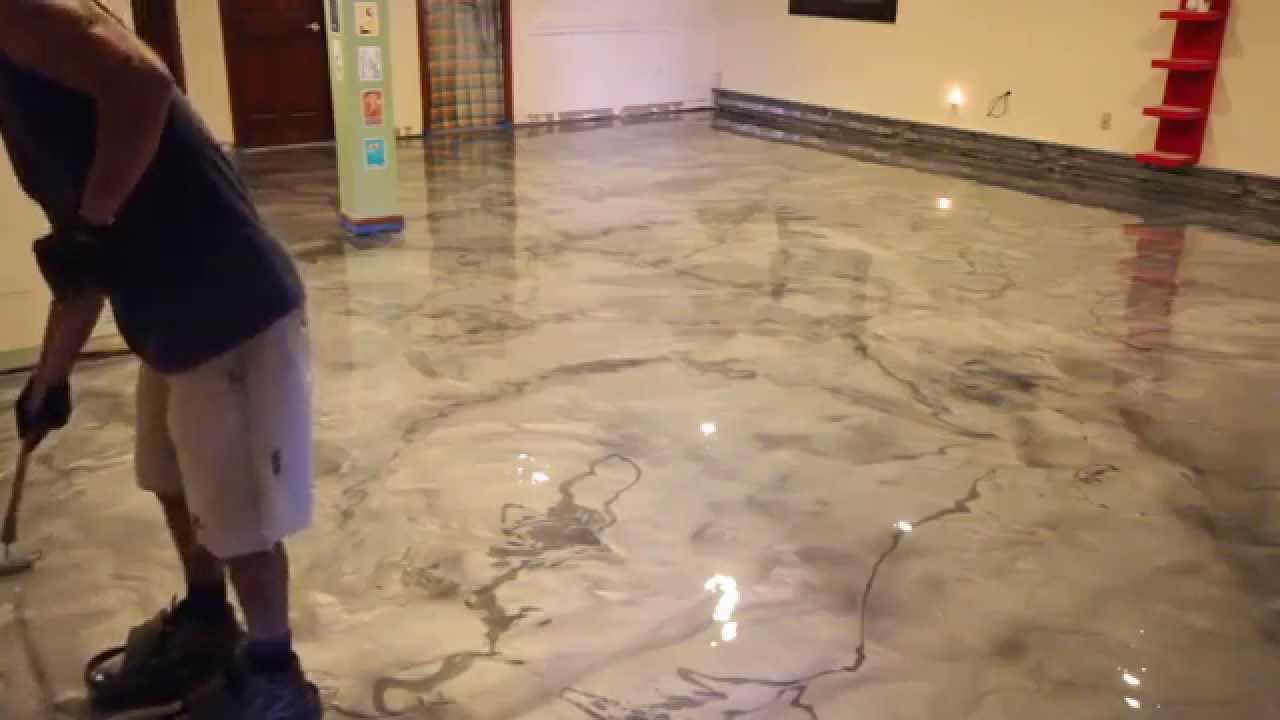
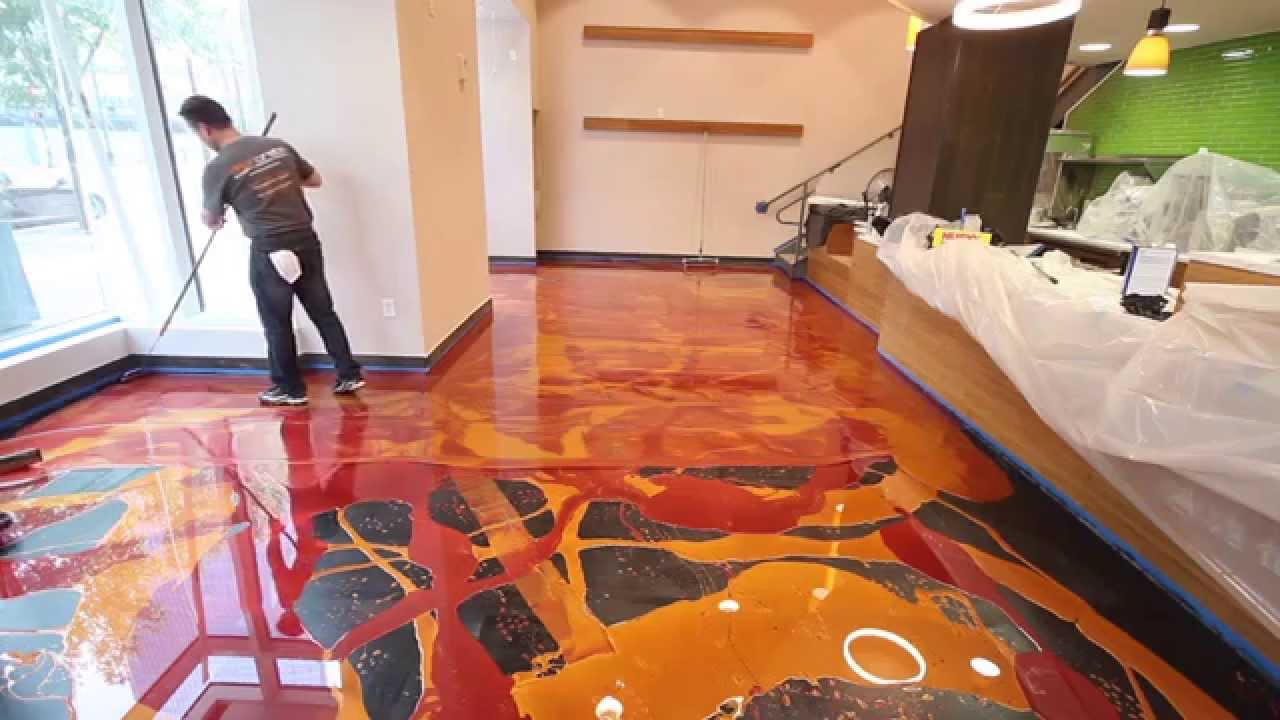
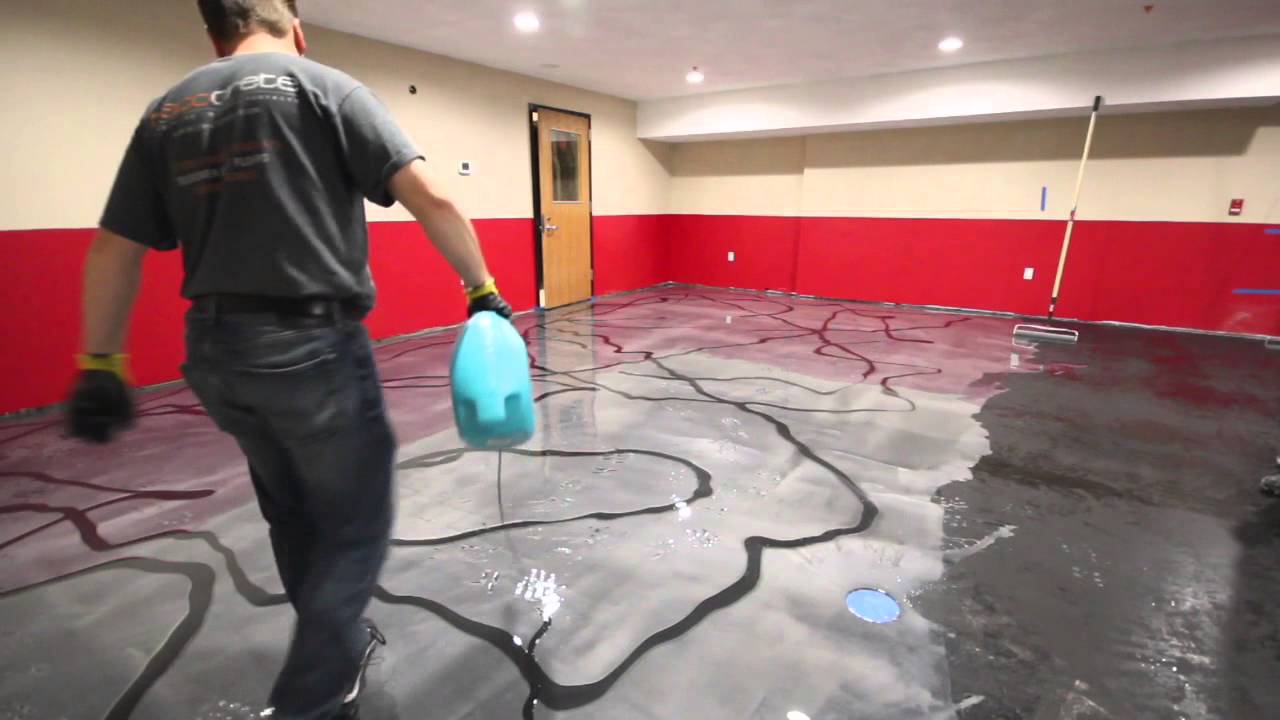
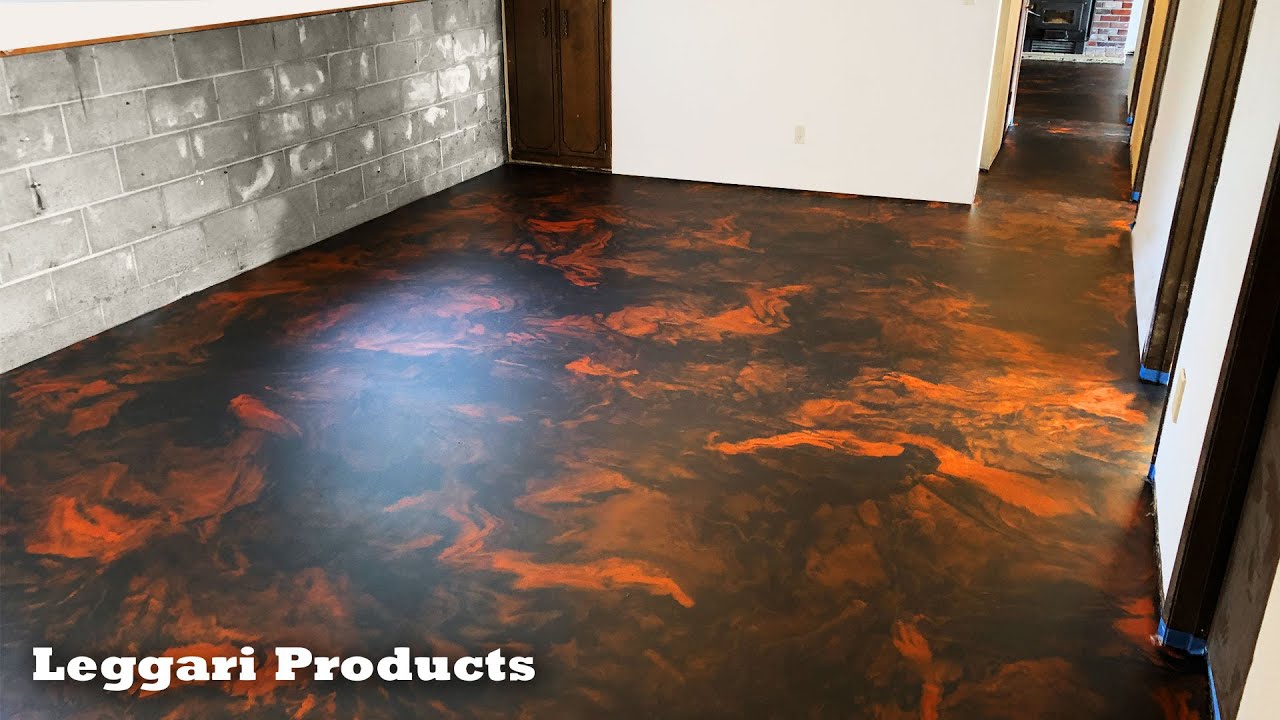
Epoxy Flooring Video
Should you decide on an epoxy flooring coating for you factory, you won't need to get worried about floor scuffing, scraping or maybe skidmarks showing up. In general, these anti slip agents are chips which are available in a variety of colors and are sprinkled in addition to poured epoxy (prior to it curing). Wooden floors or perhaps carpet floors typically get stained and the appearance of the room is marred.
Designer Epoxy Floor Installation That You Can Do Yourself
Read mixing directions carefully to insure adequate proportions are mixed. Why don't we look at some reasons why you should select this particular type of flooring footwear for the next storage area of yours or maybe dealer flooring task. Some of the kits are available with flakes to incorporate to or scatter over the epoxy once it has been applied.
Images Related to Epoxy Flooring Video
Designer Epoxy Floor Installation
www.epoxyplus.com Designer Epoxy
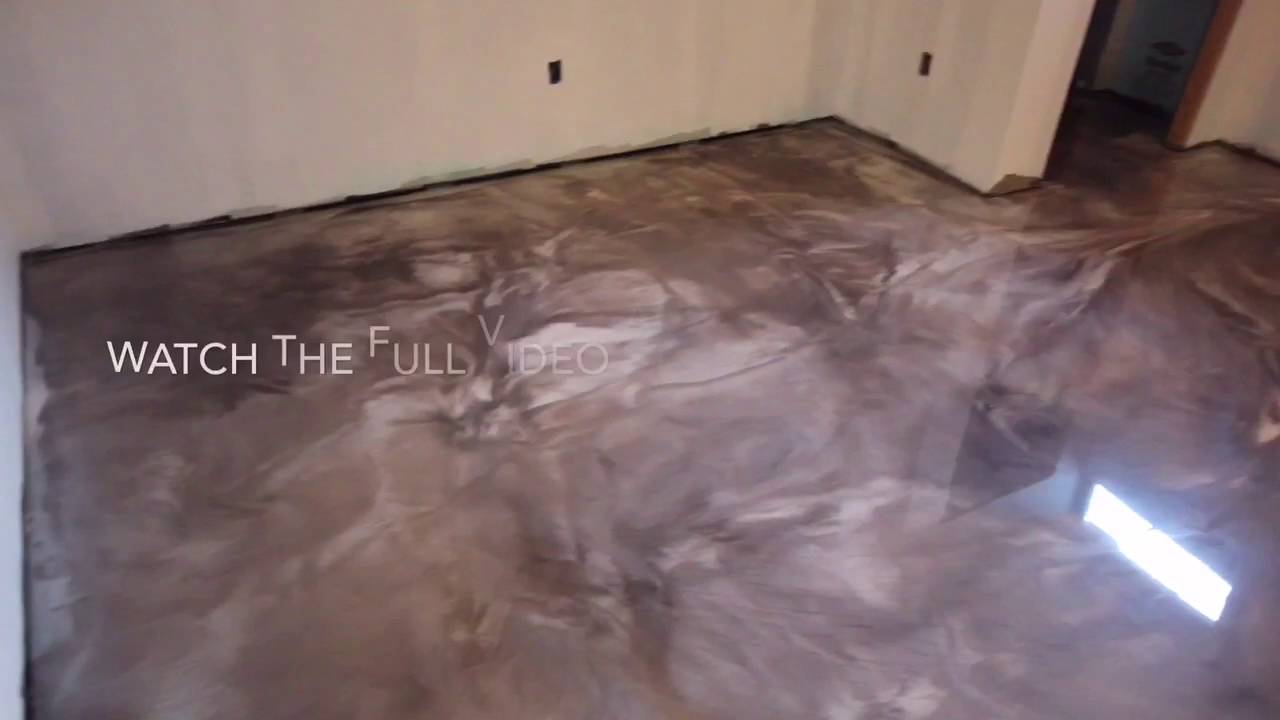
Creative Metallic Epoxy Installation – Metallic Epoxy Floor
Learn to install metallic epoxy – Orange Gold u0026 Wine Red
Designer Metallic Epoxy Floor Installation
Epoxy Floor Installation Over Old Concrete
HOW TO Epoxy Floor Countertop Epoxy Copper Epoxy Floor Epoxy Garage Floor Epoxy floor DIY

COFFEE AND PEARL DESIGNER METALLIC FLOOR COATING
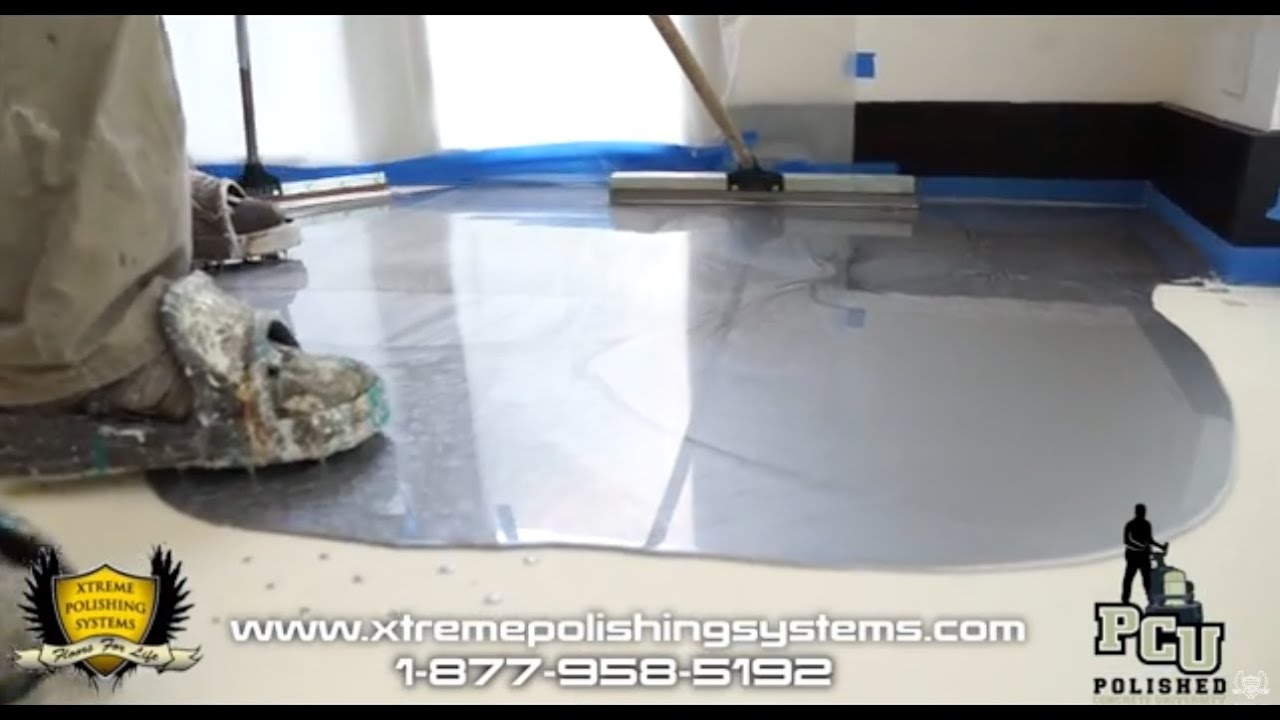
How to Residential Metallic Epoxy Floor Installation Start to Finish Xtreme Polishing Systems
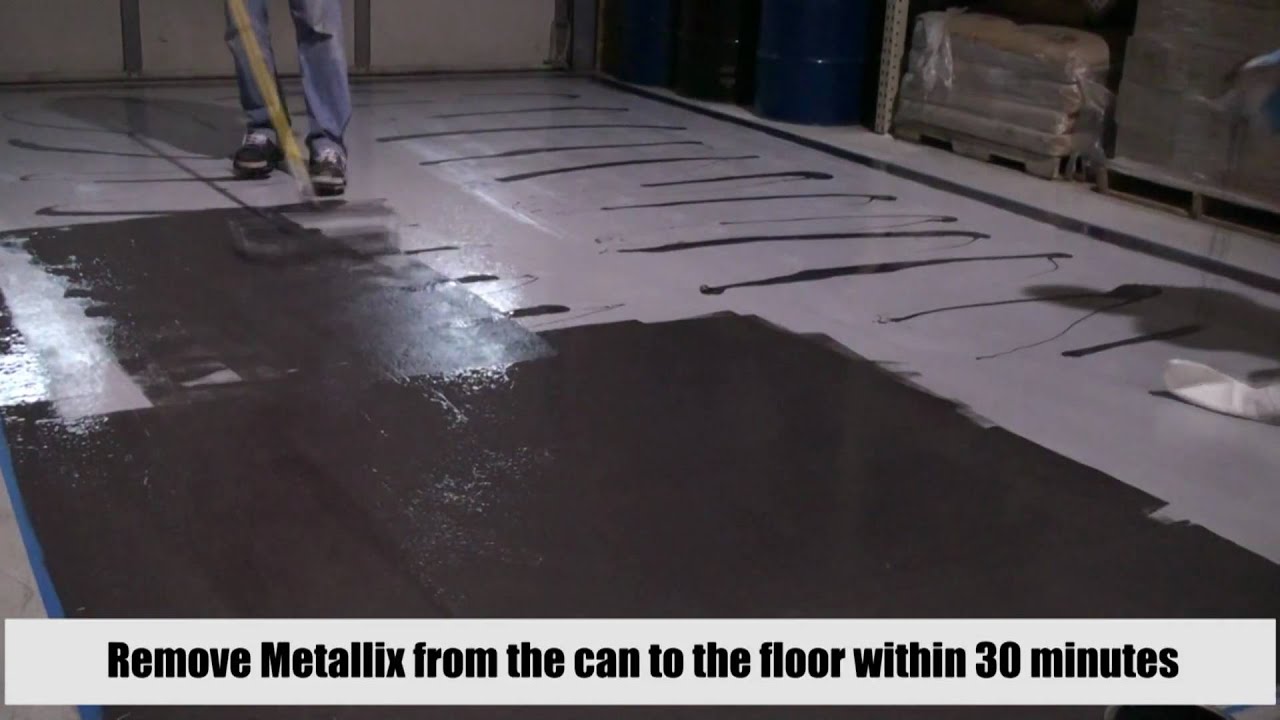
Metallix Epoxy – Pure Metallic – Metallic Epoxy Floor Coating Quick Instructional Video
DIY Metallic Epoxy Floor Tutorial (Video)#design #designer

Drawbacks of Epoxy Flooring
Related articles:
- Epoxy Flooring Living Room
- 3D Epoxy Flooring
- Epoxy Flooring Ideas
- Residential Epoxy Flooring
- Epoxy Flooring Waterproof
- Epoxy Floor Coating Tips
- Metallic Epoxy Floor Designs
- Epoxy Flooring Contractors
- Epoxy Floor Coating Material
- Epoxy Floor Coating With Flakes
Epoxy Flooring Video: A Comprehensive Guide to Understanding and Applying Epoxy Floor Coatings
Introduction:
Epoxy flooring has gained immense popularity over the years due to its durability, versatility, and aesthetic appeal. If you are considering installing epoxy floor coatings in your home or commercial space, it’s essential to have a thorough understanding of the process involved. In this article, we will delve into the world of epoxy flooring through an informative and engaging video guide, covering everything from preparation to application and maintenance.
1. Understanding Epoxy Flooring:
To start our journey into the world of epoxy flooring, it’s crucial to grasp the basics of what epoxy is and how it functions as a floor coating. Epoxy is a thermosetting resin that consists of a base and a hardener. When these two components are mixed together, a chemical reaction occurs, resulting in a rigid plastic-like substance known as epoxy.
Epoxy floor coatings offer numerous benefits such as high durability, resistance to chemicals and stains, easy cleaning, and customizable design options. They are commonly used in garages, warehouses, hospitals, showrooms, and even residential spaces.
FAQs:
Q1: Is epoxy flooring suitable for residential use?
A1: Absolutely! Epoxy flooring is becoming increasingly popular in homes due to its durability and aesthetic appeal. It can be applied in basements, kitchens, living areas, or any other space where you desire a durable and visually pleasing flooring solution.
Q2: How long does epoxy flooring last?
A2: When properly installed and maintained, epoxy floors can last anywhere between 10-20 years or even longer. However, heavy traffic areas may require more frequent maintenance or recoating.
2. Preparing for Epoxy Floor Installation:
Before applying epoxy floor coatings, proper preparation is crucial to ensure long-lasting results. This includes thorough cleaning of the existing floor surface to remove any dirt, grease, or contaminants. A clean and smooth surface allows the epoxy to adhere effectively and prevents any imperfections from showing through the coating.
First, you need to sweep or vacuum the floor to remove loose debris. Then, use a degreaser or detergent solution to remove any grease or oil stains. Stubborn stains may require additional scrubbing with a stiff brush. Rinse the floor thoroughly and allow it to dry completely before moving on to the next step.
FAQs:
Q1: Can I apply epoxy over an existing floor coating?
A1: In most cases, it is possible to apply epoxy over an existing floor coating if it is in good condition and well-adhered to the substrate. However, it is essential to assess the compatibility of the existing coating with epoxy and follow proper surface preparation guidelines.
Q2: Do I need to repair cracks in the floor before applying epoxy?
A2: Yes, it is crucial to repair any cracks or damages in the floor surface before applying epoxy. These imperfections can compromise the adhesion and overall performance of the epoxy coating. Use suitable concrete patching compounds to fill in cracks and level uneven areas.
3. Applying Epoxy Floor Coatings:
Now that your floor is adequately prepared, it’s time to dive into the application process of epoxy floor coatings. This section of the video guide will take you through step-by-step instructions on how to achieve a flawless epoxy finish.
3.1 Primer Application:
Start by applying a primer coat to enhance adhesion between the concrete substrate and the epoxy coating. Make sure to mix the primer according to the manufacturer’s instructions. Use a paint roller or brush to apply an even layer of primer to the entire floor surface. Work in small sections and make sure to cover all areas, including corners and edges. Allow the primer to dry for the recommended time before moving on to the next step.
FAQs:
Q1: Can I skip the primer coat when applying epoxy?
A1: It is highly recommended to use a primer coat before applying epoxy. The primer helps improve adhesion, enhances durability, and ensures a long-lasting bond between the concrete and epoxy coating. Skipping the primer can result in poor adhesion and premature failure of the epoxy.
Q2: How long does the primer need to dry before applying epoxy?
A2: The drying time for the primer can vary depending on factors such as temperature, humidity, and product specifications. It is best to follow the manufacturer’s recommendations for drying times, usually ranging from 4-24 hours.
3.2 Mixing Epoxy Resin and Hardener:
Once the primer has dried, it’s time to mix the epoxy resin and hardener. Follow the instructions provided by the manufacturer for proper mixing ratios and techniques. Use a clean mixing container and stir thoroughly until the two components are fully blended.
FAQs:
Q1: Can I mix different brands of epoxy resin and hardener?
A1: It is not recommended to mix different brands of epoxy resin and hardener unless specifically stated by the manufacturers. Each brand may have different formulations that can affect curing times, adhesion, and overall performance.
Q2: What is the pot life of epoxy?
A2: The pot life, or working time, of epoxy refers to the amount of time you have to work with the mixed epoxy before it begins to harden. This can vary depending on the specific product, but typically ranges from 30 minutes to a few hours. It is important to mix and apply the epoxy within this timeframe.
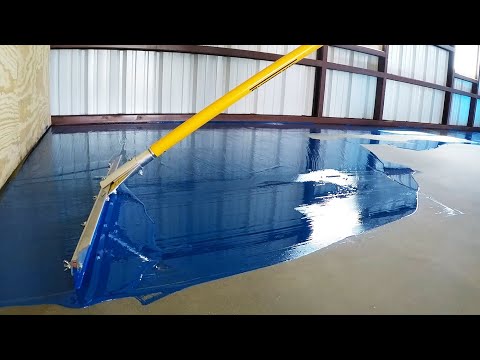
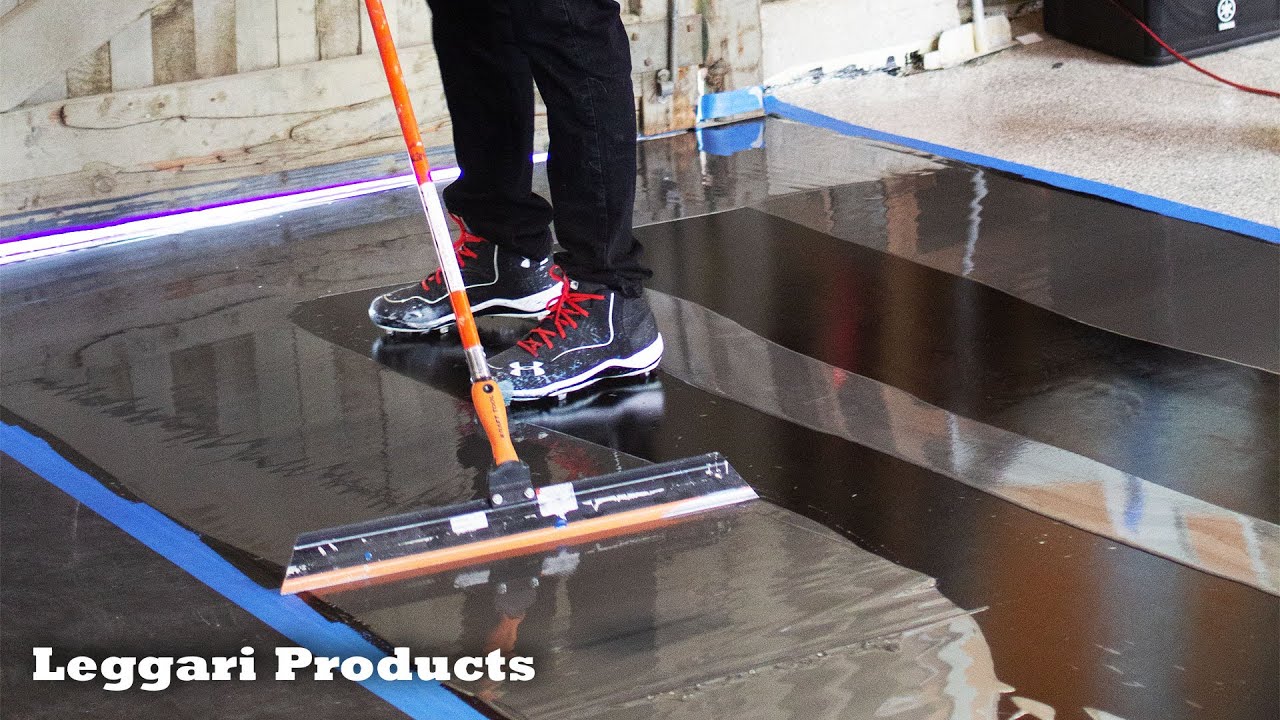
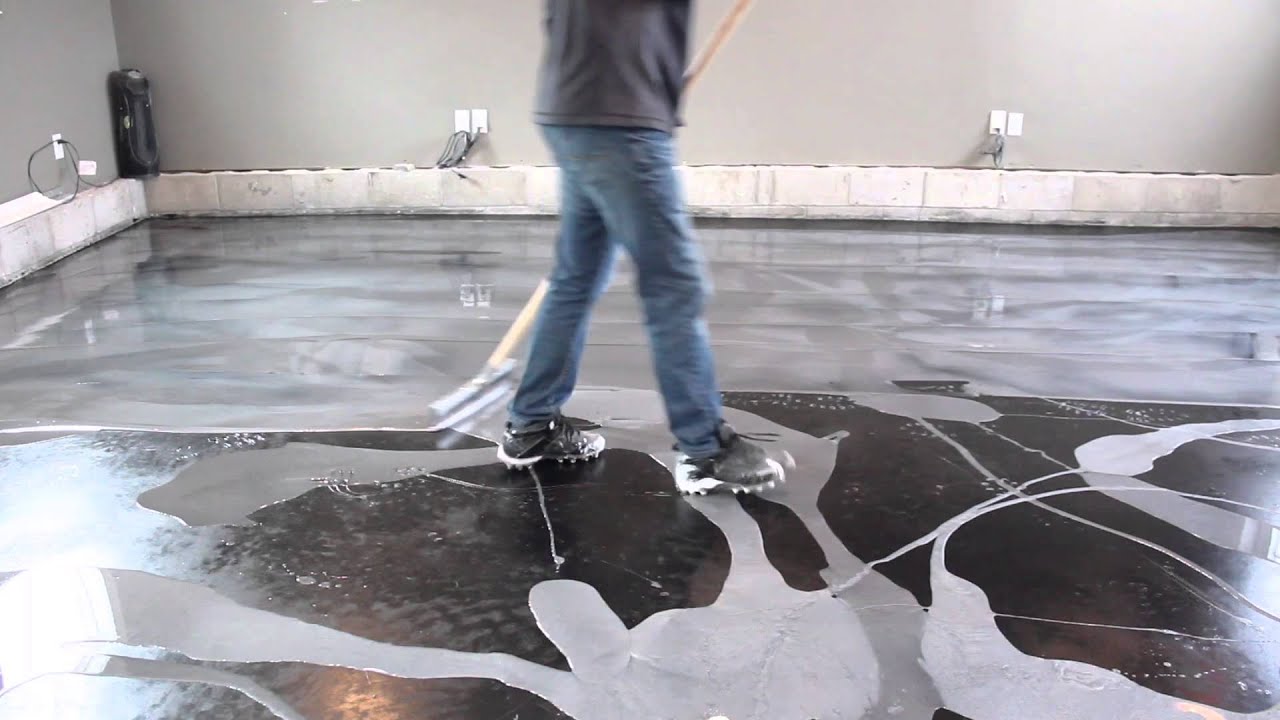
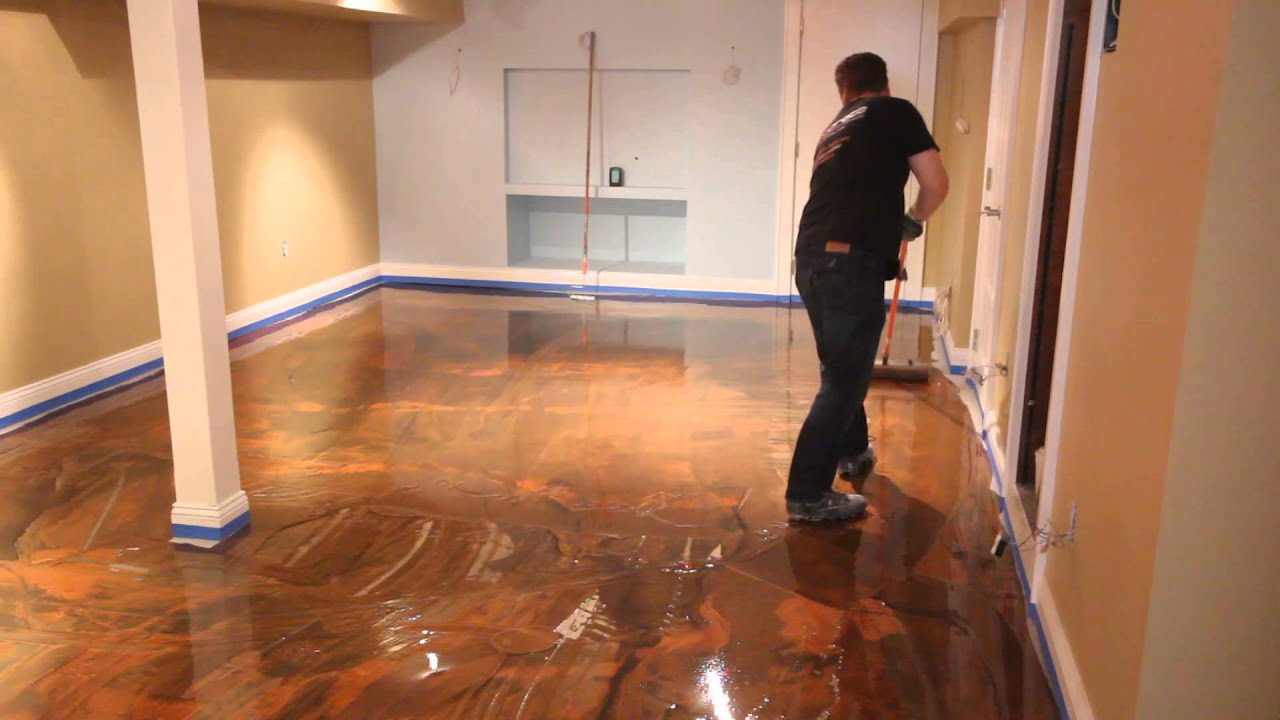
3.3 Application of Epoxy Coating:
Pour the mixed epoxy onto the floor surface in a small section. Use a roller or squeegee to spread the epoxy evenly, ensuring complete coverage. Work in manageable sections and avoid applying too thick of a coat, as it can lead to uneven curing and potential issues.
FAQs:
Q1: Can I add color or flakes to my epoxy coating?
A1: Yes, you can add color pigments or decorative flakes to your epoxy coating for added aesthetics. Follow the manufacturer’s instructions for adding these elements and consider using a clear topcoat to seal and protect them.
Q2: How many coats of epoxy do I need to apply?
A2: The number of coats required may vary depending on factors such as desired thickness, product specifications, and application conditions. In most cases, two coats of epoxy are recommended for optimal durability and coverage. Allow each coat to dry according to the manufacturer’s instructions before applying the next coat.
4. Curing and Maintenance:
After applying the final coat of epoxy, it is crucial to allow sufficient curing time before subjecting the floor to heavy traffic or placing furniture and equipment on it. Follow the manufacturer’s recommendations for curing times, which can range from 24-72 hours.
Once fully cured, your epoxy floor will provide a durable and visually appealing surface. To maintain its longevity and appearance, regular cleaning and maintenance are essential. Use mild detergents or specialized epoxy floor cleaners to clean the surface, and avoid using harsh chemicals or abrasive tools that can damage the coating.
FAQs:
Q1: Can I drive vehicles on my epoxy garage floor?
A1: Epoxy floors are suitable for driving vehicles, but it is important to wait for the recommended curing time before subjecting the floor to heavy loads. Additionally, consider using protective mats or placing furniture pads under parking stands to prevent tire marks or indentations.
Q2: How often should I reapply or recoat my epoxy floor?
A2: The frequency of reapplication or recoating depends on factors such as usage, traffic, and maintenance. In general, epoxy floors can last for several years before requiring maintenance or recoating. However, high-traffic areas may require more frequent touch-ups or recoating to maintain optimal performance and appearance.