Manufacturing epoxy flooring coating things are good content for floor beautification. It’s extremely affordable and also because it’s long-lasting, epoxy flooring is a long lasting investment. Particularly those companies with heavy machinery and forklifts being employed in the plant as well as factory. In addition, epoxy flooring makes concrete visually appealing and very simple to clean.
Here are Images about Epoxy Flooring Installation Process
Epoxy Flooring Installation Process

With very good surface preparation, manufacturing epoxy floor covering applications enjoy a high chance of success. It lays nicely on a lot of sorts of surfaces like metal, concrete, tile and wood and is reluctant to most harsh chemicals making for a durable and some style and long-lasting surface may possibly be extra to the epoxy for a little bit of flare. Epoxy concrete paints are highly durable and can withstand pressure which is high.
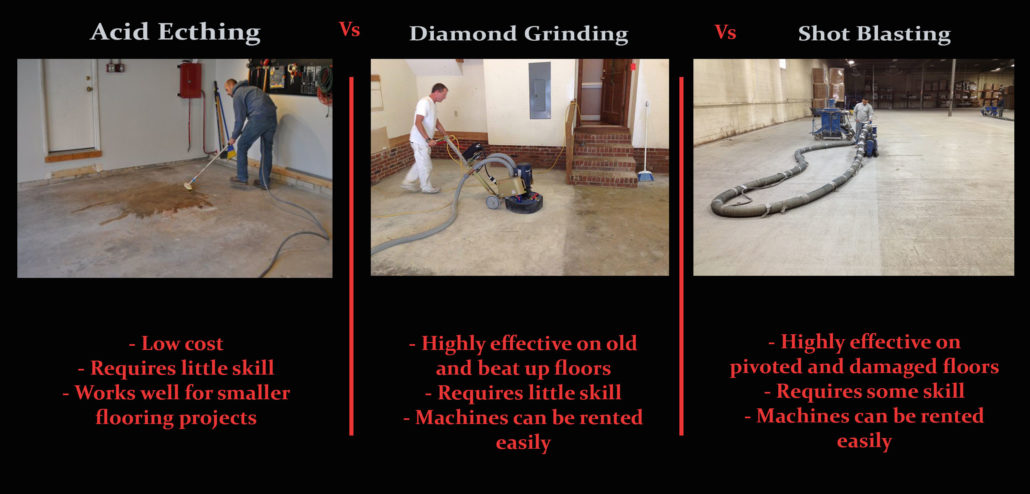
How to Prep Your Floor for an Epoxy Coating
For the entryway, bathroom, or cooking area you can find tiles which can be made of epoxy. Whether or not you are looking to create the right workplace or a top home decor, you will be satisfied with the results. An epoxy flooring coating may be fitted very easily, with little down time. The resin and hardener are combined together to chemically respond.
Images Related to Epoxy Flooring Installation Process
How to do Epoxy Floors – STEP BY STEP GUIDE – S3E3
How to Apply Epoxy Floor Paint – A 7 step guide
Chicagoland Flake Epoxy Flooring Professionals – Flake Epoxy Experts

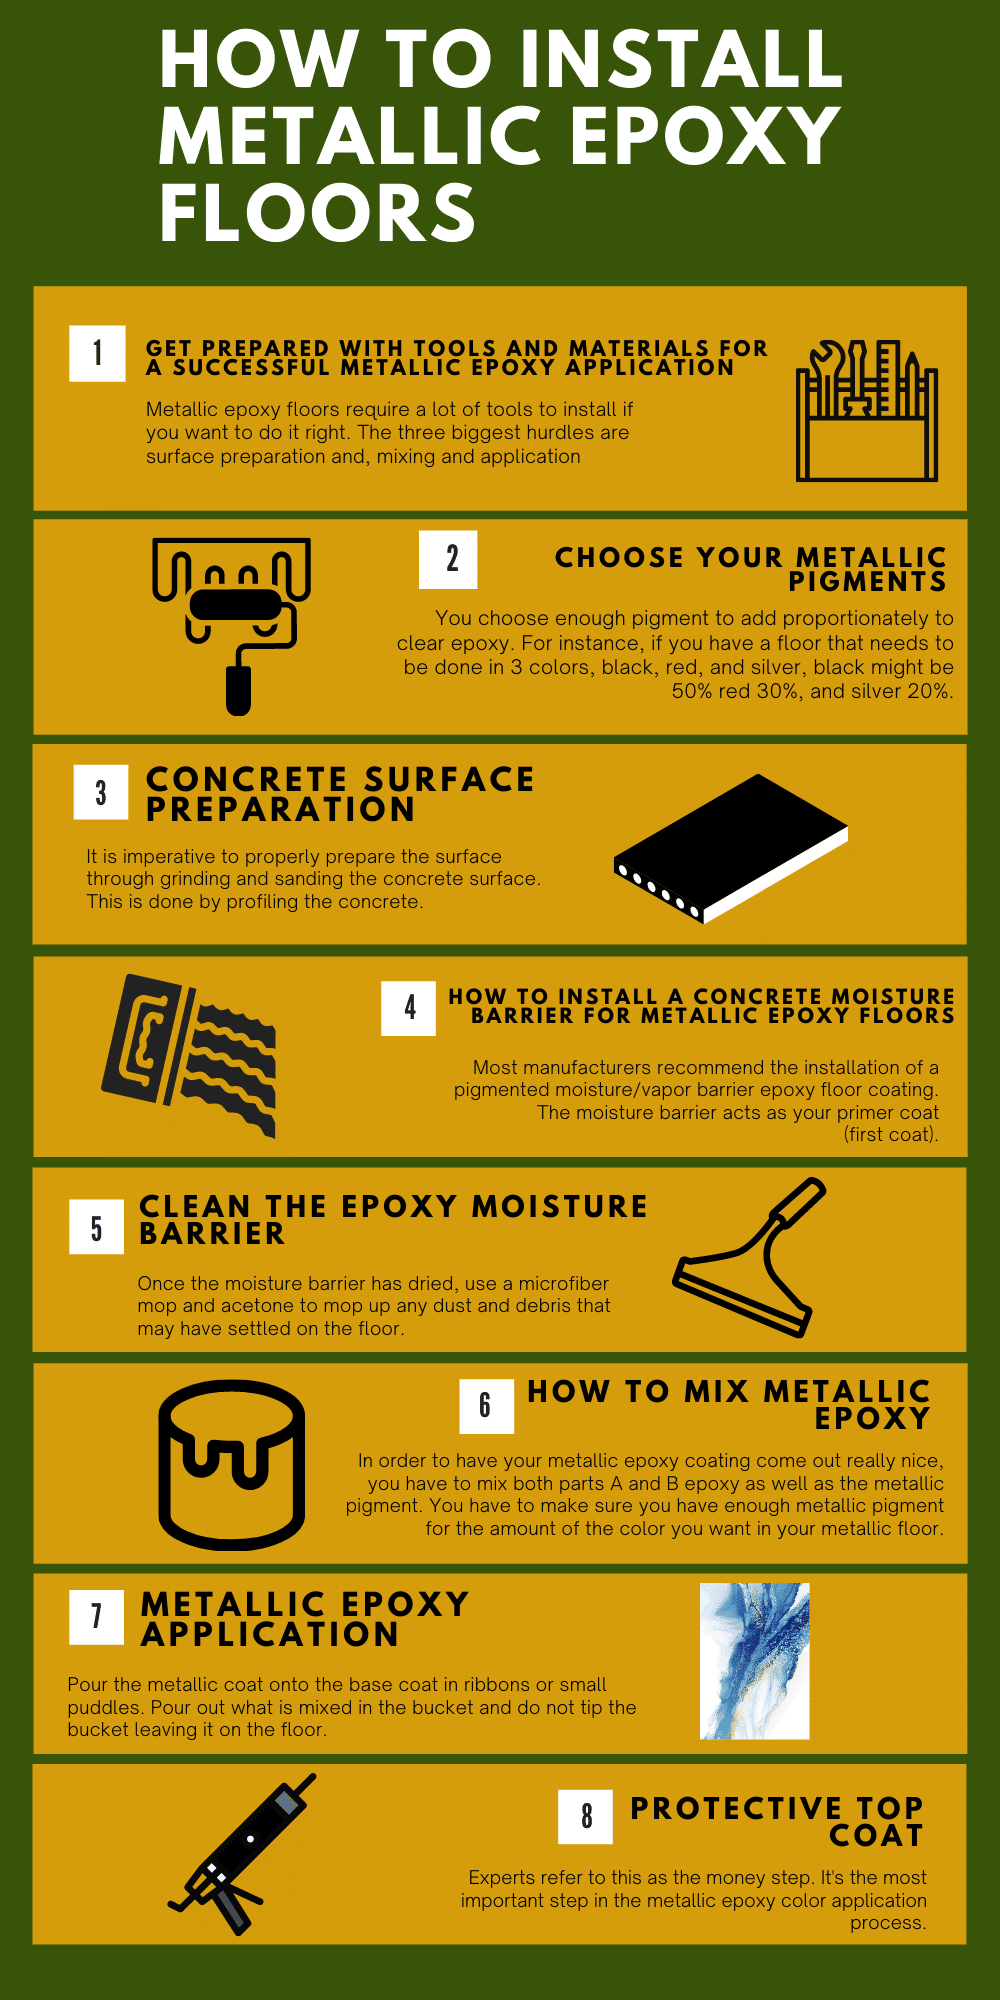
Learn How To Install Metallic Epoxy Floors: A How-To Guide For
The Cons of DIY Epoxy Garage Coatings Dreamcoat Flooring

How to Do Epoxy Flooring (with Pictures) – wikiHow

Epoxy Coating Process – The 4 key steps involved (2018)

How to Apply Garage Floor Epoxy Coatings The DIY Guide All
Chicagoland Metallic Epoxy Flooring Pros – Metallic Epoxy Experts

Epoxy Flooring Blogs The Installation Process Of Epoxy Flooring

How to Do Epoxy Flooring (with Pictures) – wikiHow

How to Apply Garage Floor Epoxy Coatings The DIY Guide All
Related articles:
- Epoxy Flooring Living Room
- 3D Epoxy Flooring
- Epoxy Flooring Ideas
- Residential Epoxy Flooring
- Epoxy Flooring Waterproof
- Epoxy Floor Coating Tips
- Metallic Epoxy Floor Designs
- Epoxy Flooring Contractors
- Epoxy Floor Coating Material
- Epoxy Floor Coating With Flakes
Epoxy Flooring Installation: A Step-by-Step Guide
Installing epoxy flooring can be a simple and cost-effective way to update any space. This durable material is available in a variety of colors and finishes, making it a versatile option for any home or business. With just a few steps, you can have a beautiful, long-lasting epoxy floor that will last for years.
Preparing the Space
Before installation, the area must be properly prepared. This includes removing any existing flooring and making sure the surface is level and clean. Any cracks or holes should be filled in with a patching compound, and the entire area should be swept and vacuumed to remove any dust and debris. Once the space is prepped, you can move on to the next step.
Applying Primer
The next step is to apply a primer to the surface. This will help ensure that the epoxy adheres correctly and will extend the life of your flooring. There are several types of primer available, so make sure to choose one that is compatible with your epoxy. The primers should be allowed to cure completely before proceeding to the next step.
Mixing Epoxy
Once the primer is dry, you can begin mixing the epoxy. Make sure to follow the instructions on the package carefully, as different brands may require different mixing instructions. Once mixed, allow the epoxy to sit for 10-15 minutes to allow it to settle before continuing.
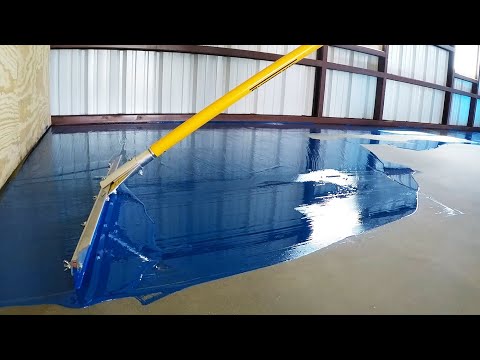
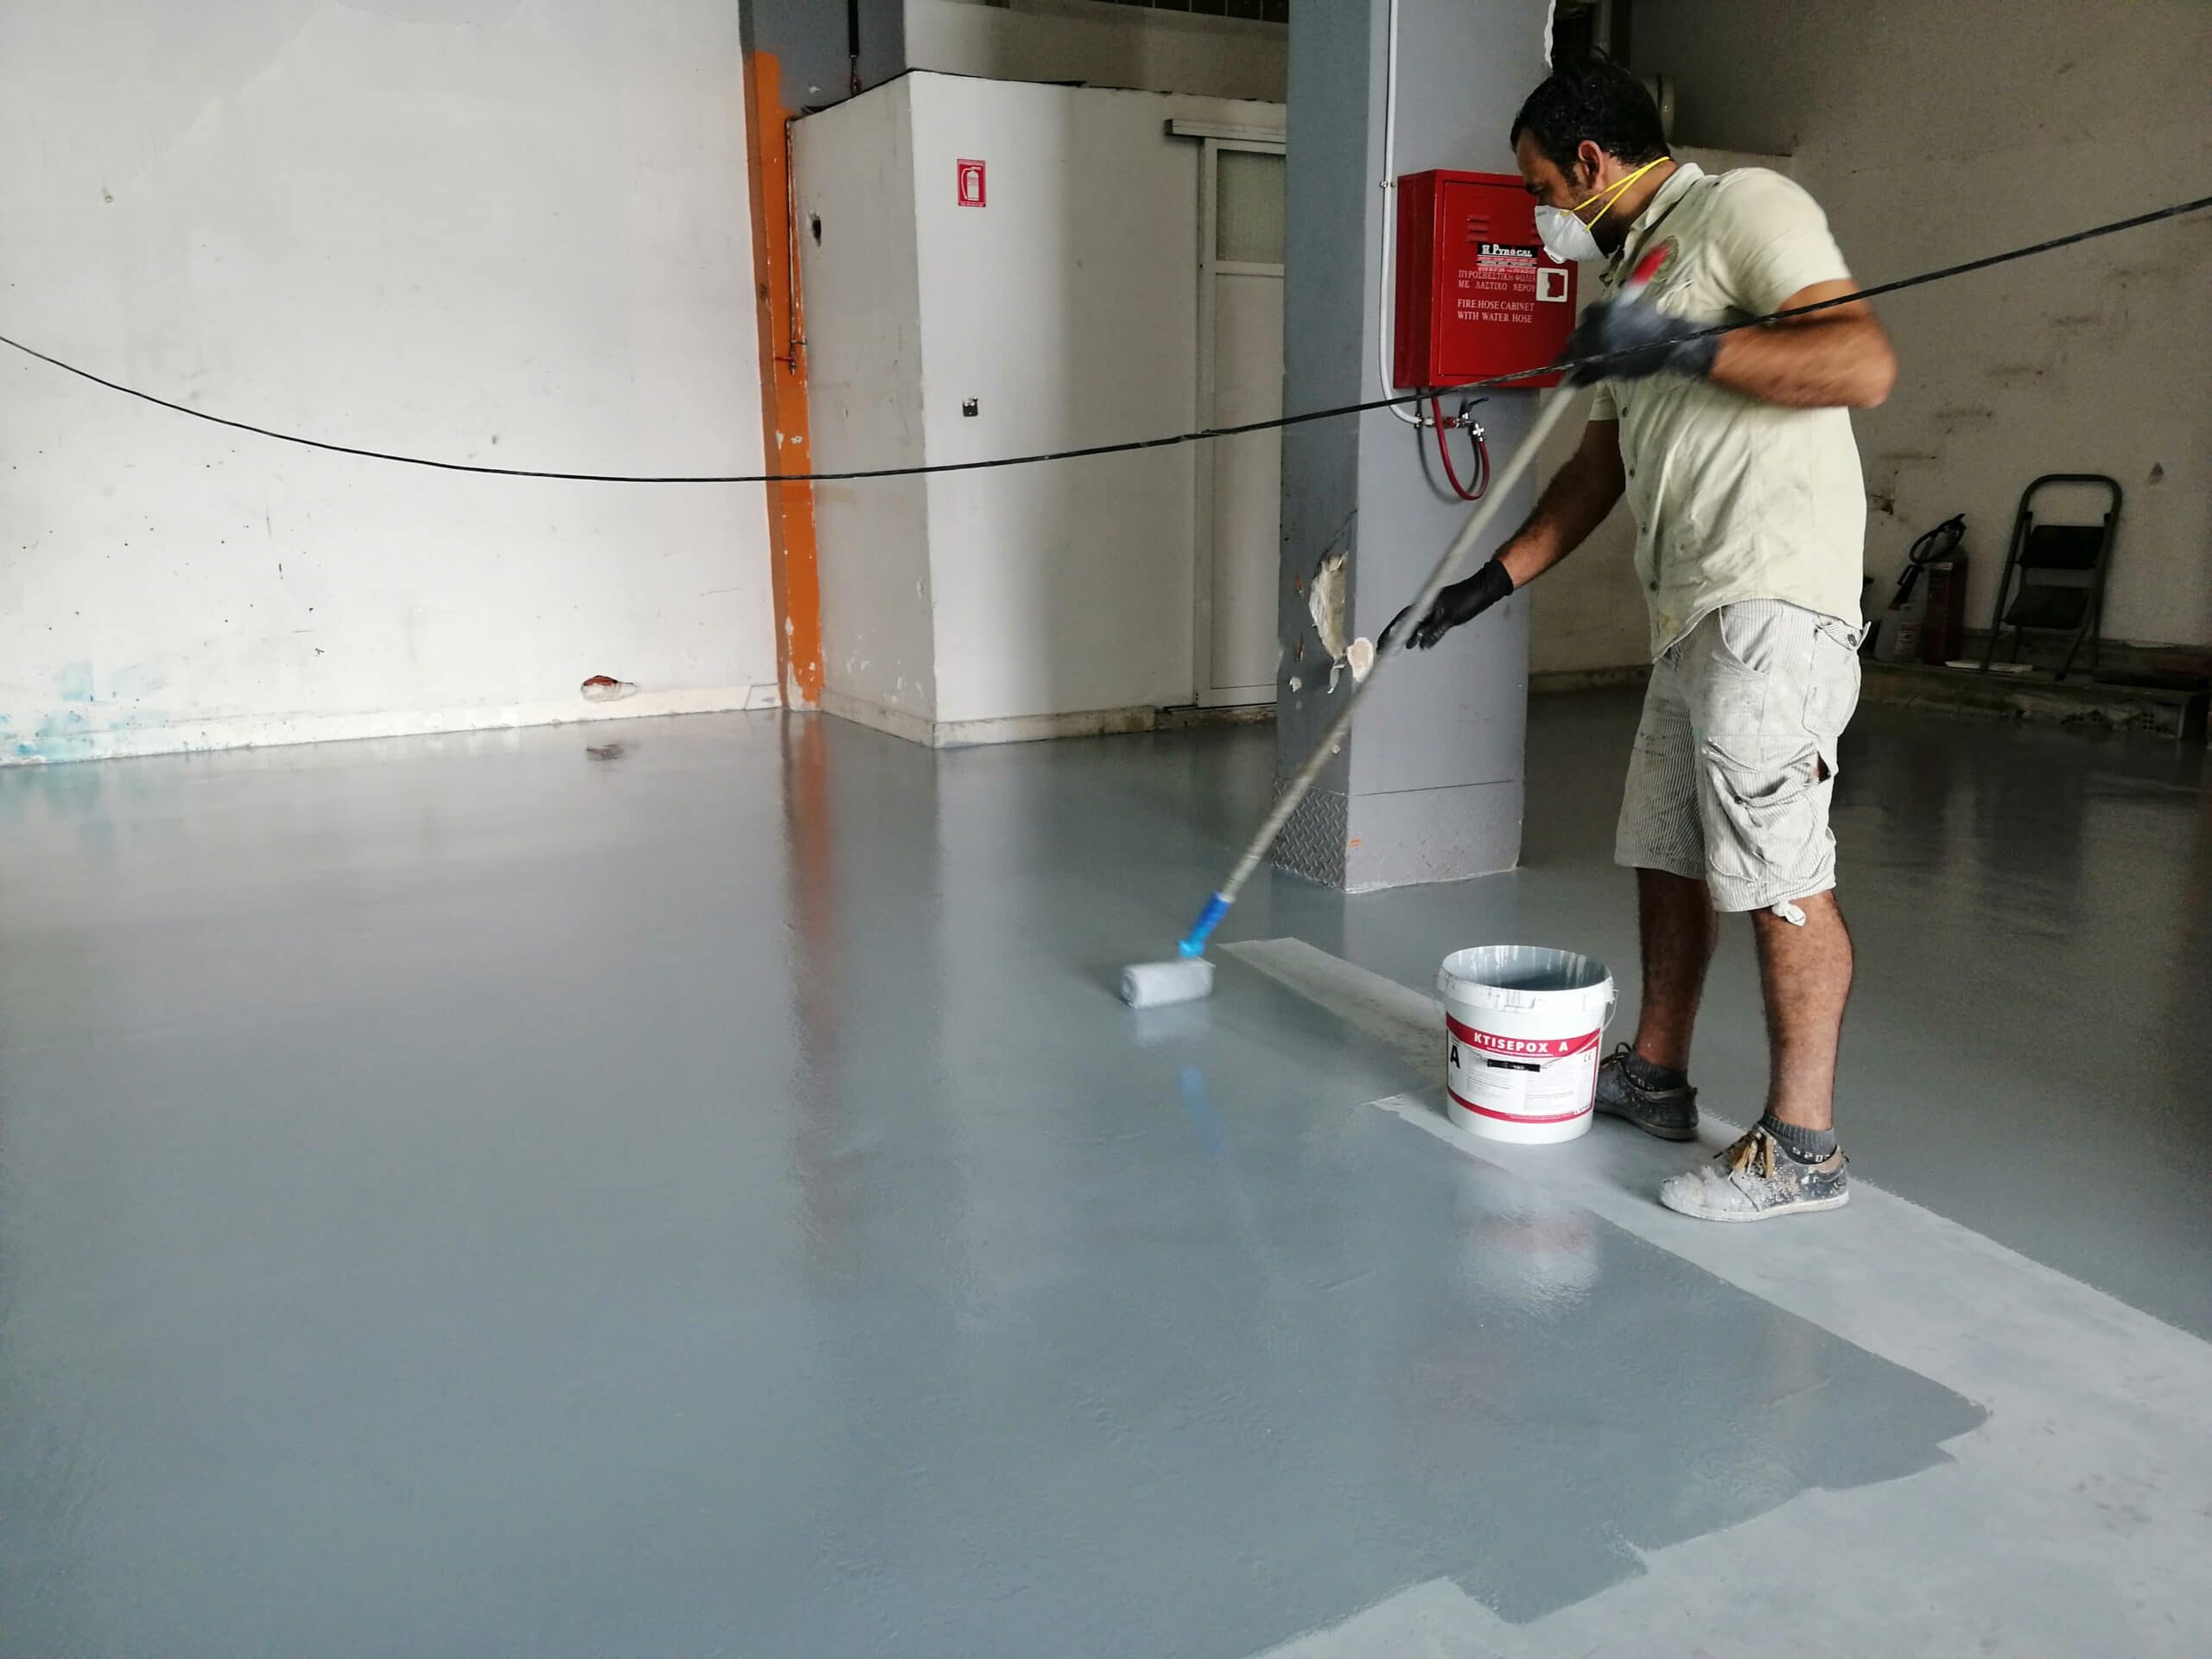
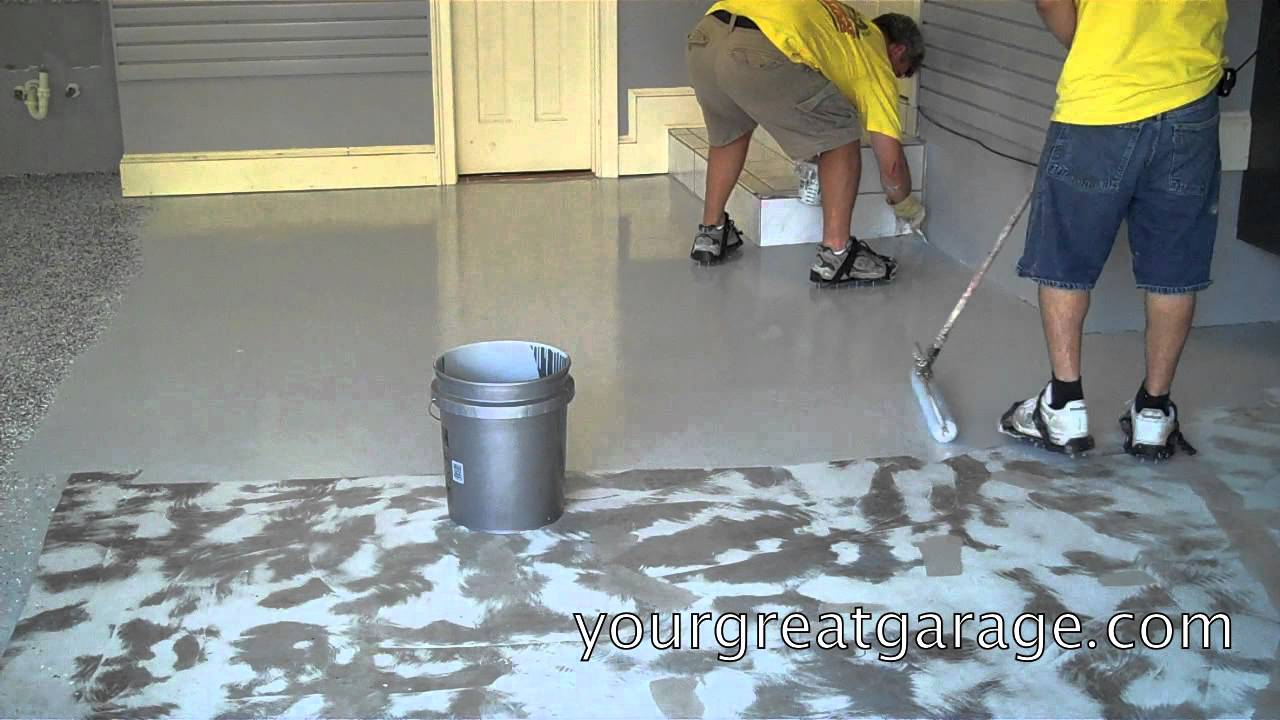
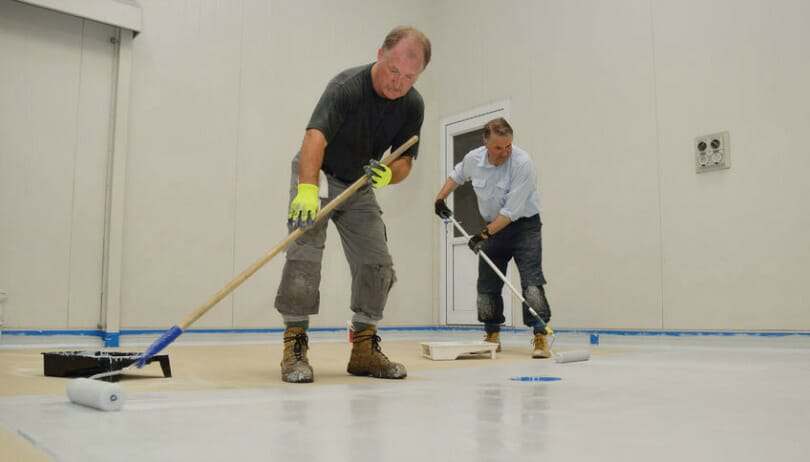
Applying Epoxy
Once the epoxy is ready, it’s time to apply it to the surface. Start by pouring a small amount of epoxy onto the floor and using a roller or brush to spread it evenly across the surface. Make sure to cover every inch of the floor with an even coat of epoxy. Allow this first coat to dry before adding additional coats if needed.
Finishing Touches
After all coats of epoxy have been applied and allowed to dry, it’s time for some finishing touches. If you’re adding decorative elements like chips or flakes, they can be sprinkled onto the wet epoxy before it dries completely. Once everything is settled into place and dry, you can add a sealer to protect your new flooring from wear and tear over time.
Common Questions About Epoxy Flooring Installation
Q: How long does it take for epoxy flooring to cure?
A: The length of time needed for curing varies depending on the type of epoxy used and environmental conditions like temperature and humidity. Generally, most types of epoxy need at least 24 hours for curing before being able to walk on them without damaging them.
Q: How do I clean my newly installed epoxy floor?
A: To keep your epoxy floor looking its best, it’s important to clean it regularly using a mild detergent and warm water. Avoid abrasive cleaners or scrubbing brushes as these can damage the finish of your floor over time. For tougher stains, use a non-abrasive cleaner or a soft cloth dampened with warm water and mild detergent for best results.
Q: How long does epoxy flooring last?
A: With proper care and maintenance, epoxy floors can last up to 10 years or more before needing replacement or repair. The longevity of your flooring depends on many factors including how much traffic it receives, how well it is maintained, and environmental conditions like temperature and humidity levels in your space.
Installing epoxy flooring is an easy and cost-effective way to update any space in your home or business. With just a few simple steps, you can have a beautiful floor that will last for years with proper care and maintenance. From preparing the space to applying sealers and finishing touches, this guide has provided an overview of everything you need to know about installing epoxy flooring in your space.