These kinds of resins are often used over specialist flooring as terrazzo or marble. Water and solvent based epoxies are believed to be user friendly, although this particular sort of epoxies are not as durable and can't be used as a thick coating like the hundred % solids ones. It is totally safe so you should not be worried at all.
Here are Images about Epoxy Floor How To
Epoxy Floor How To
Even if you spill some viscous fluid that is a substance agent, you are going to be in a position to eliminate the solution in a jiffy. Epoxy is created out of a blend of liquid hardening chemicals and liquid polymer resin. It is going to make your flat and inactive concrete floor look elegant and harm free. Epoxy flooring comes with strong adhesive traits that make it durable, dirt & dust resistant as well as inflammable.
Do-It-Yourself Epoxy Floor Coating
One downside to using an epoxy flooring coating would be that it is able to create a yellowish hue throughout the curing process. It is able to also be modified to adjust to the climate in the area of yours. Even though such flooring is often present in industries as well as public buildings it is starting to end up being more prominent in residential homes.
Images Related to Epoxy Floor How To
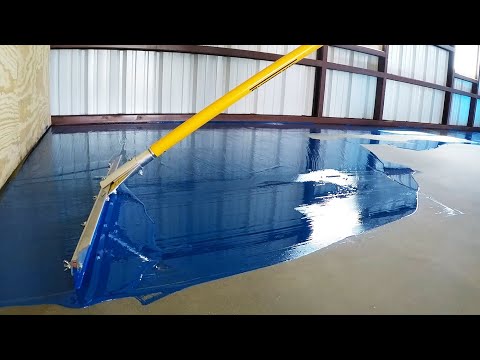
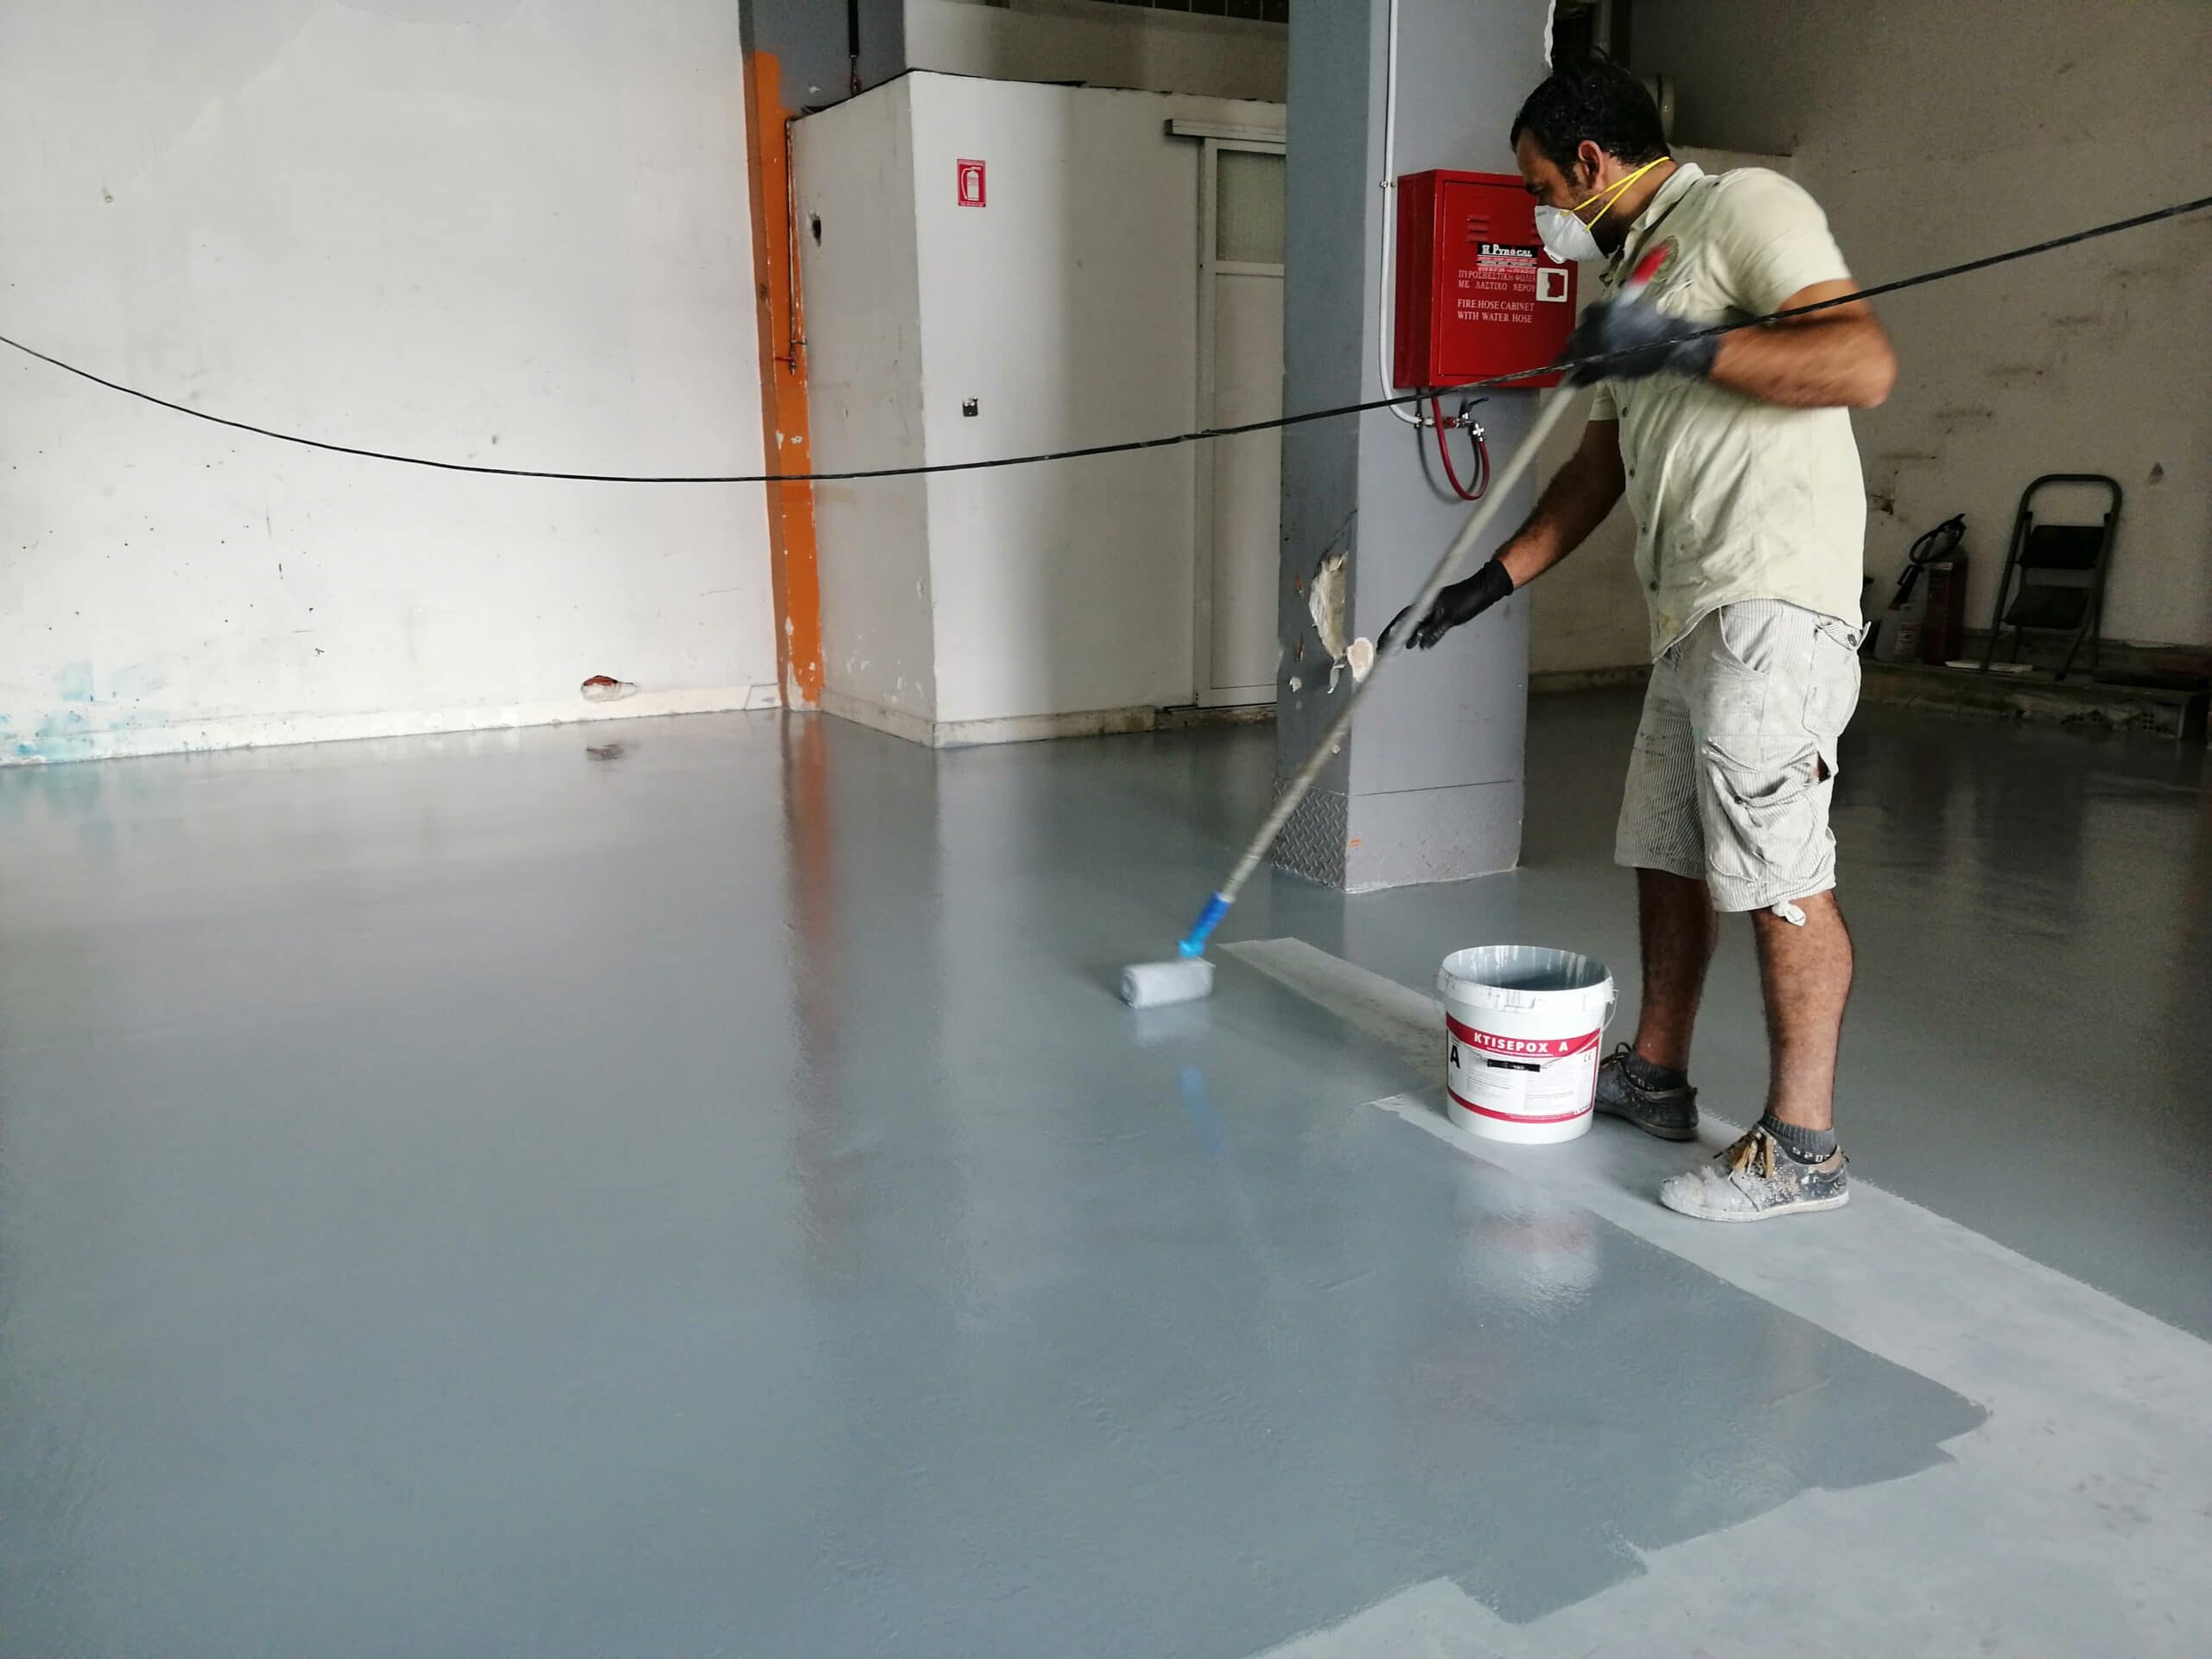
Epoxy Floor Installation Over Old Concrete
Epoxy Floor Coatings in Lehi, Utah Lifetime Epoxy Utah
How Thick Should an Epoxy Floor Coating Be? – Florock

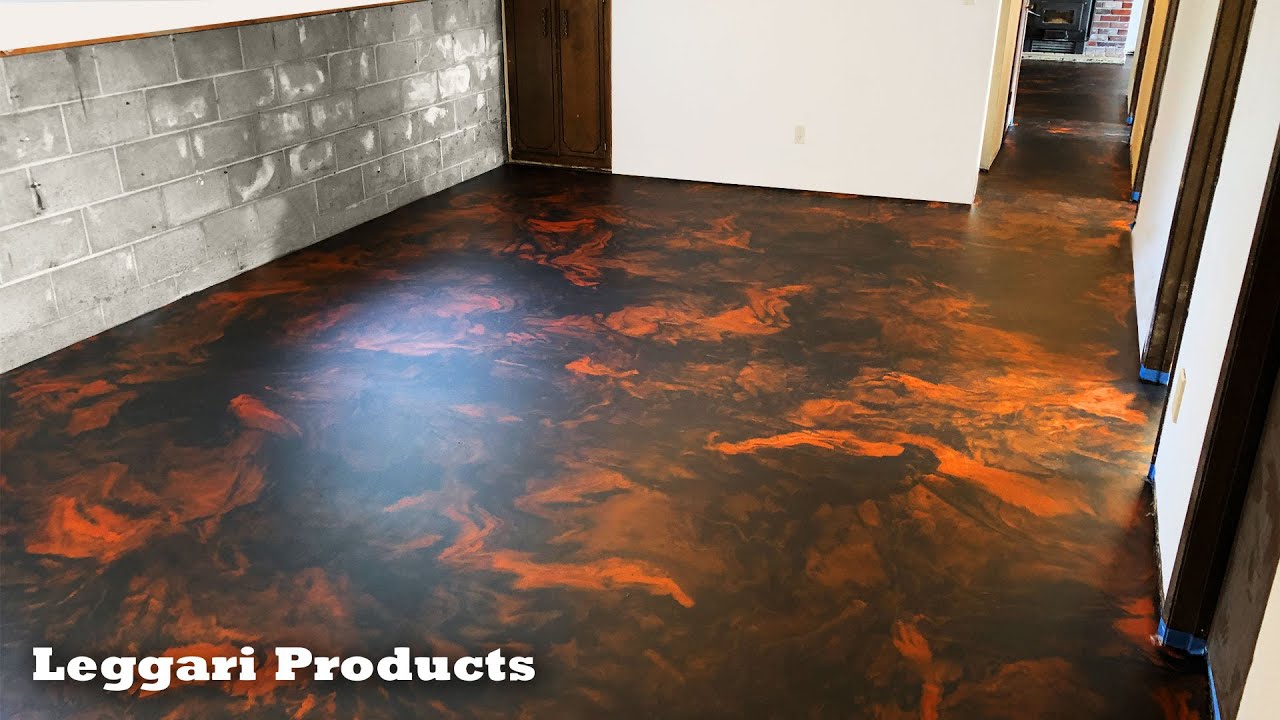
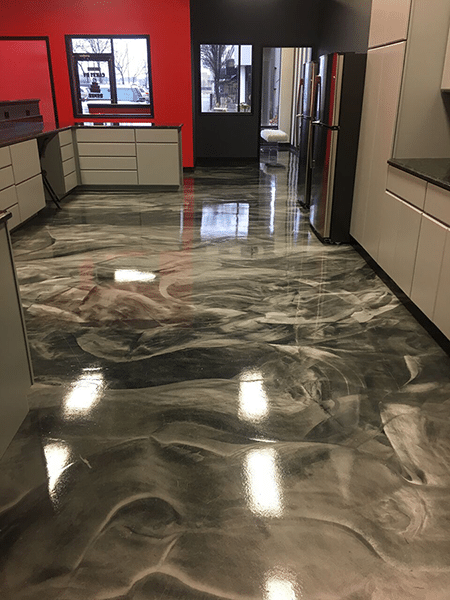
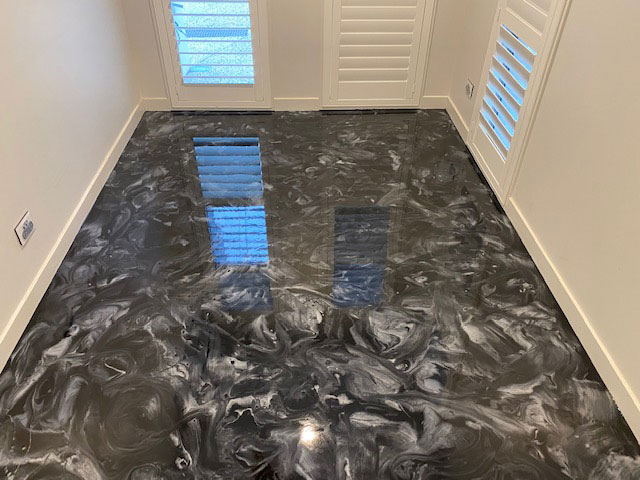
What is Metallic Epoxy Floor Coating? – Big Red Decorative Concrete

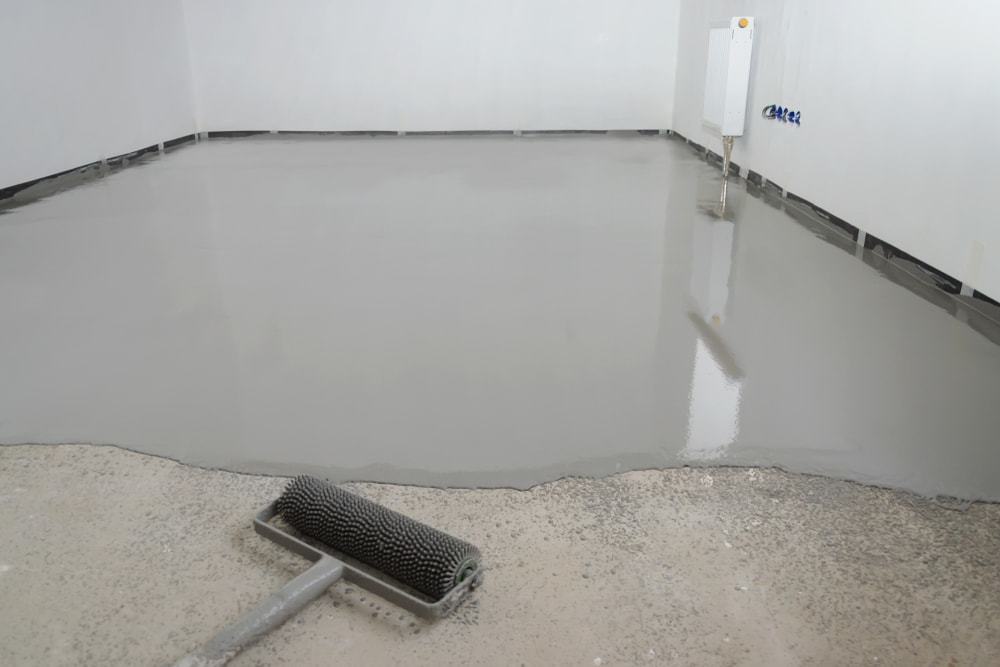
How to Apply Epoxy Floor Paint – A 7 step guide
Epoxy Flooring: What You Must Know u0026 Should Avoid

Diamond Coatings Epoxy and Concrete Coatings
Polished concrete vs. epoxy floor: Whatu0027s the best choice?
Understanding the Pros and Cons of Epoxy Floors

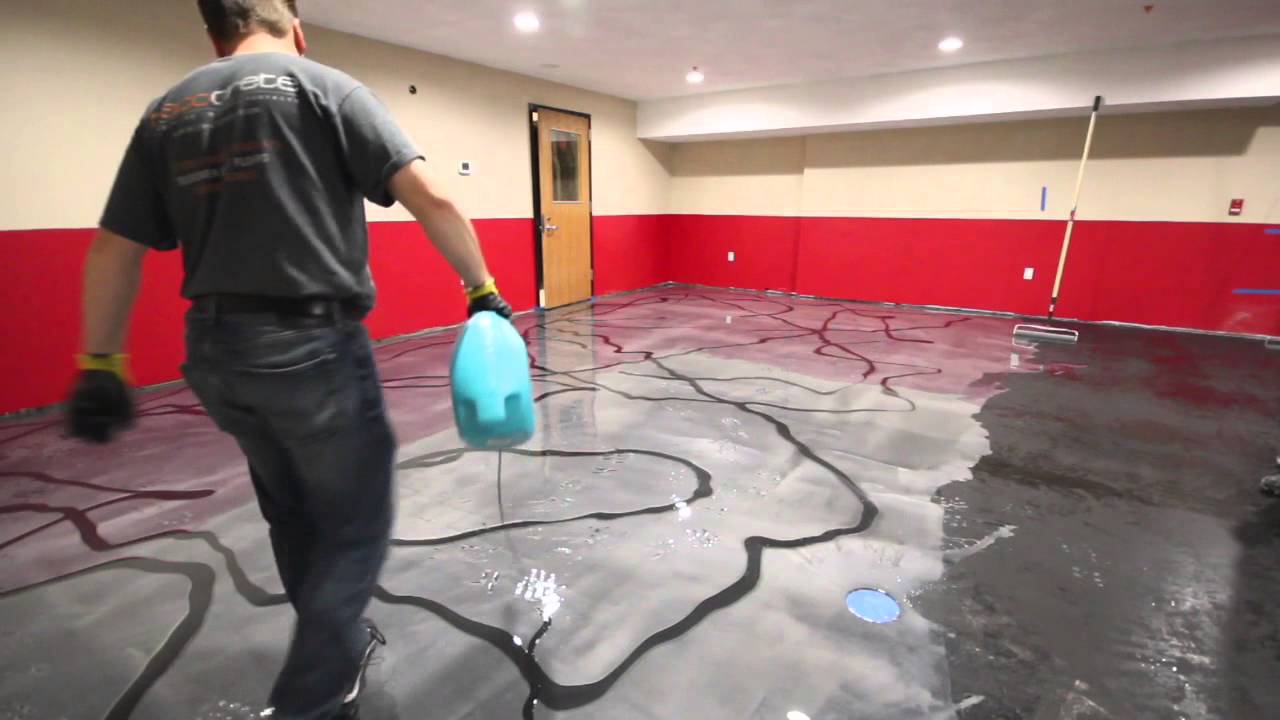
How to apply metallic epoxy – Epoxy Pro

Designer Metallic Epoxy Floor Installation
Fast Dry Epoxy Floors Are Ready Overnight Minimal Downtime

Related articles:
- Epoxy Flooring Living Room
- 3D Epoxy Flooring
- Epoxy Flooring Ideas
- Residential Epoxy Flooring
- Epoxy Flooring Waterproof
- Epoxy Floor Coating Tips
- Metallic Epoxy Floor Designs
- Epoxy Flooring Contractors
- Epoxy Floor Coating Material
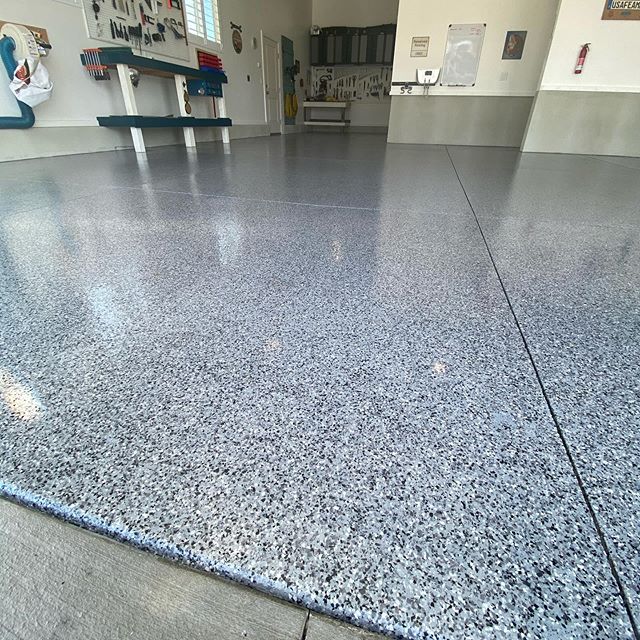
- Epoxy Floor Coating With Flakes
Epoxy Floor How To: A Comprehensive Guide to Achieving a Stunning and Durable Flooring Solution
Introduction:
When it comes to flooring options that are both visually appealing and highly durable, epoxy floors have gained immense popularity. Epoxy is a versatile material that can be applied to various surfaces, including concrete, wood, and even metal. In this comprehensive guide, we will walk you through the process of achieving a stunning epoxy floor, from preparation to application and maintenance.
I. Understanding Epoxy Flooring:
Epoxy flooring consists of a mixture of resins and hardeners that chemically react to form a strong, plastic-like surface. The resulting floor is resistant to stains, impact, chemicals, and abrasion. Moreover, epoxy floors can be customized with color flakes or metallic pigments to create unique designs. Whether you’re looking for a glossy finish or a textured surface, epoxy has got you covered.
FAQs:
Q1: Can epoxy flooring be used in residential settings?
A1: Absolutely! Epoxy floors are not limited to commercial or industrial spaces. With their seamless design and durability, they can enhance the aesthetics and functionality of any home.
Q2: Is epoxy flooring suitable for high-traffic areas?
A2: Yes, epoxy floors are known for their incredible durability. They can withstand heavy foot traffic as well as vehicle movement without wearing down or showing signs of damage.
II. Preparing the Surface:
Before applying epoxy, proper surface preparation is crucial for ensuring adhesion and longevity. Here are the steps involved in preparing your floor:
1. Cleaning:
Begin by thoroughly cleaning the surface you plan to coat with epoxy. Remove any dirt, grease, oil stains, or existing sealers using a degreaser or detergent. Rinse the area with clean water and allow it to dry completely.
2. Etching:
For concrete surfaces, etching is essential to create a porous texture that allows the epoxy to bond effectively. Use a concrete etching solution or muriatic acid, following the manufacturer’s instructions. Scrub the surface with a stiff-bristle brush to remove any remaining contaminants. Rinse thoroughly and let it dry.
3. Patching and Leveling:
Inspect the floor for any cracks, holes, or uneven areas. Fill these imperfections with an epoxy patching compound, smoothing it evenly using a putty knife. Allow the compound to cure according to the product’s instructions, and then sand it down until it is level with the rest of the floor.
FAQs:
Q1: Can epoxy be applied directly over tiles?
A1: While it is possible to apply epoxy over tiles, it is important to ensure that the tiles are in good condition and firmly adhered to the substrate. If there are any loose tiles or grout lines, they should be repaired before applying epoxy.
Q2: Do I need to remove old paint from my concrete floor before applying epoxy?
A2: Yes, it is crucial to remove any existing paint or coating from the concrete surface before applying epoxy. This can be done by using a paint stripper or mechanically grinding off the old paint.
III. Applying Epoxy:
Once your surface is properly prepared, you can proceed with applying epoxy. Here are the steps involved in achieving a flawless application:
1. Priming:
Before applying the epoxy coating, it is recommended to apply a primer coat. The primer enhances adhesion and prevents air bubbles from forming during the subsequent layers of epoxy Application. Follow the manufacturer’s instructions for mixing and applying the primer, making sure to cover the entire surface evenly.
2. Mixing Epoxy:
Carefully measure and mix the epoxy resin and hardener according to the manufacturer’s instructions. Use a mixing paddle or drill with a mixing attachment to ensure thorough blending of the two components.
3. Applying Epoxy:
Pour the mixed epoxy onto the prepared surface, starting from one corner and working towards the exit. Use a squeegee or roller to spread the epoxy evenly, ensuring complete coverage. Work in small sections to prevent the epoxy from drying before you can spread it properly.
4. Removing Bubbles:
To eliminate any air bubbles that may have formed during application, use a heat gun or propane torch to carefully pass over the surface. This will heat up the epoxy and cause the bubbles to rise and burst. Be cautious not to overheat or burn the epoxy.
5. Adding Decorative Elements (optional):
If desired, you can add decorative elements such as colored flakes, metallic pigments, or quartz crystals to enhance the appearance of your epoxy floor. Sprinkle these elements onto the wet epoxy while it is still tacky, and then apply a clear topcoat to seal them in.
6. Curing Time:
Allow the epoxy coating to cure according to the manufacturer’s instructions. This typically takes 24-48 hours, but can vary depending on factors such as temperature and humidity.
7. Applying Topcoat (optional):
For added durability and protection, you may choose to apply a clear topcoat over the cured epoxy. This will provide an extra layer of resistance against scratches, chemicals, and UV damage.
IV. Maintenance and Care:
To keep your epoxy floor in optimal condition, follow these maintenance and care tips:
1. Regular Cleaning:
Sweep or vacuum the floor regularly to remove dust and debris. Use a mild detergent or epoxy-specific cleaner to mop the surface as needed. Avoid using harsh chemicals or abrasive cleaners that can damage the epoxy coating.
2. Preventing Scratches:
Place felt pads or protective mats under furniture legs to prevent scratching the epoxy surface. Avoid dragging heavy objects across the floor, and use caution when moving furniture or appliances.
3. Avoiding Chemical Damage:
Clean up spills promptly to prevent staining or damage to the epoxy coating. Avoid using harsh chemicals or solvents on the floor, as they can deteriorate the epoxy.
4. Protecting from UV Rays:
If your epoxy floor is exposed to direct sunlight, consider applying a UV-resistant topcoat to prevent yellowing or discoloration caused by UV rays.
By following these steps and guidelines, you can achieve a beautiful and long-lasting epoxy floor in your residential setting! 1. Preparation: Make sure the surface is clean, dry, and free of any contaminants. Repair any cracks or imperfections in the floor before starting.
2. Mixing the Epoxy: Follow the manufacturer’s instructions for mixing the epoxy resin and hardener. Use a clean container and stir thoroughly to ensure proper blending.
3. Applying the Epoxy: Start by applying a primer coat to seal the floor and provide better adhesion for the epoxy. Use a roller or brush to apply an even coat, working in small sections. Allow the primer to dry according to the manufacturer’s instructions.
4. Removing Bubbles: Use a heat gun or propane torch to carefully pass over the surface of the epoxy to remove any air bubbles that may have formed during application. Be cautious not to overheat or burn the epoxy.
5. Adding Decorative Elements (optional): If desired, sprinkle colored flakes, metallic pigments, or quartz crystals onto the wet epoxy while it is still tacky. Apply a clear topcoat to seal them in and enhance the appearance of your floor.
6. Curing Time: Allow the epoxy coating to cure according to the manufacturer’s instructions. This typically takes 24-48 hours, but can vary depending on factors such as temperature and humidity.
7. Applying Topcoat (optional): For added durability and protection, consider applying a clear topcoat over the cured epoxy. This will provide resistance against scratches, chemicals, and UV damage.
Maintenance and Care:
1. Regular Cleaning: Sweep or vacuum the floor regularly to remove dust and debris. Use a mild detergent or epoxy-specific cleaner for mopping as needed. Avoid harsh chemicals or abrasive cleaners that can damage the epoxy coating.
2. Preventing Scratches: Place felt pads or protective mats under furniture legs to prevent scratching the epoxy surface. Avoid dragging heavy objects across the floor and use caution when moving furniture or appliances.
3. Avoiding Chemical Damage: Clean up spills promptly to prevent staining or damage to the epoxy coating. Avoid using harsh chemicals or solvents on the floor as they can deteriorate the epoxy.
4. Protecting from UV Rays: If your epoxy floor is exposed to direct sunlight, consider applying a UV-resistant topcoat to prevent yellowing or discoloration caused by UV rays.
By following these steps and guidelines, you can achieve a beautiful and long-lasting epoxy floor in your residential setting!