After one day or even so, look to see if any moisture accumulated underneath the plastic sheet. Nonetheless, with regards to getting a floor covering for basements, the decision of yours is often a sensible or perhaps costly one. It is a good deal of room that is typically out of the way.
Here are Images about Epoxy Basement Floor Paint Instructions
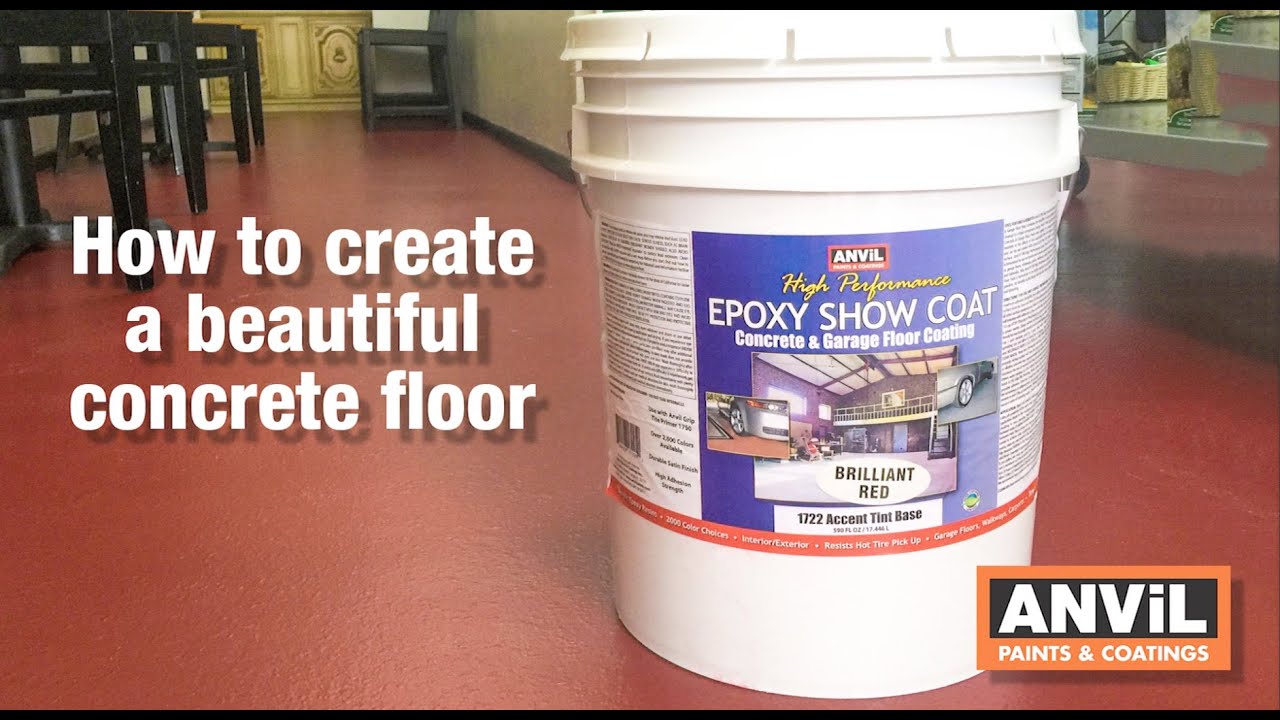
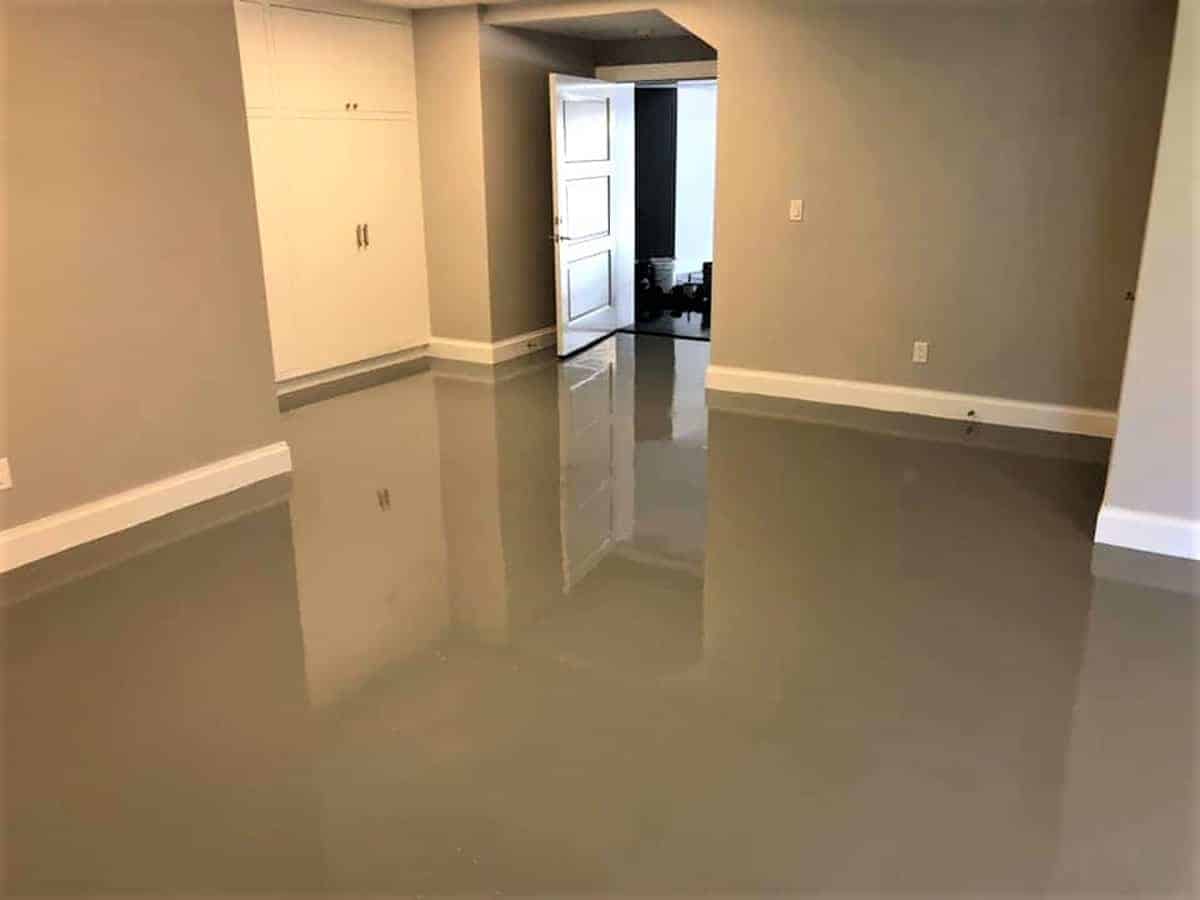
Epoxy Basement Floor Paint Instructions
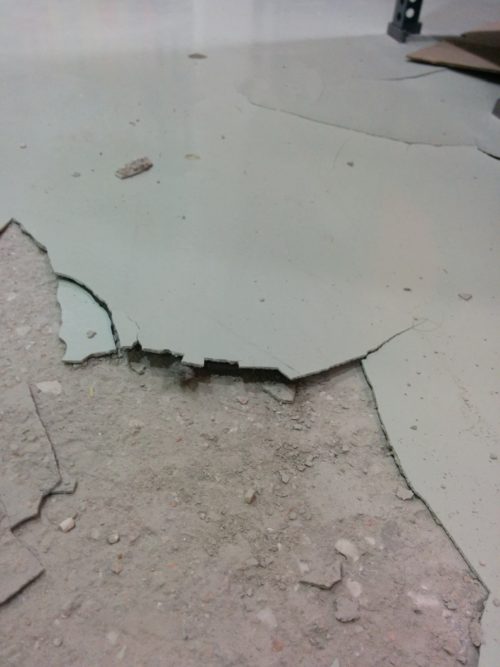
One of the difficulties encountered when turning the house's downstairs room into a living room is the basement's flooring. The main reason that the downstairs room is very beneficial to your home is because when it's completed, you have created another living space that is normally not a component of most people's homes.
Do-It-Yourself Epoxy Floor Coating
As you would like making the living room as comfortable and welcoming as possible, the cold, hard cement floor which basement floorings are typically made of isn't an option! Bare concrete is generally tough, and doesn't bring about designing a warm and welcoming room. This is a crucial part of the picture in terms of basement waterproofing.
Images Related to Epoxy Basement Floor Paint Instructions
How to Resurface a Garage Floor HGTV
How to Paint an Epoxy Concrete Floor Coating (Quikrete Example)
How to Apply Epoxy Coating to Concrete Floors
Basement Epoxy Floor Coating Waterproof Basement Flooring

How To Prepare Concrete for Epoxy Thermal-Chem

Tips For An Easier Do-It-Yourself Epoxy Garage or Basement

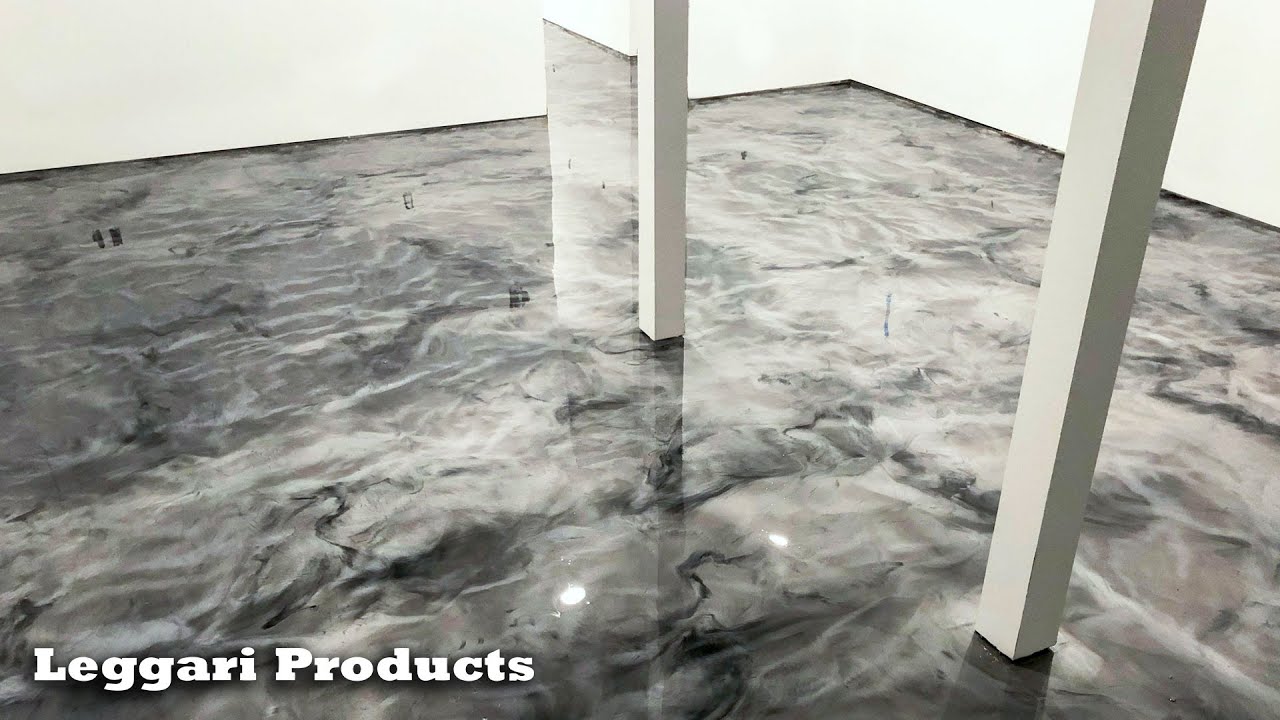
Entire Basement Coated Using Leggariu0027s Epoxy Floor Kit Silver u0026 Black Epoxy Floor Installation
Basement Epoxy Flooring

Easy Do-It-Yourself Epoxy Flooring Installation Guide We Are Extreme
How to Paint a Basement Floor
/PaintedBasementFloors-56d4c2e83df78cfb37d91e42.jpg)
Best Epoxy Floor Paint – Complete Guide for Epoxy Painting
Basement Floor Epoxy Coating GarageFloorCoating.com
Related articles:
- Stained Concrete Basement Floor
- Finishing Basement Floor
- Refinish Concrete Basement Floor
- Best Flooring For Basement
- Basement Gym Flooring Ideas
- Laminate Flooring In Basement
- Basement Concrete Floor Sweating
- Basement Floor Finishing Ideas
- Painting Unfinished Basement Floor
- Unique Basement Flooring
Epoxy Basement Floor Paint Instructions
If you’re looking to transform your basement into a more functional space, one of the best ways to do so is by applying epoxy floor paint. Epoxy not only adds a beautiful finish to the floor but also provides durability and protection against stains and moisture. However, before you get started with this project, it’s important to understand the proper instructions for applying epoxy basement floor paint. In this article, we will guide you through each step in detail, addressing common FAQs along the way.
1. Preparation:
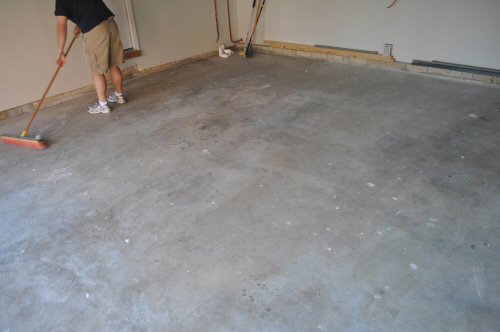
Before applying epoxy basement floor paint, thorough preparation is key to achieving a successful and long-lasting finish. Start by clearing out the basement completely and removing any furniture, appliances, or other items that may obstruct your work area. Next, thoroughly clean the floor using a degreaser or concrete cleaner to remove any dirt, oil, or grease. It’s essential to ensure that the surface is completely clean and free from contaminants before proceeding.
FAQ: Do I need to repair any cracks or imperfections in the concrete before painting?
Yes, it’s crucial to repair any cracks or imperfections in the concrete before applying epoxy basement floor paint. Use a concrete patching compound to fill in any cracks or holes and allow it to dry completely according to the manufacturer’s instructions. This step will ensure a smoother and more even application of the epoxy coating.
2. Etching:
Etching the concrete surface is an important step that allows for better adhesion of the epoxy paint. To etch the floor, mix an etching solution according to the manufacturer’s instructions and apply it evenly over the entire surface using a mop or sprayer. Allow the solution to sit on the floor for the recommended amount of time (usually around 15-20 minutes) and then scrub it with a stiff-bristled brush or broom. Rinse off the etching solution thoroughly with clean water and allow the floor to dry completely.
FAQ: Can I skip the etching step if my basement floor is already smooth?
No, even if your basement floor appears smooth, it’s still important to etch the surface before applying epoxy basement floor paint. Etching helps open up the pores of the concrete, allowing for better penetration and adhesion of the epoxy coating. Skipping this step may result in a weaker bond and a less durable finish.
3. Priming:
To further enhance adhesion and durability, priming the basement floor is highly recommended. Apply a concrete primer specifically designed for use with epoxy coatings, following the manufacturer’s instructions. Use a roller or brush to apply an even coat of primer over the entire floor surface. Allow the primer to dry for the recommended time, usually around 8-12 hours, or as specified by the manufacturer.
FAQ: Can I use a regular paint primer instead of a concrete primer?
No, it’s important to use a concrete primer specifically formulated for use with epoxy coatings. Regular paint primers are not designed to withstand the unique demands of an epoxy floor finish and may result in poor adhesion or premature coating failure. Using a concrete primer will ensure optimal performance and longevity of your epoxy basement floor paint.
4. Mixing Epoxy:
Before applying epoxy basement floor paint, it’s essential to mix the epoxy components correctly. Epoxy coatings typically consist of two parts – resin and hardener – that need to be mixed together in precise proportions. Follow the manufacturer’s instructions carefully and pour both components into a clean mixing Container. Use a stir stick or paddle mixer to thoroughly mix the components together until they are well blended and no streaks remain. Be sure to scrape the sides and bottom of the container to ensure a complete mixture.
FAQ: Can I mix the epoxy components by hand instead of using a mixer?
No, it’s best to use a mechanical mixer or stir stick to ensure thorough and proper mixing of the epoxy components. Mixing by hand may result in an incomplete mixture, leading to uneven curing and potentially compromised durability of the coating.
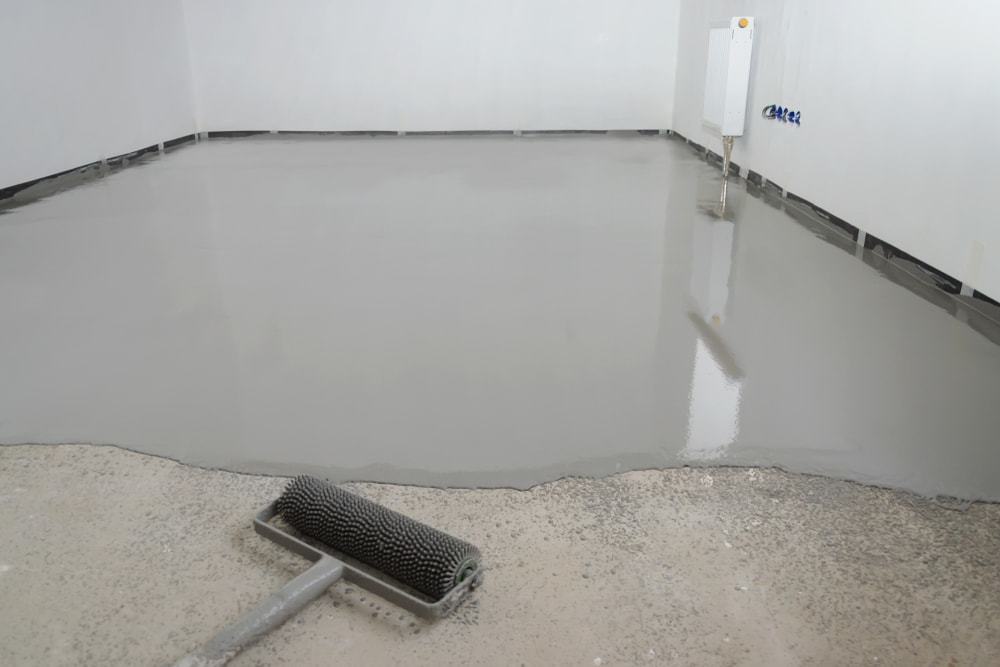
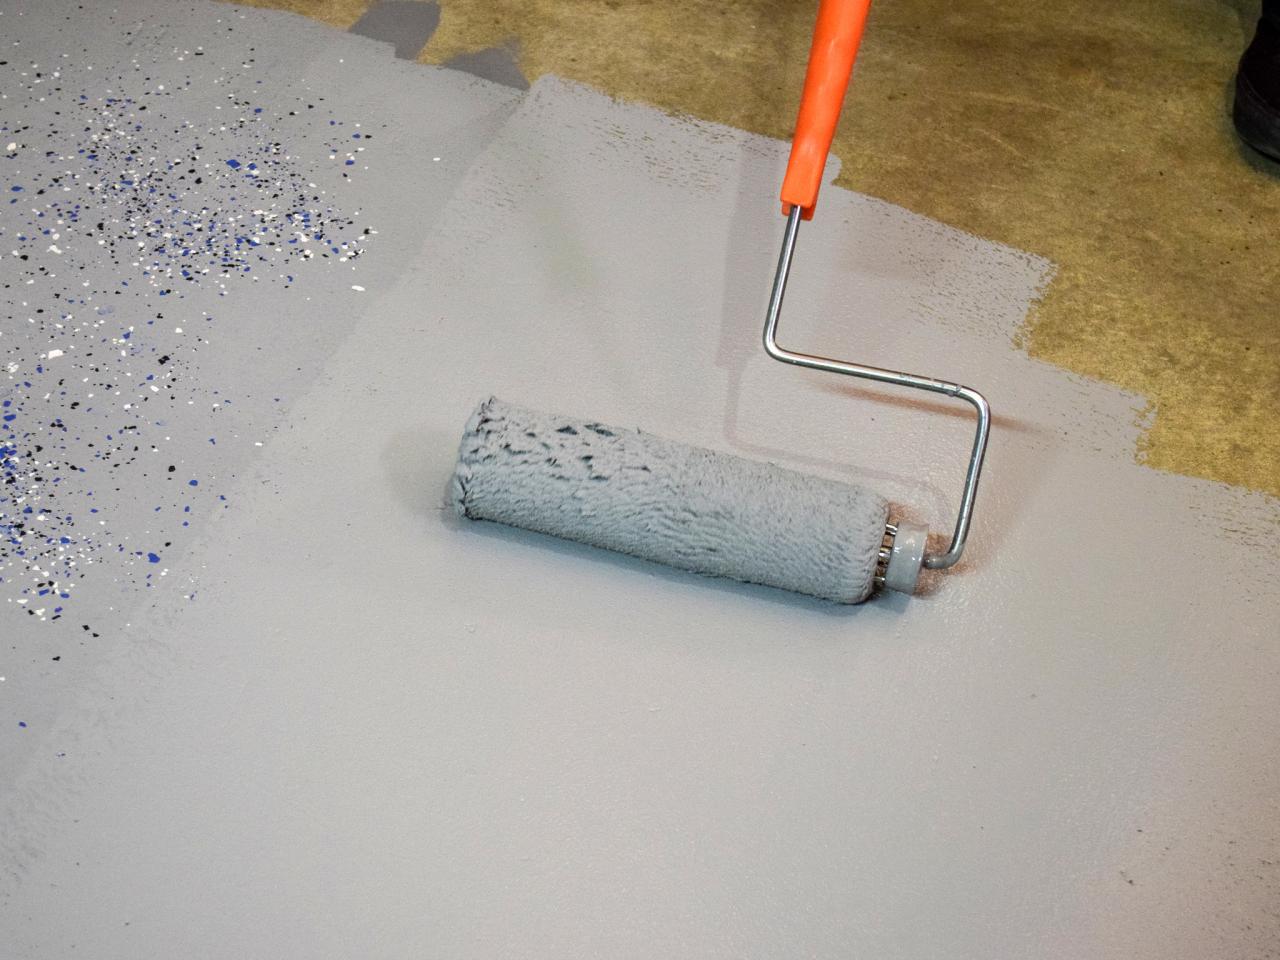
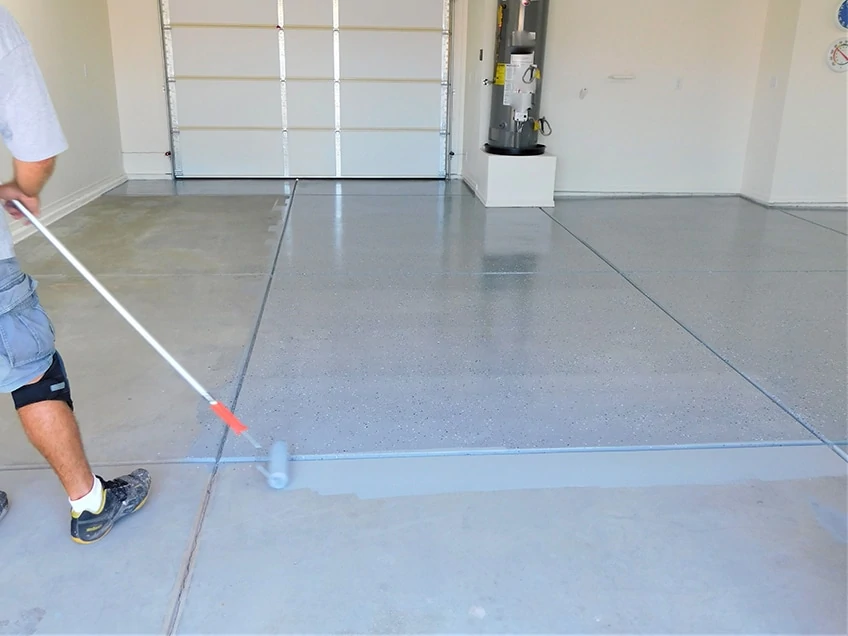
5. Applying Epoxy:
Once the epoxy is mixed, it’s time to apply it to the basement floor. Start by cutting in around the edges of the room using a brush or roller, ensuring that you have a smooth and even line along walls and corners. Then, use a roller or squeegee to apply the epoxy in even, overlapping strokes across the rest of the floor surface. Work in small sections at a time to ensure complete coverage and avoid drying before you can spread it out.
FAQ: How many coats of epoxy should I apply?
The number of coats will depend on the specific product you are using and its recommended application guidelines. In most cases, applying two coats of epoxy is recommended for optimal durability and coverage. Be sure to follow the manufacturer’s instructions for proper application techniques and drying times between coats.
6. Curing and Drying:
After applying the epoxy basement floor paint, allow it to cure and dry according to the manufacturer’s instructions. This typically involves avoiding foot traffic for a certain period of time (often 24-48 hours) and keeping heavy objects off the floor for several days. It’s important to follow these guidelines to ensure proper bonding and durability of the coating.
FAQ: How long does it take for epoxy basement floor paint to fully cure?
The curing time can vary depending on factors such as temperature, humidity, and thickness of application. In general, epoxy basement floor paint can take anywhere from 24 hours to several days to fully cure. It’s best to consult the manufacturer’s instructions for specific information on drying and curing times.
Following these steps and guidelines will help you achieve a successful application of epoxy basement floor paint. Remember to always read and follow the manufacturer’s instructions for the specific product you are using to ensure optimal results. Additionally, it’s important to properly prepare the basement floor before applying epoxy. This may involve cleaning the floor thoroughly, removing any grease or oil stains, and repairing any cracks or imperfections. The floor should be dry and free of dust or debris before starting the application process.
It’s also crucial to wear protective gear, such as gloves and goggles, when working with epoxy. This will help prevent any skin or eye irritation from contact with the chemicals.
Lastly, proper ventilation is important during and after the application process. Epoxy fumes can be strong, so make sure to open windows or use fans to ensure adequate airflow in the area.
By following these steps and taking necessary precautions, you can achieve a professional-looking and long-lasting epoxy basement floor coating. Remember to take your time and work in small sections to ensure even coverage and avoid any drying issues. It’s also important to properly prepare the basement floor before applying the epoxy, including cleaning, repairing any imperfections, and ensuring it is dry and free of debris. Additionally, always follow the manufacturer’s instructions for the specific product you are using, including recommended drying and curing times. Don’t forget to wear protective gear and ensure proper ventilation during and after the application process. Following these steps and guidelines will help you achieve a successful and durable epoxy basement floor coating.