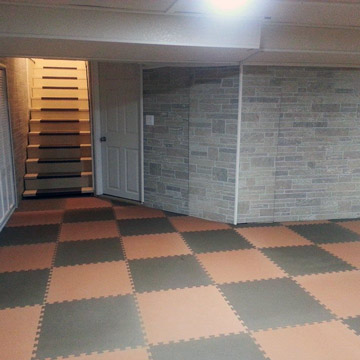
One of the crucial components to a booming basement renovation is the flooring material which is used. No one really pays attention to it as well as it is only a floor after all. You might prefer to convert your current basement space starting from a storage area to a fun room for your family unit to invest time together.
Here are Images about Do It Yourself Basement Flooring
Do It Yourself Basement Flooring

Here are a few tips that will help you to choose cozy and inviting basement floors. A lot of various purposes could be applied using the basement which you have. Before shopping for or installing basement flooring, it's always a wise decision to bring a professional in to examine your cellar for moisture.
15 DIY Basement Flooring Ideas – Affordable DIY Flooring Options
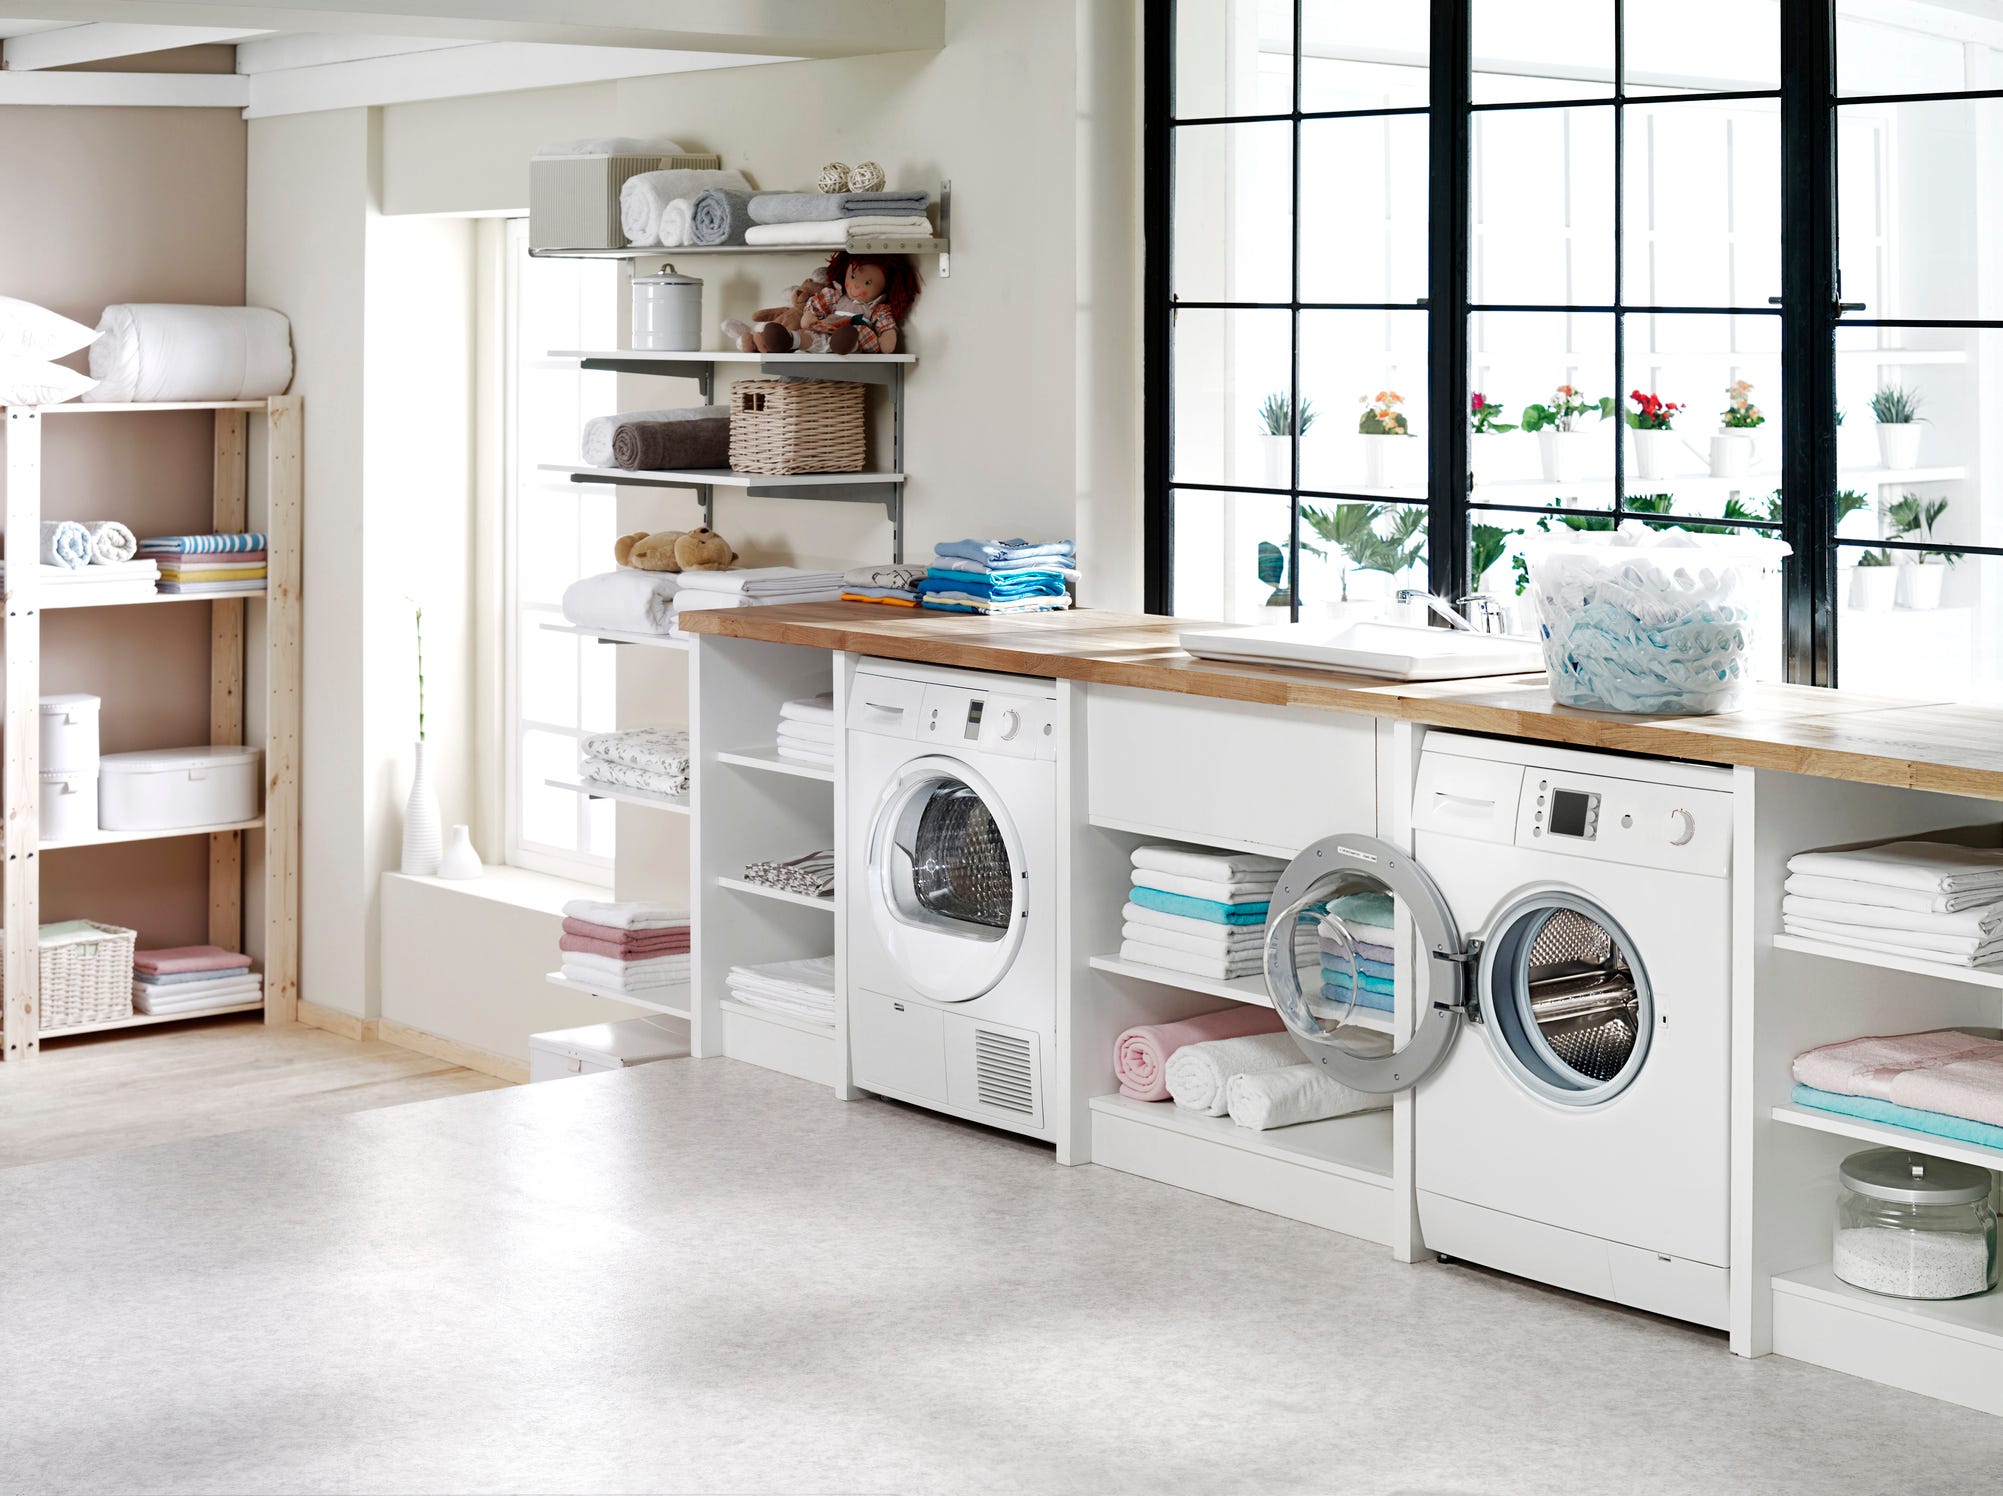
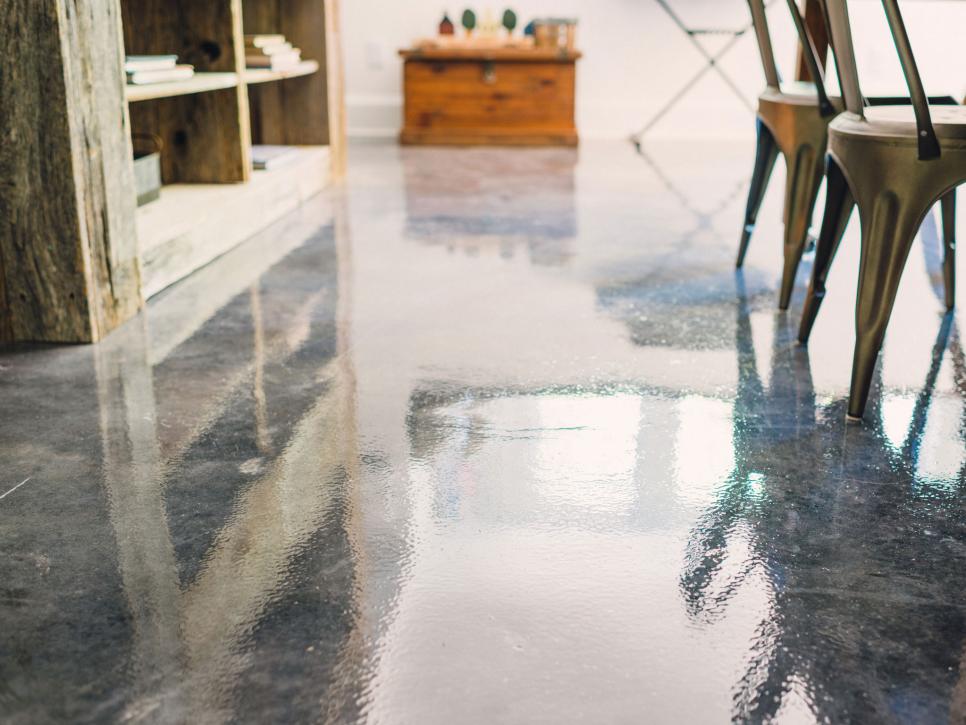
If you are living in high humidity parts, linoleum or maybe vinyl flooring is a good choice. Right now there are sealants on the marketplace such as PermaFlex which offer done, permanent basement floor waterproofing. These days, you will find actually unconventional basement flooring choices to choose from including bamboo or maybe soundproof mats. You are able to get the epoxy paint in colors which are different.
Images Related to Do It Yourself Basement Flooring
9 Basement Flooring Ideas for Your Home – Bob Vila

DIY Basement Flooring Options – Lucy Jo Home

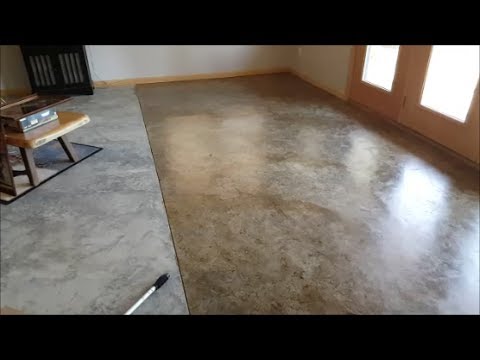
DIY Basement Floor Stain and finish, 2 colors, Without Etching!
Tips For An Easier Do-It-Yourself Epoxy Garage or Basement

15 DIY Basement Flooring Ideas – Affordable DIY Flooring Options

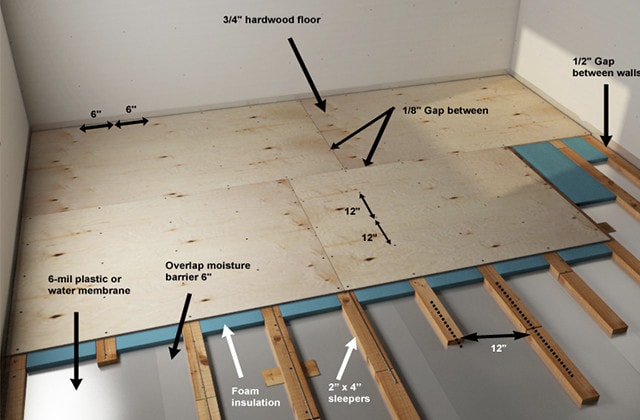
How-to install a wood subfloor over concrete RONA
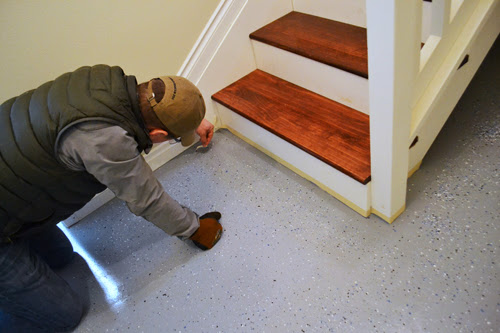
Basement Floor Epoxy Coating Ana White
Best Basement Flooring Options
/basement-flooring-1821693-PSD-V5-49348cb1c6da402a84016234b9b51f09.png)
Vinyl Flooring Install – Do It Yourself – Home With Krissy

Budget Basement Flooring Ideas: Foam, Rubber u0026 Carpet Tiles u0026 Rolls
Basement Flooring Ideas – Basement Flooring Pictures HGTV
9 DIY Basement Flooring Ideas for Your Home (with Pictures

Related articles:
- Stained Concrete Basement Floor
- Finishing Basement Floor
- Refinish Concrete Basement Floor
- Best Flooring For Basement
- Basement Gym Flooring Ideas
- Laminate Flooring In Basement
- Basement Concrete Floor Sweating
- Basement Floor Finishing Ideas
- Painting Unfinished Basement Floor
- Unique Basement Flooring
Do It Yourself Basement Flooring: A Comprehensive Guide
Introduction:
A basement is an often overlooked space in a home, but with some creativity and effort, it can be transformed into a functional and inviting area. One of the key elements in basement renovation is choosing the right flooring. DIY basement flooring projects not only allow homeowners to save money but also provide an opportunity to personalize their space according to their unique tastes and preferences. In this comprehensive guide, we will explore various options for DIY basement flooring, provide step-by-step instructions, address frequently asked questions, and offer tips to ensure a successful project.
Subheading 1: Preparing the Basement for Flooring Installation
Before diving into the exciting world of DIY basement flooring, it is crucial to prepare the space properly. Follow these steps to ensure a smooth installation process:
1. Clean and declutter: Remove any items or debris from the basement floor. Sweep or vacuum thoroughly to eliminate dust and dirt.
2. Inspect for moisture and leaks: Basements are prone to moisture issues, so it is essential to address any existing leaks or excess humidity before installing flooring. Look for signs of water damage on walls or floors and fix any leaks promptly.
3. Test for moisture: Conduct a moisture test by taping a plastic sheet on various areas of the floor and leaving it overnight. If condensation appears underneath the plastic, it indicates high moisture levels that should be addressed before proceeding with flooring installation.
FAQ 1: How can I fix moisture issues in my basement?
If you discover moisture problems during the preparation stage, there are several solutions available. Firstly, ensure proper grading outside your home to direct water away from the foundation. Additionally, consider installing a sump pump or dehumidifier to regulate moisture levels. Applying waterproofing sealants or coatings on walls and floors can also help prevent water infiltration.
Subheading 2: DIY Basement Flooring Options
When selecting a suitable flooring option for your basement, it is important to consider factors such as moisture resistance, durability, insulation properties, and personal preferences. Here are some popular DIY basement flooring choices:
1. Vinyl flooring: Vinyl is a versatile and affordable option that can mimic the look of hardwood, stone, or tile. It is highly resistant to moisture and easy to clean. Vinyl planks or tiles with interlocking edges are particularly suitable for DIY installations.
2. Carpet tiles: Carpet adds warmth and comfort to a basement space. Opting for carpet tiles instead of traditional wall-to-wall carpeting offers more flexibility and easier installation. In case of spills or damage, individual tiles can be replaced.
3. Laminate flooring: Laminate offers the appearance of hardwood at a fraction of the cost. It is durable, scratch-resistant, and relatively easy to install using the floating floor method. However, laminate may not be suitable for basements with high moisture levels.
4. Engineered hardwood: Engineered hardwood consists of a thin layer of real wood on top of a plywood base, making it more resistant to moisture compared to solid hardwood. It provides an elegant and timeless look while offering better stability in humid environments.
FAQ 2: Can I install solid hardwood in my basement?
Solid hardwood is generally not recommended for basements due to its susceptibility to moisture damage. Basements often have higher humidity levels than other areas in the house, which can cause solid hardwood to warp or buckle over time. Instead, consider engineered hardwood as a more suitable alternative.
Subheading 3: Installation Steps for Different Basement Flooring Options
1. Vinyl flooring: Start by cleaning and drying the basement floor thoroughly. Remove any existing flooring or adhesive. Install a moisture barrier if necessary. Lay out the vinyl planks or tiles according to your desired pattern, leaving a small gap around the edges for expansion. Use a utility knife to cut the planks or tiles to fit around obstacles. Finally, secure the edges with adhesive or click-lock mechanisms.
2. Carpet tiles: Begin by preparing the basement floor, ensuring it is clean and dry. Lay out the carpet tiles in your desired pattern, starting from one corner of the room. Trim any tiles as needed to fit around obstacles or walls. Apply adhesive dots or double-sided tape to the back of each tile and press them firmly into place. Use a carpet roller to ensure proper adhesion.
3. Laminate flooring: Prepare the basement floor by cleaning and leveling it as necessary. Install a moisture barrier if required. Begin laying the laminate boards against one wall, leaving a small gap between the boards and walls for expansion. Use spacers to maintain even gaps between each board. Cut the final board in each row to fit using a circular saw or jigsaw. Continue installing additional rows, interlocking each board until the entire floor is covered.
4. Engineered hardwood: Clean and level the basement floor before installation. Lay down a moisture barrier if needed. Begin by placing the first row of engineered hardwood along one wall, leaving a small gap for expansion. Use a pneumatic nailer or flooring stapler to secure each board to the subfloor. Cut boards as necessary for a proper fit at the end of each row. Continue installing subsequent rows until the entire floor is complete.
Remember to follow manufacturer instructions and guidelines for each specific flooring option to ensure a successful and durable installation. If you are unsure about any step or encounter difficulties, it is recommended to consult with a professional or seek further guidance. FAQ 3: How do I maintain and clean basement flooring?
The maintenance and cleaning process for basement flooring will vary depending on the type of flooring you have installed. Here are some general guidelines:
1. Vinyl flooring: To keep vinyl flooring in good condition, sweep or vacuum regularly to remove dirt and debris. Wipe up any spills or stains immediately with a damp cloth or mop. Avoid using abrasive cleaners or harsh chemicals that can damage the vinyl. For deep cleaning, use a mild detergent mixed with warm water and mop the floor. Rinse thoroughly and allow it to air dry.
2. Carpet tiles: Vacuum the carpet tiles regularly to remove dirt and dust. For spills or stains, blot them immediately with a clean cloth or paper towel. Avoid rubbing the stain, as it can spread and become more difficult to remove. Use a carpet cleaner specifically designed for carpet tiles to treat any stubborn stains. It is also recommended to have the carpet tiles professionally cleaned periodically.
3. Laminate flooring: Sweep or vacuum laminate flooring regularly to remove dirt and debris. Use a damp mop with a mild detergent or laminate floor cleaner to clean the surface. Avoid excessive moisture, as it can seep into the seams and cause damage. Wipe up any spills immediately to prevent staining or warping of the boards.
4. Engineered hardwood: Sweep or vacuum engineered hardwood regularly to remove dirt and dust. Use a damp mop with a cleaner specifically formulated for hardwood floors to clean the surface. Avoid excess water, as it can damage the wood. Wipe up any spills immediately to prevent staining.
It is important to refer to the manufacturer’s instructions for specific cleaning and maintenance recommendations for your chosen flooring option. Additionally, placing doormats at entryways and using furniture protectors can help prevent scratches and damage to your basement flooring.