In many homes the cooking area is an area that sees a lot of traffic starting it, from people that're doing the cooking or perhaps washing to individuals eating, children running around, as well as pets passing in as well as out to leave the house into the garden. Continue studying to find out more about some of the most favored materials for modern kitchen floors.
Here are Images about DIY Kitchen Floor Mat
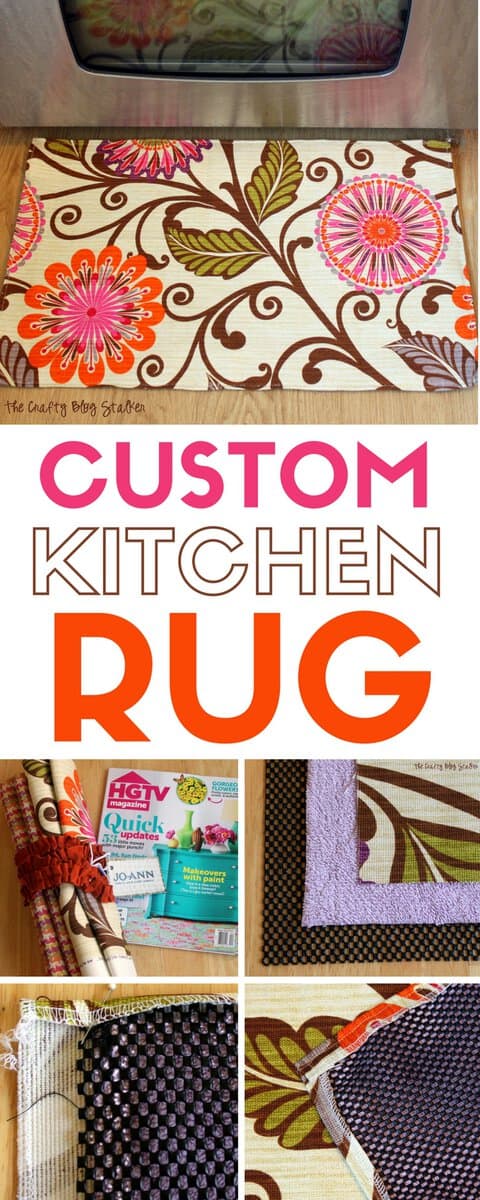
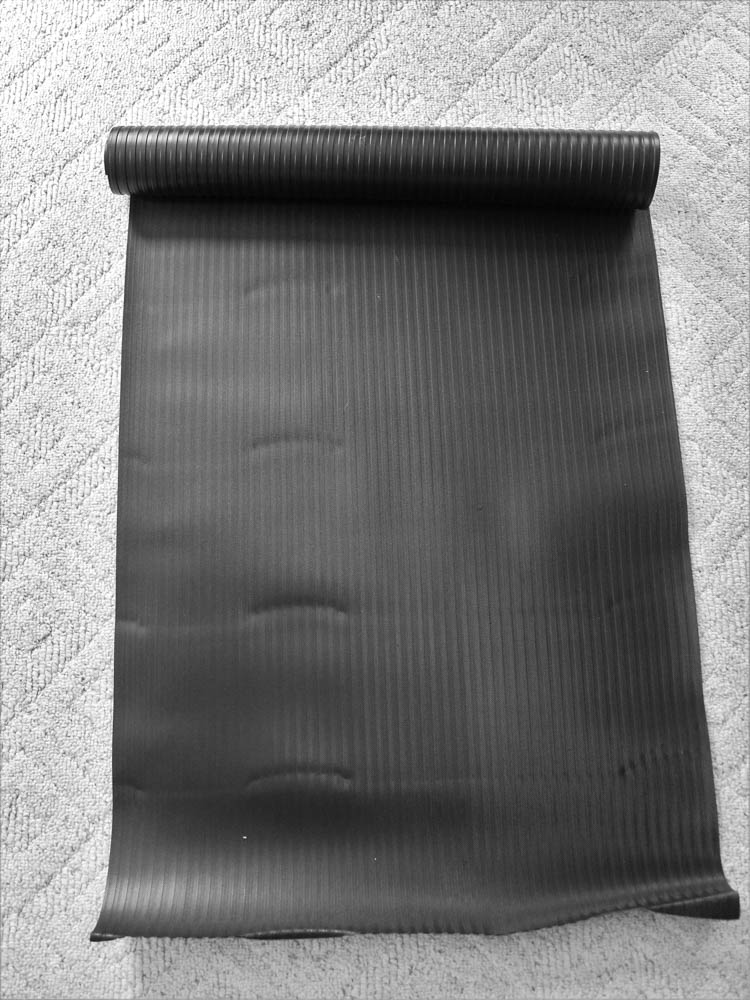
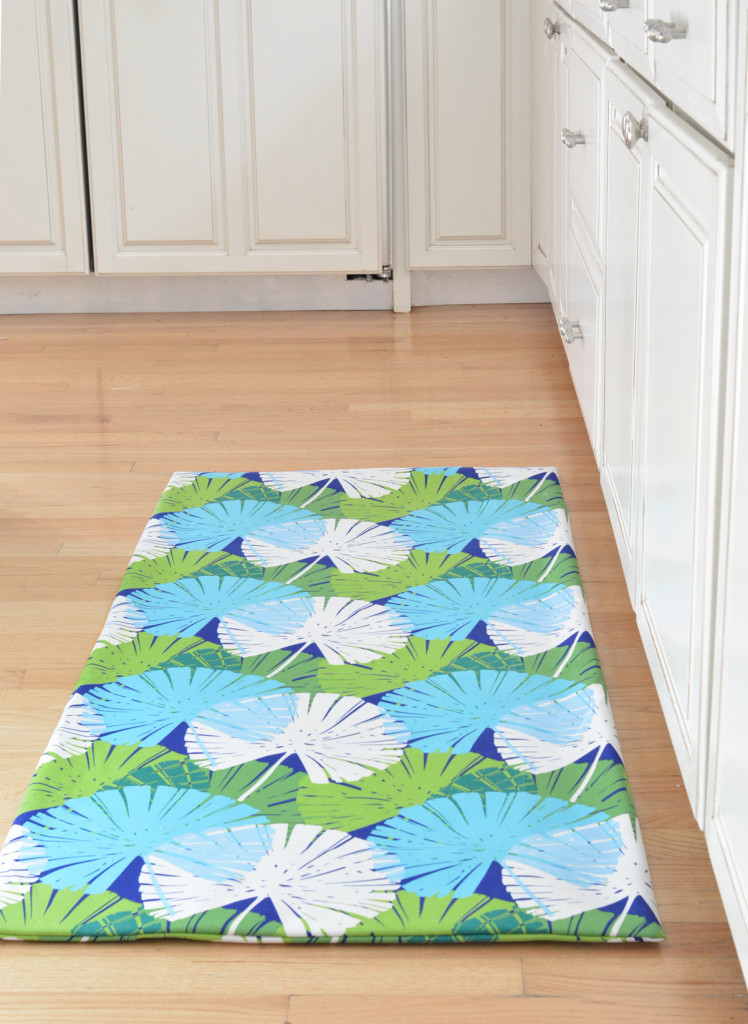
DIY Kitchen Floor Mat
With a lot more kitchens opened approximately the rest of the living space, the flooring is now a significant option in the decorating of that room. This kind of flooring is able to add a fresh and natural look to kitchens and also offer unique appeal and warmth to anyone's kitchen decor. A few could even opt to entertain guests in the kitchen.
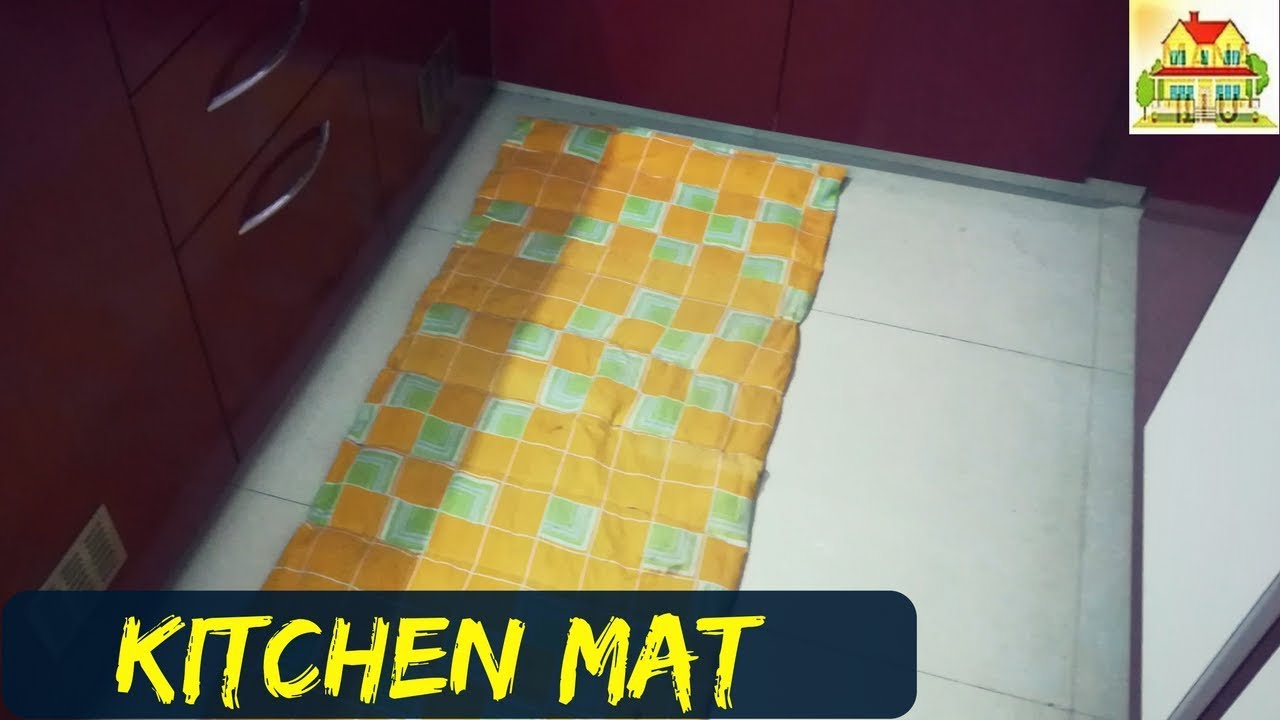
DIY KITCHEN MAT KITCHEN FLOOR MAT
The kind of stone you decide on will influence the size, cost and shape of the stones. If your preference is toward the less-familiar options, there's cork, wood, and stone. There's a chance you're wondering about the kind of flooring to put in its place for your kitchen, to make the house you've always dreamt of. It's quite durable and easy to maintain along with clean.
Images Related to DIY Kitchen Floor Mat
Make Your Own DIY Kitchen Rug Goodwill – Southern Piedmont

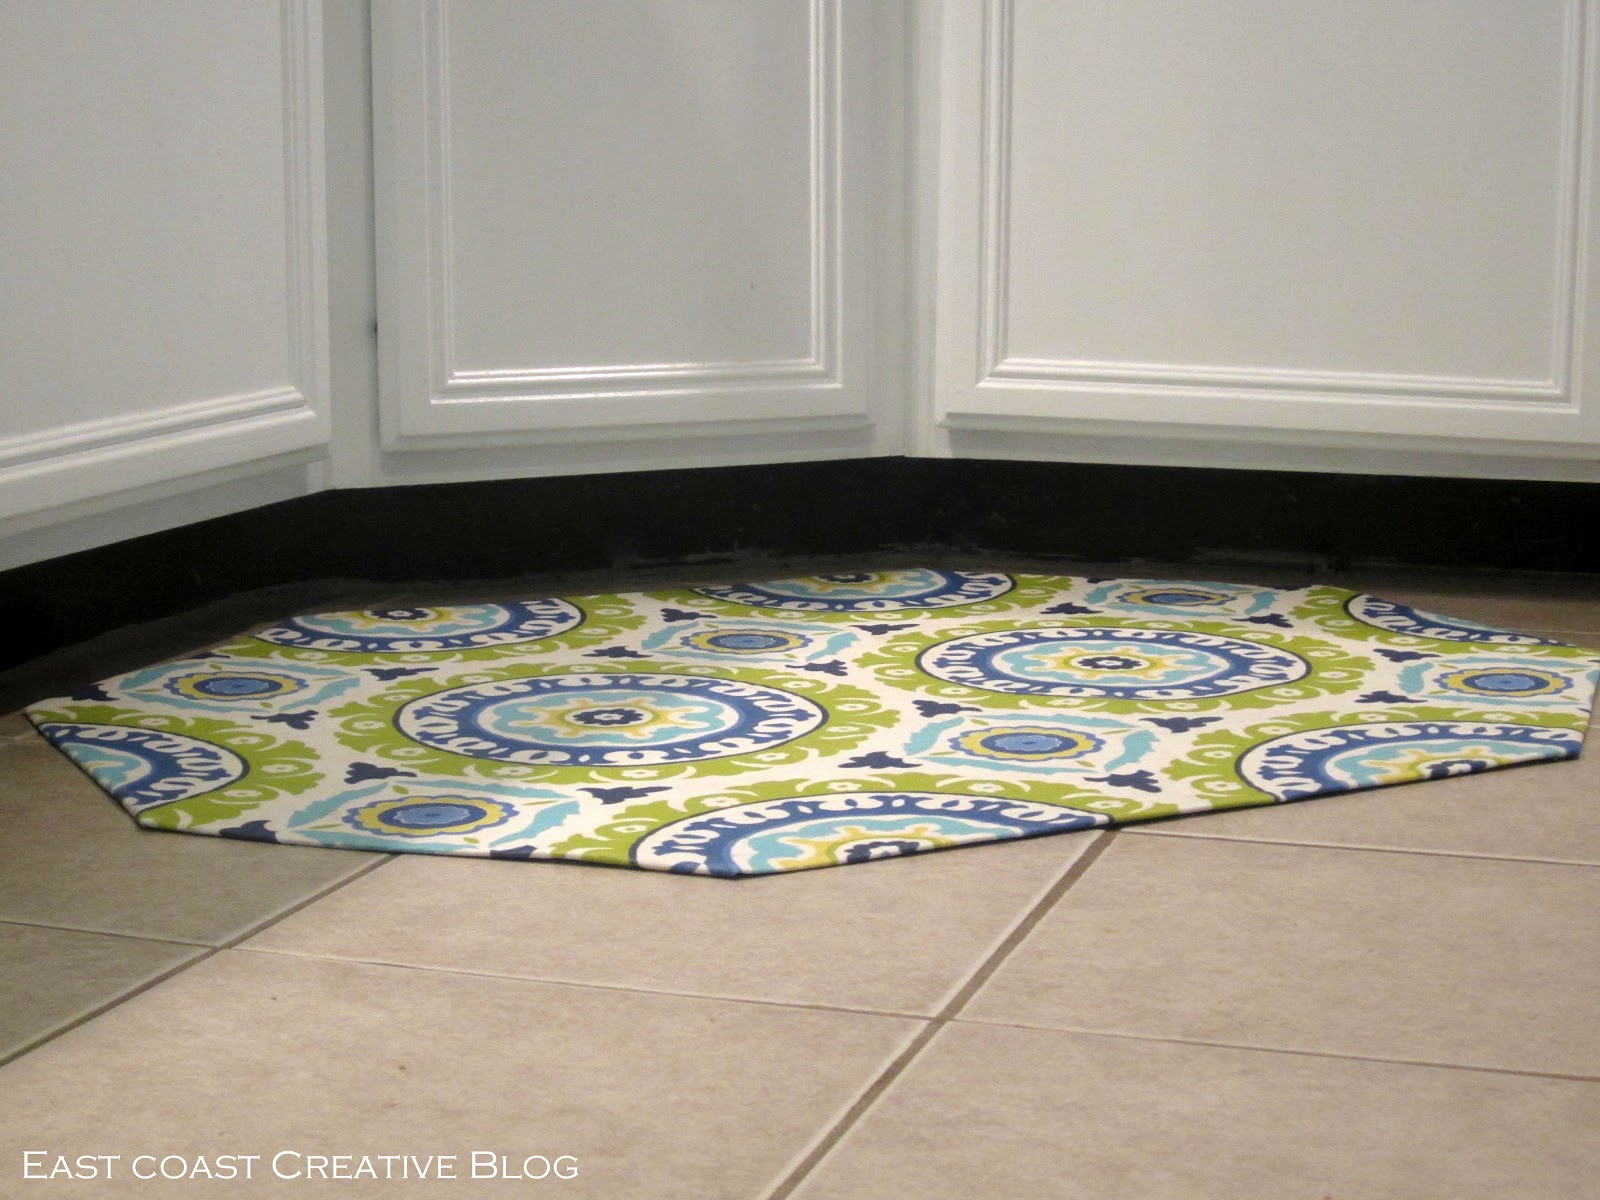
DIY Fabric Floor Cloth {Floor Mat} East Coast Creative
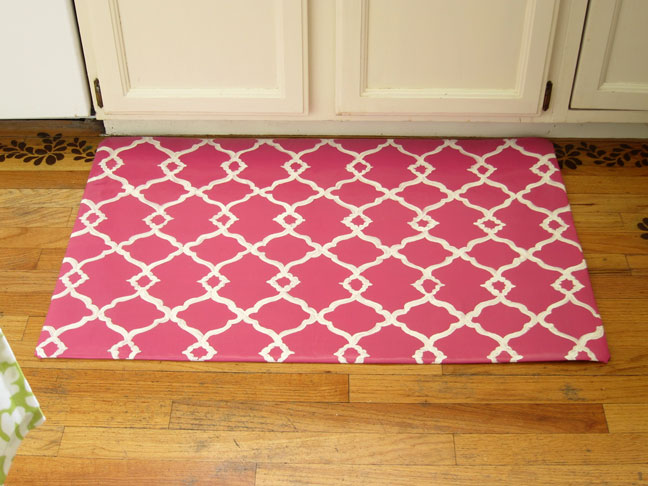
DIY Kitchen Mat Redo – Dwelling in Happiness

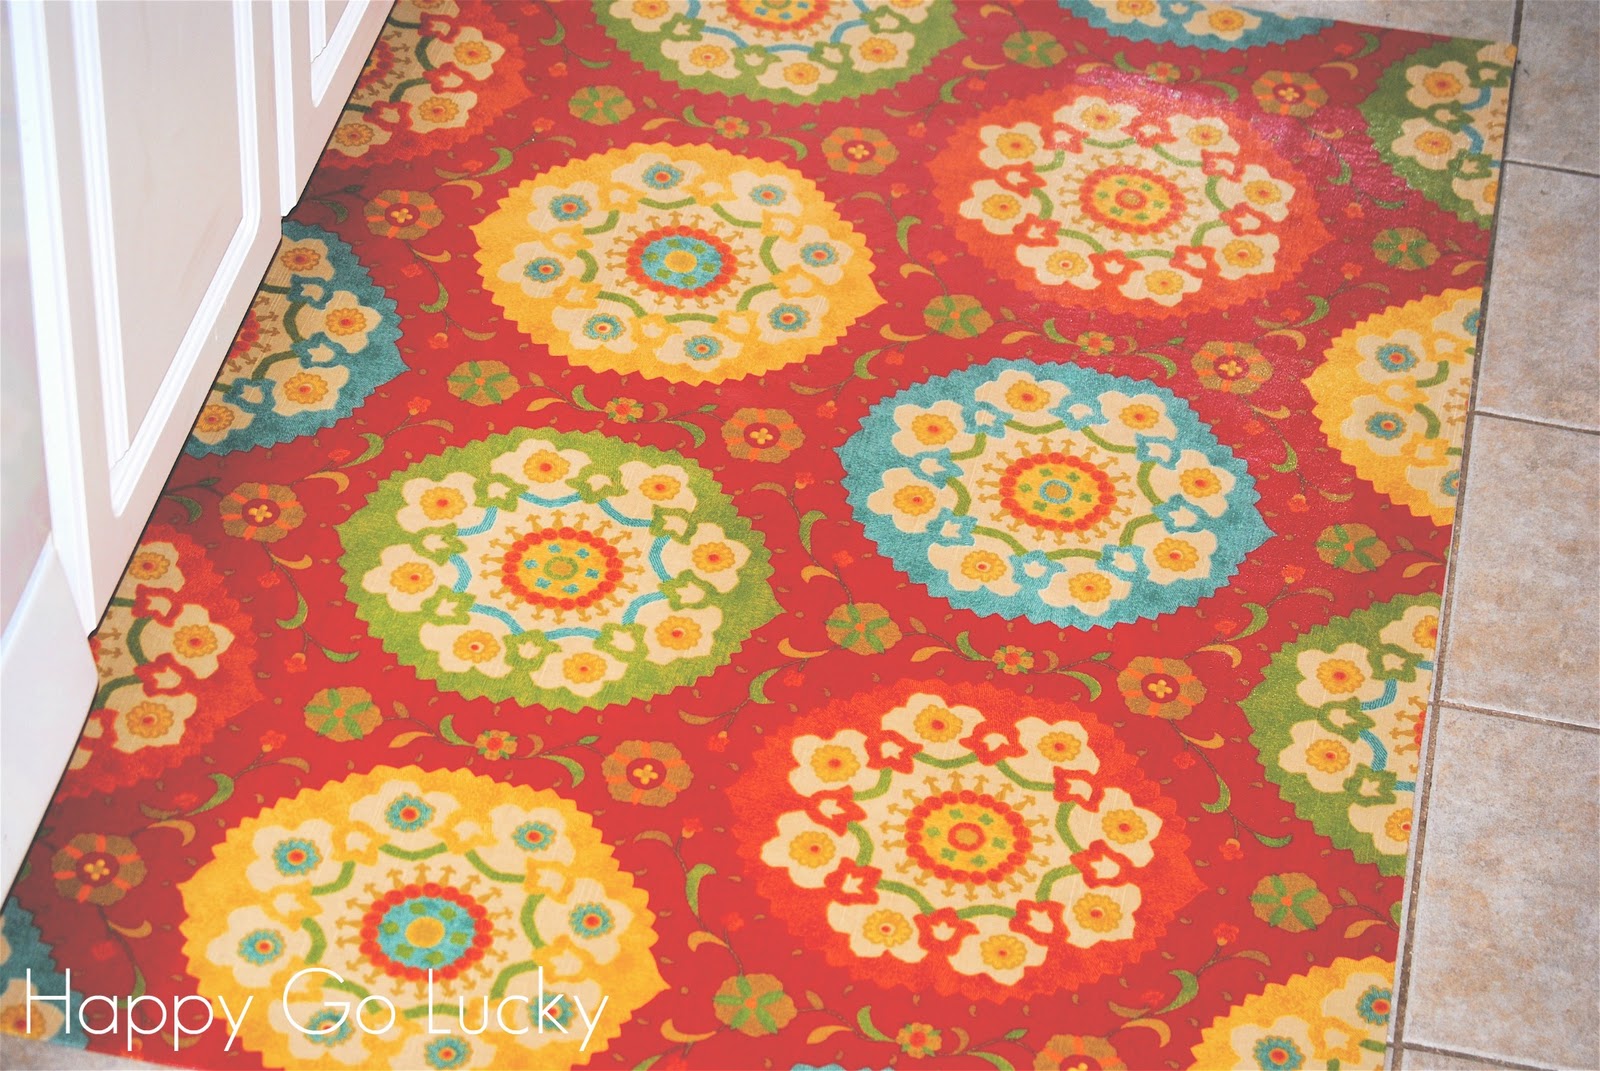
Make your own DIY Vinyl Floor Mat – DIY Passion

DIY Kitchen Rug
Make Your Own DIY Kitchen Rug Goodwill – Southern Piedmont
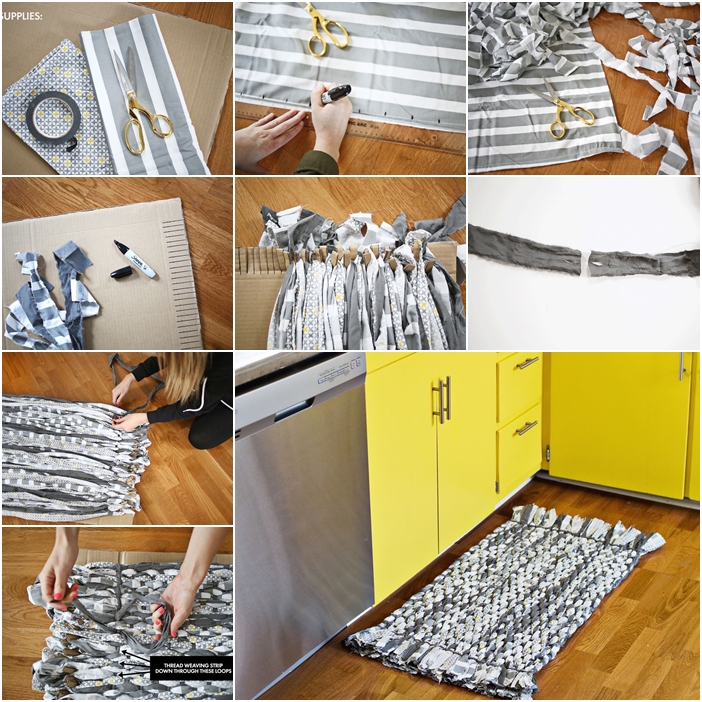
How to DIY Woven Rag Rug with Cardboard – DIY Tutorials
Some Vintage And Stylish Kitchen Mat And Rug Ideas Tapetes

Quick and Easy Painted Kitchen Mat – Somewhat Simple
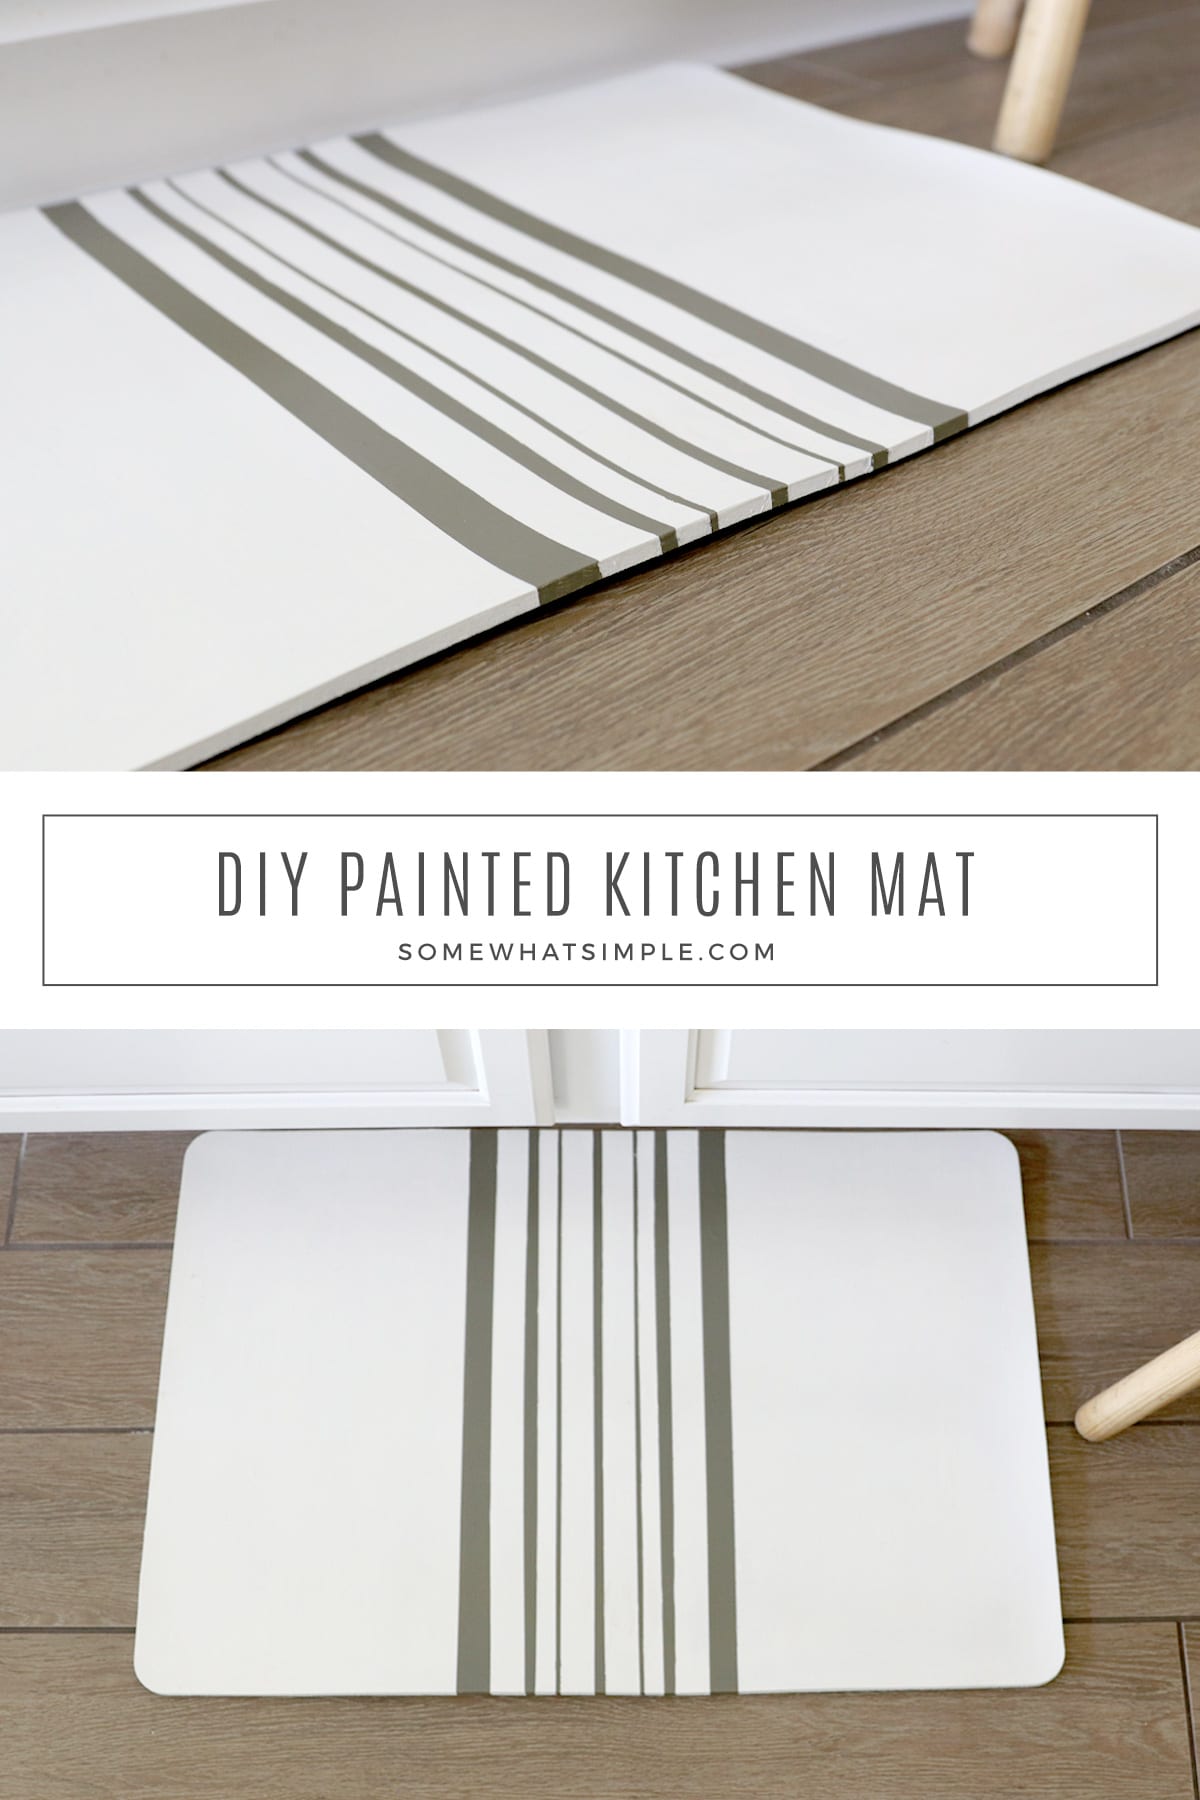
How to Make a Painted Rug Better Homes u0026 Gardens

DIY Home Rug Roundup – SheekGeek
DIY Fabric Floor Mat Centsational Style
Related articles:
- Stained Concrete Basement Floor
- Finishing Basement Floor
- Refinish Concrete Basement Floor
- Best Flooring For Basement
- Basement Gym Flooring Ideas
- Laminate Flooring In Basement
- Basement Concrete Floor Sweating
- Basement Floor Finishing Ideas
- Painting Unfinished Basement Floor
- Unique Basement Flooring
A kitchen floor mat is an ideal way to add comfort, style and practicality to your kitchen. Not only do they provide a soft cushion for your feet, but they can also add a touch of personality and design to your space. Plus, a DIY kitchen floor mat is a great way to get creative and add a personal touch to your home.
Whether you’re looking for a fun project or simply want to upgrade your existing kitchen floor mat, this guide will help you create the perfect mat for your space.
What Materials Do You Need for a DIY Kitchen Floor Mat?
The materials you’ll need for a DIY kitchen floor mat will depend on the type of mat you’re making. Generally speaking, you’ll need fabric, foam, batting, an adhesive and a cutting tool.
Fabric: Fabric provides the base layer of your mat and can be chosen in any style or color that matches the décor of your kitchen. Choose a durable fabric that won’t easily wear out with regular use.
Foam: Foam is used to provide cushioning and support for the fabric. Make sure to choose one that is thick enough to provide adequate padding but thin enough so it won’t add bulkiness to the finished product.
Batting: Batting is used as an extra layer of padding between the fabric and foam layers. It adds an extra layer of comfort and helps keep the foam in place.
Adhesive: Adhesive is used to hold all the layers together. Choose an adhesive designed specifically for upholstery projects or one that is waterproof.
Cutting Tool: A sharp pair of scissors or a rotary cutter are both suitable cutting tools for this project.
How Do You Make a DIY Kitchen Floor Mat?
Making your own kitchen floor mat is easy with these simple steps:
Step 1: Measure the area where your mat will go and cut out two pieces of fabric with slightly larger dimensions than the measured area.
Step 2: Use the adhesive to attach one piece of fabric to the foam and batting layers. Cut out the second piece of fabric to match the shape of the first piece, then use adhesive to attach it to the top of the other layers.
Step 3: Trim off any excess fabric around the edges and use adhesive to secure it in place.
Step 4: Once all layers are secure, use scissors or a rotary cutter to cut away any excess material from around the edges of the mat.
Step 5: Place your finished mat on the floor in its desired location and enjoy!
Tips for Making Your DIY Kitchen Floor Mat Last Longer
Creating a DIY kitchen floor mat doesn’t have to be a one-time project! Here are some tips for making sure your mat lasts longer:
vacuum it regularly; use waterproof adhesive; avoid using bleach or harsh detergents; avoid leaving wet items on top of it; avoid placing heavy items on top; and store it away from direct sunlight if possible.
With these tips in mind, you’ll be able to create a beautiful and durable kitchen floor mat that will last for years!