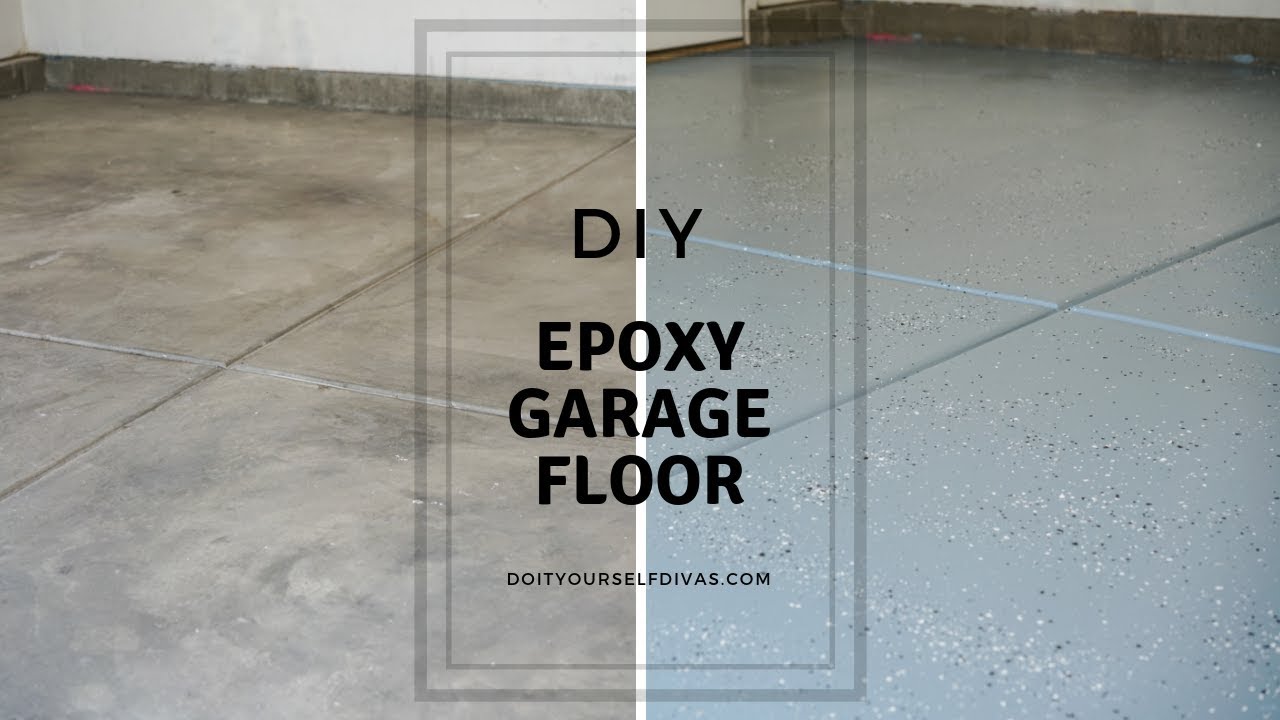
Transforming your garage floor with epoxy is a popular DIY project that offers numerous benefits. Not only does it provide a sleek, professional look, but it also enhances the durability and longevity of the floor. This guide will walk you through the entire process of applying an epoxy coating to your garage floor, from preparation to final touches, ensuring you achieve a high-quality finish.
Benefits of Epoxy Flooring
Durability and Longevity
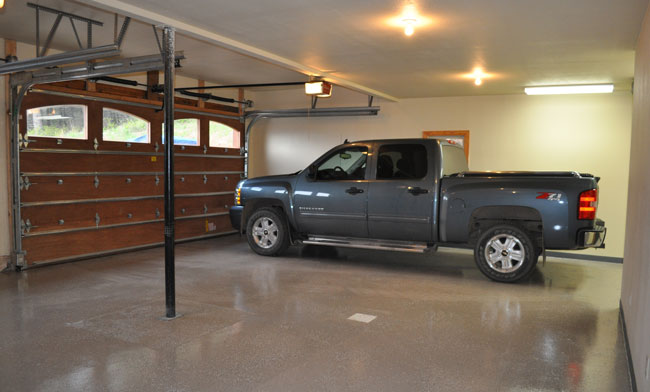
Epoxy flooring is renowned for its strength and resilience. Once cured, it can withstand heavy machinery, high traffic, and various chemicals without showing signs of wear. This makes it an ideal choice for garages, where the floor is subjected to significant stress.
Aesthetic Appeal
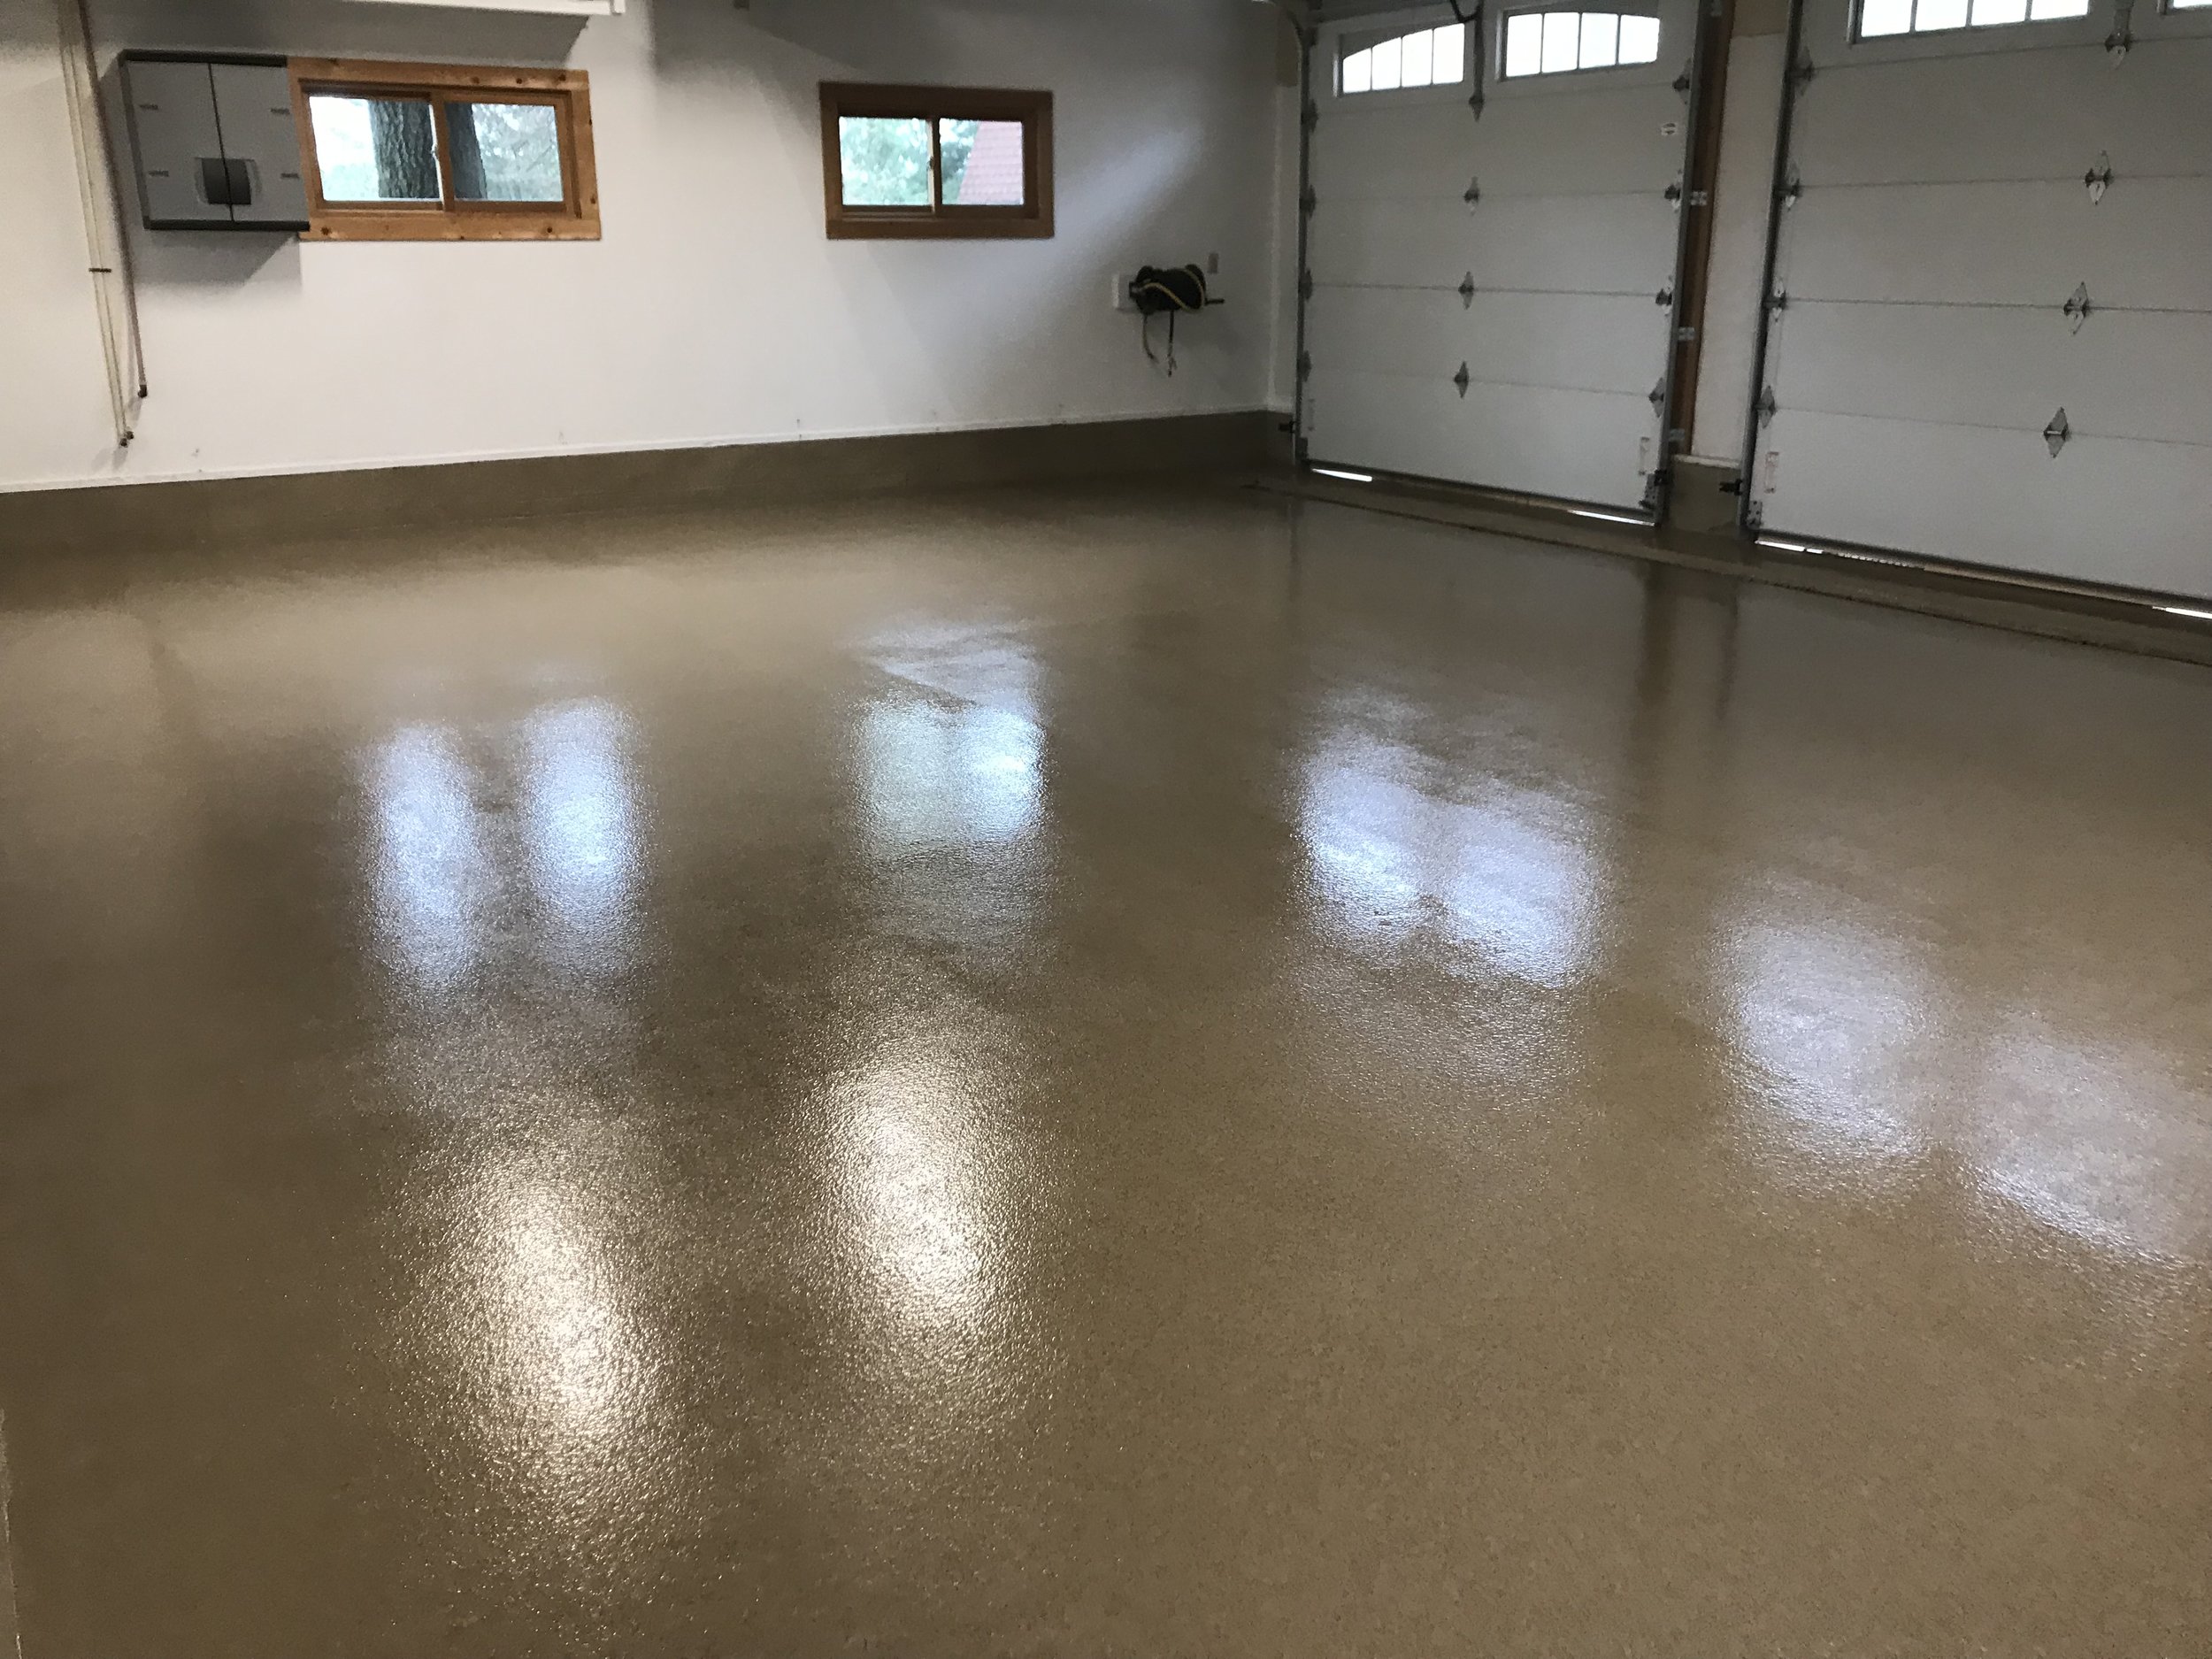
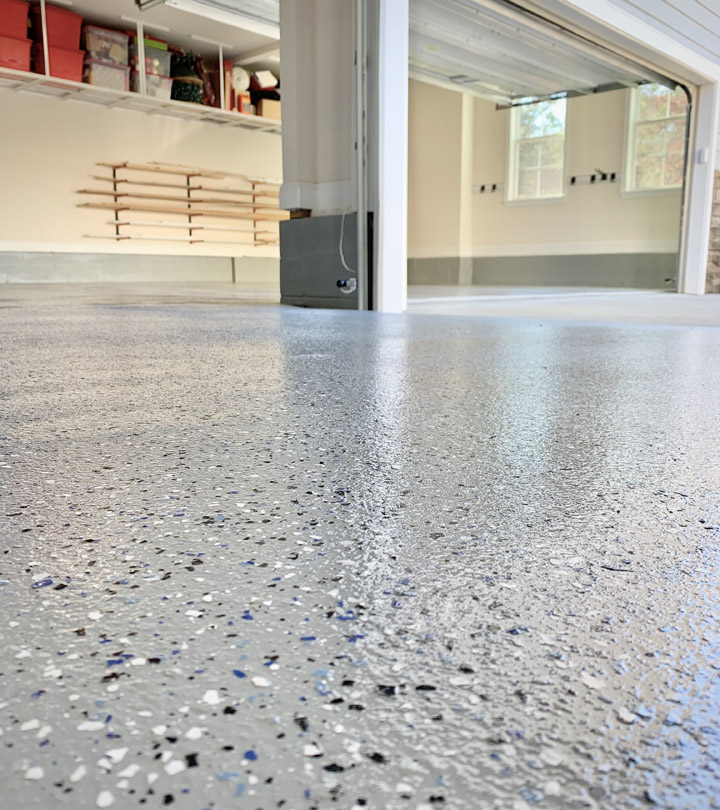
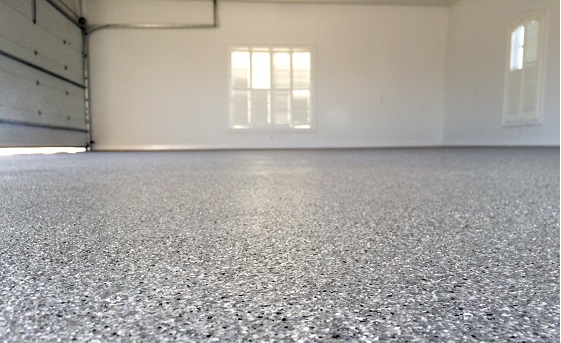
Epoxy floors come in various colors and finishes, allowing you to customize the look of your garage. The glossy finish not only looks professional but also enhances the lighting in the space by reflecting light, making the garage appear brighter and more inviting.
Easy Maintenance
An epoxy-coated garage floor is much easier to clean than bare concrete. Its non-porous surface resists stains and spills, which can be wiped away with minimal effort. This ease of maintenance is particularly beneficial in a garage environment, where oil and grease spills are common.
Preparing for Epoxy Application
Gather Necessary Materials
Before starting your project, ensure you have all the required materials and tools:
- Epoxy kit (including base coat and top coat)
- Concrete cleaner or degreaser
- Concrete etcher (if needed)
- Paint roller with extension handle
- Paintbrush for edges
- Protective gear (gloves, goggles, mask)
- Painter’s tape
- Plastic sheeting or drop cloths
Clean and Repair the Floor
The success of your epoxy floor largely depends on how well you prepare the surface. Follow these steps for thorough preparation:
- Clear the Garage: Remove all items from the garage, including vehicles, tools, and storage units.
- Clean the Floor: Sweep and vacuum the floor to remove all dirt and debris. Use a concrete cleaner or degreaser to eliminate oil stains and other contaminants. Rinse thoroughly and let it dry completely.
- Repair Cracks and Holes: Inspect the floor for any cracks or holes. Use a concrete patching compound to fill these areas. Allow the patching compound to dry according to the manufacturer’s instructions.
Etch the Concrete
Etching the concrete helps the epoxy adhere better to the surface. Some epoxy kits include an etching solution, but if not, you can purchase one separately. Follow these steps:
- Apply the Etching Solution: Mix and apply the etching solution as per the instructions. Use a stiff-bristled brush to work the solution into the concrete.
- Rinse Thoroughly: After etching, rinse the floor thoroughly with water. Ensure all residues are removed, as they can interfere with the epoxy bond. Allow the floor to dry completely before proceeding.
Applying the Epoxy Coating
Priming the Floor
Priming is a crucial step that enhances the adhesion of the epoxy. Some epoxy kits come with a primer, while others may recommend a thinned-down version of the epoxy itself as the primer.
- Mix the Primer: Follow the instructions for mixing the primer or thinned epoxy.
- Apply the Primer: Use a paint roller to apply the primer evenly across the floor. Start from the farthest corner and work your way towards the exit to avoid stepping on the wet primer.
- Let It Dry: Allow the primer to dry for the recommended time, typically 4-6 hours.
Mixing the Epoxy
Epoxy is a two-part system consisting of a resin and a hardener. Proper mixing is essential for a successful application.
- Read Instructions: Carefully read the instructions provided with your epoxy kit.
- Mix Thoroughly: Combine the resin and hardener in a clean bucket. Mix thoroughly for the time specified, usually 3-5 minutes, ensuring a consistent mixture.
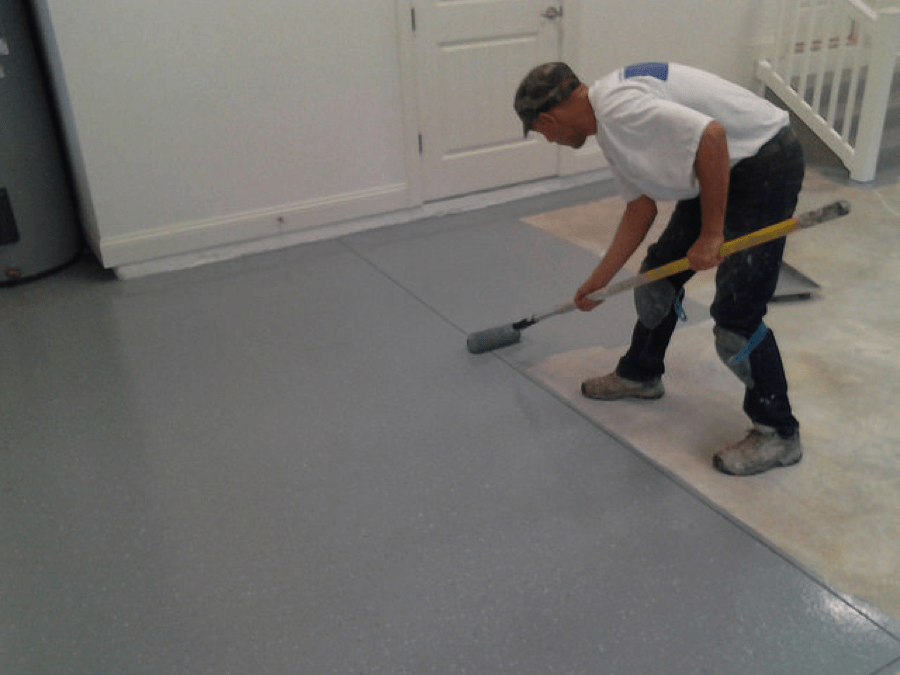
Applying the Base Coat
- Cut In the Edges: Use a paintbrush to apply the epoxy along the edges of the floor and any hard-to-reach areas.
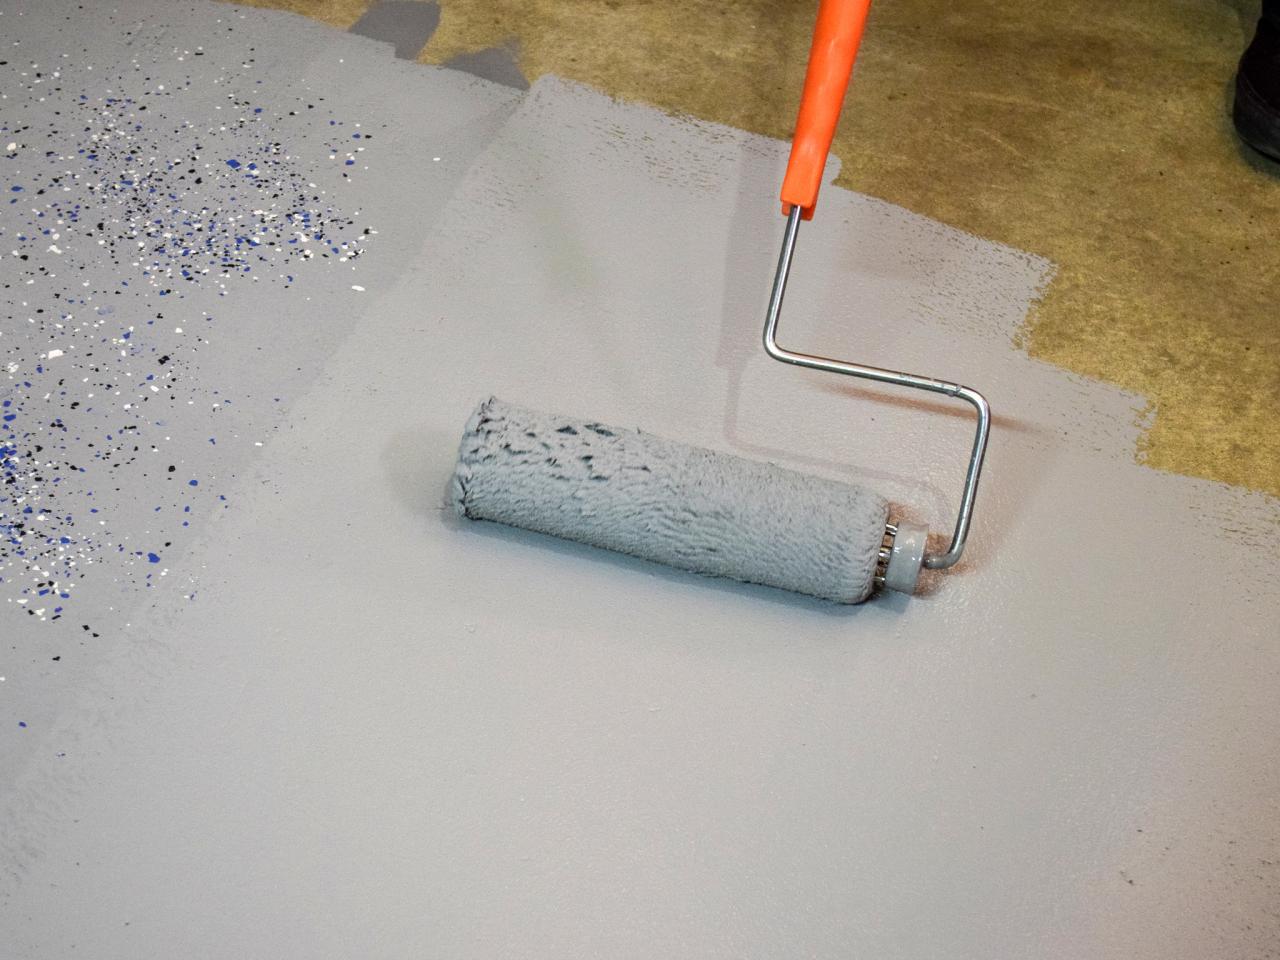
- Roll the Epoxy: Use a paint roller to apply the epoxy to the rest of the floor. Work in small sections to ensure an even application. Maintain a wet edge to avoid lap marks.
- Allow to Cure: Let the base coat cure for the recommended time, usually 12-24 hours.
Applying the Top Coat
The top coat adds durability and enhances the appearance of the floor.
- Mix the Top Coat: If your epoxy kit includes a top coat, mix it as instructed.
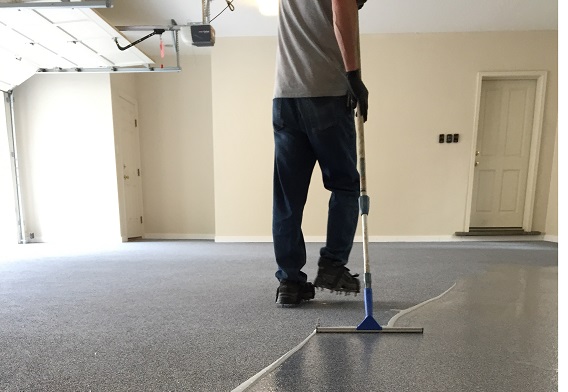
- Apply the Top Coat: Apply the top coat in the same manner as the base coat. Ensure even coverage and avoid stepping on the wet surface.
- Add Non-Slip Additive: If desired, you can add a non-slip additive to the top coat for improved safety. This is particularly useful in areas prone to getting wet.
Curing and Final Touches
Allow the epoxy to cure fully before moving items back into the garage. This can take several days, depending on the temperature and humidity.
- Curing Time: Follow the manufacturer’s instructions for the curing time. Avoid heavy traffic on the floor during this period.
- Inspect the Finish: Once cured, inspect the floor for any missed spots or imperfections. Touch up as necessary.
- Remove Tape and Clean Up: Remove any painter’s tape and clean up any remaining materials. Dispose of any leftover epoxy according to local regulations.
Maintenance Tips for Epoxy Floors
Maintaining your epoxy floor is straightforward. Follow these tips to keep it looking its best:
- Regular Cleaning: Sweep or vacuum the floor regularly to remove dirt and debris. Use a damp mop with a mild detergent for deeper cleaning.
- Address Spills Promptly: Clean up any spills immediately to prevent staining.
- Avoid Abrasive Cleaners: Do not use abrasive cleaners or scrubbers, as they can damage the epoxy surface.
- Protect from Heavy Impact: Place mats or pads under heavy equipment to prevent dents and scratches.
Applying an epoxy coating to your garage floor is a rewarding DIY project that can significantly improve the appearance and functionality of the space. By following this comprehensive guide, you can achieve a durable, attractive finish that will stand the test of time. With proper preparation, application, and maintenance, your epoxy floor will provide years of service and enhance the overall value of your home.
What Are the Differences Between DIY Garage Floor Coating and

DIY Epoxy Garage Floors
DIY Epoxy Garage Floor Coating Repair – Casper, WY

Coatings Pro v. DIY Epoxy Garage Floor Kits CoatingsPro Magazine
Our DIY Epoxy Garage Floor – One Year Later Garage floor epoxy

Related articles: