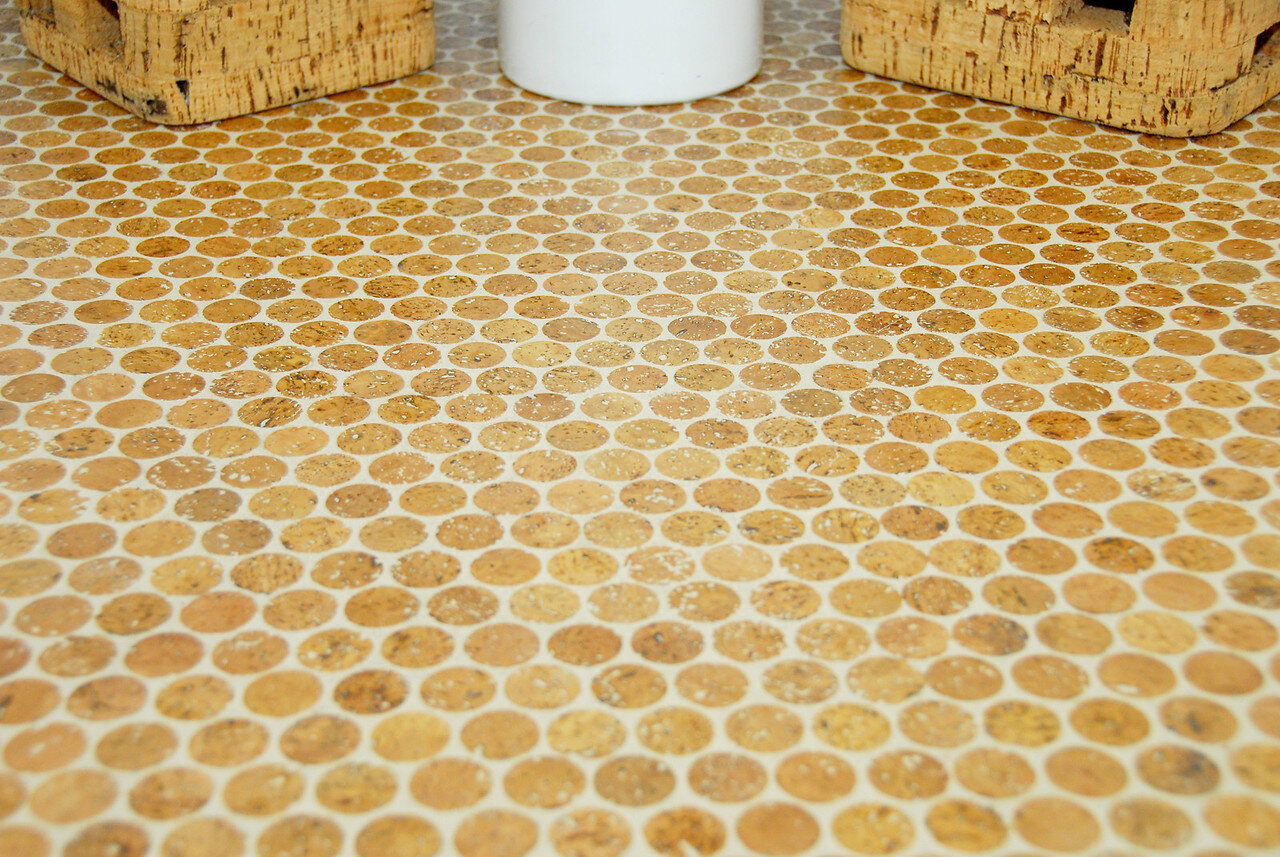
Natural cork flooring also has quite a few advantages, in fact it looks as it's all of the benefits of multiple flooring solutions rolled into one. Some businesses have been in a position to create fantastic looking designs and colors to place any homeowner. While at the same time this makes it possible for cork to cushion your joints as well as feet.
Here are Images about Diy Cork Flooring
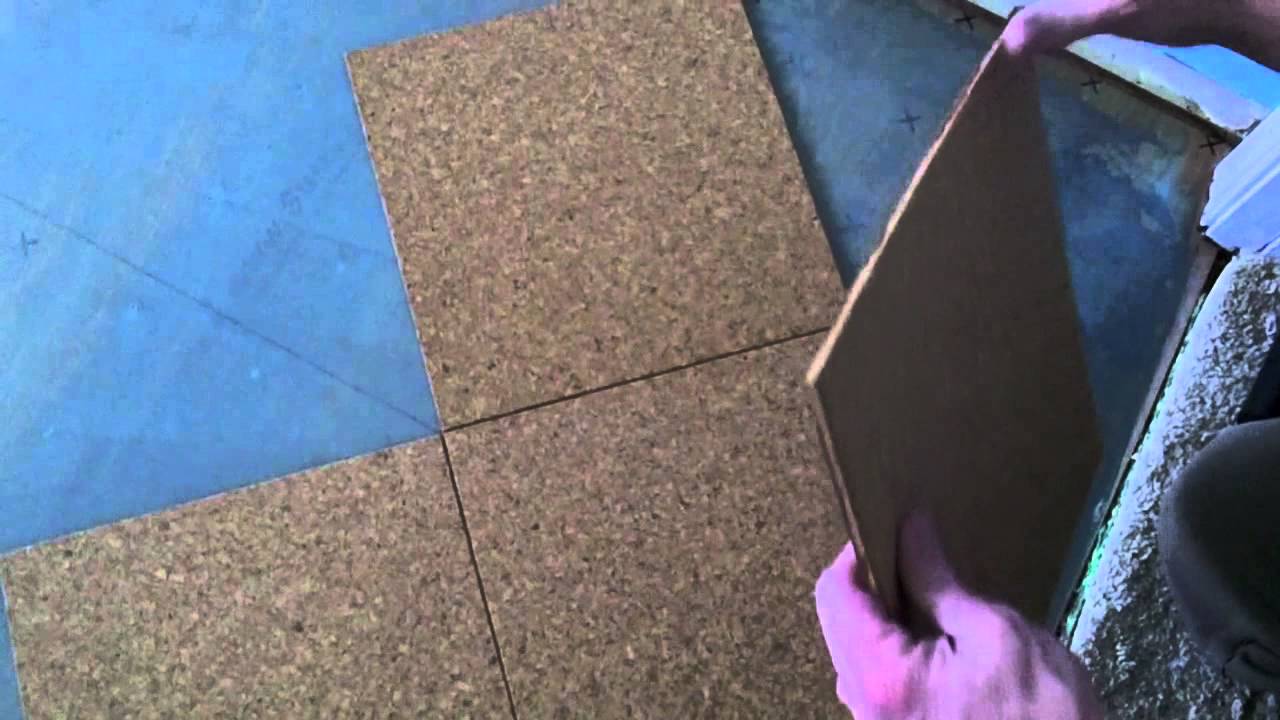
Diy Cork Flooring
In case you'd like to find out more about this remarkable flooring item we suggest you follow the links below and find more education on this eco friendly green flooring remedy. That is right, this isn't just like other flooring solutions that call for chemicals as well as man made components to attain specific specifications.
Cork Flooring in Basements and Below-Grade Environments
/cork-flooring-in-unfurnished-new-home-647206431-2eceda7dc48e4eecbabde1b709de459f.jpg)
Unlike hardwood flooring that requires deforestation cork just requires the removal of a covering of bark from the cork oak tree; along with the removal process leaves the tree itself unharmed. Of the cork oak tree's lifecycle, the bark may be harvested up to twenty times. You will be happy to know this's totally, hundred % a green flooring product. The cork is usually harvested after the tree is 25 years of age.
Images Related to Diy Cork Flooring
Cork Flooring Installation: PRO or DIY?Learning Center

How to Install Cork Flooring – (Tips and Guidelines For Your DIY

Cork Flooring 101: Cost, Types, u0026 Installation – This Old House
/cdn.vox-cdn.com/uploads/chorus_asset/file/23088021/0421_NB_All_About_Cork_Floors_Cork_flooring_iStock_950010876.jpg)
Unique Flooring: 5 Low-Cost DIY Ideas Unique flooring, Diy

How To Install A Floating Cork Floor Young House Love
Cork Flooring Installation: PRO or DIY?Learning Center

DIY Cork Flooring – Pros, Cons u0026 Green Installation Guide for LEED
Wine cork floors! -or- How being drunken hoarders helped us

Cork Flooring Pros and Cons
/cork-flooring-pros-and-cons-1314688_hero_0032-9ed702033d384a5aad92329dc679a300.jpg)
DIY permanent bathroom floor made with cheap cork underlayment
Cork Floor Install – How to install a cork glue down floor.
Cork Works: Installing Cork Flooring u2013 Mother Earth Living

Related articles:
- Cork Flooring For A Bathroom
- Basement Cork Flooring
- DIY Cork Flooring
- Cork Floor Durability
- How To Install Glue Down Cork Flooring
- Sheet Cork Flooring
- Cork Flooring Richmond Bc
- Cork Flooring Manufacturers Portugal
- Cork Flooring Perth
- Cork Flooring Manufacturers
Cork flooring is a popular choice for homeowners looking for a sustainable, eco-friendly flooring option that is also durable and easy to maintain. While many people choose to hire professionals to install cork flooring, it is possible to do it yourself with the right tools and know-how. In this article, we will provide a detailed guide on how to install DIY cork flooring in your home.
Choosing Cork Flooring
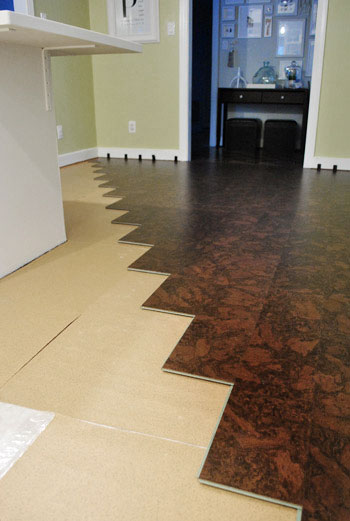
When selecting cork flooring for your project, there are a few key factors to consider. Firstly, you’ll want to decide on the type of cork flooring you want – either cork tiles or cork planks. Cork tiles are typically glued down to the subfloor, while cork planks come with a click-lock system for easy installation. Consider the color and finish of the cork as well, as these can vary greatly and will impact the overall look of your space.
FAQs:
Q: Can I install cork flooring in all rooms of my house?
A: While cork flooring is suitable for most rooms in your home, it is not recommended for use in bathrooms or other high-moisture areas.
Preparing Your Subfloor
Before installing cork flooring, it’s essential to prepare your subfloor properly. This includes ensuring that the subfloor is clean, dry, and level. If there are any imperfections in the subfloor, such as bumps or dips, these will need to be addressed before laying down the cork.
FAQs:
Q: Do I need underlayment for my cork flooring?
A: Yes, it is recommended to use an underlayment with cork flooring to provide additional cushioning and insulation.
Installing Cork Flooring
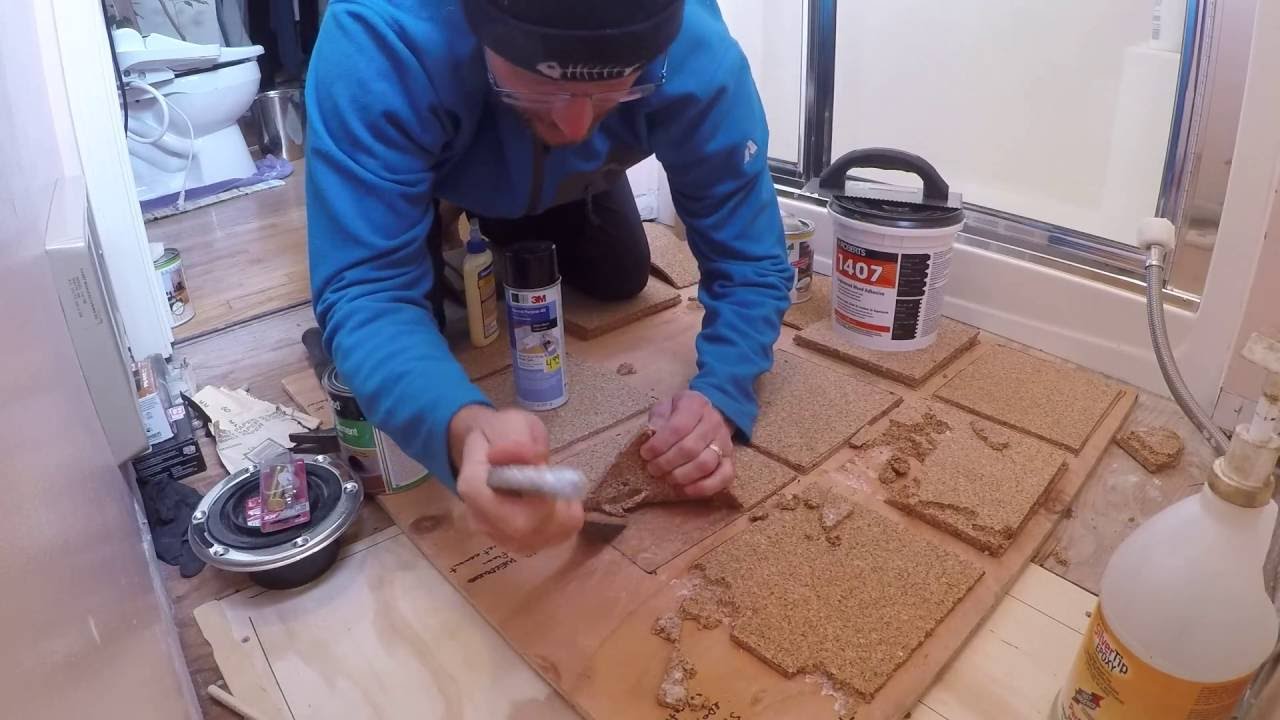
Once your subfloor is prepped and ready, it’s time to start installing the cork flooring. If you’ve chosen cork tiles, you’ll need to apply adhesive to the back of each tile and press them firmly into place on the subfloor. For cork planks, simply click them together using the provided click-lock system. Make sure to leave a small gap around the edges of the room to allow for expansion.
FAQs:
Q: How long does it take to install cork flooring?
A: The time it takes to install cork flooring will vary depending on the size of the room and the complexity of the project. On average, it can take anywhere from a few hours to a full day.
Finishing Touches
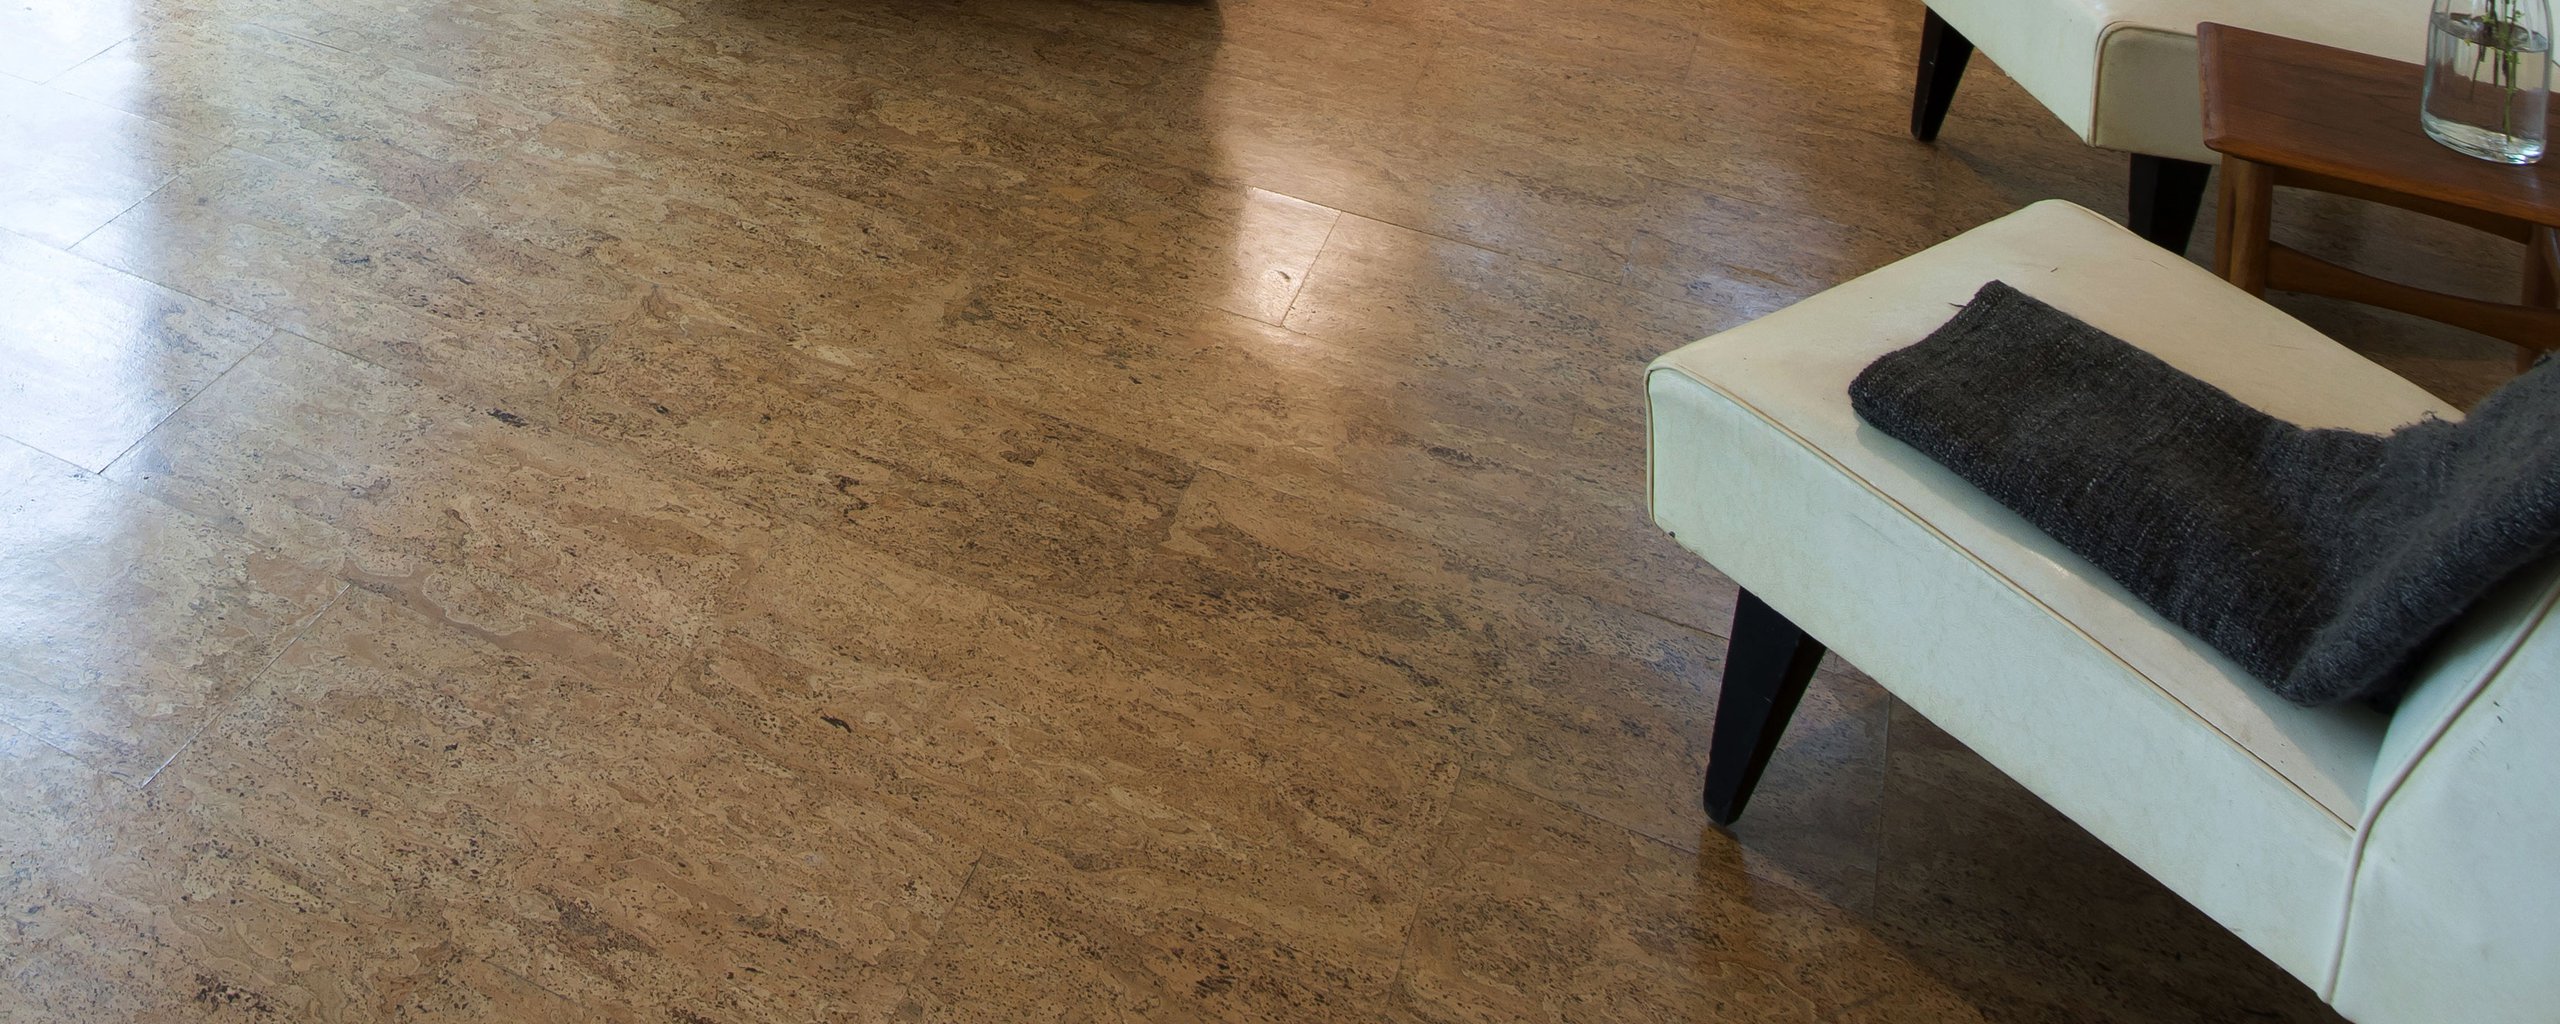
Once all of the cork flooring has been installed, you may want to add some finishing touches to complete the look. This could include adding baseboards or trim around the edges of the room, as well as applying a sealant or finish coat to protect the cork from wear and tear.
FAQs:
Q: How do I clean and maintain cork flooring?
A: To clean cork flooring, simply sweep or vacuum regularly to remove dirt and debris. For deeper cleaning, use a damp mop with a mild detergent specifically designed for use on cork floors.
In conclusion, installing DIY cork flooring can be a rewarding project that adds beauty and warmth to your home. By following these steps and tips, you can achieve professional-looking results without having to hire a professional installer. So why not give DIY cork flooring a try in your next home improvement project? Remember to take your time and carefully follow the manufacturer’s instructions for installation. With proper preparation and attention to detail, you can enjoy the benefits of cork flooring in your home for years to come. Good luck with your DIY cork flooring project! Remember, if you have any doubts or concerns, it’s always best to consult with a professional before beginning your DIY cork flooring project. They can provide guidance and ensure that the installation process goes smoothly. Good luck!