There are several places that locate this kind of polished concrete flooring quite useful. The concrete floor even offers various amounts of absorbency together with the acid offering the floor a marble result which can seem striking. Polishing the concrete floor brings out the look of the floor and actually leaves home owners with the best building material.
Here are Images about DIY Concrete Floor Tiles
DIY Concrete Floor Tiles
Polished concrete floors don't just look fantastic, in addition, they boast a broad range of benefits which mark them as being past some other choices of flooring. The coating applied to polished flooring is shiny but it's extensively tested for slip-resistance at all traffic levels. Earlier concrete floors that were also known as cement floors had merely a gray along with a boring look, but today which is not the case.
DIY Tiling: A way to build tiles for your homeu0027s flooring – Ecofriend
Polished concrete flooring is among the least expensive options as compared to other information used for flooring today. It really works with the lime articles in the floor it is quite unpredictable but usually comes out looking rather good. It is additionally a good idea to survey the concrete floor often and remove some extra substances, such as gum or stickers, and examine it for damage.
Images Related to DIY Concrete Floor Tiles
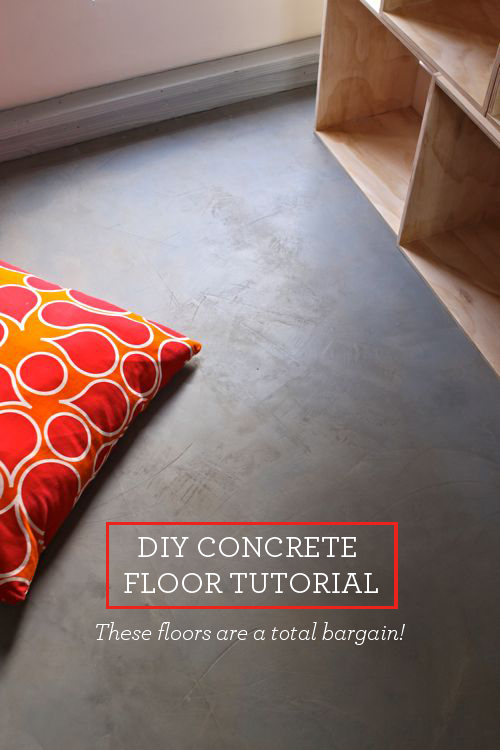
DIY Concrete Floor Cheap Home DIYs Design Mom
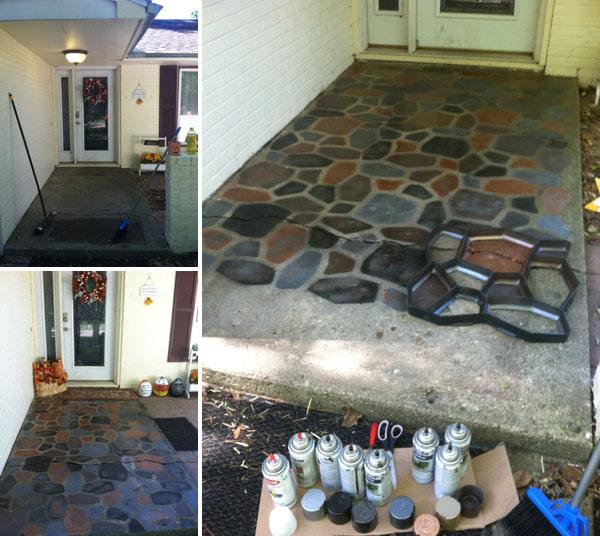
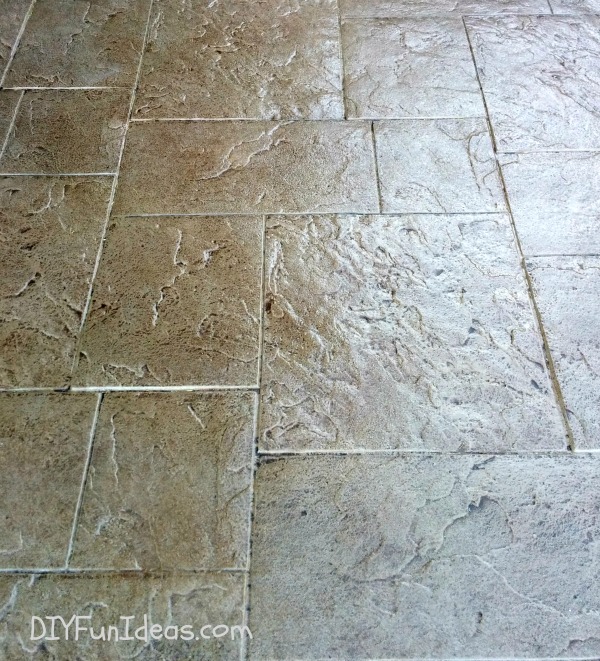
DIY STAMPED CONCRETE TILE TUTORIAL – Do-It-Yourself Fun Ideas

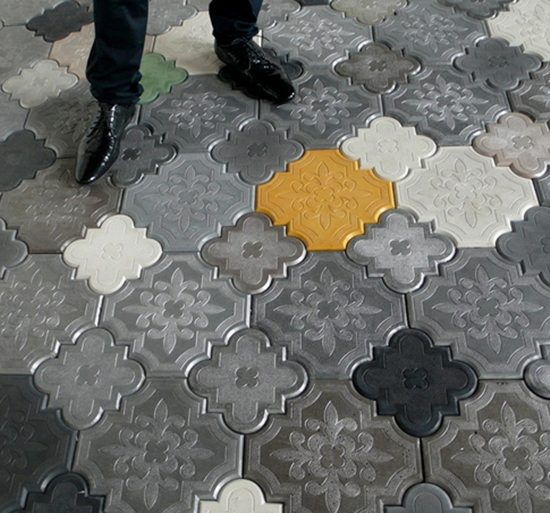
DIY Victorian Design Tile Molds (6) Make 12″ Concrete Floor Tiles For $.30 Each

DIY – ✔️ CEMENT CRAFT IDEAS ✔️ – Simple concrete coffee table with water pipe and ceramic tile

Faux Cement Tile: Bold Look, Less Hassle

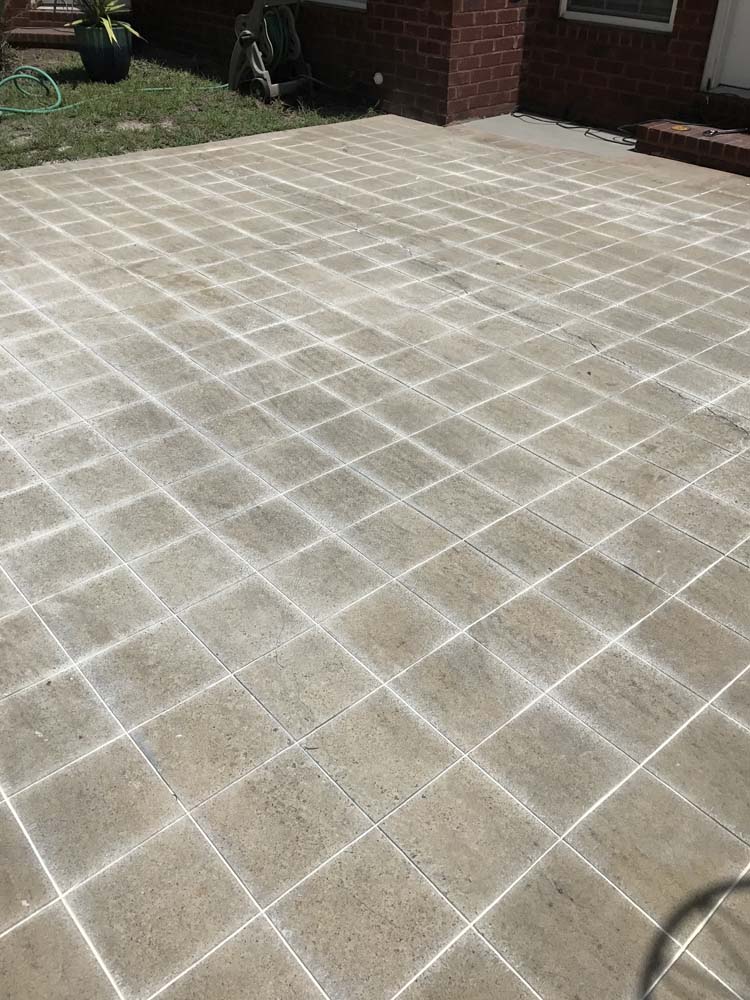
DIY Cement Tile Concrete Patio – Southern Revivals
DIY Concrete Flooring Makeover – Amazing DIY, Interior u0026 Home Design
How to Stain Concrete Part 2 Painted concrete floors, Stained

6+1 FREE DIY TILE MOLDS MAKE 100s OF 12×12 DOT CUT SLATE CONCRETE TILES $.30 EA eBay

Easy DIY Fix: Concrete Floor Stencils for Painting and Remodeling

Make Your Own Decorative Concrete Tiles

DIY STAMPED CONCRETE TILE TUTORIAL – Do-It-Yourself Fun Ideas
Related articles:
- Stained Concrete Floors Design
- Decorative Concrete Floors
- Acid Stained Concrete Floors
- Polished Concrete Floor In Bathroom
- Concrete Floor Stain And Polish
- White Mold On Concrete Floor
- Polished Concrete Floor
- Polished Concrete Floor Cleaning
- Staining Concrete Floors Indoors Yourself
- Flooring Options For Concrete Floors
DIY Concrete Floor Tiles: A Comprehensive Guide
Concrete floor tiles can be an attractive addition to any home, making it look stylish and modern. But not everyone knows how to install them correctly. This comprehensive guide will take you through the entire process of creating your own DIY concrete floor tiles from start to finish.
What is Concrete Floor Tile?
Concrete floor tile is a type of tile made from a mixture of stone, sand, cement, and water. It is durable, long-lasting, and easy to clean and maintain. It can be used both indoors and outdoors as it can withstand extreme temperatures and moisture levels. The tiles are available in a variety of colors, textures, and sizes to suit any style or design preference.
What Do You Need For DIY Concrete Floor Tiles?
Before starting your project, you must make sure that you have all the necessary supplies and tools for making the tiles. Here is what you need:
• Cement mix – this is the mixture of stone, sand, cement, and water that forms the basis of your tiles.
• Tile molds – these are used to shape each tile into its desired size and shape. They come in a variety of shapes and sizes so that you can choose the ones that best suit your needs.
• Tile sealer – after the tiles have been formed, they must be sealed with a tile sealer to protect them from moisture and dirt. This will also give them a glossy finish.
• Grout – this is used to fill in the gaps between the tiles once they have been laid down on the floor so that they stay together securely.
• Trowel – this tool is used to spread out the cement mix evenly into each mold before it sets into place. It also helps smooth out any irregularities in the surface of the tiles once they’re laid down onto the floor.
• Level – this tool is used to make sure that all of your tiles are even with one another when laid down on the floor so that there are no dips or bumps in the surface.
• Safety equipment – when working with cement mixes and other materials, safety equipment such as goggles, gloves, dust masks, etc., should always be worn to protect against dust particles and other potential hazards.
How To Make DIY Concrete Floor Tiles?
Once you have all of your supplies ready, you can start on your DIY concrete floor tile project:
1) Start by mixing together your cement mix according to the package directions. Make sure you wear protective gear when mixing as it can be messy work!
2) Once mixed, pour a small amount of mix into each tile mold and use a trowel to spread it out evenly into each mold until it’s about ¼ inch thick on all sides.
3) Let the mix set for 24 hours before removing it from its molds by gently tapping each mold with a hammer or rubber mallet until it pops out.
4) Use a level to ensure that each tile is even with one another when laid down on the floor so that there are no dips or bumps in the surface once they’re laid down onto the floor.
5) Once all of your tiles are laid down, apply a sealer to each one to protect them from moisture and dirt.
6) Finally, fill in the gaps between each tile with grout and use a damp cloth to wipe off any excess.
And there you have it – your own DIY concrete floor tiles!