Some benefits of polished concrete floor surfaces are its long life, in addition to the virtually endless style options available. Concrete flooring is perfect for warm climates as it remains cool even in probably the hottest weather. If you're setting up the floor of your home or workplace to be concreted, you'll find a couple of things you need to consider.
Here are Images about DIY Concrete Floor Leveling
DIY Concrete Floor Leveling
It's vital to have flooring that's not only comfy, but makes it possible to lead a quality life. Synthetic staining is able to form can tell is in patents on your concrete floor and may be utilized in new or even old concrete slabs. Polished concrete floors are the very best flooring selections for homeowners & designers due to the versatility of theirs, beautiful looks & long lasting capabilities.
DIY self leveling concrete Honey Built Home

more and More homeowners and designers are actually building warehouses and basements with concrete because of the look, the organic beauty, the ease in care and the warmth it brings to an area. The procedure is simple to use with state-of-the-art technology. If you walk into a put that has polished concrete flooring, you are going to realize instantly that the place is fairly comparable to marble.
Images Related to DIY Concrete Floor Leveling
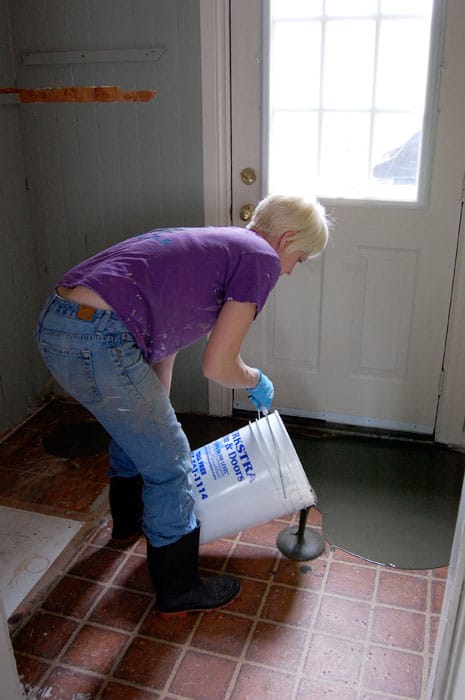
How to pour self levelling cement yourself.
How to pour self levelling cement yourself.
DIY self-leveling underlayment

How to Level a Floor – This Old House
/cdn.vox-cdn.com/uploads/chorus_image/image/69419339/iStock_1312655868.0.jpg)
Tips u0026 Tricks to Self-Level a Floor at Millieu0027s Remodel – Pretty
Self-Leveling Concrete Can Save Both Time and Money – Concrete Decor

How to Make a Floor Leveling with Concrete Self Leveling Compound MrYoucandoityourself
DIY Moment- Concrete Slab Leveling – Steveu0027s U-Cart Concrete, Inc.

18 Tips for working with Self-Leveling Underlayment
Self-Leveling Concrete: Preparing for Installation [Tips]
Can Self Leveling Concrete Be Used as a Finished Floor?
How to pour self levelling cement yourself.
Related articles:
- Stained Concrete Floors Design
- Decorative Concrete Floors
- Acid Stained Concrete Floors
- Polished Concrete Floor In Bathroom
- Concrete Floor Stain And Polish
- White Mold On Concrete Floor
- Polished Concrete Floor
- Polished Concrete Floor Cleaning
- Staining Concrete Floors Indoors Yourself
- Flooring Options For Concrete Floors
DIY Concrete Floor Leveling: Achieving a Smooth and Flawless Surface
Introduction
When it comes to home improvement projects, one aspect that often gets overlooked is the levelness of the floor. Uneven concrete floors not only affect the aesthetics of your space but can also pose safety hazards, such as tripping and slipping. Whether you’re planning to install new flooring or simply want to improve the overall look and functionality of your existing surface, leveling your concrete floor is a crucial step. Hiring professionals for this task can be costly, but fear not! With some careful planning, proper tools, and a bit of elbow grease, you can tackle this DIY project yourself. In this article, we will guide you through the process of DIY concrete floor leveling, providing detailed steps, expert tips, and answers to frequently asked questions.
I. Assessing Your Concrete Floor
Before diving into the leveling process, it’s essential to evaluate the condition of your concrete floor thoroughly. This step will help you determine whether self-leveling is necessary or if there are any underlying issues that need to be addressed beforehand.
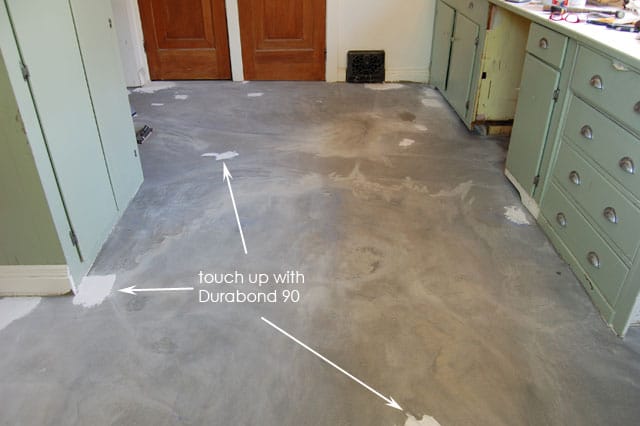
1. Identifying Uneven Areas
To identify uneven areas on your concrete floor, use a straightedge or level across different sections. Observe if there are any noticeable gaps or dips between the straightedge and the surface. Mark these areas as they will require particular attention during the leveling process.
2. Checking for Cracks
Inspect your floor for cracks that could compromise its integrity and cause leveling compounds to fail. Hairline cracks are generally harmless and can be easily filled during the leveling process. However, larger cracks may require additional treatment before proceeding with leveling.
FAQs:
Q1: Can I level my concrete floor if it has significant cracks?
A1: Leveling compounds are not designed to fix structural issues caused by large cracks in your concrete floor. It is recommended to consult a professional to assess and repair these cracks before attempting any DIY leveling projects.
Q2: How do I know if the cracks in my concrete floor are serious?
A2: If you notice wide cracks that are wider than a quarter of an inch or accompanied by vertical displacement, it’s crucial to consult a professional for a thorough inspection. These types of cracks may indicate underlying foundation problems that require immediate attention.
II. Preparing Your Concrete Floor
Once you have assessed your concrete floor and addressed any significant issues, it’s time to prepare the surface for leveling. Proper preparation ensures better adhesion and a more successful leveling outcome.
1. Cleaning the Surface
Start by sweeping and vacuuming the entire floor to remove any loose debris, dust, or dirt. For stubborn stains, use a mild detergent and water solution to scrub the affected areas. Rinse the floor thoroughly and allow it to dry completely before proceeding.
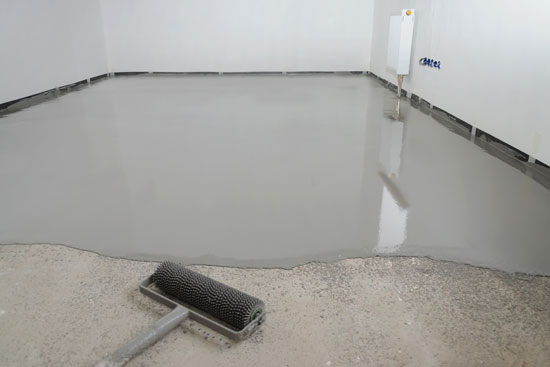
2. Priming the Surface
Applying a primer is an important step as it allows the leveling compound to adhere better to the concrete surface. Choose a primer specifically designed for self-leveling compounds and follow the manufacturer’s instructions for application. Typically, you will need to apply the primer using a paint roller or brush and allow it to dry for the recommended time.
FAQs:
Q1: Can I skip priming my concrete floor before leveling?
A1: Priming is highly recommended as it enhances adhesion between the leveling compound and the concrete surface. Skipping this step may result in poor bonding, leading to long-term issues with your leveled floor.
Q2: How long does the Primer need to dry before applying the leveling compound?
A2: The drying time for the primer can vary depending on the specific product and manufacturer. It is important to follow the instructions provided by the manufacturer for the recommended drying time before applying the leveling compound. Typically, the drying time can range from a few hours to overnight. Q3: Can I use a different type of primer for my concrete floor?
A3: It is best to use a primer specifically designed for self-leveling compounds. These primers are formulated to provide optimal adhesion and compatibility with the leveling compound. Using a different type of primer may not yield the same results and could affect the overall performance of the leveling process.
Q4: Can I apply the leveling compound before the primer is completely dry?
A4: It is important to wait until the primer is completely dry before applying the leveling compound. Applying the compound too soon can result in poor bonding and may cause issues with the levelness and durability of your floor.
III. Applying the Leveling Compound
Once the surface is properly cleaned and primed, you can proceed with applying the leveling compound to achieve a smooth and level floor surface.
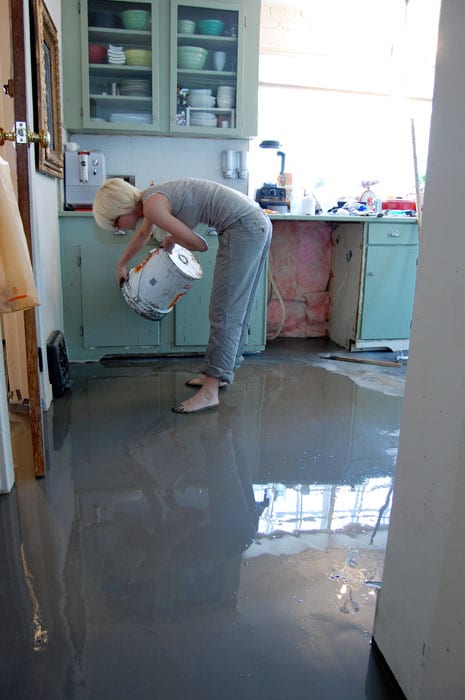
1. Mixing the Compound
Follow the manufacturer’s instructions for mixing the leveling compound. Typically, you will need to mix it with water until you achieve a smooth, pourable consistency. Use a mixing paddle attached to a drill to ensure thorough mixing.
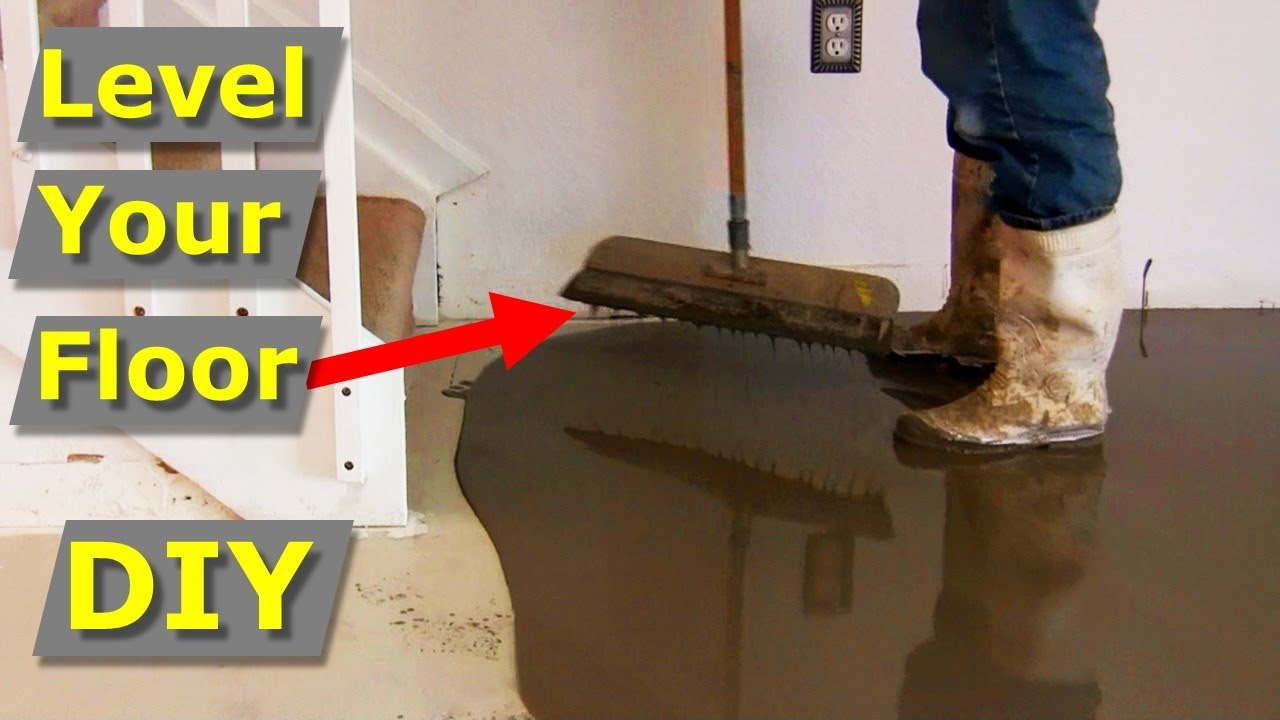
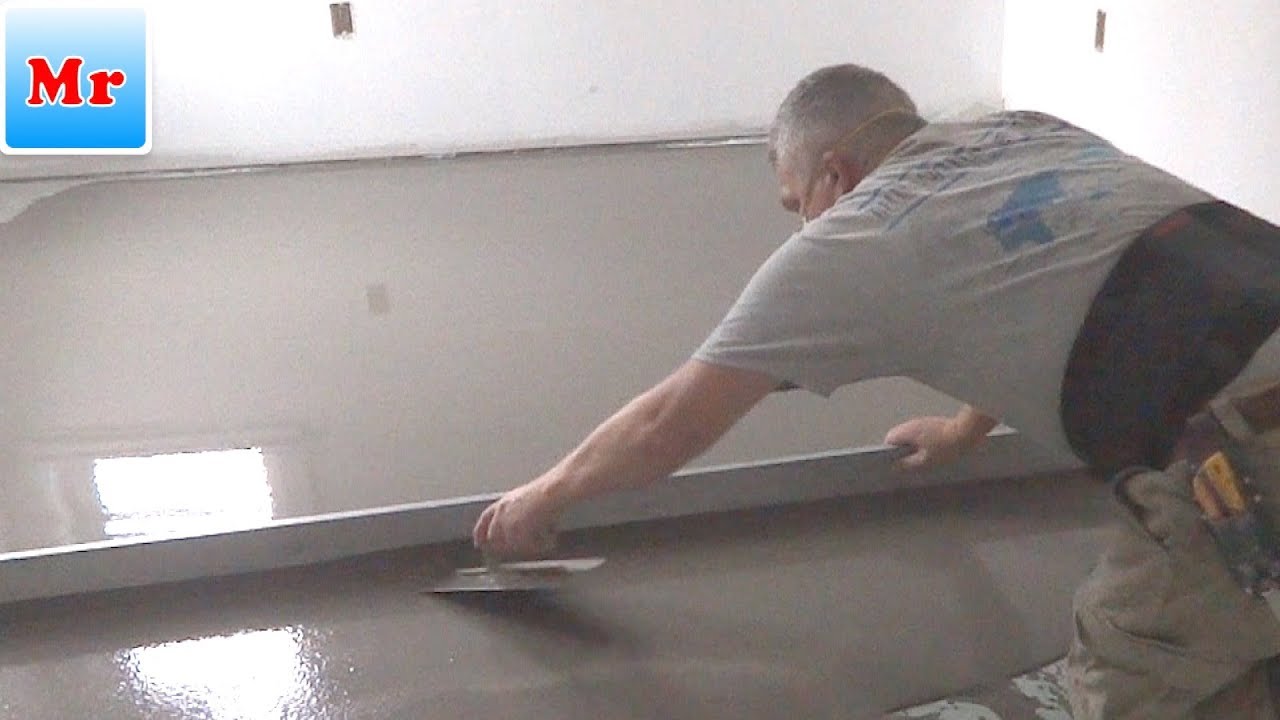
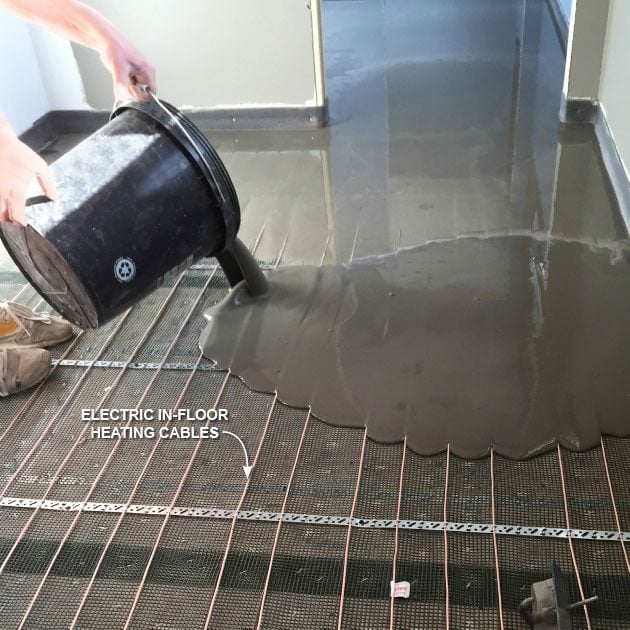
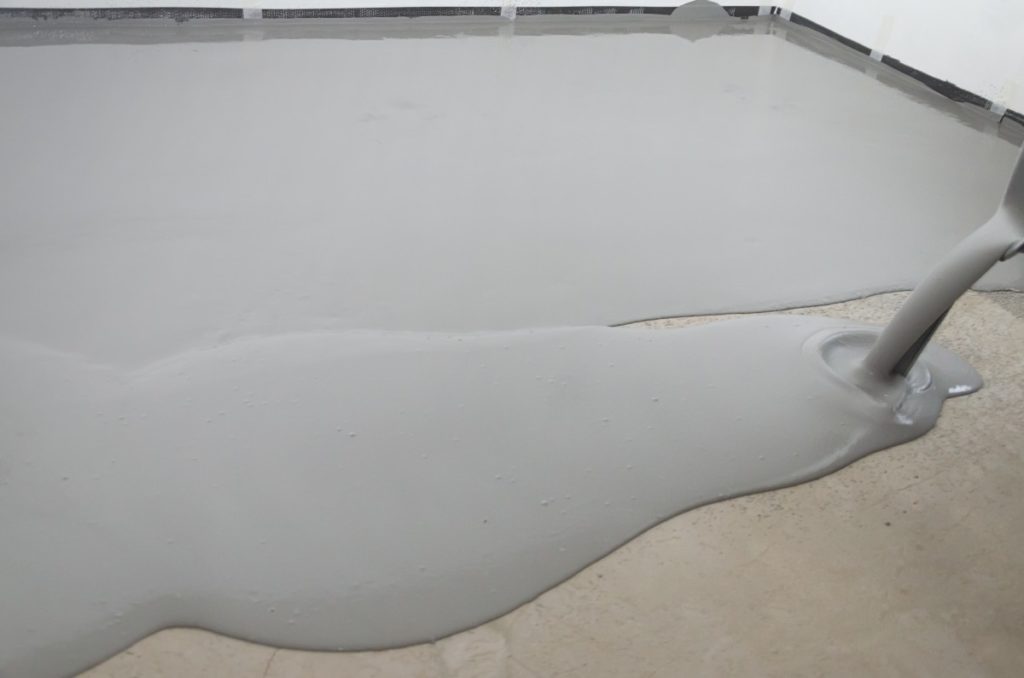
2. Pouring and Spreading
Start by pouring small amounts of the mixed leveling compound onto the floor in various areas. Use a trowel or smoothing tool to spread and level out the compound evenly across the entire floor surface. Work in small sections at a time, ensuring an even thickness and smooth finish.
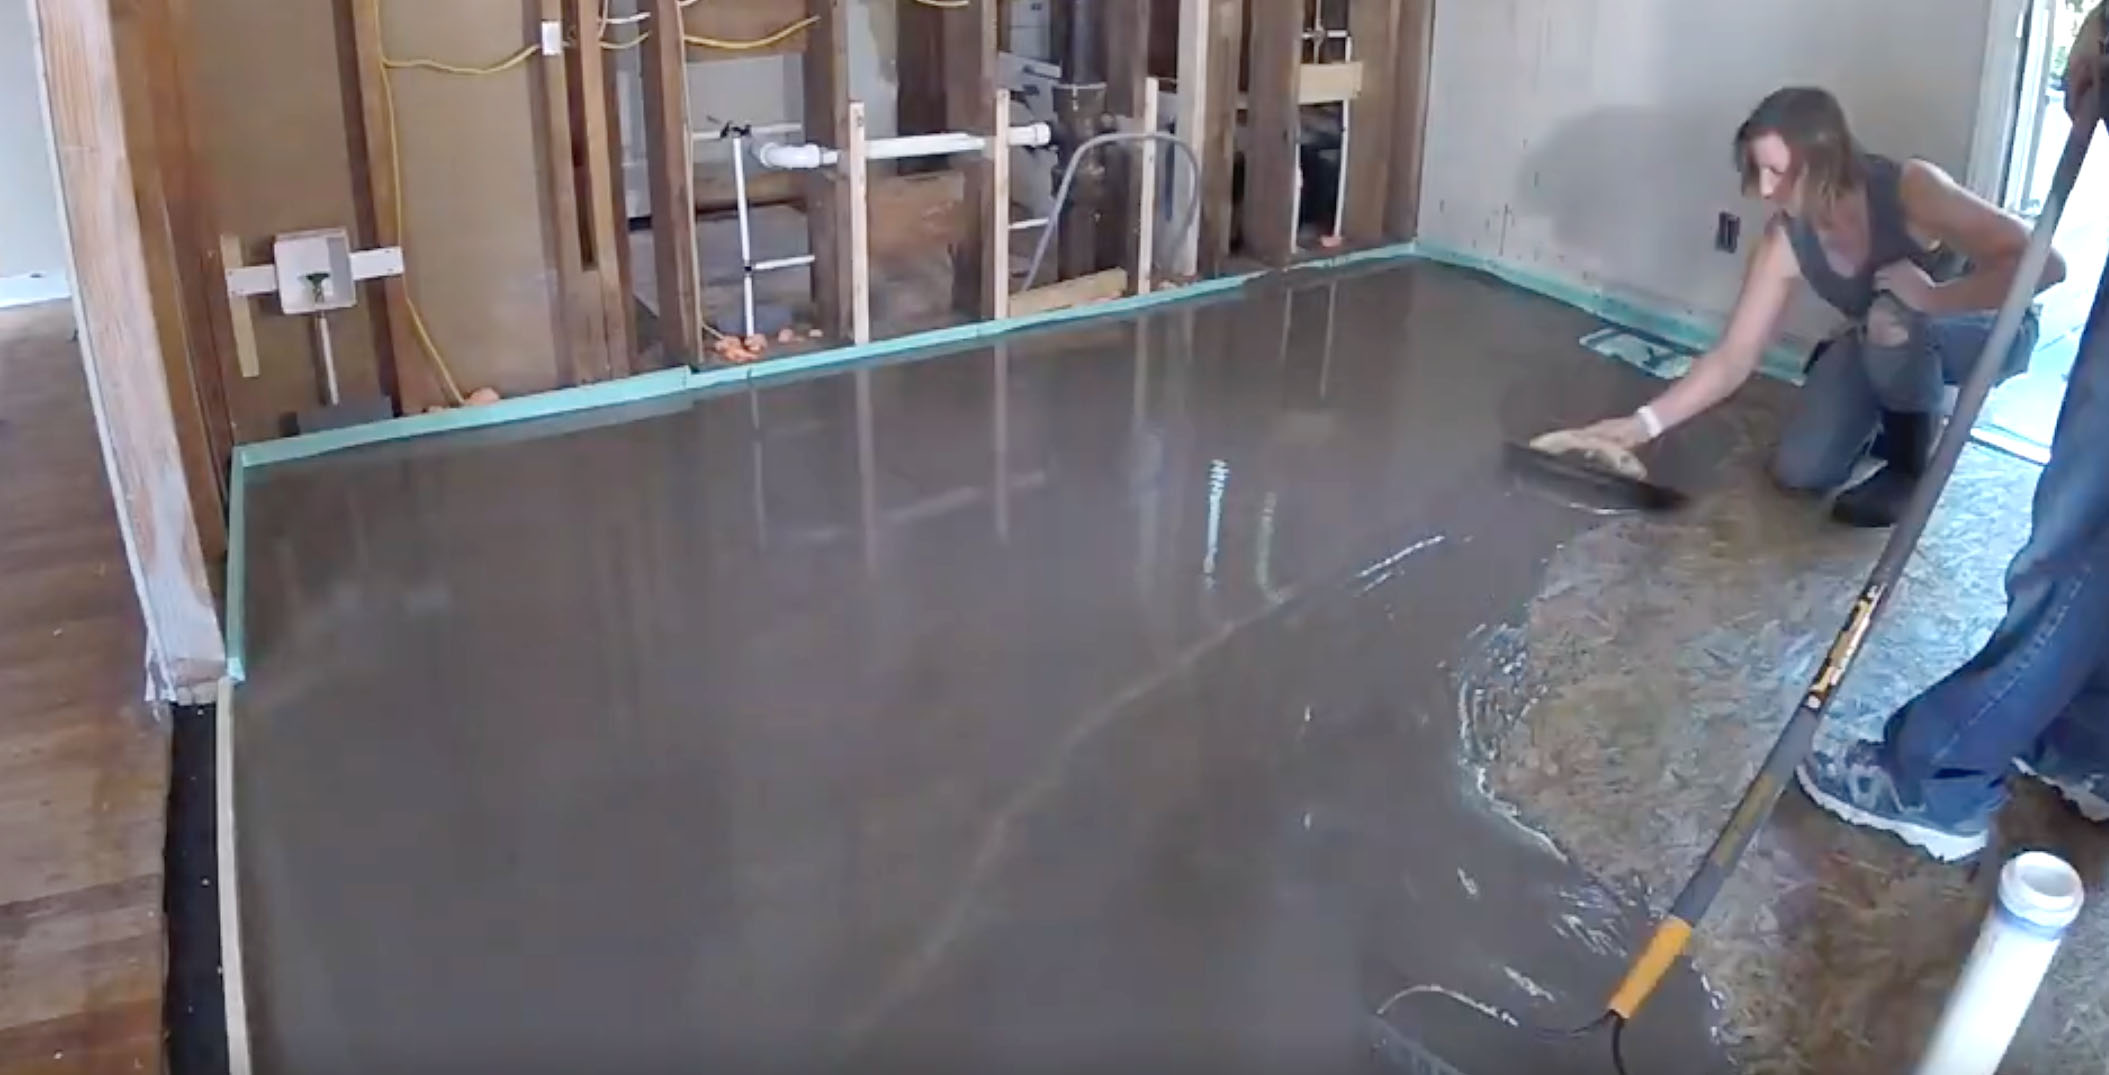
3. Smoothing and Leveling
Once you have spread the compound, use a long-handled smoothing tool or a trowel to further level and smooth out any uneven areas or excess compound. Pay extra attention to corners and edges for a seamless transition between the leveled area and adjacent surfaces.
4. Curing and Drying
Allow the leveling compound to cure and dry according to the manufacturer’s instructions. This can typically take several hours or even overnight. Avoid foot traffic or placing heavy objects on the floor until it is fully cured.
FAQs:
Q1: How long does it take for the leveling compound to fully cure?
A1: The curing time for the leveling compound can vary depending on factors such as temperature and humidity. It is best to refer to the manufacturer’s instructions for specific curing times, but generally, it can take anywhere from 12 to 24 hours.
Q2: Can I walk on the leveled floor immediately after applying the leveling compound?
A2: It is recommended to wait until the leveling compound is fully cured before walking on the floor. Walking on it too soon can disrupt the leveling process and affect the final result.
Q3: Can I apply a second layer of leveling compound if needed?
A3: Yes, you can apply a second layer of leveling compound if necessary to achieve the desired levelness. However, make sure to follow the manufacturer’s instructions and allow sufficient drying time between layers.