Always seek qualified and encountered floor covering installer with references, when choosing a specialist. Added to this particular, cork flooring is anti-microbial, which implies it's reluctant to pests, germs and allergens. First and foremost you're most likely wondering how any sort of type of wood based flooring item is usually green. 00 a square feet for 3' planks, rates for these floors have remained consistent for a selection of years.
Here are Images about Cork Floor Over Tile
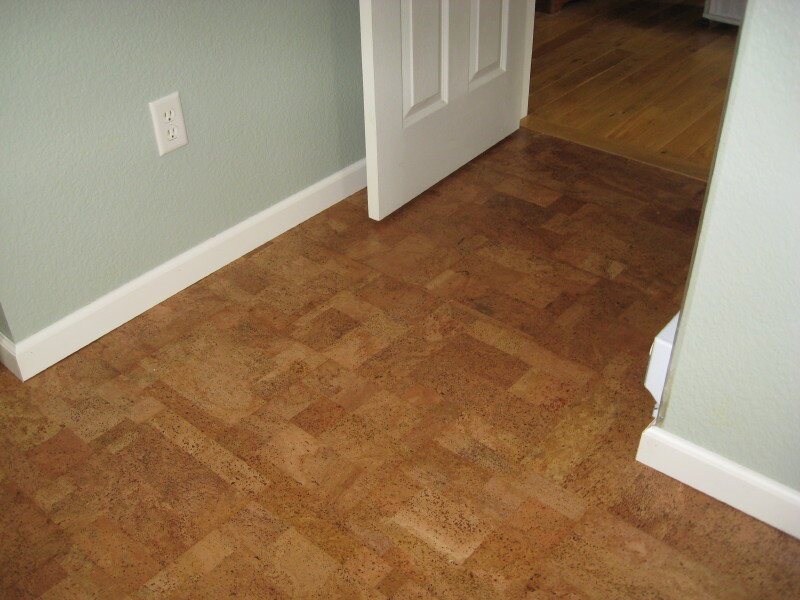
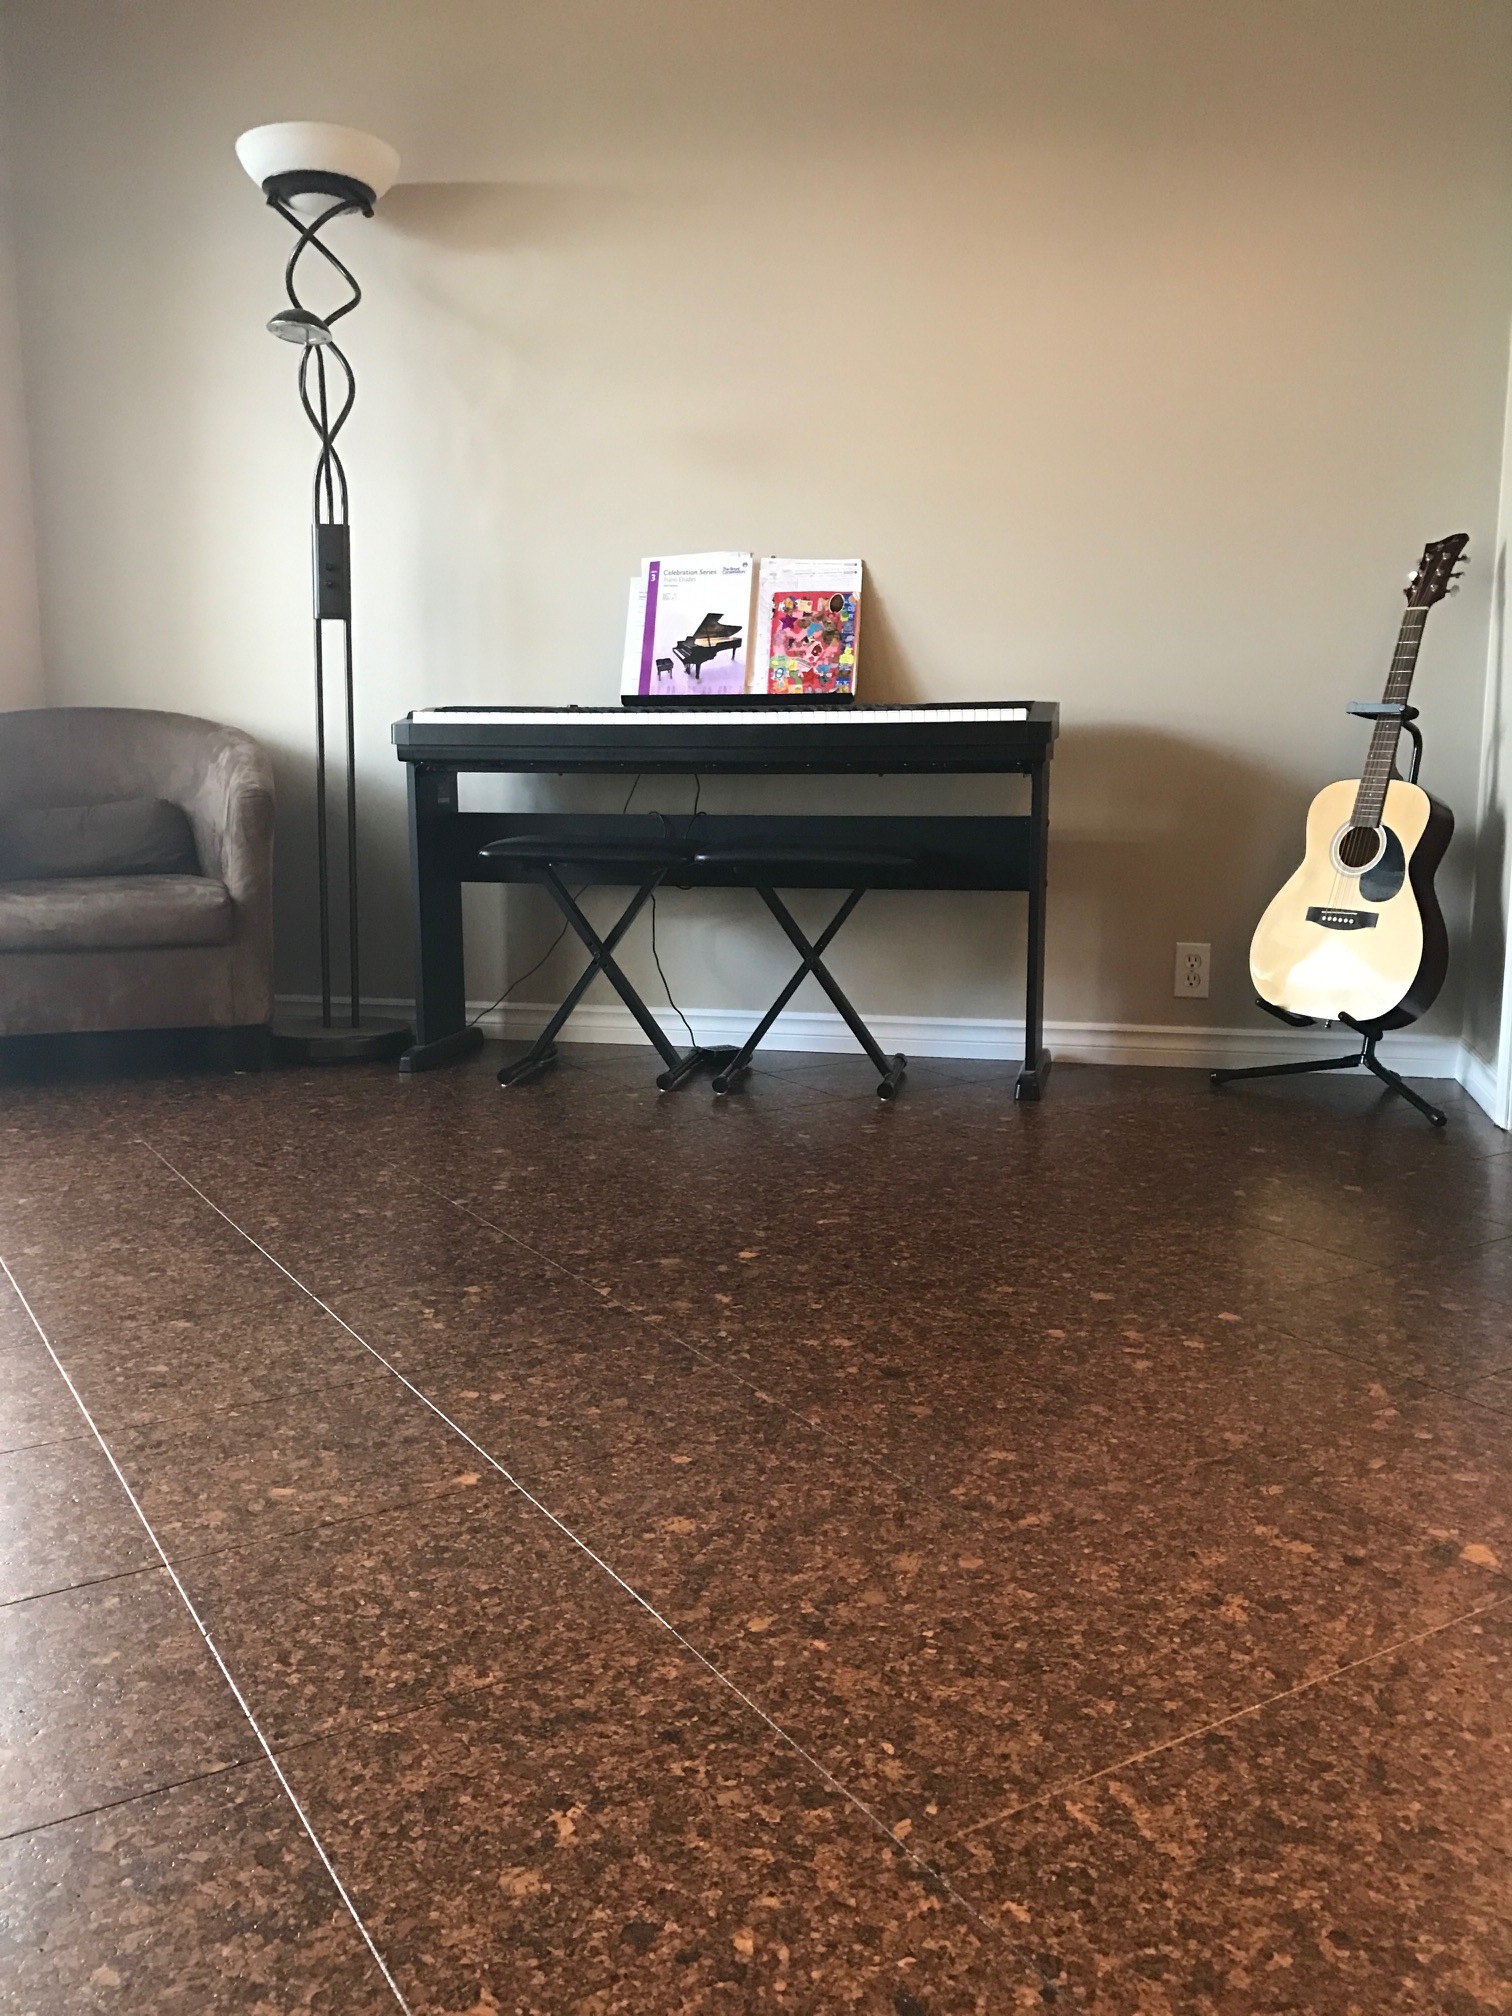
Cork Floor Over Tile
/cdn.vox-cdn.com/uploads/chorus_image/image/65892042/h1006handbook08.0.jpg)
Cork substance is created solely from the bark of Quercus suber (cork oak tree). On the list of nicer factors of cook flooring is it's not necessary to bring down trees to pick the material. If you spill something on a cork floor, you do not need to worry about staining or perhaps any additional damage, you just wipe it up, as well as the mess is gone.
Cork Flooring Pros and Cons
/cork-flooring-pros-and-cons-1314688_hero_0032-9ed702033d384a5aad92329dc679a300.jpg)
Since 1890 the very first Congregational Church in Chicago has experienced their cork floor that shows amazing durability. By this point you ought to realize that cork is an eco friendly materials and great for the earth. It is almost a shame to miss any chance to run this green material each day. The floor will not absorb dust or let some molds or fungi to develop.
Images Related to Cork Floor Over Tile
Cork Flooring Pros and Cons
:max_bytes(150000):strip_icc()/cork-flooring-pros-and-cons-1314688_cleaning_0040-d62159c2ce18440a9f2f035e64a9ac25.jpg)
Advantages Of A Cork Floating Floor Over Glue-Down Cork Tiles

How to Seal Cork Flooring – A DIY Guide BuildDirectLearning Center

Cork Glue Down Floors u2014 Jelinek Cork Group®
Yay Cork Flooring Going Over Bad Kitchen Tile Brand – Decoratorist

Cork Flooring, Cork Floating Floors, Cork Tiles u2014 Jelinek Cork Group®
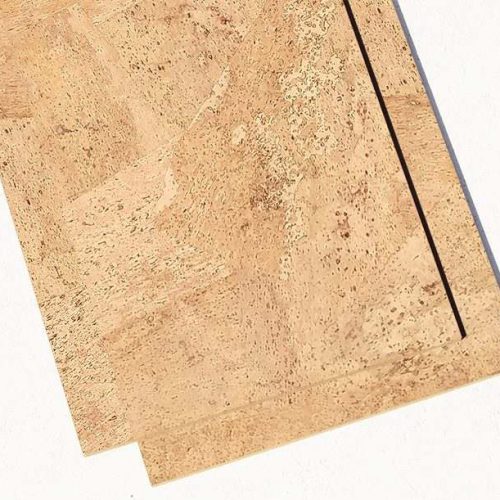
Cork Flooring Samples Samples of Cork Floor Tiles AmCork

Bespoke Cork Flooring Wicanders Flooring Puretree Cork
Cork Glue Down Floors u2014 Jelinek Cork Group®

YAY! Cork Flooring Going Over Bad Kitchen Tile!!! (brand, hang

Cork Flooring Pros and Cons
/cork-flooring-pros-and-cons-1314688_hero_0032-9ed702033d384a5aad92329dc679a300.jpg)
Logan – 1/4 Inch (6mm) – Cork Tile Glue Down (Floor and Wall)
Related articles:
- Vintage Cork Floor
- Cork Flooring For Bathroom
- How To Clean Cork Flooring
- Cork Flooring Laundry Room
- Cork Floor Tiles
- Underlayment For Cork Floor
- Laying Cork Flooring
- Floating Cork Flooring
- Disadvantages Of Cork Floors
- Cork Floor Colours
Cork Floor Over Tile: A Sustainable and Stylish Flooring Option
Introduction:
When it comes to flooring options, cork has become increasingly popular due to its sustainable nature, durability, and unique aesthetic appeal. If you have existing tile flooring and are considering a change, cork floor over tile can be a fantastic option. This article will guide you through the process of installing cork flooring over tile, explaining the benefits, answering frequently asked questions (FAQs), and providing detailed instructions for a successful installation.
Benefits of Cork Flooring:
Before delving into the specifics of installing cork floor over tile, let’s explore the numerous benefits this type of flooring offers:
1. Sustainability: Cork is an eco-friendly material as it is harvested from the bark of cork oak trees, which naturally regenerate every nine to fourteen years. This renewable source makes cork flooring an environmentally responsible choice.
2. Durability: Despite its soft and cushiony feel underfoot, cork flooring is surprisingly durable. It can withstand heavy foot traffic without showing signs of wear and tear. Additionally, cork has natural antimicrobial properties that resist mold and mildew growth.
3. Comfort: The unique cellular structure of cork provides excellent insulation against temperature fluctuations. It also offers a cushioning effect that reduces strain on joints and muscles, making it comfortable to walk or stand on for extended periods.
4. Soundproofing: Cork’s cellular composition absorbs sound effectively, making it an excellent choice for reducing noise transmission between floors. Whether you live in an apartment building or have a busy household, installing cork floor over tile can significantly reduce noise levels.
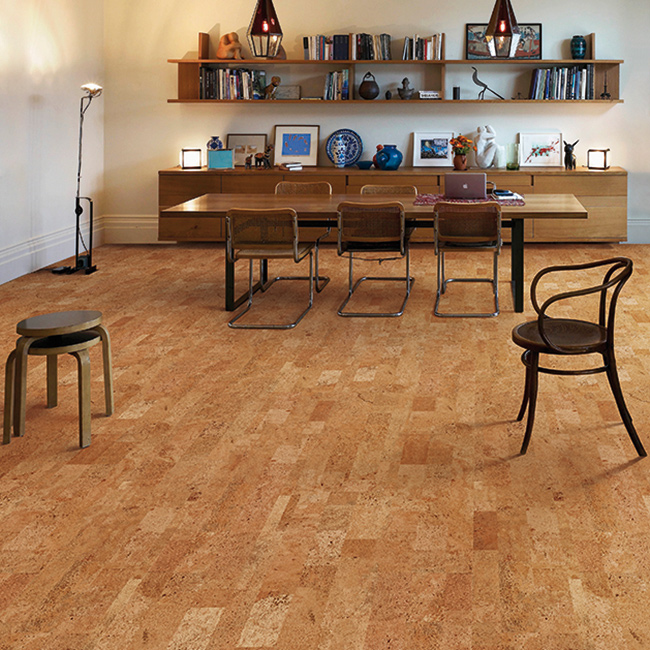
5. Aesthetics: Cork flooring comes in a wide variety of colors, patterns, and textures to suit any interior design style. From traditional to contemporary aesthetics, there is a cork flooring option that will enhance the overall look of your space.
Installing Cork Floor Over Tile:
Now that we’ve covered the benefits of cork flooring let’s dive into the process of installing cork floor over tile. Please note that these instructions assume you have thoroughly cleaned and prepared the existing tile floor before installation.
1. Gather the necessary materials:
– Cork flooring tiles or planks
– Adhesive suitable for cork flooring
– Trowel or adhesive applicator
– Utility knife or saw for cutting the cork
– Measuring tape and pencil for marking cuts
– Rubber mallet for tapping the cork into place
– Rolling pin or floor roller to ensure proper adhesion
2. Prepare the subfloor:
– Ensure that the existing tile floor is clean, dry, and free from any loose tiles or grout.
– If there are any cracks or uneven areas, use a leveling compound to create a smooth surface.
3. Measure and plan the layout:
– Measure the dimensions of your room to determine how many cork tiles or planks you will need.
– Plan the layout by starting in one corner and working your way across the room, allowing for expansion gaps around the perimeter.
4. Apply adhesive and lay the cork flooring:
– Follow the manufacturer’s instructions for applying adhesive to the back of each cork tile or plank.
– Begin in the corner of the room and press each piece firmly into place, ensuring they are aligned correctly.
– Use a rubber mallet to gently tap each tile or plank, ensuring a secure bond with the adhesive.
– Continue laying cork flooring until you reach the opposite wall, cutting pieces as necessary to fit. 5. Secure and roll the cork flooring:
– Once all the cork flooring is laid, use a rolling pin or floor roller to ensure proper adhesion and eliminate any air bubbles.
– Roll over the entire surface of the floor, applying even pressure to ensure a secure bond between the cork and adhesive.
6. Trim and finish the edges:
– Use a utility knife or saw to trim any excess cork around the edges of the room.
– Install baseboards or molding to cover the expansion gaps and give a finished look to your newly installed cork floor.
7. Allow time for curing:
– Follow the manufacturer’s instructions for curing time. Typically, cork flooring requires 24-48 hours to fully cure before allowing foot traffic.
– Avoid moving heavy furniture or placing rugs on the newly installed cork floor until it has completely cured.
By following these steps, you can successfully install cork flooring over tile. Remember to always follow manufacturer’s instructions for both the cork flooring and adhesive used for installation. Enjoy your new comfortable, soundproof, and visually appealing cork floor! To install cork flooring over tile, you will need the following tools and materials:
– Cork tiles or planks
– Adhesive
– Utility knife or saw for cutting the cork
– Measuring tape and pencil for marking cuts
– Rubber mallet for tapping the cork into place
– Rolling pin or floor roller to ensure proper adhesion
Here are the steps to follow:
1. Prepare the subfloor:
– Make sure the existing tile floor is clean, dry, and free from any loose tiles or grout.
– Use a leveling compound to fill in any cracks or uneven areas and create a smooth surface.
2. Measure and plan the layout:
– Measure the dimensions of your room to determine how many cork tiles or planks you will need.
– Start in one corner of the room and plan the layout, allowing for expansion gaps around the perimeter.
3. Apply adhesive and lay the cork flooring:
– Follow the manufacturer’s instructions for applying adhesive to the back of each cork tile or plank.
– Begin in the corner of the room and press each piece firmly into place, ensuring they are aligned correctly.
– Use a rubber mallet to gently tap each tile or plank, ensuring a secure bond with the adhesive.
– Continue laying cork flooring until you reach the opposite wall, cutting pieces as necessary to fit.
4. Secure and roll the cork flooring:
– Once all the cork flooring is laid, use a rolling pin or floor roller to ensure proper adhesion and eliminate any air bubbles.
– Roll over the entire surface of the floor, applying even pressure to ensure a secure bond between the cork and adhesive.
5. Trim and finish the edges:
– Use a utility knife or saw to trim any excess cork around the edges of the room.
– Install baseboards or molding to cover the expansion gaps and give a finished look to your newly installed cork floor.
6. Allow time for curing:
– Follow the manufacturer’s instructions for curing time. Typically, cork flooring requires 24-48 hours to fully cure before allowing foot traffic.
– Avoid moving heavy furniture or placing rugs on the newly installed cork floor until it has completely cured.
By following these steps and adhering to the manufacturer’s instructions, you can successfully install cork flooring over tile. Enjoy your new comfortable, soundproof, and visually appealing cork floor!