We'd recommend covering the floor in food long-lasting while you move furniture or heavy appliances round so you've a defined road to make when carrying heavy items. There also patterns and various kinds of textures available in the market which might compliment the taste of yours and to the budget of yours. But, the material itself is quite flexible to step on, so that it is very nice to walk on.
Images Related to Cheap Vinyl Flooring Malaysia
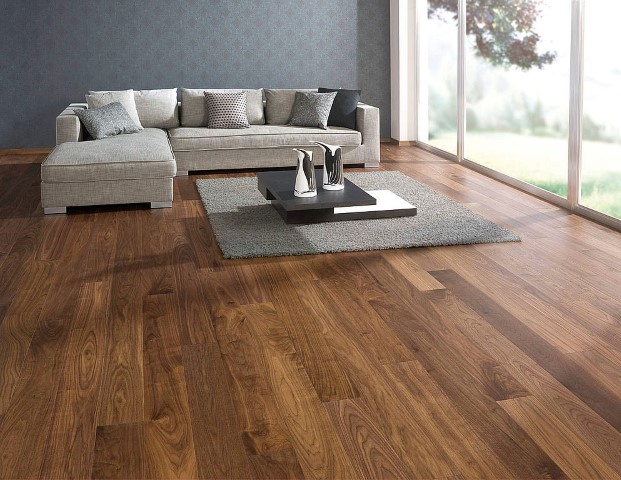
Cheap Vinyl Flooring Malaysia
Vinyl kitchen flooring is long-lasting, practical, economical, and beautiful. Vinyl flooring comes in two forms. Once your new floor is cut, inserted and fixed, bear in mind a few suggestions to ensure that it stays shipshape. Although you have a doormat to keep as a result of dirt which comes out of the outside, some dust can easily still are able to get inside and accumulate in the flooring of yours.
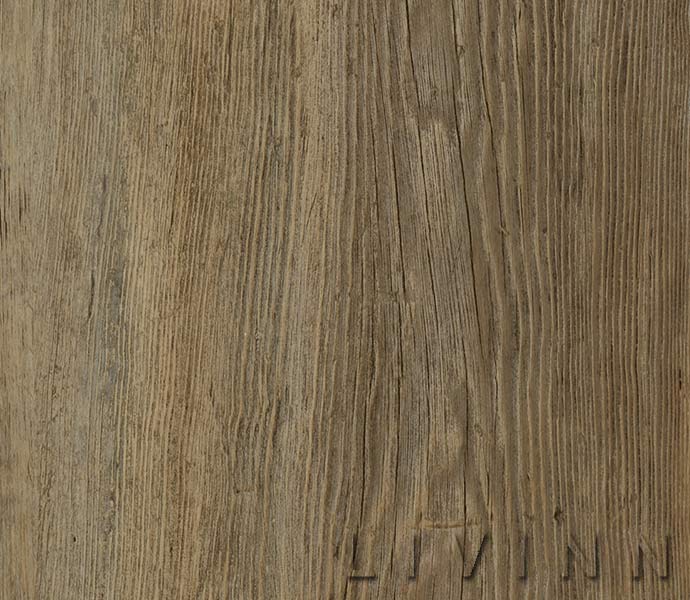
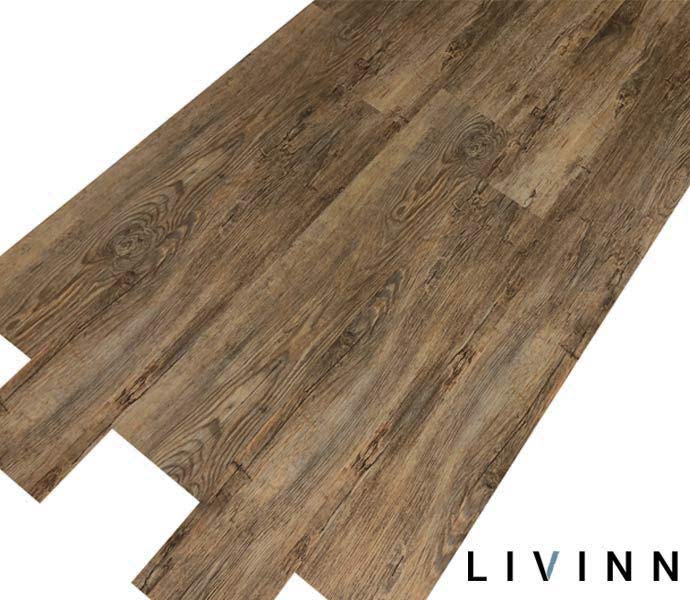
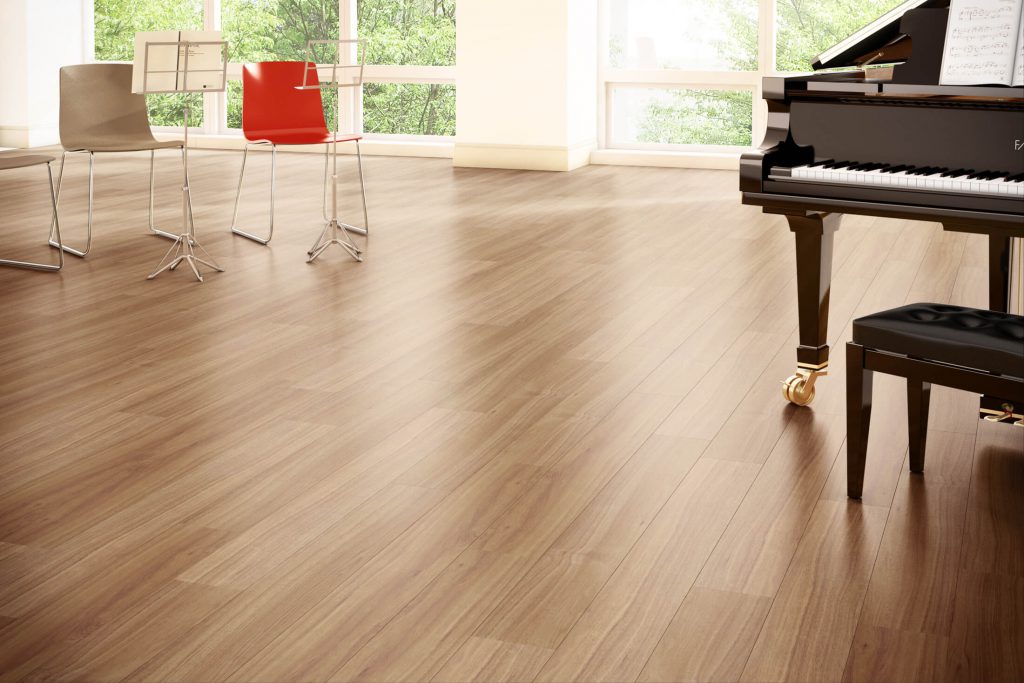
3mm Cheap Vinyl Flooring Malaysia – LIVINN Brand Korean Vinyl
Tiles and Solid Pieces Vinyl sheet will do well in any room in the home of yours. Avoid employing an overly soaked mop, especially over the vinyl tiles. This is because in spite of the rich luxurious look of its, the price is very affordable. Just before you decide to go with a vinyl floors it's essential to balance the pro's and con's of vinyl floors. Unlike a few years back, vinyl flooring wore readily.
China Bathroom Vinyl Floor Waterproof PVC Spc Flooring for

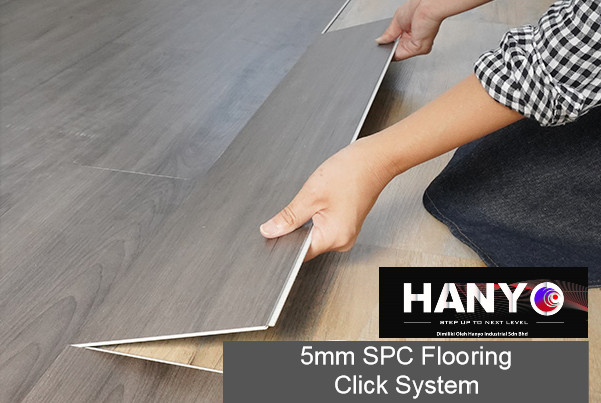
SPC Flooring Malaysia u2013 HANYO vinyl flooring factory malaysia
Vinyl Flooring u2013 iLivinghomes The beauty of natural living style

Vinyl Flooring Malaysia Best Vinyl Flooring Company

No.1 Luxury Vinyl Flooring Tiles in Malaysia – LIVINN Brand

Vinyl flooring beginneru0027s guide for Malaysian homes – Recommend.my
Vinyl Flooring Installation Malaysia, KL, Klang, Puchong, Nilai
China Export Cheap Dance Floor 3mm 5mm 2mm PVC Flooring Malaysia

Sheet Vinyl Flooring Malaysia Sheet Vinyl Flooring Supplier

Vinyl Flooring u2013 iLivinghomes The beauty of natural living style

Vinyl Floor Installation Chicago – Peter Flooring Hardwood
Vinyl Flooring And Vinyl Floor Tiles: The 8 Pros And Cons
Related articles:
- Vinyl Flooring Bathroom Tile
- Modern Vinyl Flooring
- Funky Vinyl Flooring
- Vinyl Flooring For Kitchen
- Vintage Look Vinyl Flooring
- Kitchen Vinyl Floor Tiles Ideas
- Vinyl Flooring With Wood Look
- Waterproof Vinyl Flooring
- Vinyl Flooring For Cheap
- How To Remove Vinyl Flooring
Cheap Vinyl Flooring Malaysia: Affordable and Stylish Flooring Solution
Vinyl flooring has gained immense popularity in recent years due to its affordability, durability, and versatility. In Malaysia, where the demand for cost-effective yet stylish flooring options is high, cheap vinyl flooring has emerged as a go-to solution for homeowners and businesses alike. This article aims to delve into the world of cheap vinyl flooring in Malaysia, exploring its benefits, types, installation process, maintenance tips, and frequently asked questions.
I. Introduction to Cheap Vinyl Flooring
Vinyl flooring is a synthetic flooring material that replicates the look of natural materials such as wood or stone. It is composed of multiple layers, including a wear layer, printed design layer, and backing layer. The affordable price point of cheap vinyl flooring makes it an attractive choice for budget-conscious individuals without compromising on quality or aesthetics.
II. Benefits of Cheap Vinyl Flooring
a) Cost-Effective:
Cheap vinyl flooring offers an economical alternative to other flooring options such as hardwood or ceramic tiles. Its affordable price tag combined with its long-lasting nature makes it a cost-effective choice for both residential and commercial spaces.
b) Durability:
One of the key advantages of cheap vinyl flooring is its durability. It is highly resistant to scratches, stains, and dents, making it ideal for high-traffic areas such as living rooms, kitchens, and hallways. Additionally, vinyl flooring is water-resistant or waterproof depending on the type chosen, adding to its longevity.
c) Easy Installation:
Installing cheap vinyl flooring is a relatively simple process that can be done by homeowners themselves. With the availability of click-lock systems or self-adhesive options, DIY enthusiasts can save on installation costs by opting for this hassle-free method.
d) Wide Variety of Designs:
Cheap vinyl flooring offers an extensive range of designs and patterns to suit different interior styles and preferences. Whether you desire the warm tones of wood or the elegance of stone, there is a vinyl flooring option to match your aesthetic vision.
III. Types of Cheap Vinyl Flooring
a) Sheet Vinyl Flooring:
Sheet vinyl flooring comes in large rolls and is ideal for covering large areas seamlessly. It offers a smooth and continuous surface without the need for seams, making it easy to clean and maintain. This type of vinyl flooring is often found in commercial spaces due to its durability and low maintenance requirements.
b) Vinyl Plank Flooring:
Vinyl plank flooring mimics the appearance of real hardwood planks, providing an authentic wood look at a fraction of the cost. It is available in various sizes and finishes, allowing homeowners to achieve their desired aesthetics without breaking the bank.
c) Vinyl Tile Flooring:
Vinyl tile flooring replicates the look of ceramic or porcelain tiles, offering a versatile and budget-friendly alternative. It is available in different sizes, shapes, and patterns, enabling homeowners to create unique designs and layouts.
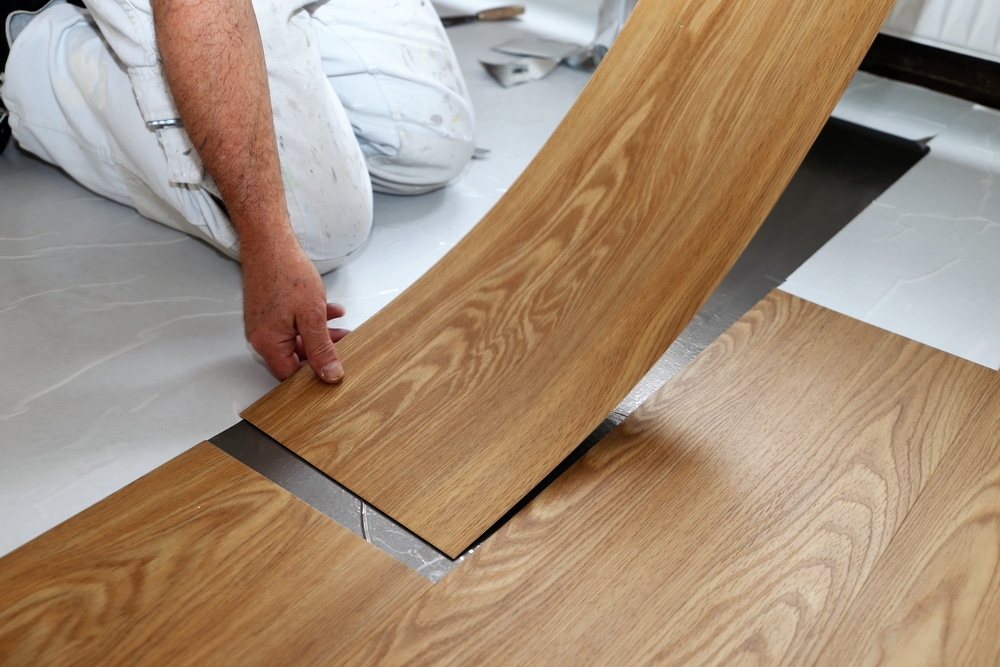
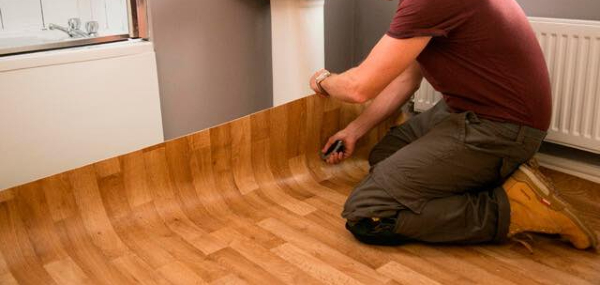
IV. Installation Process of Cheap Vinyl Flooring
Installing cheap vinyl flooring requires careful preparation and attention to detail. Here are the general steps involved in the installation process:
1. Preparation:
– Clear the room of any furniture or obstacles.
– Ensure that the subfloor is clean, dry, and level.
– Remove any existing flooring materials if necessary.
2. Acclimation:
– Unroll or unpack the vinyl flooring in the room where it will be installed.
– Allow it to acclimate to the room’s temperature and humidity for at least 24 hours.
3. Subfloor Preparation:
– Fill in any cracks or uneven areas On the subfloor using a leveling compound or floor patching compound.
– Sand down any high spots on the subfloor to create a smooth surface.
– Clean the subfloor to remove any dust or debris that could affect the adhesion of the vinyl flooring.
4. Layout and Cutting:
– Measure and mark the center of the room to determine the starting point for laying the vinyl flooring.
– Lay out the vinyl flooring planks or tiles in a dry run to ensure proper fit and alignment.
– Use a utility knife or vinyl cutter to cut the planks or tiles to fit around obstacles, such as doorways or corners.
5. Adhesive Application:
– Apply adhesive according to the manufacturer’s instructions, using a trowel or roller.
– Allow the adhesive to set for the recommended amount of time before laying the vinyl flooring.
6. Installation:
– Start laying the vinyl flooring from the center of the room, working towards the walls.
– Press down firmly on each plank or tile to ensure proper adhesion.
– Use a rolling pin or floor roller to further secure the vinyl flooring in place.
7. Finishing Touches:
– Install baseboards or trim along the edges of the room to cover any gaps between the vinyl flooring and walls.
– Clean up any adhesive residue or excess materials.
Overall, cheap vinyl flooring is a cost-effective and durable option for homeowners looking for an affordable yet stylish flooring solution. With its easy installation process and wide variety of designs, vinyl flooring offers a practical and attractive choice for any room in the house. Installing cheap vinyl flooring requires careful preparation and attention to detail. Here are the general steps involved in the installation process:
1. Preparation:
– Clear the room of any furniture or obstacles.
– Ensure that the subfloor is clean, dry, and level.
– Remove any existing flooring materials if necessary.
2. Acclimation:
– Unroll or unpack the vinyl flooring in the room where it will be installed.
– Allow it to acclimate to the room’s temperature and humidity for at least 24 hours.
3. Subfloor Preparation:
– Fill in any cracks or uneven areas on the subfloor using a leveling compound or floor patching compound.
– Sand down any high spots on the subfloor to create a smooth surface.
– Clean the subfloor to remove any dust or debris that could affect the adhesion of the vinyl flooring.
4. Layout and Cutting:
– Measure and mark the center of the room to determine the starting point for laying the vinyl flooring.
– Lay out the vinyl flooring planks or tiles in a dry run to ensure proper fit and alignment.
– Use a utility knife or vinyl cutter to cut the planks or tiles to fit around obstacles, such as doorways or corners.
5. Adhesive Application:
– Apply adhesive according to the manufacturer’s instructions, using a trowel or roller.
– Allow the adhesive to set for the recommended amount of time before laying the vinyl flooring.
6. Installation:
– Start laying the vinyl flooring from the center of the room, working towards the walls.
– Press down firmly on each plank or tile to ensure proper adhesion.
– Use a rolling pin or floor roller to further secure the vinyl flooring in place.
7. Finishing Touches:
– Install baseboards or trim along the edges of the room to cover any gaps between the vinyl flooring and walls.
– Clean up any adhesive residue or excess materials.
Overall, cheap vinyl flooring is a cost-effective and durable option for homeowners looking for an affordable yet stylish flooring solution. With its easy installation process and wide variety of designs, vinyl flooring offers a practical and attractive choice for any room in the house.