Affordable Materials
Finding affordable materials is the first step in a cost-effective DIY hardwood flooring project. Consider using reclaimed or surplus wood, which can often be found at salvage yards or online marketplaces. Engineered hardwood is another budget-friendly option, providing the look of real wood at a lower cost. By sourcing materials wisely, you can significantly reduce the overall expense of your flooring project without compromising on quality or aesthetics.
Preparation and Planning
Proper preparation and planning are crucial for a successful DIY hardwood flooring installation. Begin by measuring your space accurately to determine the amount of material needed. Make sure your subfloor is clean, level, and dry before installation. Gather all necessary tools, such as a saw, nail gun, and adhesive. Planning your layout, including the direction of the planks and any pattern you wish to create, ensures a smooth and efficient installation process.
Installation Techniques
There are several installation techniques for DIY hardwood flooring, including nail-down, glue-down, and floating methods. The nail-down method involves securing the planks to the subfloor with nails or staples. The glue-down method requires applying adhesive to the subfloor and pressing the planks into place. The floating method involves interlocking planks that “float” above the subfloor without the need for nails or glue. Each method has its pros and cons, so choose the one that best suits your skills and preferences.
Finishing Touches
Once the flooring is installed, adding finishing touches enhances the overall look. Sanding the surface ensures a smooth and even finish, while applying a protective coat of polyurethane or natural oil preserves the wood and adds shine. Baseboards or moldings can be installed to cover gaps between the floor and walls, giving your project a polished and professional appearance. These finishing touches not only improve aesthetics but also increase the longevity of your flooring.
Maintenance Tips
Maintaining your hardwood floor is essential to keeping it looking its best. Regular sweeping or vacuuming removes dirt and debris, while occasional mopping with a damp cloth keeps the surface clean. Avoid using harsh chemicals or excessive water, as they can damage the wood. Place felt pads under furniture legs to prevent scratches and use rugs in high-traffic areas for added protection. Proper maintenance ensures that your DIY hardwood floor remains beautiful and durable for years to come.
Cost-Saving Benefits
DIY hardwood flooring offers several cost-saving benefits. By handling the installation yourself, you save on labor costs, which can be a significant portion of the overall expense. Additionally, choosing affordable materials and sourcing them wisely further reduces costs. The satisfaction of completing the project yourself and the ability to customize your flooring to your taste are bonuses. With careful planning and execution, you can achieve a stunning hardwood floor on a budget.
Here are Images about Cheap DIY Hardwood Flooring
Cheap DIY Hardwood Flooring
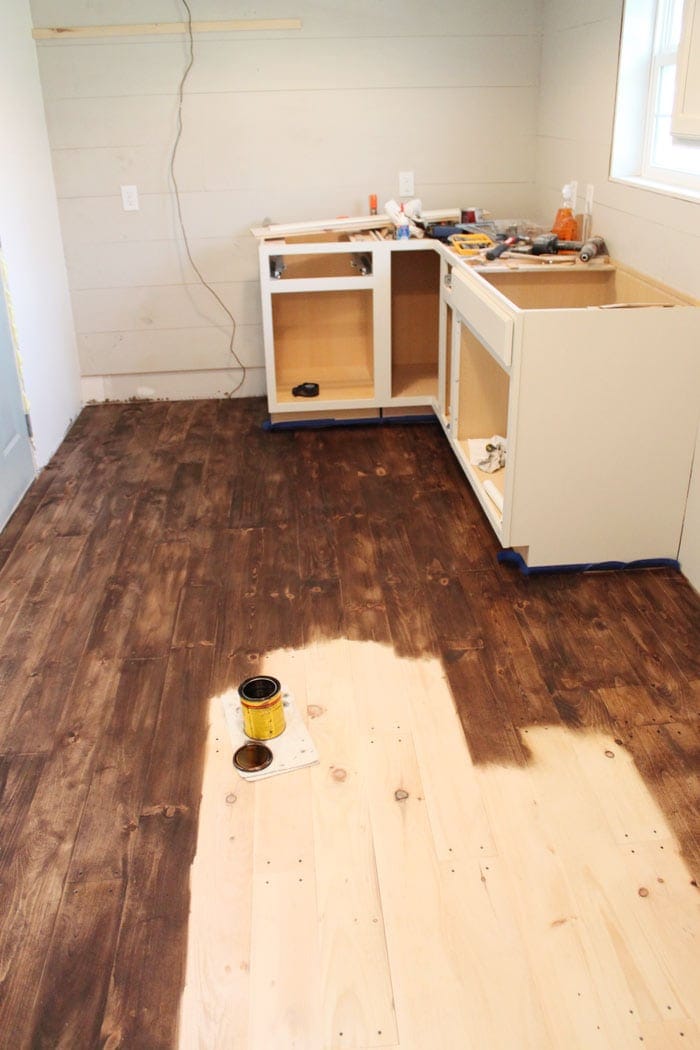
Inexpensive wood floor that looks like a million dollars! Do it

Inexpensive wood floor that looks like a million dollars! Do it

Inexpensive wood floor that looks like a million dollars! Do it

DIY Farm House Floor – Easy and Cheap Wood Floors with that Industrial, Chic, Country Feel

Inexpensive Flooring Options: Cheap Flooring Ideas Instead of

Pin on For my wife

Inexpensive Flooring Options: Cheap Flooring Ideas Instead of
Inexpensive wood floor that looks like a million dollars! Do it

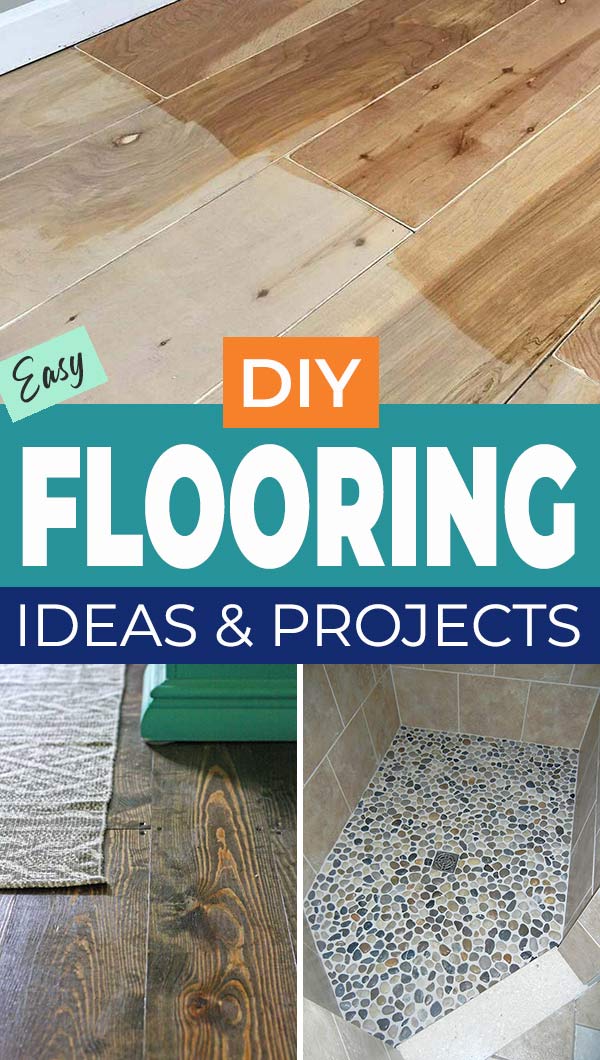
Easy DIY Flooring Ideas and Projects u2022 OhMeOhMy Blog
DIY Wood Floors
DIY Hardwood floors under $1.50/sq ft. – The Harper House
Affordable DIY Hardwood Flooring – How We Saved Thousands – Noting

Related articles:
- Cherry Hardwood Flooring Reviews
- Hardwood Floor Cleaning And Refinishing
- Wide Plank Pine Hardwood Flooring
- Hardwood Flooring Designs Photos
- Hardwood Floor Selection Guide
- Hardwood Floor Hardness Guide
- Distressed Maple Hardwood Flooring
- Cheap DIY Hardwood Flooring
- Red Oak Charcoal Hardwood Flooring
- Silver Birch Hardwood Flooring
Cheap DIY Hardwood Flooring: A Comprehensive Guide to Transforming Your Space on a Budget
Are you looking to upgrade your space with a touch of elegance and warmth without breaking the bank? Look no further than cheap DIY hardwood flooring. With a little bit of patience, creativity, and the right tools, you can transform your floors from drab to fab. In this comprehensive guide, we will explore various affordable options for hardwood flooring, step-by-step instructions for installation, and answer frequently asked questions to help you achieve remarkable results.
I. Types of Affordable Hardwood Flooring:
When it comes to cheap hardwood flooring options, there are several alternatives that can give your space a luxurious look without the hefty price tag. Let’s delve into some popular choices:
1. Engineered Hardwood Flooring:
Engineered hardwood is crafted by layering multiple wood plies together, with a top layer made of real wood veneer. This type of flooring offers durability and stability at a fraction of the cost of solid hardwood. It comes in various finishes and can be installed as a floating floor or glued down.
FAQ: Is engineered hardwood as durable as solid hardwood?
Answer: While solid hardwood is known for its longevity, engineered hardwood is also highly durable due to its multi-layer construction. It can withstand heavy foot traffic and moisture better than solid wood.
2. Laminate Wood Flooring:
Laminate flooring is an excellent option for those on a tight budget but still want the look of hardwood. It consists of several layers, including a high-density fiberboard (HDF) core topped with a high-resolution photograph of wood grain. With advancements in technology, laminate flooring now closely mimics the appearance of real wood.
FAQ: Can laminate flooring be installed in moisture-prone areas like kitchens or bathrooms?
Answer: While laminate flooring is not recommended for areas with excessive moisture or standing water, some manufacturers offer waterproof laminates that can withstand damp conditions. It is important to check the specifications of the product before installation.
3. Vinyl Plank Flooring:
Vinyl plank flooring has gained immense popularity due to its affordability, versatility, and ease of installation. It is made of several layers, including a vinyl core layer, a high-resolution image layer, and a wear layer for added durability. Vinyl planks are available in various designs that imitate the look of hardwood.
FAQ: Can vinyl plank flooring be installed over existing floors?
Answer: Yes, vinyl plank flooring can often be installed directly over existing floors as long as they are clean, dry, and in good condition. However, it is essential to follow the manufacturer’s guidelines for proper installation.
II. Preparing for Installation:
Before diving into your cheap DIY hardwood flooring project, there are important steps you must take to ensure a successful installation. Let’s explore these necessary preparations:
1. Measure and Calculate:
Begin by measuring the dimensions of your space accurately. This will help you determine the amount of flooring material needed and avoid unnecessary waste or shortage. Remember to account for any irregularities or unique features in your room.
2. Acclimate the Flooring:
Wood products need time to adjust to the temperature and humidity conditions of their environment before installation. Stack the flooring boxes in your space for at least 48 hours, allowing them to acclimate to the room’s climate.
FAQ: How do I calculate the amount of flooring material needed?
Answer: To calculate the square footage required, measure the length and width of each room and multiply these dimensions together. Add The square footage of all the rooms together to get the total square footage. It is also recommended to add around 10% extra for waste and cuts. This is to account for any mistakes or unforeseen issues during installation. 3. Prepare the Subfloor:
Before installing hardwood flooring, it is crucial to ensure that the subfloor is clean, dry, and level. Remove any existing flooring, adhesive residue, or debris. Fill in any cracks or holes with a suitable filler and sand down any uneven areas. A smooth and stable subfloor will help prevent problems such as squeaking or buckling later on.
4. Gather the Necessary Tools and Materials:
To install hardwood flooring, you will need various tools and materials. Some common tools include a tape measure, saw, hammer, pry bar, flooring nailer or stapler, and a miter saw for cutting angles. Additionally, you will need underlayment, adhesive (if applicable), transition strips, and flooring fasteners.
FAQ: Do I need to remove baseboards before installing hardwood flooring?
Answer: It is generally recommended to remove baseboards before installing hardwood flooring. This allows for a cleaner installation and ensures that the floor can expand and contract properly. However, if you prefer not to remove the baseboards, you can use quarter-round molding to cover the expansion gap.
III. Installation Process:
Now that you have prepared your space for installation let’s go through the general steps involved in installing hardwood flooring:
1. Install Underlayment:
Underlayment provides additional support and acts as a moisture barrier. Lay it down according to the manufacturer’s instructions, making sure to overlap seams by a few inches and tape them securely.
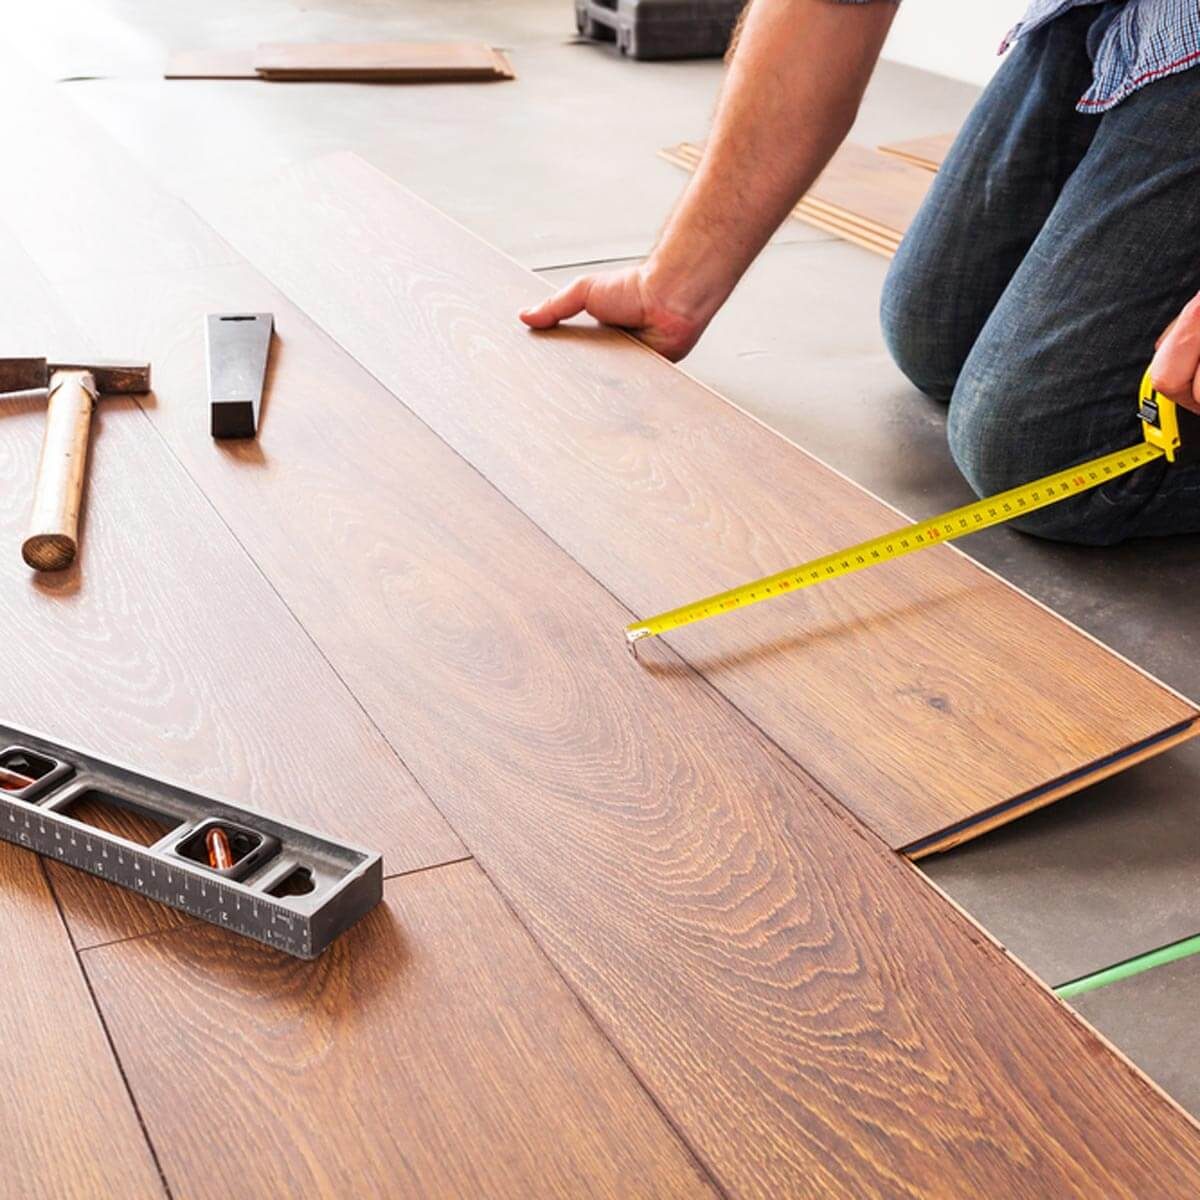
2. Begin Installation:
Start by laying down the first row of hardwood planks along one wall, leaving an expansion gap of ¼ inch. Use a flooring nailer or stapler to secure the planks to the subfloor, placing fasteners at regular intervals. Use a mallet and tapping block to ensure a tight fit between planks.
3. Continue Installing Rows:
Work row by row, staggering the end joints to create a more visually appealing pattern. Use a saw to cut the last plank in each row to fit if necessary. Remember to maintain the expansion gap along all walls.
4. Install Transition Strips:
Once you have completed the main installation, install transition strips at doorways or where your hardwood floor meets another type of flooring. This provides a smooth transition and helps protect the edges of the hardwood.
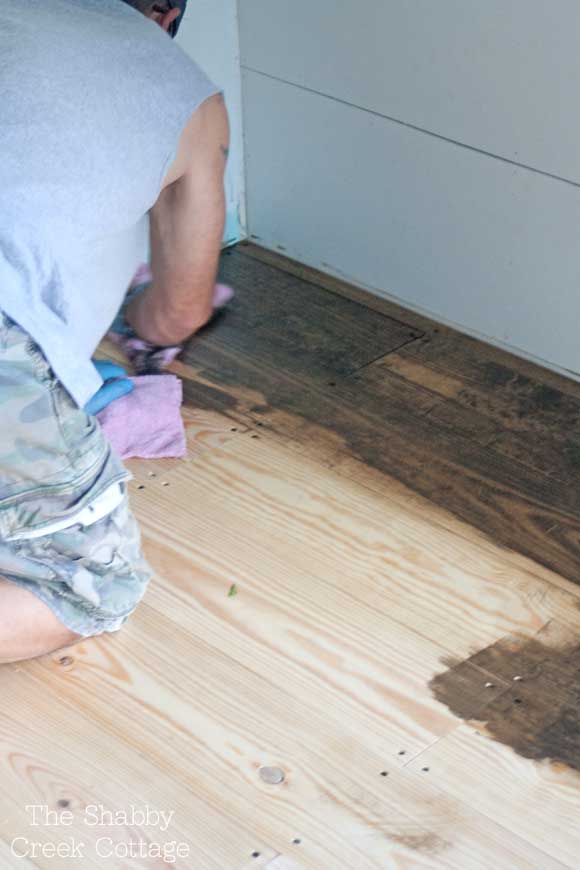
5. Finishing Touches:
After installation, fill any nail holes with wood filler and sand down any rough edges or imperfections. Apply a protective finish or sealant according to the manufacturer’s instructions to enhance durability and appearance.
FAQ: How long does it take for hardwood flooring to acclimate?
Answer: The time required for acclimation can vary depending on the specific hardwood product and the climate conditions. Generally, hardwood flooring needs at least 48 hours to acclimate, but it is always best to follow the manufacturer’s recommendations.