Bathroom Tile Floor And Shower Tile goes along with other flooring. That's one of the major reasons why houses even in contemporary times, get tile flooring, even if they have so many additional options offered to them like carpeting. Numerous hardware stores have floor tile cutters which you are able to make use of or even rent for one day. Of course one would need to give some thought to quality, design and brand as well.
Images Related to Bathroom Tile Floor And Shower
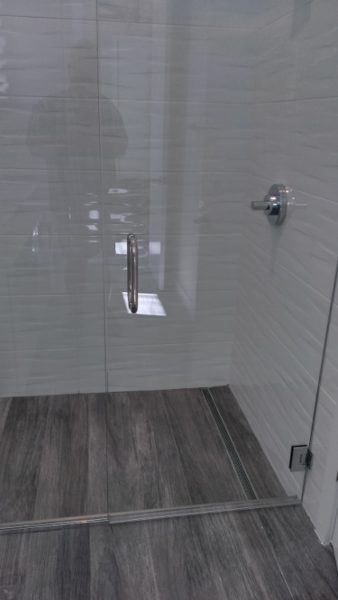
Bathroom Tile Floor And Shower

Purchase them pre-cut to your requirements since they require a gemstone wheel for cutting. It's going to take a couple of hours before the mortar is totally dried out. For a number of folks garage tile flooring is the sole pick and they also view it as the most suitable choice. Understanding the sort of subfloor you will be installing ceramic tile flooring over is crucial. The colors tones of theirs are light gray to good black.
7 Best Ceramic and Porcelain Tile Trends for Bathrooms – Tile
The furnishings legs of yours ought to have experienced pads on them to stay away from scratching the tiles. While many consumers have shifted towards carpeting and wood flooring, type flooring continue to eclipses the majority in popularity. If the floor is fitted by a professional installer, they are going to warrant the tile and work that they've done. Which you utilize depends on the thickness of your ceramic tile flooring.
40 Free Shower Tile Ideas (Tips For Choosing Tile) Why Tile

April Showers
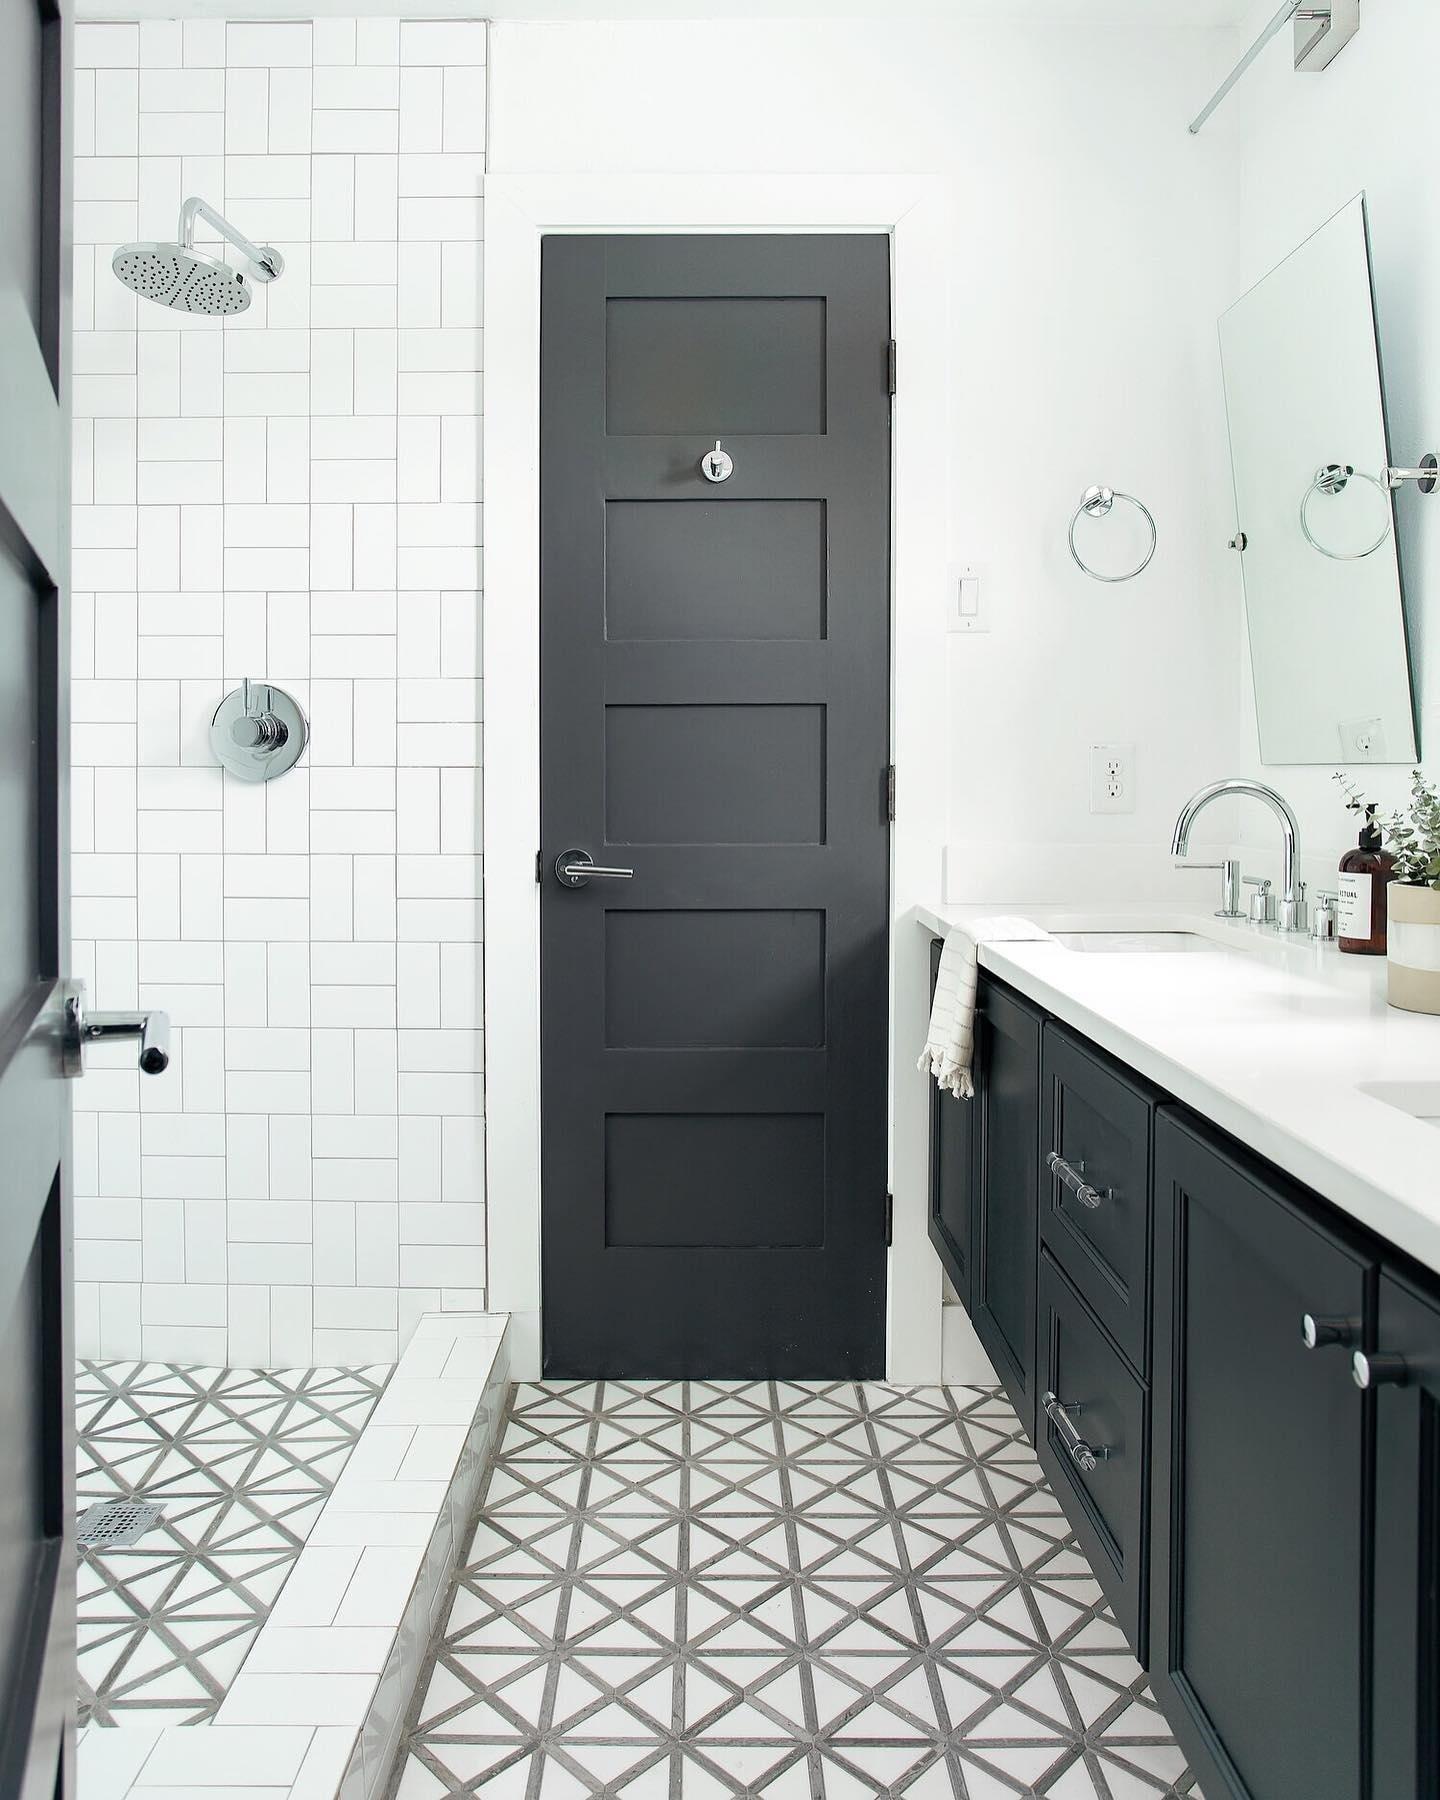
40 Free Shower Tile Ideas (Tips For Choosing Tile) Why Tile

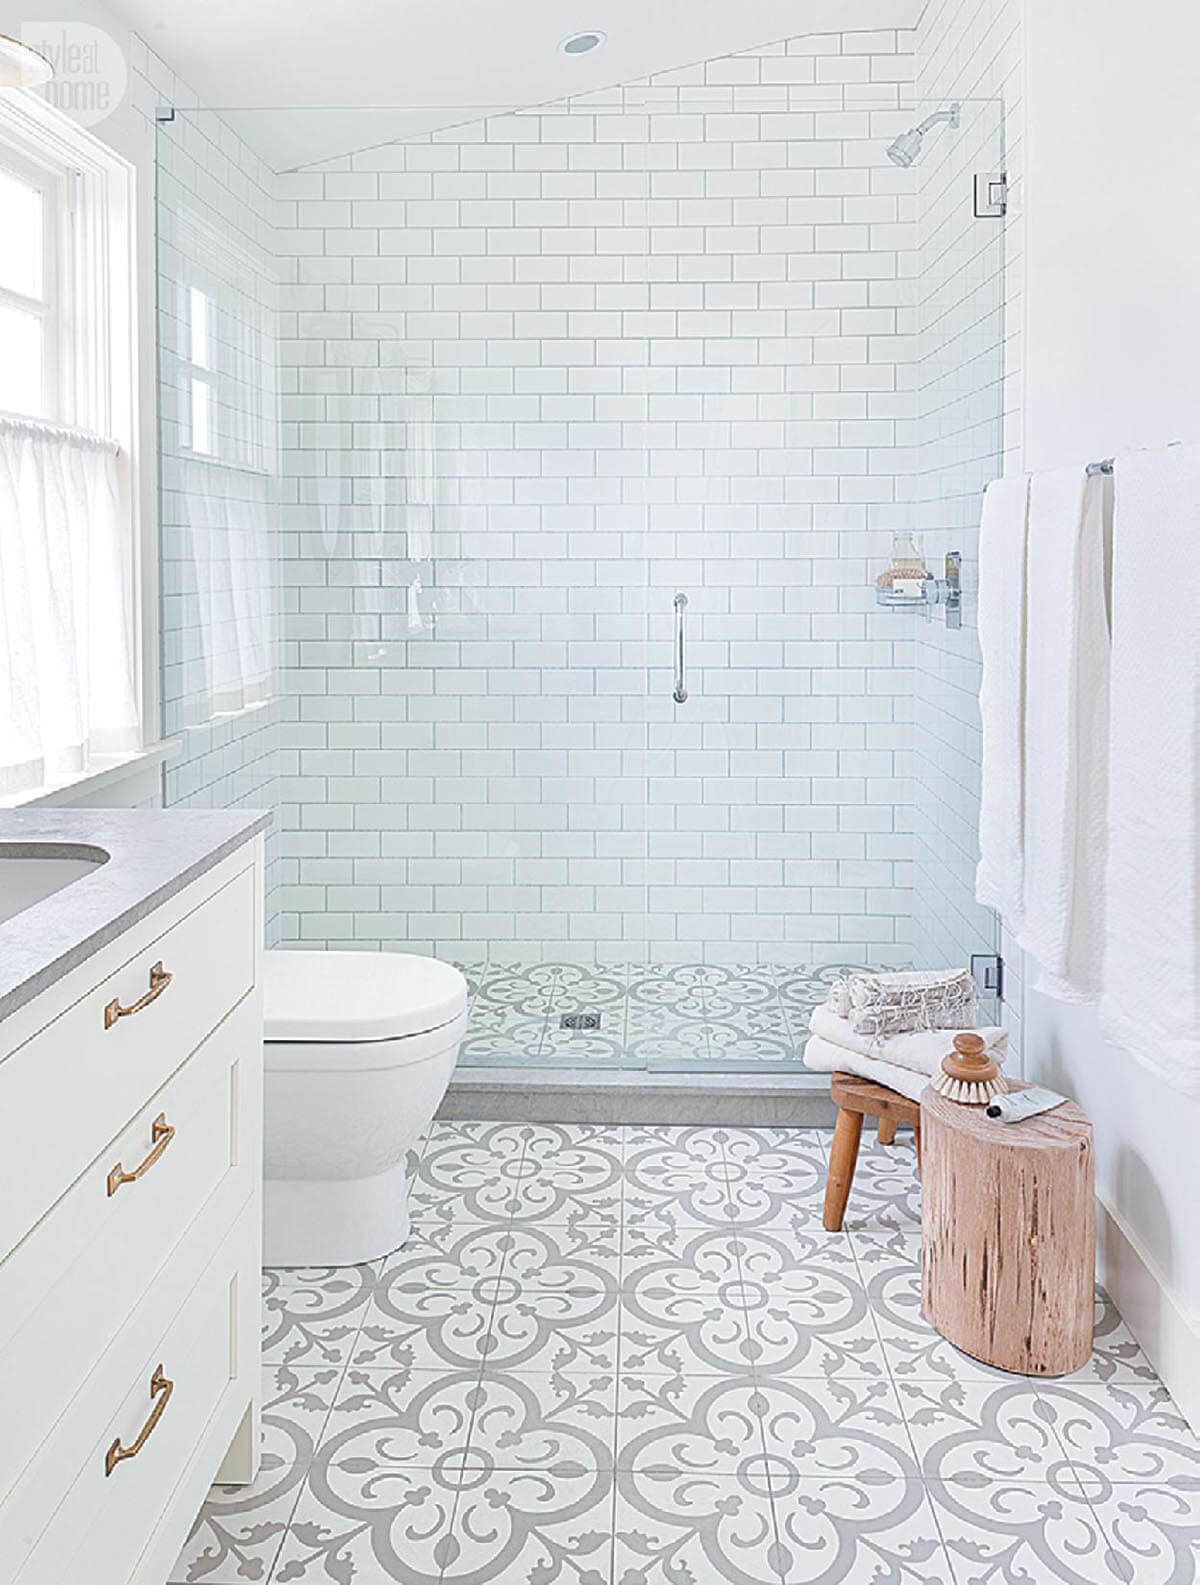
What Are the Best Shower Flooring Options? @ build directLearning

Best Tile for Showers and Bathrooms u2013 Ceramic, Porcelain or Stone?

Ceramic Tile vs. Glass Tile Shower Fireclay Tile Fireclay Tile

10 Best Shower Floor Tiles in 2021: the Ultimate Guide

32 Best Shower Tile Ideas and Designs for 2021
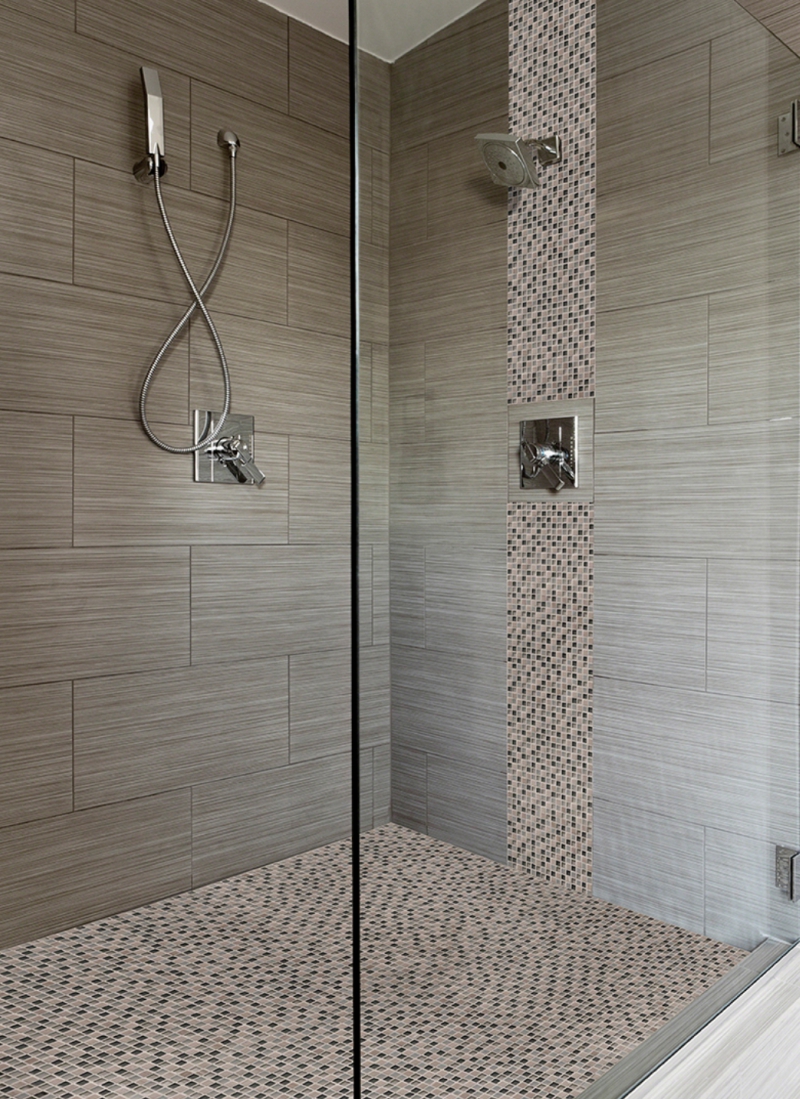
46 Shower Floor tile ideas shower floor, shower floor tile

5 Mosaic Tile Inspirations for Your Bathroom and Shower
The Benefits of a Curbless Shower – Plank and Pillow

2 Common Tile Mistakes in the Bathroom and How to Avoid Them

Related articles:
- White Bathroom Ceramic Tiles
- Bathroom Floor Baseboard
- Rustic Bathroom Flooring Ideas
- Bathroom Flooring Options
- Bamboo Bathroom Flooring Ideas
- Small Bathroom Floor Tile Patterns Ideas
- Choosing Bathroom Floor Tile
- Dark Wood Bathroom Floor
- Bathroom Flooring Choices
- Mosaic Bathroom Floor Tile Design
Tile flooring and shower installations can be daunting, but the results are well worth the effort. With careful planning and attention to detail, you can transform your bathroom into a beautiful oasis. In this article, we’ll provide a comprehensive guide on how to install tile flooring and shower surrounds in your bathroom.
Getting Started: What You Need to Know
Before starting any bathroom renovation project, it’s important to make sure you have all the necessary materials and tools. Here is a list of items you should have on-hand before beginning:
– Tile
– Grout
– Caulk
– Notched trowel
– Grout float
– Bucket
– Sponge
– Level
– Protective eyewear
– Mask
– Gloves
– Electric drill with bits
– Adhesive mesh
– Adhesive (if needed)
Once you have all the necessary materials and tools, you can begin the installation process.
Installing Tile Flooring in the Bathroom
Installing tile flooring in your bathroom is a great way to add elegance and durability to the space. Here are the steps for installing tile flooring:
1. Begin by removing any existing flooring and preparing the subfloor. Make sure it is level, clean, and dry before proceeding.
2. Apply adhesive mesh directly onto the subfloor. This will create a stable base for the tiles. Allow adequate drying time before continuing with the installation.
3. Dry fit the tiles to check for proper fit and layout before applying adhesive. Use spacers if necessary to ensure your grout lines have even spacing.
4. Apply tile adhesive with a notched trowel to ensure adequate coverage on each tile.
5. Carefully place each tile onto the adhesive mesh and press down firmly with your hands or a rubber mallet.
6. When all of the tiles are laid, allow adequate drying time before grouting.
7. Mix grout according to manufacturer’s instructions and apply it with a grout float in an even layer over the entire surface area of the tiles.
8. Wipe off any excess grout with a damp sponge and allow it to dry completely before applying sealant or caulk around fixtures or edges of the room.
9. After everything is completely dry, apply a sealant or wax to protect the tiles from water damage or staining.
And that’s it! You’ve successfully installed tile flooring in your bathroom!
Installing Tile Shower Surrounds
Tile shower surrounds add character and beauty to any bathroom, but they can be tricky to install correctly. Here are some tips for installing tile shower surrounds:
1. Begin by measuring out the area where you’ll be installing tile and mark out where each individual tile will go with a pencil or marker on the wall surface.
2. Apply adhesive with a notched trowel directly onto the wall surface where you’ll be placing each tile, making sure to cover all areas evenly for proper adhesion of each individual tile piece.
3. Carefully place each tile onto the wall surface, making sure it is level and evenly spaced from adjacent tiles before pressing down firmly with your hands or a rubber mallet to ensure proper adhesion onto the wall surface.
4. When all of the tiles are laid, allow adequate drying time before grouting or caulking around fixtures or edges of the room.
5. Mix grout according to manufacturer’s instructions and apply it with a grout float in an even layer over the entire surface area of the tiles in order to fill in any gaps between them for proper waterproofing and an aesthetically pleasing finish look.
6. Wipe off any excess grout with a damp sponge and allow it to dry completely before applying sealant or caulk around fixtures or edges of the room for added protection from water damage or