Wood, cork, bamboo, laminates or vinyl are not the ideal flooring choices for your bath room. Decoration is usually the crucial to attaining this, and by far the most important aspects of any bathroom is making use of the proper flooring. Bamboo and cork is able to retain moisture and they are able to become thriving grounds for other microorganisms and bacteria.
Here are Images about Bathroom Floor Tile Replacement
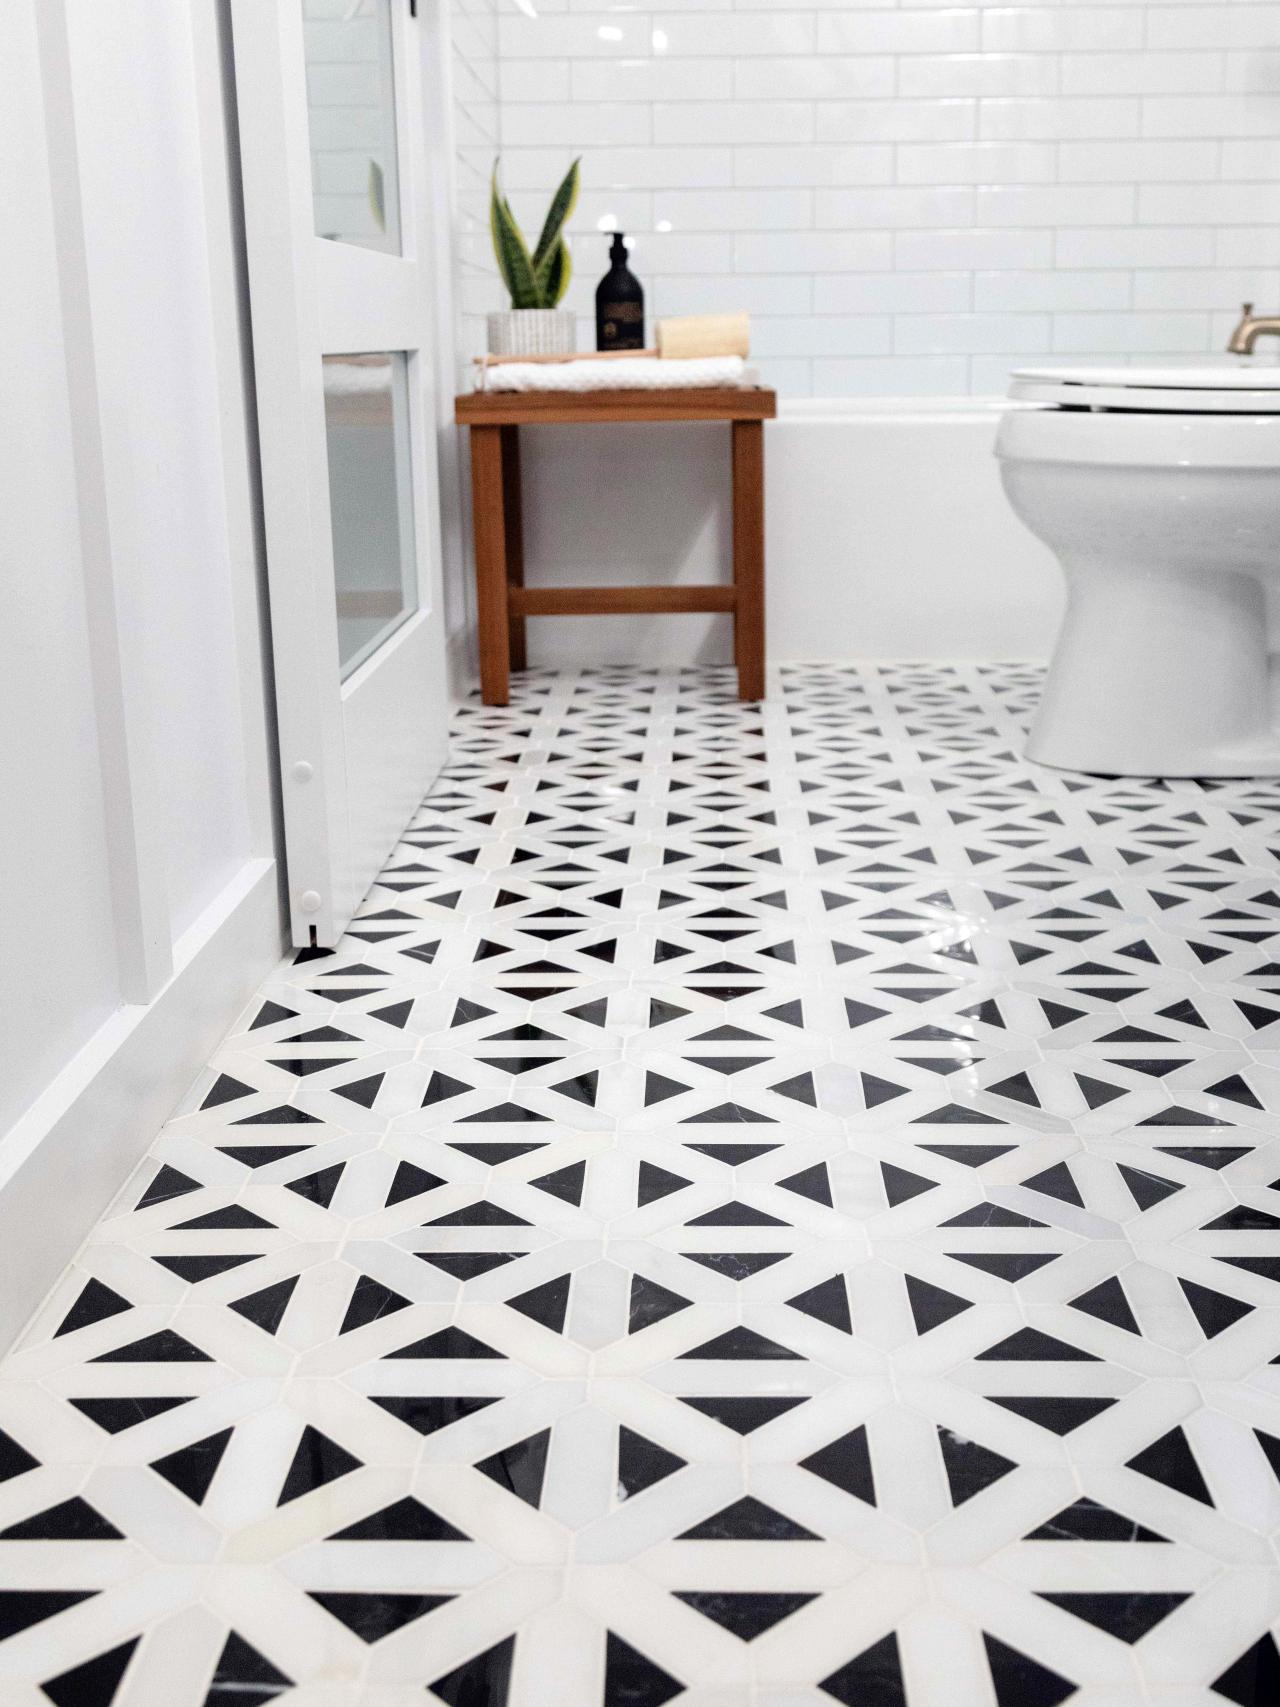
Bathroom Floor Tile Replacement.
Whatever flooring covering you decide to go with in the bathroom of yours you shouldn’t only consider the environment of the bathroom although keep in mind the point that often than not you are going to have bare foot when strolling in the bathroom so choosing a flooring that is comfortable under foot is a crucial need. The threat could be understood easily.
How to replace old bathroom floor tiles
Hardwood offers a warm feeling and an excellent visual appeal, but it could be eliminated by moisture unless coated with water-resistant sealant. At the cheaper end of the price scale is actually linoleum, several tiles as well as woods. Nevertheless, it warrants the fifth spot because stone bathroom floorings do not permit any moisture to come in and destroy it much love solid hardwood does.
Images Related to Bathroom Floor Tile Replacement
How To Update Your Bathroom Floor Tiles – 6 DIY ideas

Affordable Tile Floor Replacement – Monks Home Improvements
How to Remove a Tile Floor HGTV

How To Update Your Bathroom Floor Tiles – 6 DIY ideas

Easy Ways to Replace Bathroom Tiles (with Pictures) – wikiHow

The Best Flooring Options for Bathrooms – This Old House
:no_upscale()/cdn.vox-cdn.com/uploads/chorus_image/image/66476967/20_master_bath.7.jpg)
How to Tile a Small Bathroom Floor DIY Bath Remodel

Tile Repair Handyman – Fix It!® Boston u0026 MetroWest MA
How to Lay a Tile Floor HGTV
How to Lay a Tile Floor HGTV

Ideas for Covering Up Tile Floors Without Removing It u2014 The Decor
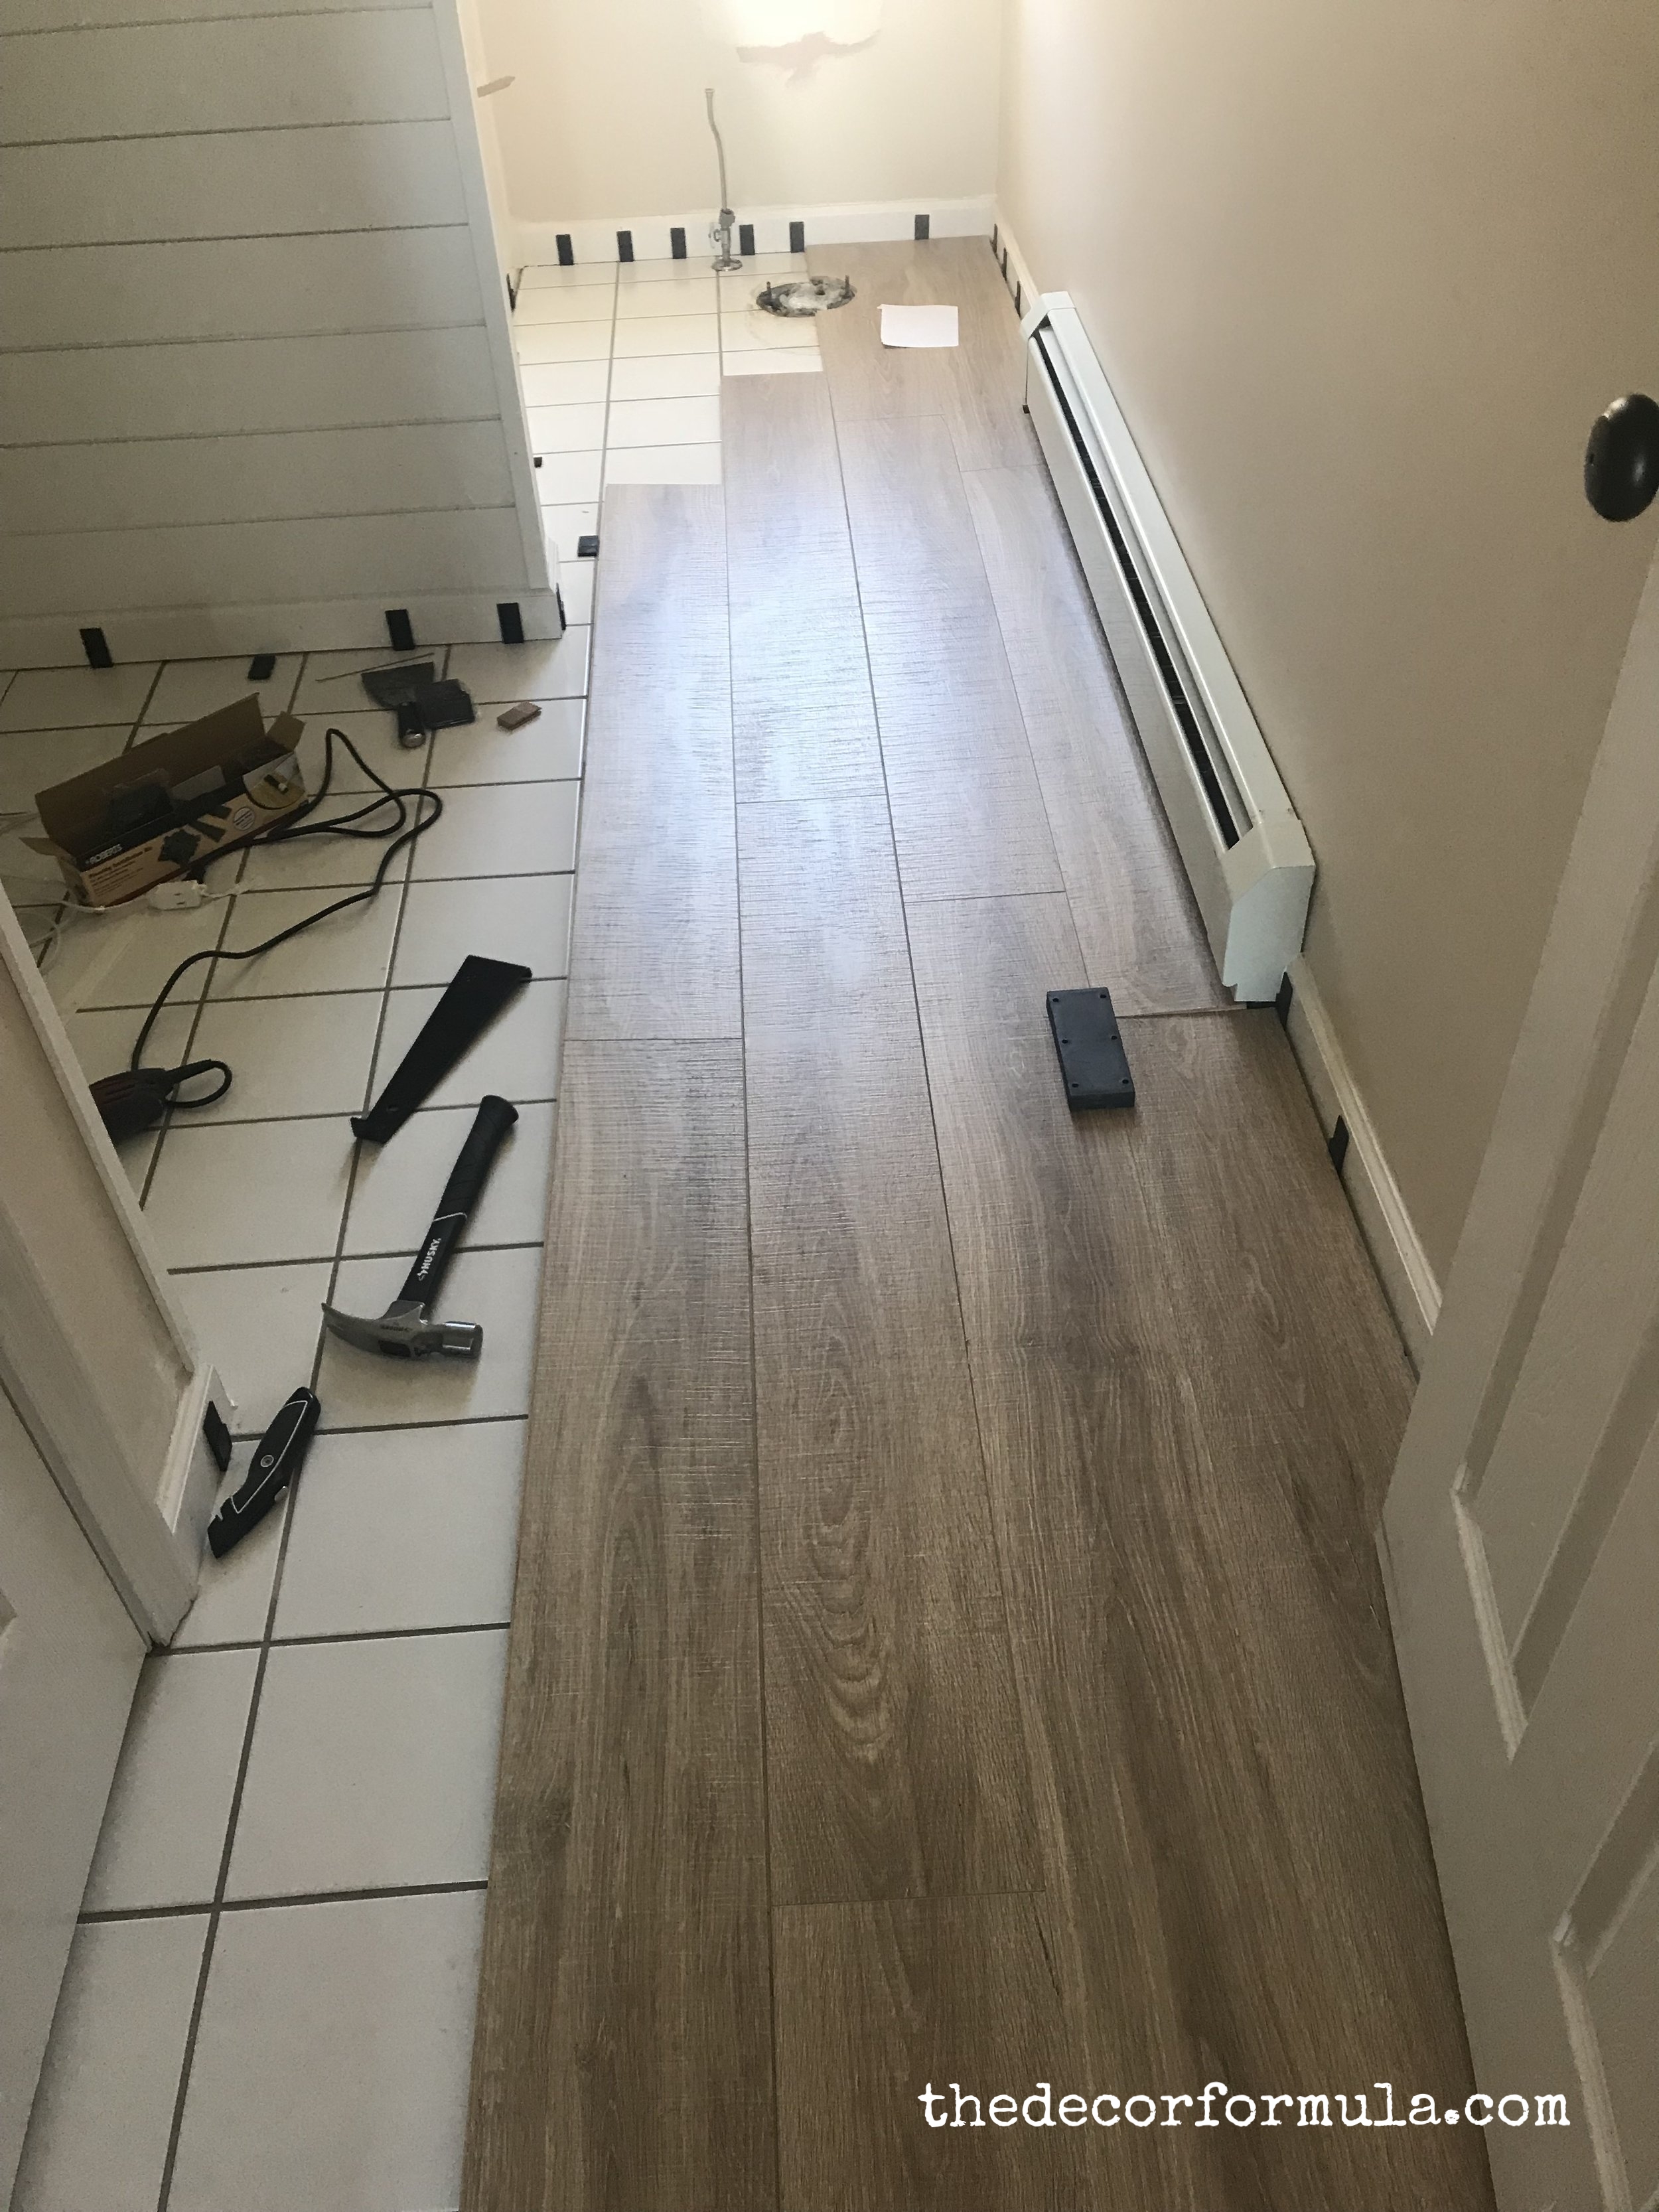
How to: replace old bathroom floor tiles – The Washington Post

Related articles:
- Vintage Bathroom Floor Tile Patterns
- Bathroom Floor Tile DIY
- Limestone Bathroom Floor Tiles
- Bathroom Floor Porcelain Tile
- Concrete Bathroom Floor Ideas
- White Bathroom Ceramic Tiles
- Bathroom Floor Baseboard
- Rustic Bathroom Flooring Ideas
- Bathroom Flooring Options
- Bamboo Bathroom Flooring Ideas
Replacing Bathroom Floor Tiles: A Detailed Guide
When it comes to bathroom floor tile replacement, it can be a daunting task. Old and outdated tiles often require a complete overhaul of the existing flooring. But with the right approach and careful planning, you can get the job done quickly and easily. Here’s a comprehensive guide to help you through the process.
Preparing for the Project
Before you begin replacing your bathroom floor tiles, there are a few essential steps you should take:
– Measure the area of the bathroom that needs to be tiled. This will help you determine how much tile you will need for the project.
– Make sure you have all the necessary materials for the project, such as tile adhesive, grout, a trowel, sponges, and sealant.
– Gather up any old tiles that need to be removed. You’ll want to make sure that all the old adhesive and grout is completely removed before laying down new tiles.
– If necessary, replace any drywall or subflooring that may have been damaged by water or age.
– Take into consideration the layout of your bathroom when selecting new tiles. If you’re replacing ceramic tiles, for instance, make sure they match the existing tiles in terms of size and color.
– Make sure you have a plan for disposing of old tile pieces safely.
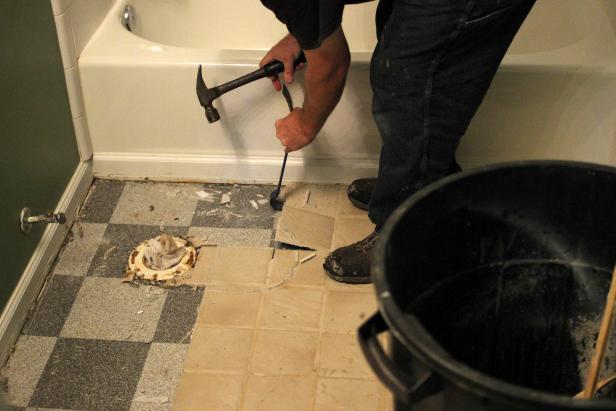
Removing Old Tiles
Once you’ve gathered all the necessary materials and prepared the area for tile removal, it’s time to start taking out the old tiles. Here are some helpful tips for removing old tiles:
– Start by gently chipping away at any grout between the tiles with a chisel or screwdriver. Be careful not to damage adjacent tiles or wall surfaces while doing this.
– Once most of the grout has been removed, use a hammer and chisel to carefully break up each tile one at a time. Take care to avoid damaging other nearby surfaces or objects while doing this.
– Once all of the old tile pieces have been removed, clean up any dust or debris from the area with a vacuum cleaner or broom and dustpan.
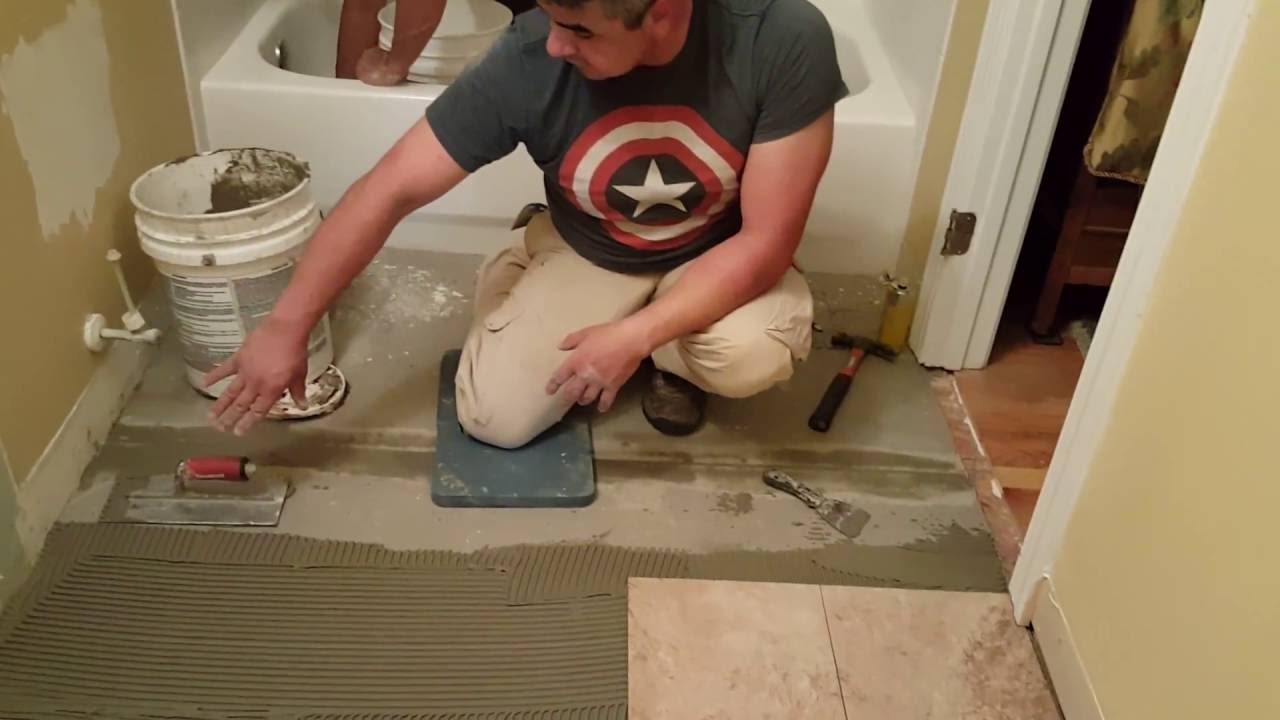
Laying New Tiles
Now that your bathroom is prepped and ready for new tiles, it’s time to start laying them down. Here are some essential tips for laying down new tiles:
– Start by applying adhesive to the back of each new tile with a notched trowel. Make sure to spread out an even layer of adhesive on each tile before placing it on the floor.
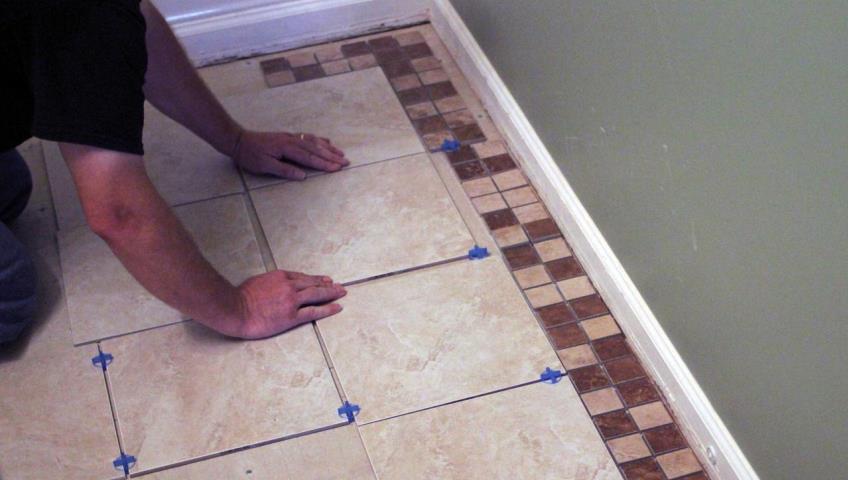
– Lay each tile in place on the floor, making sure that they fit together properly without any gaps or overlaps between them. Use spacers if necessary to ensure that each tile is properly spaced apart from one another.
– Once all of your new tiles are laid down, clean up any excess adhesive with a damp sponge or cloth. Allow the adhesive to dry completely before moving on to grouting.
– Now it’s time to fill in any gaps between each tile with grout. Spread an even layer of grout over the entire floor using a rubber float and let it dry completely before wiping off any excess grout residue with a damp sponge or cloth.
– Finally, apply sealant over each tile to protect them from moisture damage and give them a finished look. Allow sealant to dry completely before walking on or using your newly tiled bathroom floor.
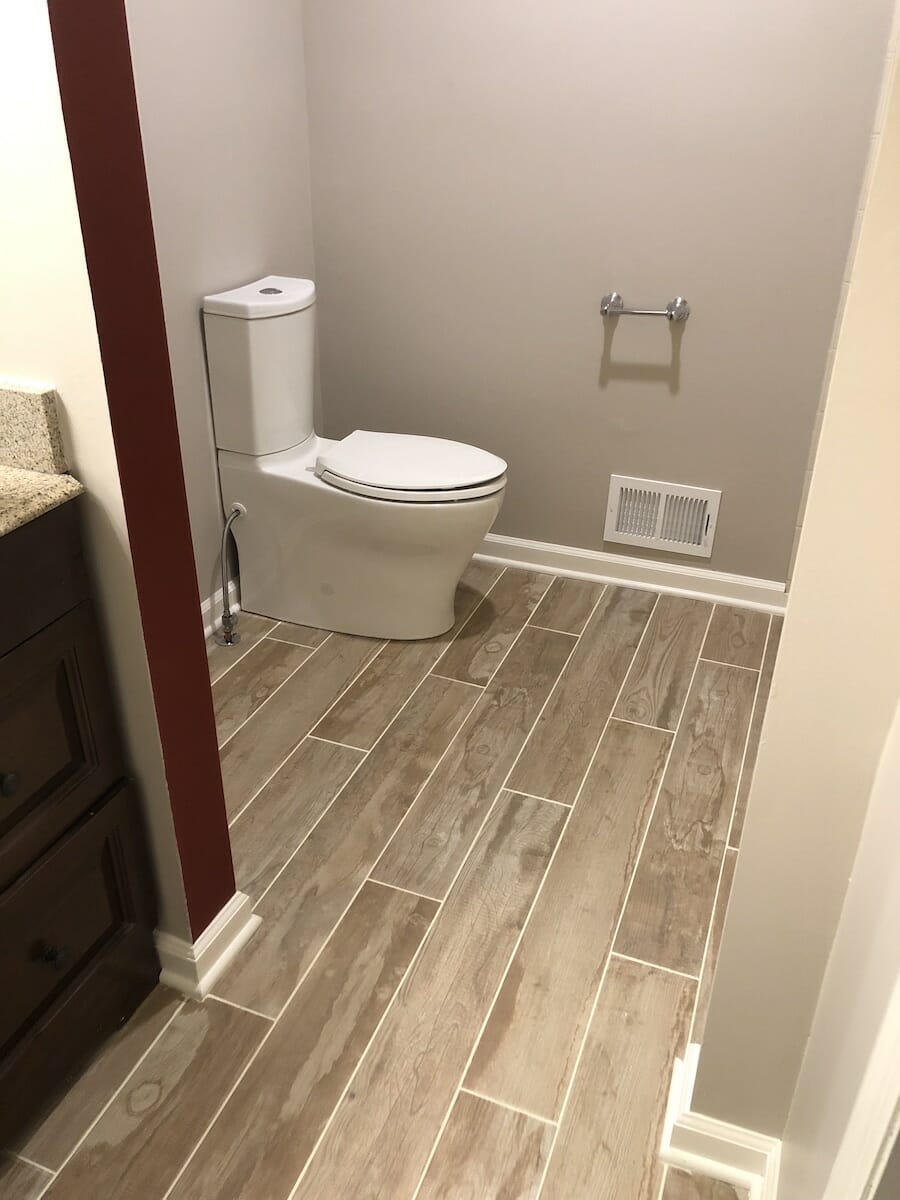
Conclusion
Replacing your bathroom floor tiles can be an intimidating task, but with careful preparation and attention to detail, you can get the job done quickly and easily. Be sure to measure your space accurately before beginning the project so that you don’t end up with too little or too much tile material needed for your project. And follow our helpful tips above for removing old tiles and laying down new ones for best results!