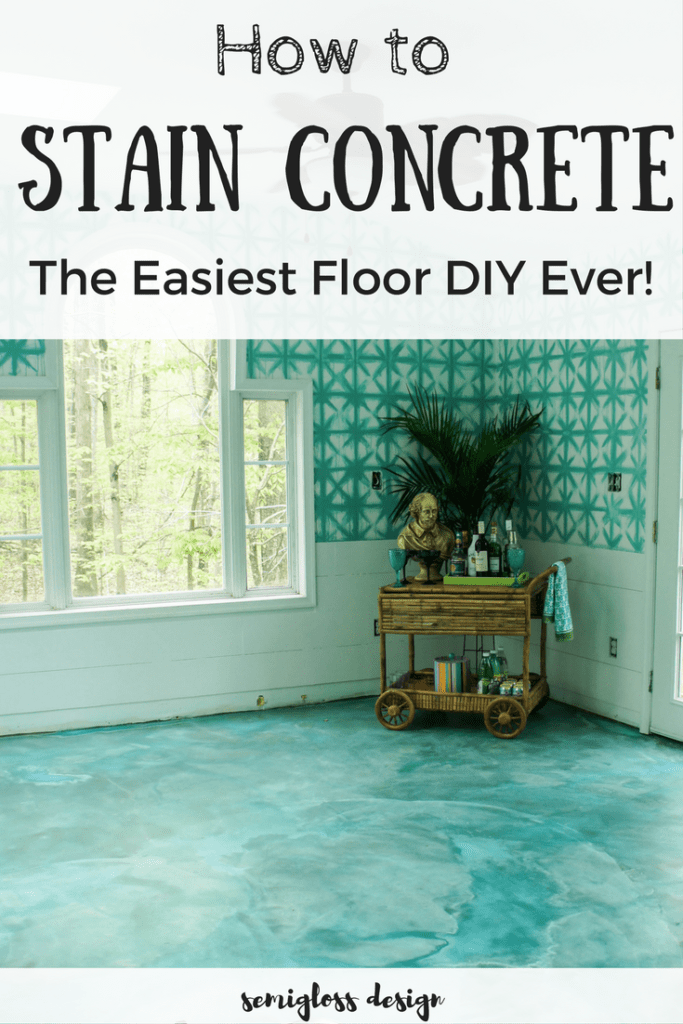
Transform Your Floors: Acid Stain Concrete DIY
Acid staining concrete floors is a cost-effective way to add color and depth to your space. This DIY project involves applying a chemical solution that reacts with the concrete, creating unique, marbled patterns. Acid stains are durable and long-lasting, making them ideal for high-traffic areas like garages, basements, or patios. With proper preparation and care, you can achieve a professional-looking finish that enhances your home’s aesthetic.
Preparing the Surface
Start by cleaning the concrete thoroughly to remove dirt, grease, or old coatings. Repair any cracks or imperfections with a concrete patching compound. Etch the surface with a mild acid solution to open the pores, ensuring the stain adheres properly. Proper preparation is key to achieving a smooth and even finish.
Applying the Acid Stain
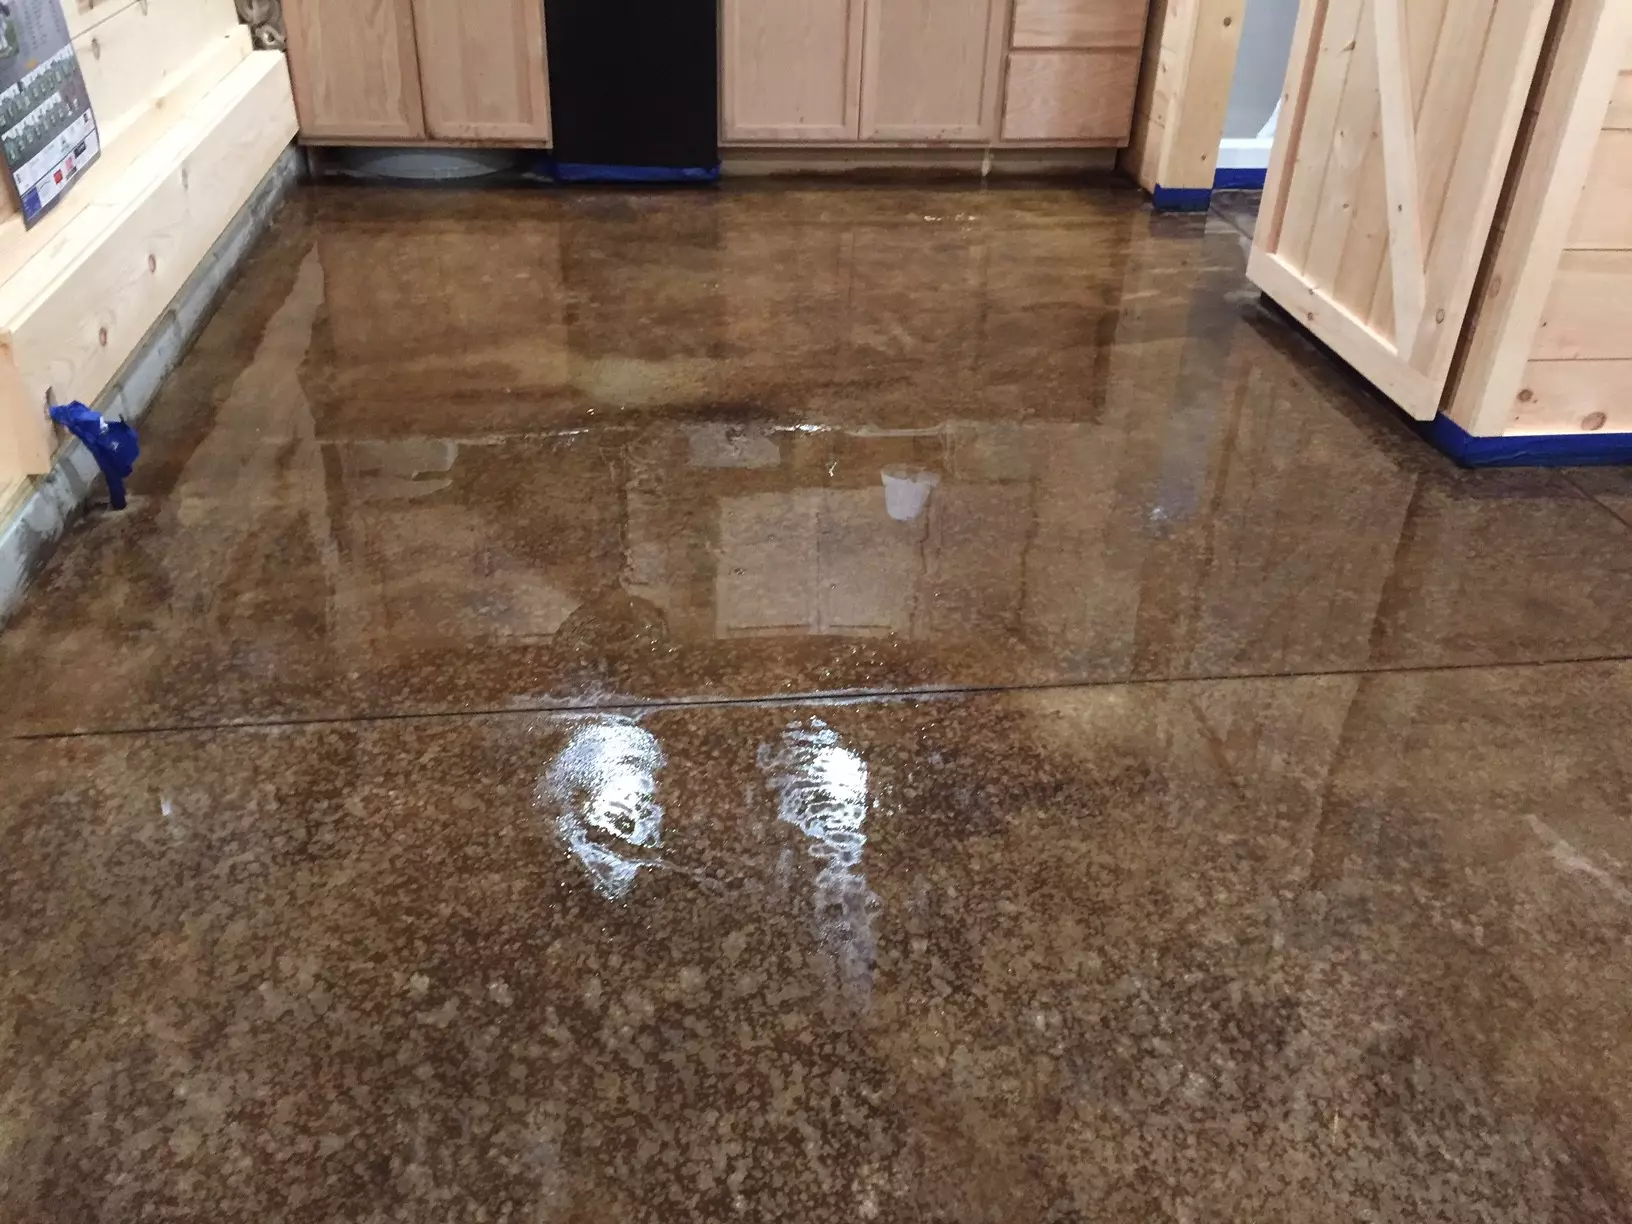
Wear protective gear and work in a well-ventilated area. Apply the acid stain with a sprayer, brush, or sponge, working in small sections. The stain reacts with the concrete, creating unique patterns and colors. Allow it to sit for the recommended time, then neutralize the acid with a baking soda solution and rinse thoroughly.
Sealing the Floor
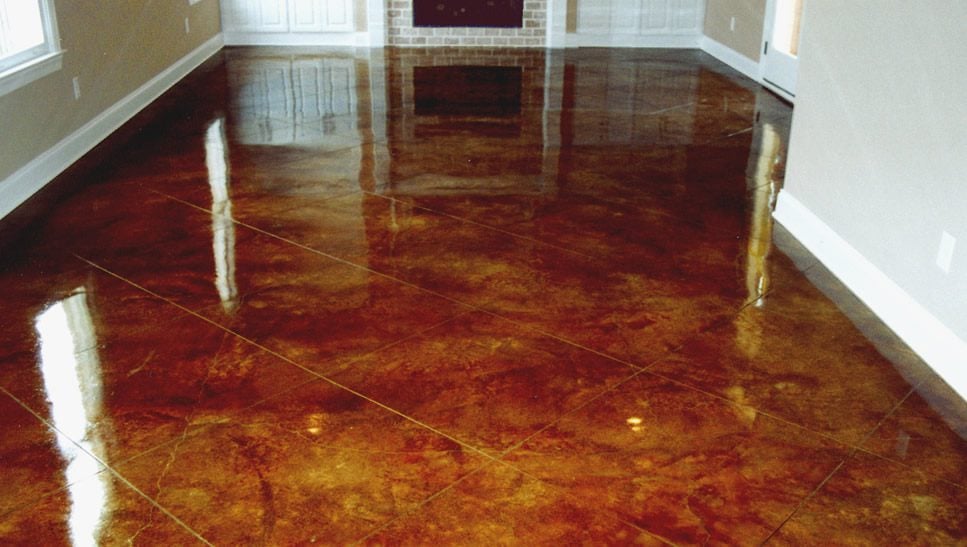
Once the stain dries, apply a concrete sealer to protect the surface and enhance the color. Use a roller or sprayer for even coverage. Sealing prevents stains and moisture damage, ensuring your floor remains durable and attractive. Allow the sealer to cure completely before using the space.
A Stunning Transformation
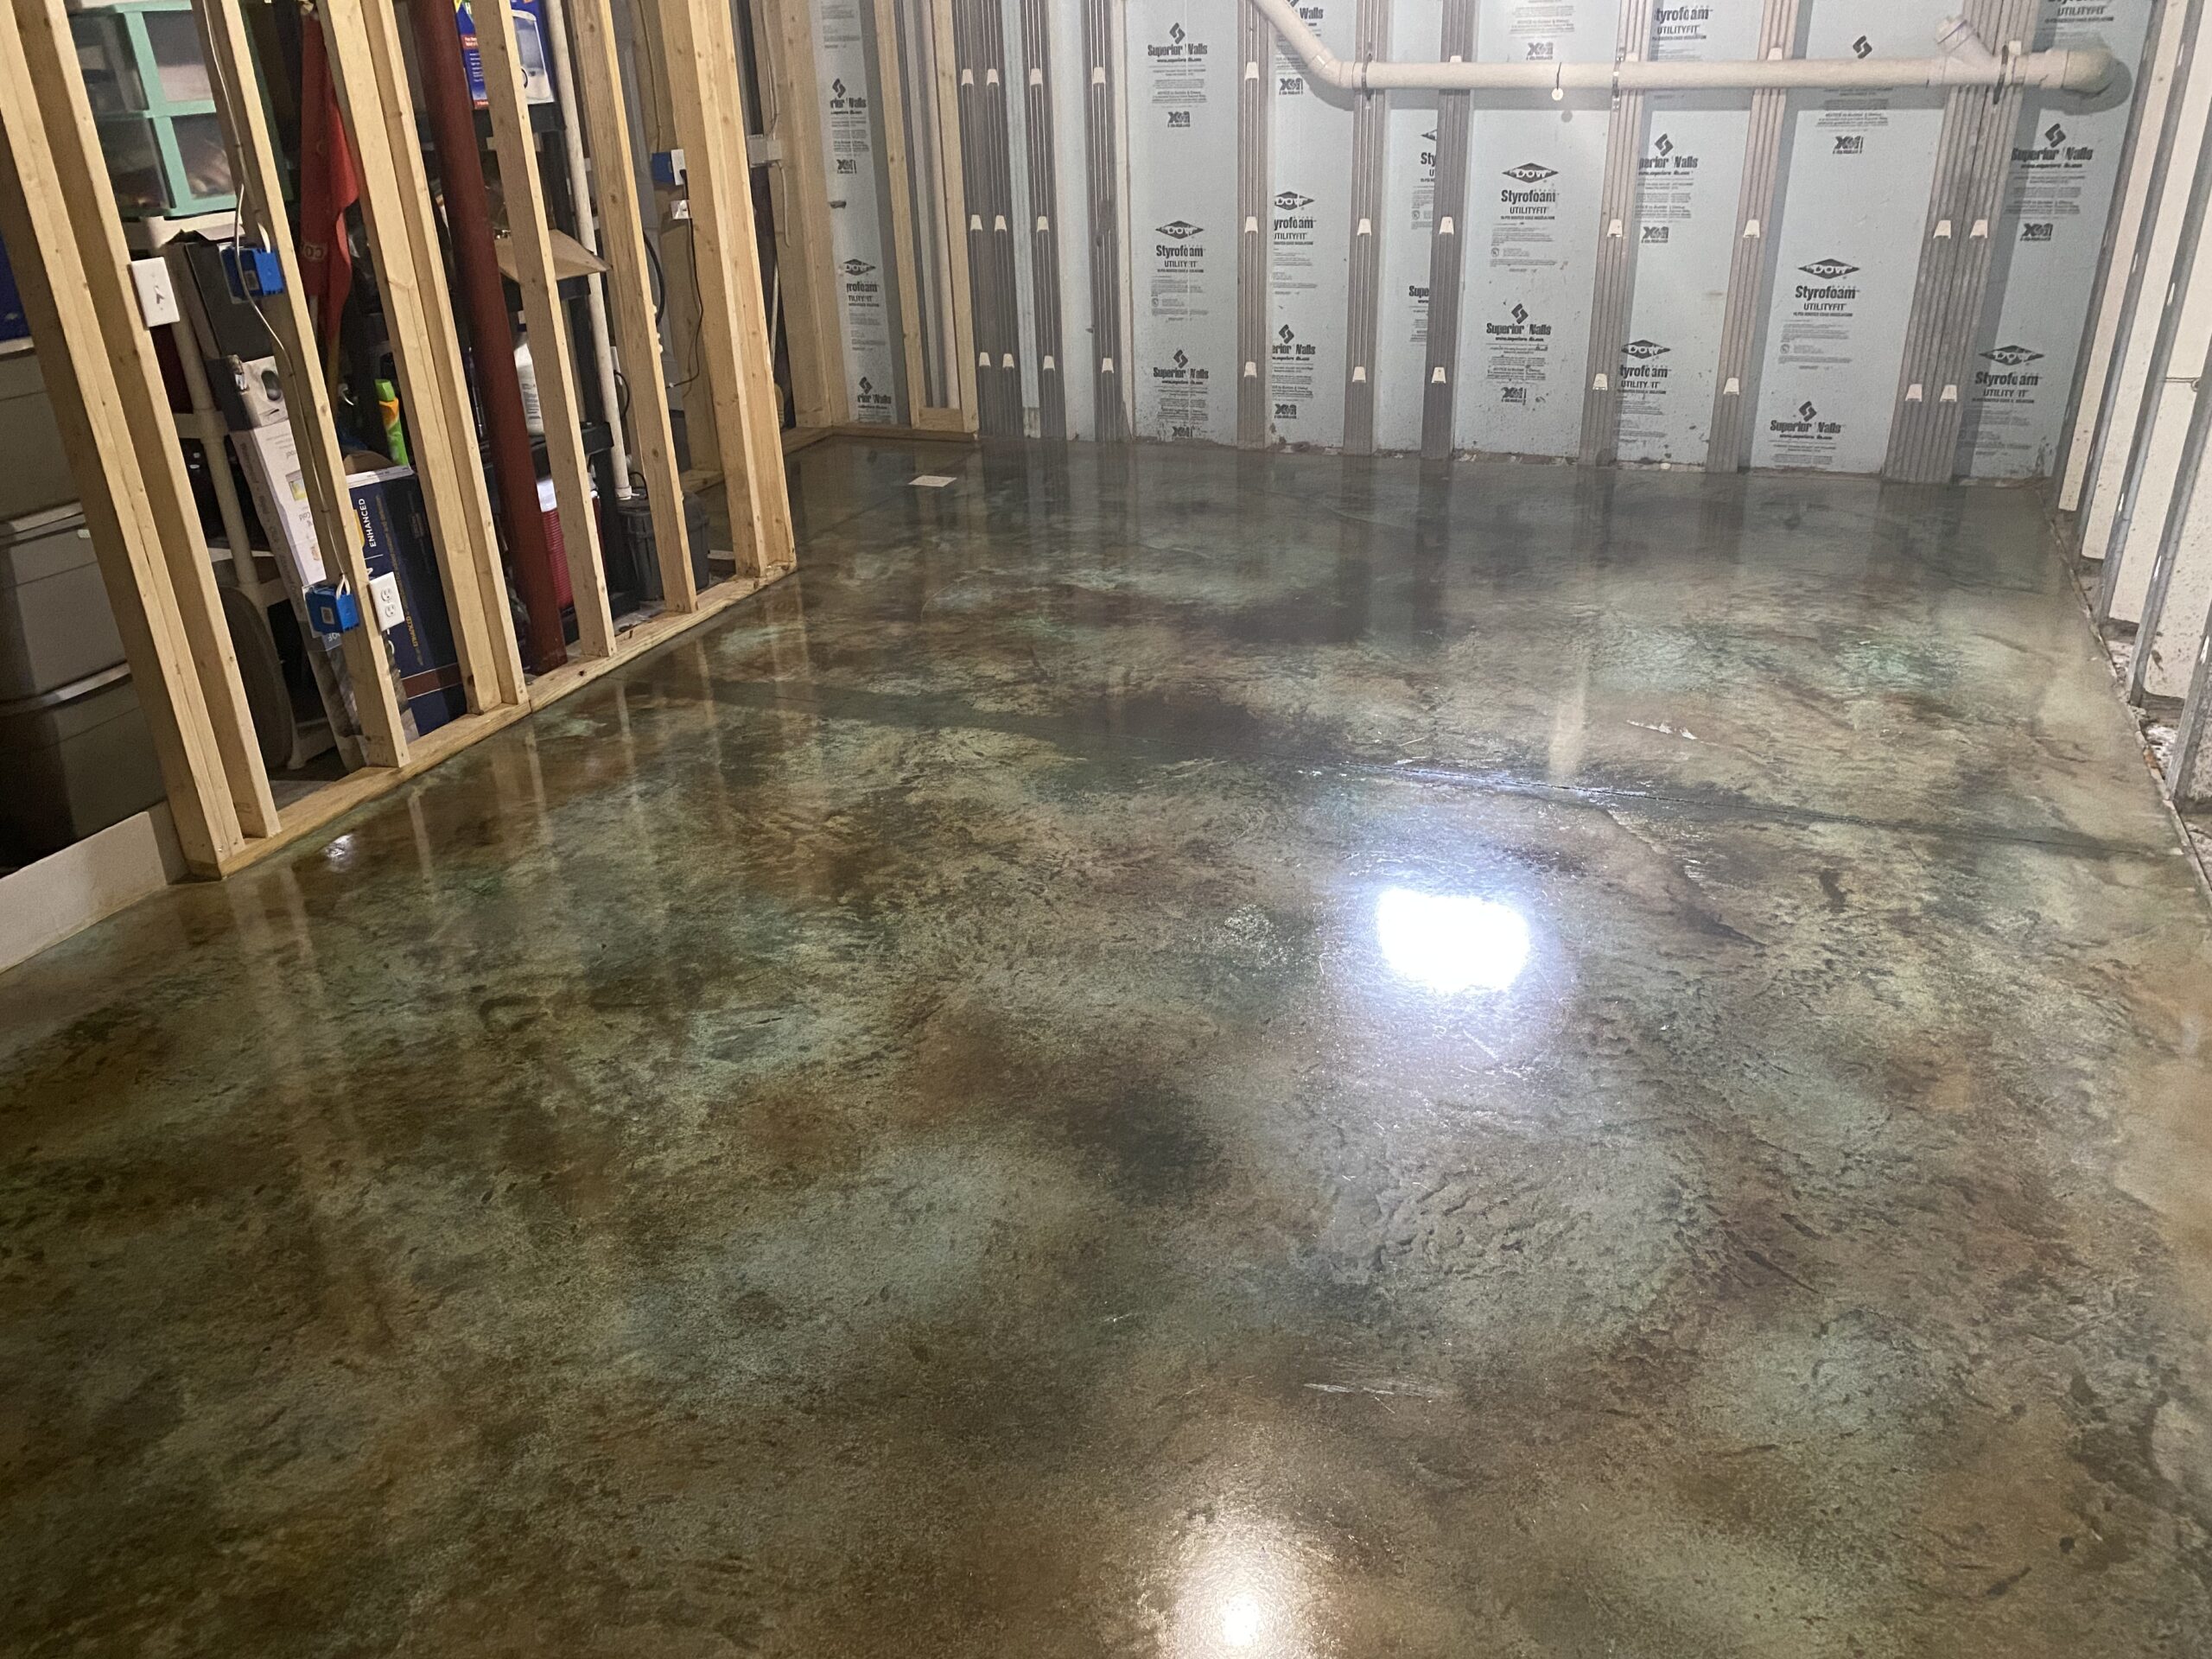
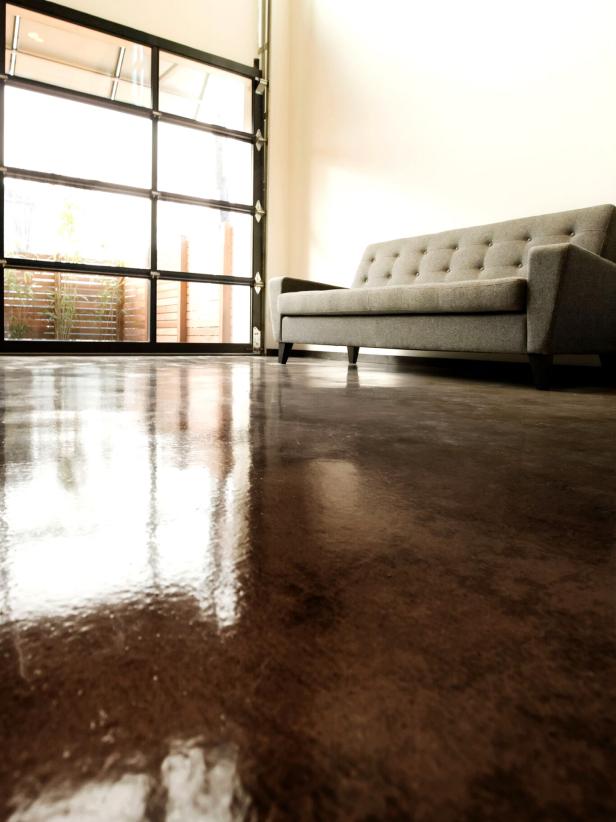
Acid staining transforms plain concrete into a stunning, customized floor. Its unique patterns and colors add character and style to any room. With careful preparation and application, this DIY project creates a durable and beautiful surface that enhances your home’s appeal.
Here are Images about Acid Stain Concrete Floors DIY
Acid Stain Concrete Floors DIY

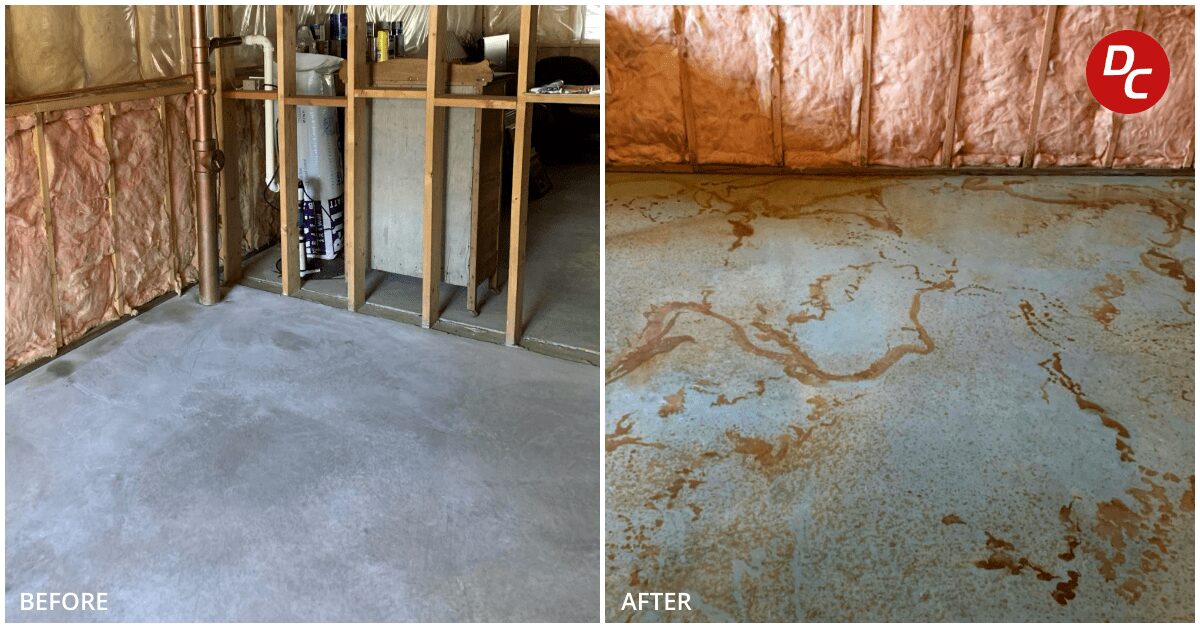
Acid Stained Concrete Floors – Stained Concrete – Direct Colors
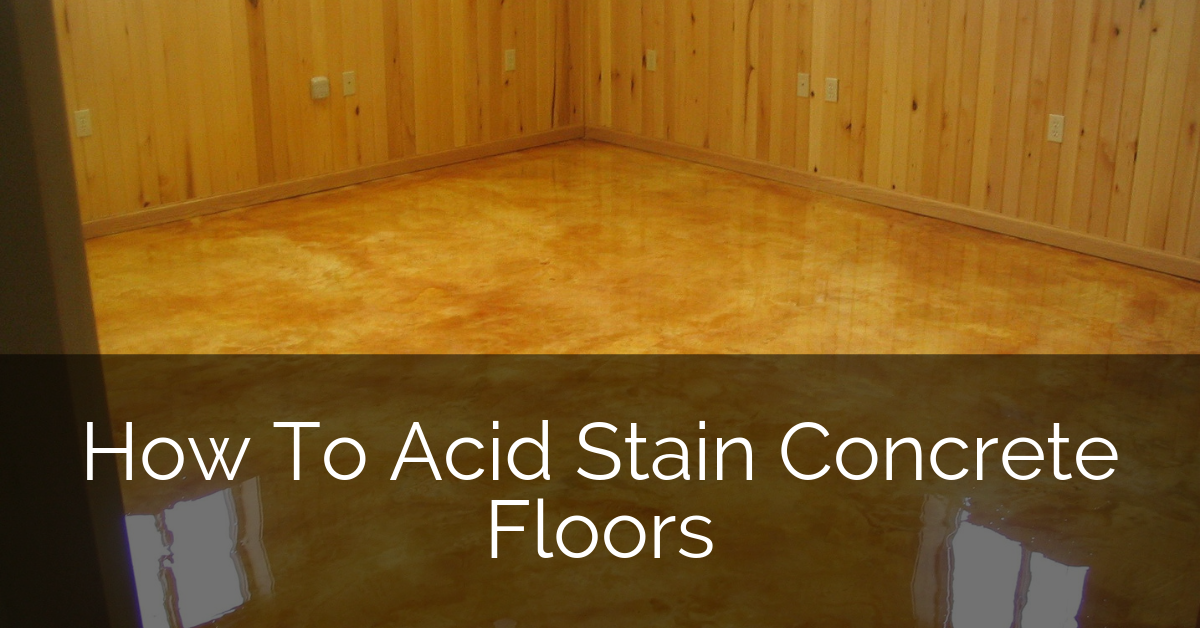
How to Acid Stain Concrete Floors

The Beginner’s Guide to DIY Stained Concrete, A Step by Step Tutorial
Unleash Your Inner Artist with Easy-to-Use Concrete Acid Stain
DIY Acid Stained Concrete Floor A Joyful Riot

Marble Acid Stained Concrete Floor Direct Colors
How to Apply an Acid-Stain Look to Concrete Flooring
Acid Staining Our Concrete Floors – An Expensive Look At Little Cost!
TIPS TO ACID STAINING YOUR CONCRETE FLOORS
DIY Guide to Stained Concrete Floors Duraamen
How To: Acid Stained Concrete Floors – Sebring Design Build
Related articles:
- White Mold On Concrete Floor
- Polished Concrete Floor
- Polished Concrete Floor Cleaning
- Staining Concrete Floors Indoors Yourself
- Flooring Options For Concrete Floors
- White High Gloss Concrete Floors
- Acid Stain Concrete Floors DIY
- Redo Patio Concrete Floor
- Interior Concrete Floor Ideas
- Gloss Concrete Floor Paint
Acid Stain Concrete Floors DIY: Transform Your Home with a Unique Flooring Choice
If you’re looking for a unique and eye-catching flooring option for your home, acid stain concrete floors may be the perfect choice. Not only can you transform any concrete surface with an array of colors and textures, but acid staining concrete floors is also a relatively easy DIY project. Read on to find out more about acid stain concrete floors and how to get the job done yourself.
What is Acid Stain Concrete Floors?
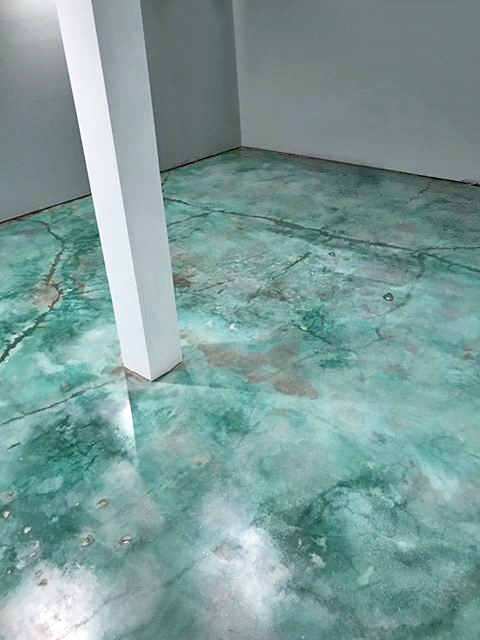
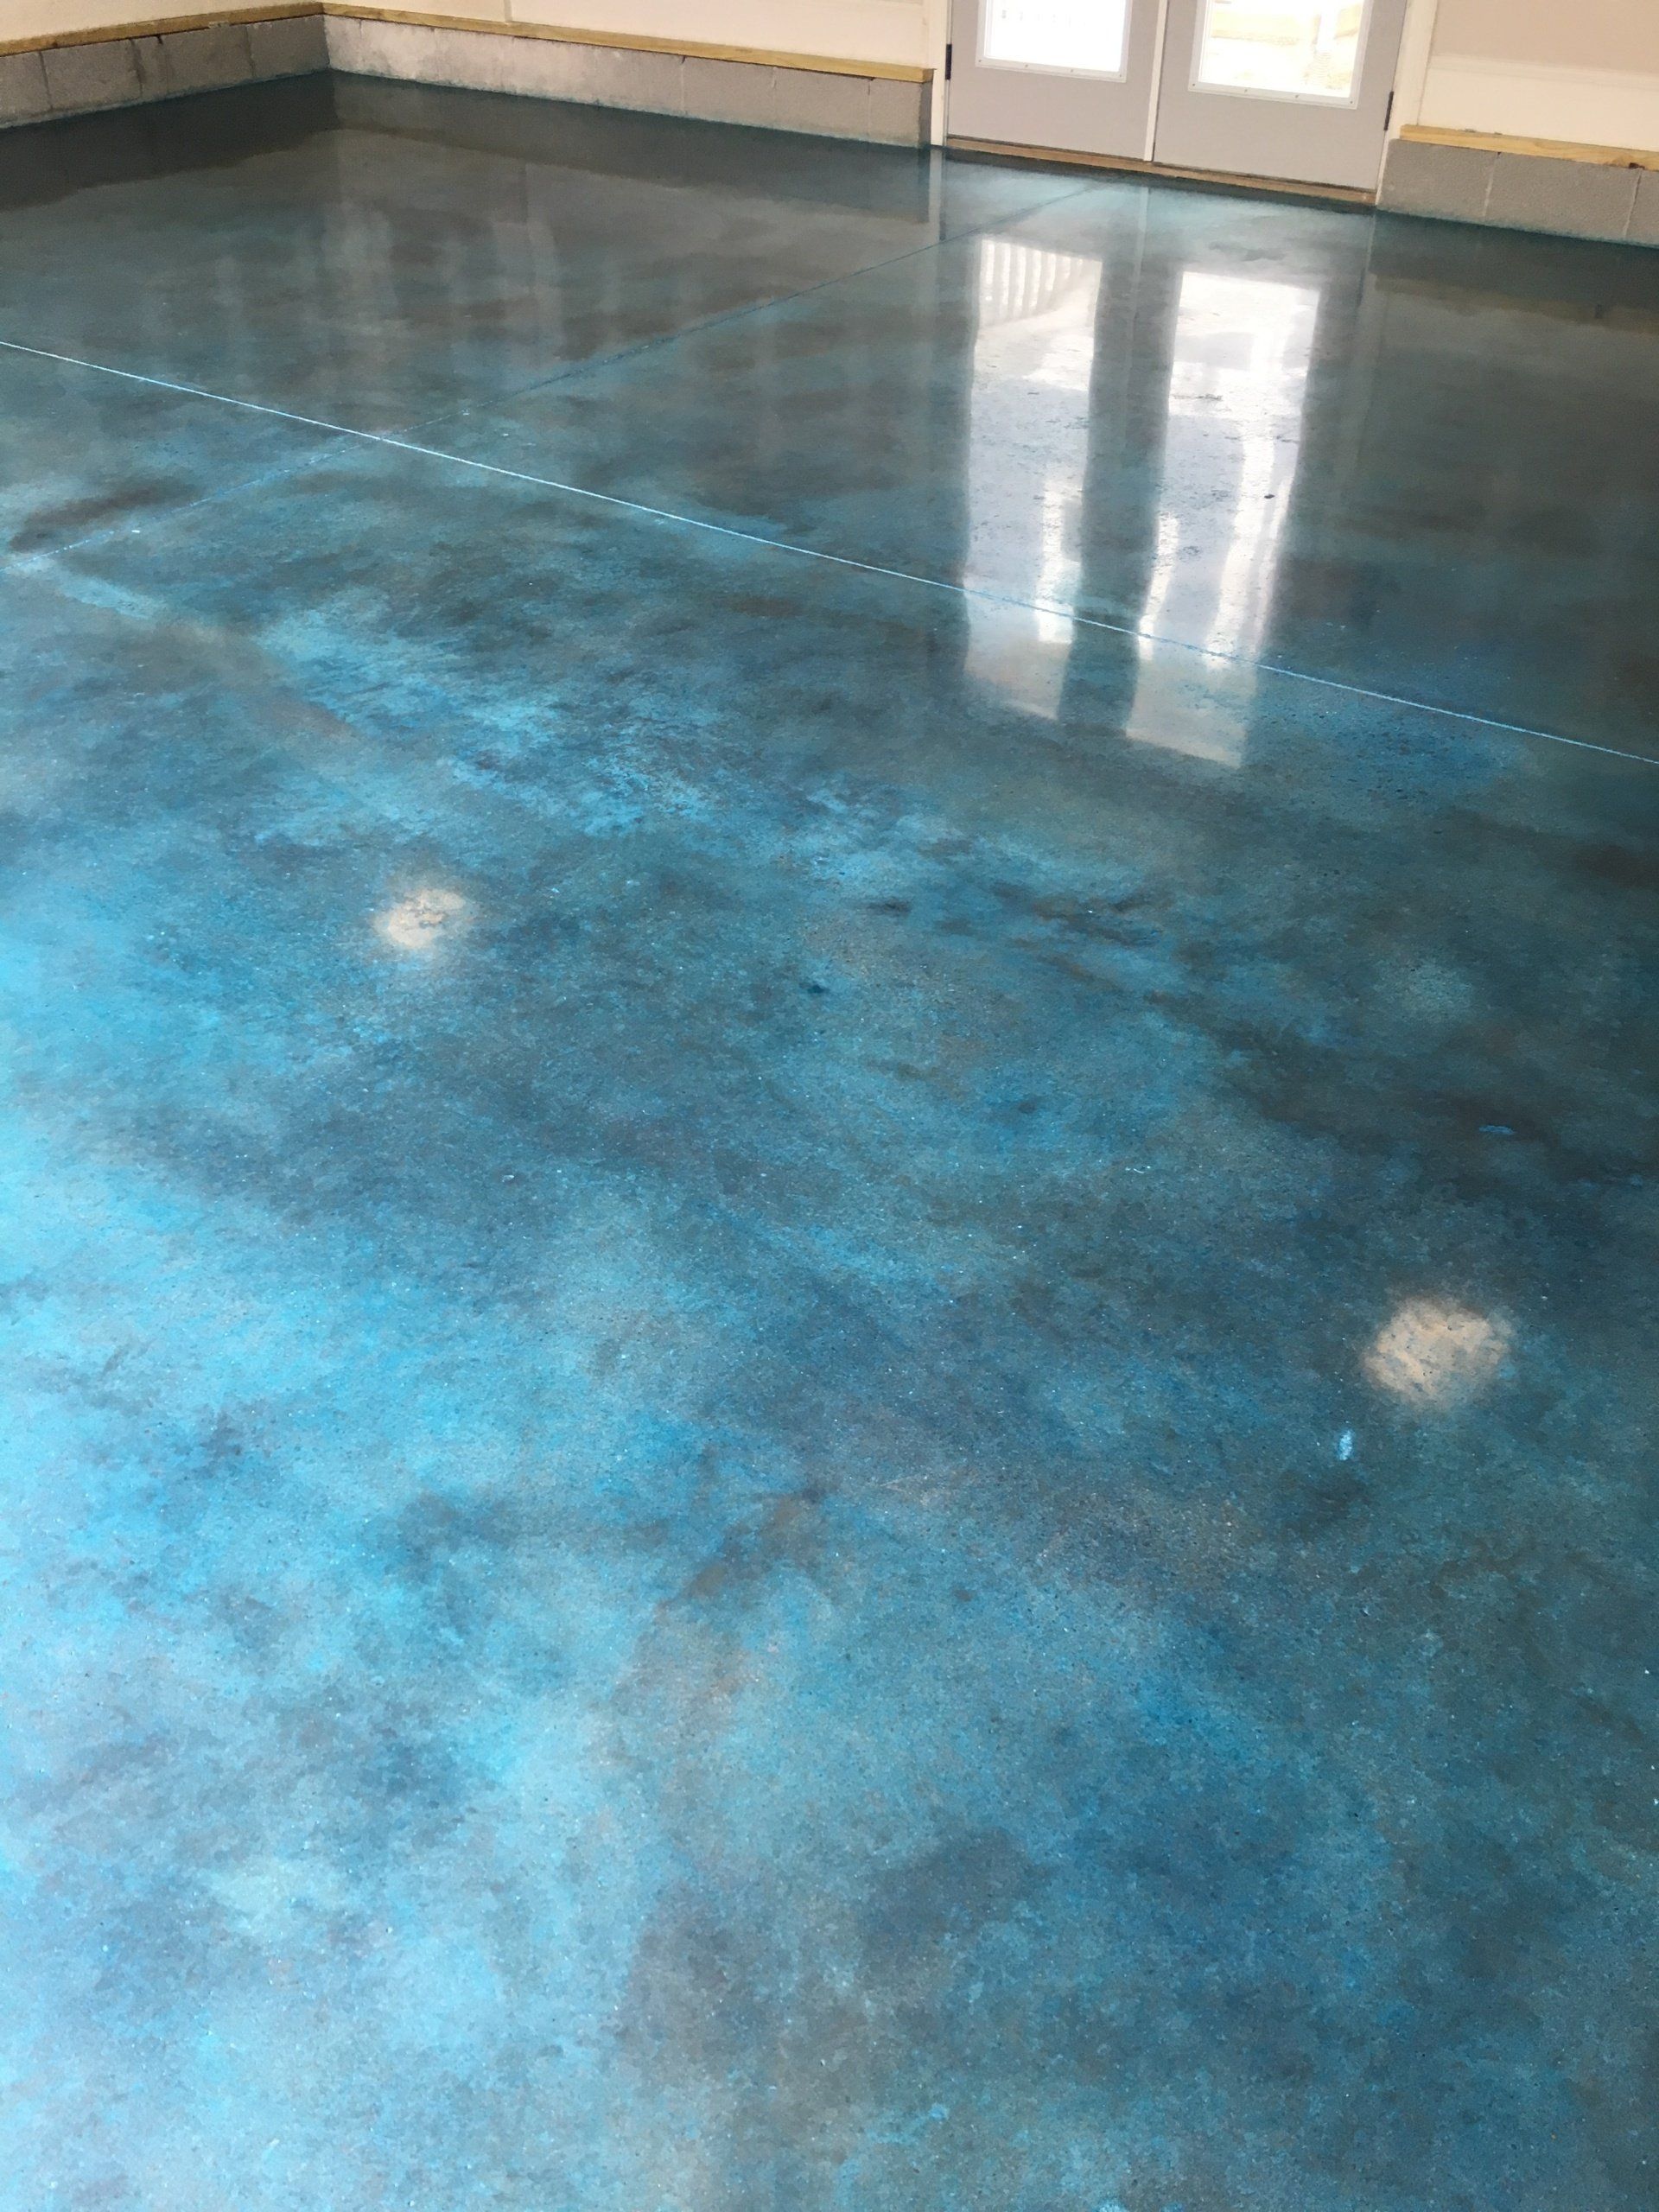
Acid staining concrete floors is a process in which a chemical reaction takes place between the concrete and an acid-based stain. This reaction creates unique color variations that are both permanent and attractive. The result is a one-of-a-kind flooring option that stands out from the rest.
Benefits of Acid Stain Concrete Floors
Acid staining concrete floors is not only cost-effective but also provides many benefits, including:
• Unique and eye-catching color variations
• Durable and long-lasting
• Easy to maintain and clean
• Eco-friendly and non-toxic
• Abrasion-resistant
• Low installation cost
• Enhances indoor air quality
How to Acid Stain Concrete Floors DIY
If you’re interested in transforming your existing concrete floor with an acid stain, here’s how to get the job done yourself:
• Prep the area: Before you start staining, make sure you prep the area by removing any furniture, rugs, or other items. You’ll also want to clean the surface thoroughly to remove any dirt or debris.
• Apply etching solution: To create a rough surface for the stain to adhere to, apply an etching solution to the concrete. Make sure you follow all label instructions carefully.
• Apply the stain: Now it’s time to apply the acid stain. Depending on the type of acid stain you choose, you may need to dilute it with water before applying. Start by brushing it on in small sections, then use a roller or sprayer for larger areas. Allow it to sit for up to 15 minutes before rinsing with water.
• Neutralize: Once you’ve applied the acid stain, it’s important to neutralize it with an alkaline solution. This will help prevent discoloration down the road.
• Seal: Finally, seal your newly stained concrete floor with a high-quality sealant. This will help protect your new floor from wear and tear as well as give it an extra glossy finish.
Q: How long does it take for acid stain to dry?
A: The drying time will vary depending on temperature and humidity levels, but typically it takes around 24 hours for an acid stain to dry completely.
Q: Can I apply multiple layers of acid stain?
A: Yes, you can apply multiple layers of acid stain in order to achieve a deeper color or more unique pattern. However, make sure you wait at least 24 hours before applying each additional layer.
Q: Is there any way to remove acid stains from concrete?
A: Unfortunately, once an acid stain has been applied, it is virtually impossible to remove completely without damaging the surface of the concrete. If you want to lighten or change the color of your existing acid stained surface, you may be able to do so by applying a different color of acid stain over top of the existing one.
Q: Is there any way to protect my newly stained concrete floors?
A: Applying a sealant after staining your concrete floors is a great way to protect them from wear and tear as well as give them an extra glossy finish. Additionally, be sure to clean your floor regularly with a mild detergent and avoid using abrasive cleaning products or tools.