Epoxy Floor Coating Tips
Epoxy floor coatings have become a popular choice for residential garages, commercial spaces, and industrial settings due to their durability, glossy finish, and resistance to chemicals and stains. But applying an epoxy floor isn’t as simple as rolling on paint—there are critical steps and best practices to follow for a long-lasting, professional-looking finish. Whether you’re a DIY enthusiast or a contractor, knowing the dos and don’ts can make a big difference in the outcome of your project. Below we provide several tips broken down into five essential categories to help you achieve a flawless epoxy floor.
Prepare the Surface Thoroughly
-
Surface preparation is the foundation of any successful epoxy coating job. Even the highest-quality epoxy won’t adhere well to dirty, oily, or uneven surfaces. Start by removing any existing coatings or sealants with a floor grinder or shot blaster. A clean and rough surface allows the epoxy to bond effectively with the substrate, ensuring longevity.
-
Degreasing is an essential step that should never be overlooked. Use a degreasing agent or concrete cleaner to eliminate all oil, grease, or other contaminants. These substances can prevent epoxy from penetrating and bonding with the concrete, leading to peeling and bubbling later on.
-
Moisture testing is critical because epoxy does not adhere well to damp surfaces. Conduct a simple plastic sheet test or use a moisture meter to detect any underlying moisture in the concrete. If there’s too much moisture, it may be necessary to install a vapor barrier before applying epoxy.
-
Crack and joint repair comes next. Fill in any visible cracks or expansion joints using an epoxy crack filler or concrete patching product. These should be smoothed out and allowed to cure before proceeding to avoid visible imperfections through the final coating.
-
Etching or grinding the surface creates the proper profile needed for epoxy adhesion. Acid etching with muriatic acid or mechanical grinding are common methods to open up the pores of the concrete. Be sure to rinse and neutralize acid-etched floors thoroughly before applying epoxy.
Choose the Right Epoxy Product
Understand the different types of epoxy coatings. Water-based epoxy is easier to apply but less durable, while solvent-based and 100% solids epoxy offer more longevity and strength, making them better suited for high-traffic or industrial areas. Choose according to your usage needs.
Read product specifications carefully. Not all epoxy coatings are created equal. Pay attention to coverage rates, working time, cure time, and temperature requirements. Selecting a product that aligns with your project’s needs can prevent rework and dissatisfaction.
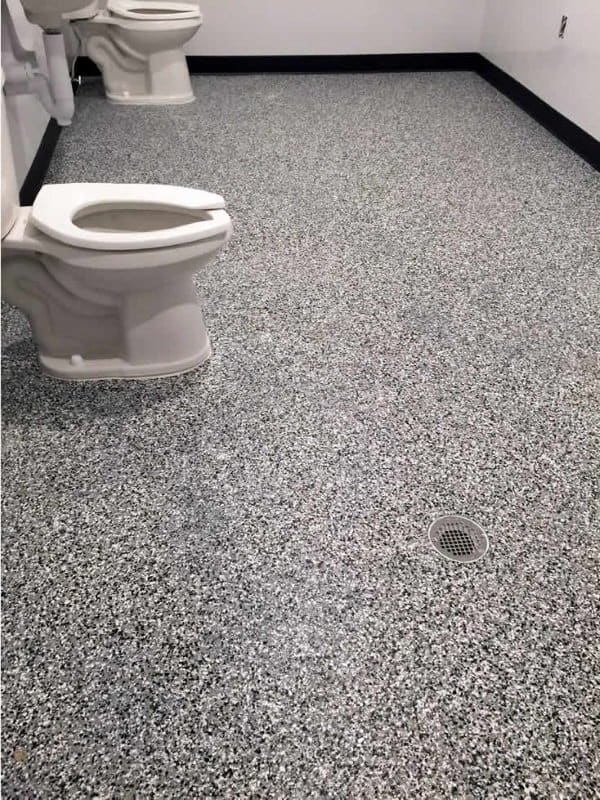
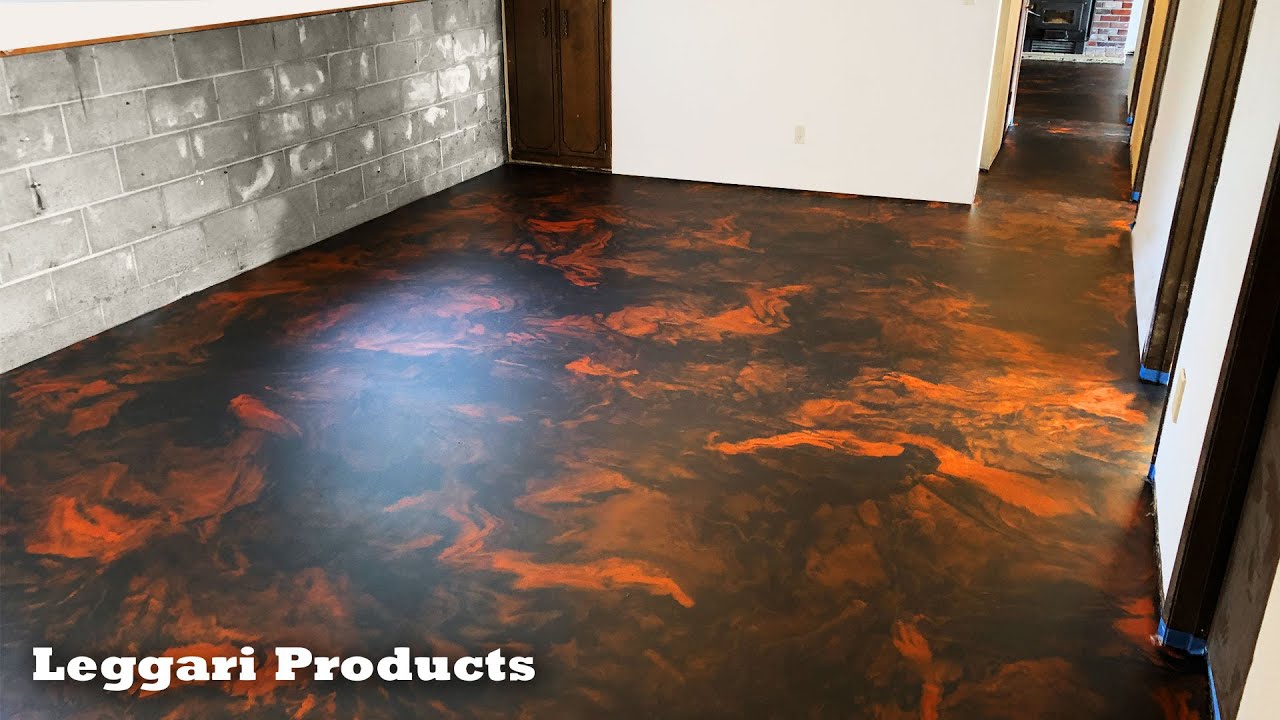
Consider color and finish options. Epoxy coatings come in a variety of colors, gloss levels, and decorative flake systems. A high-gloss finish can brighten dark areas by reflecting light, while textured finishes can offer better slip resistance in wet environments.
Don’t overlook primer and topcoat systems. For a multi-layered epoxy floor, primers enhance adhesion while topcoats add durability and UV protection. Investing in a complete epoxy system often leads to a longer-lasting and more professional result.
Buy slightly more material than calculated. Always account for surface absorption and human error. Running out of epoxy mid-application can cause inconsistencies in color and texture, ruining the uniformity of the final finish.
Plan and Execute the Application Carefully
Check weather and environmental conditions. Epoxy application is highly sensitive to temperature and humidity. Ideally, apply epoxy when the temperature is between 60°F and 85°F, and humidity is below 85% to ensure proper curing and to avoid moisture entrapment.
Gather all necessary tools beforehand. You’ll need rollers, brushes, mixing paddles, spiked shoes, and possibly a squeegee. Having all tools within reach ensures a smooth workflow, as epoxy begins curing quickly once mixed.
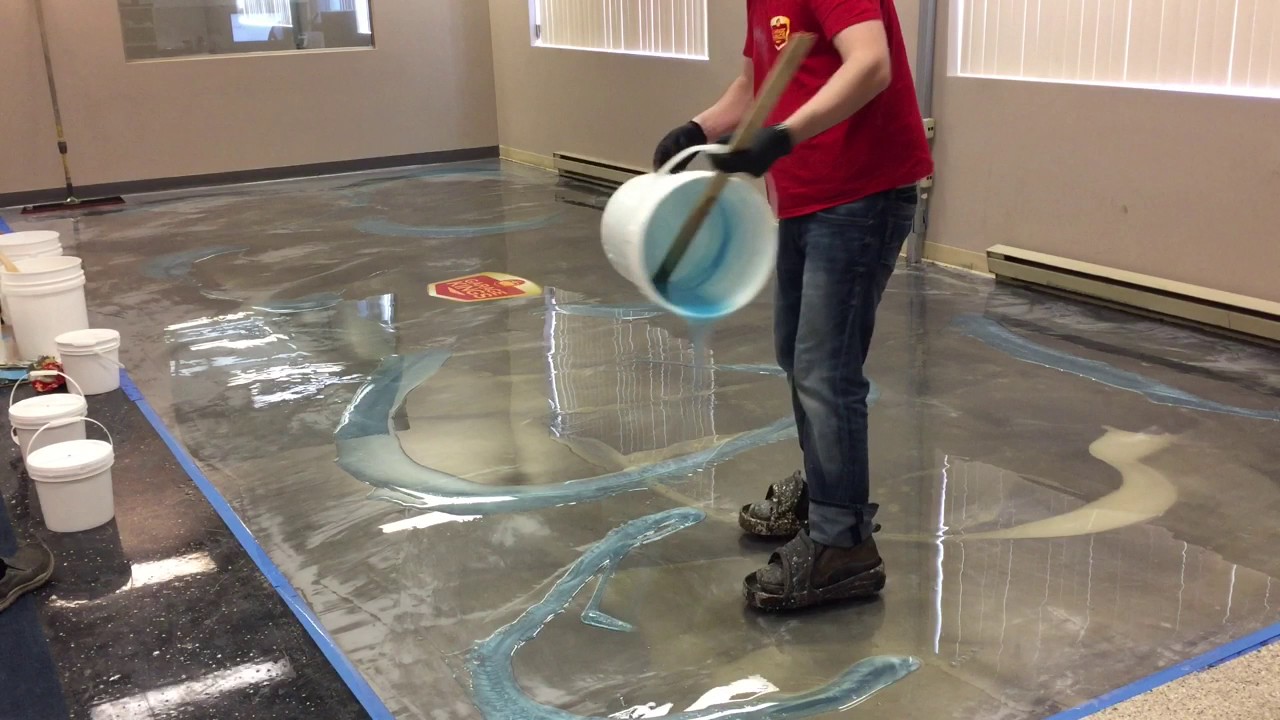
Follow mixing instructions precisely. Epoxy is a two-part product consisting of resin and hardener. Improper mixing or wrong ratios can lead to soft spots or improper curing. Mix thoroughly, usually for 3–5 minutes, and use within the pot life window.
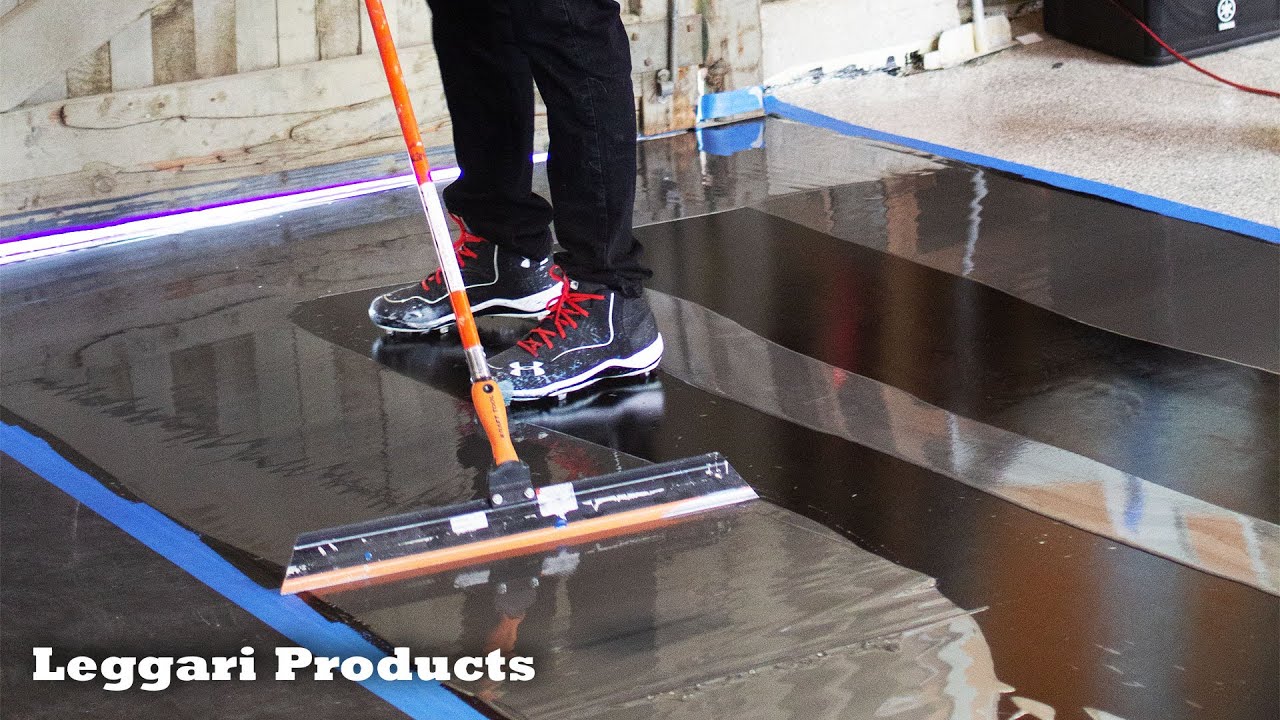
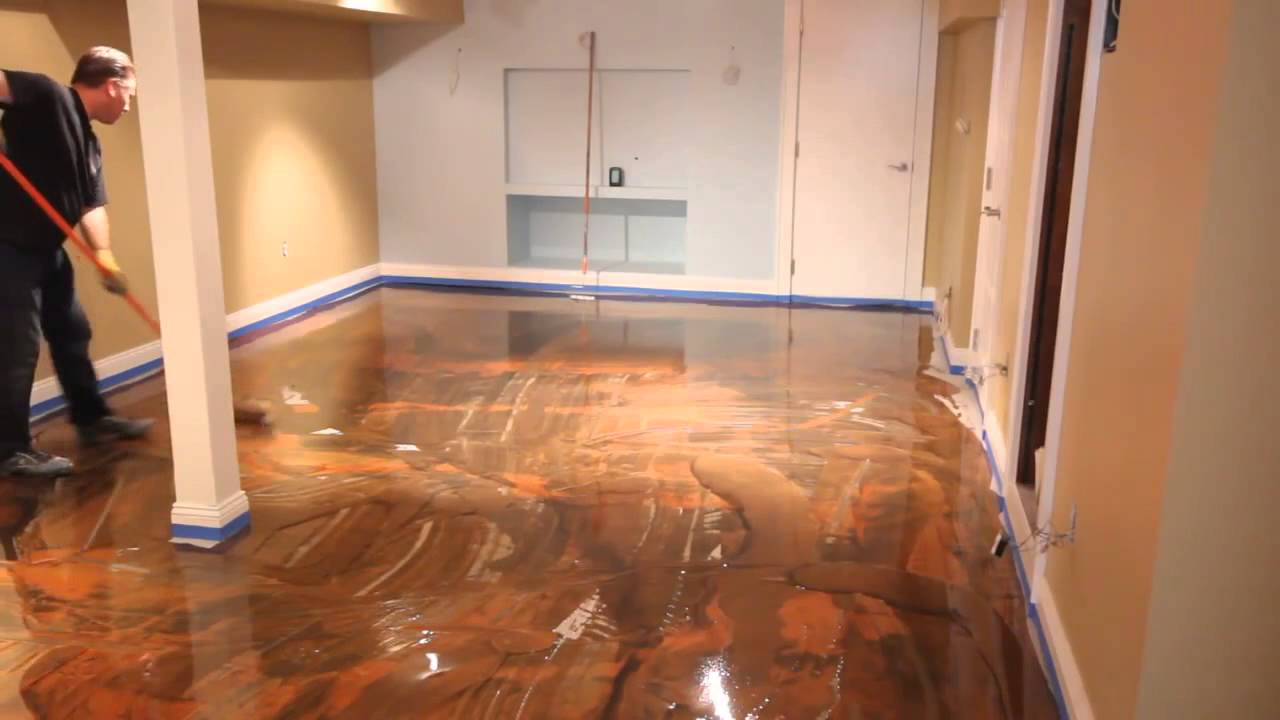
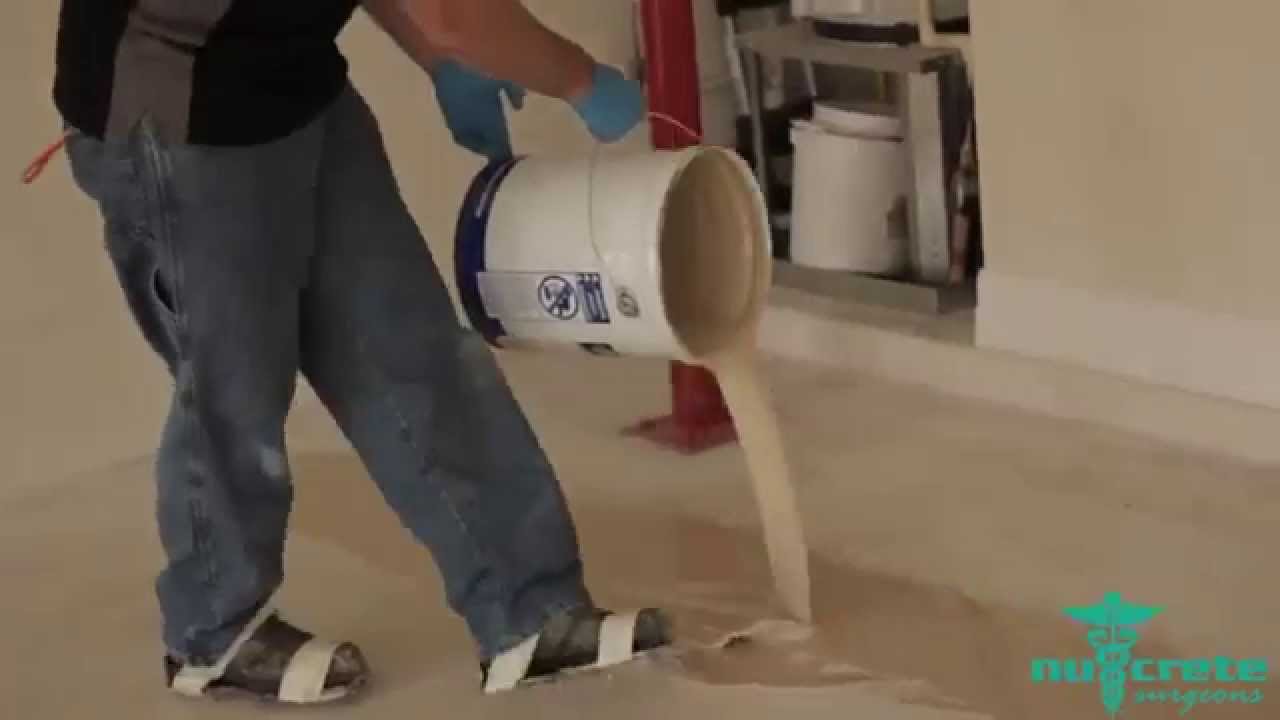
Work in sections to maintain consistency. Start from the farthest corner and work toward the exit, applying the epoxy evenly across small sections. This prevents walking over the coated surface and helps maintain a consistent thickness and appearance.
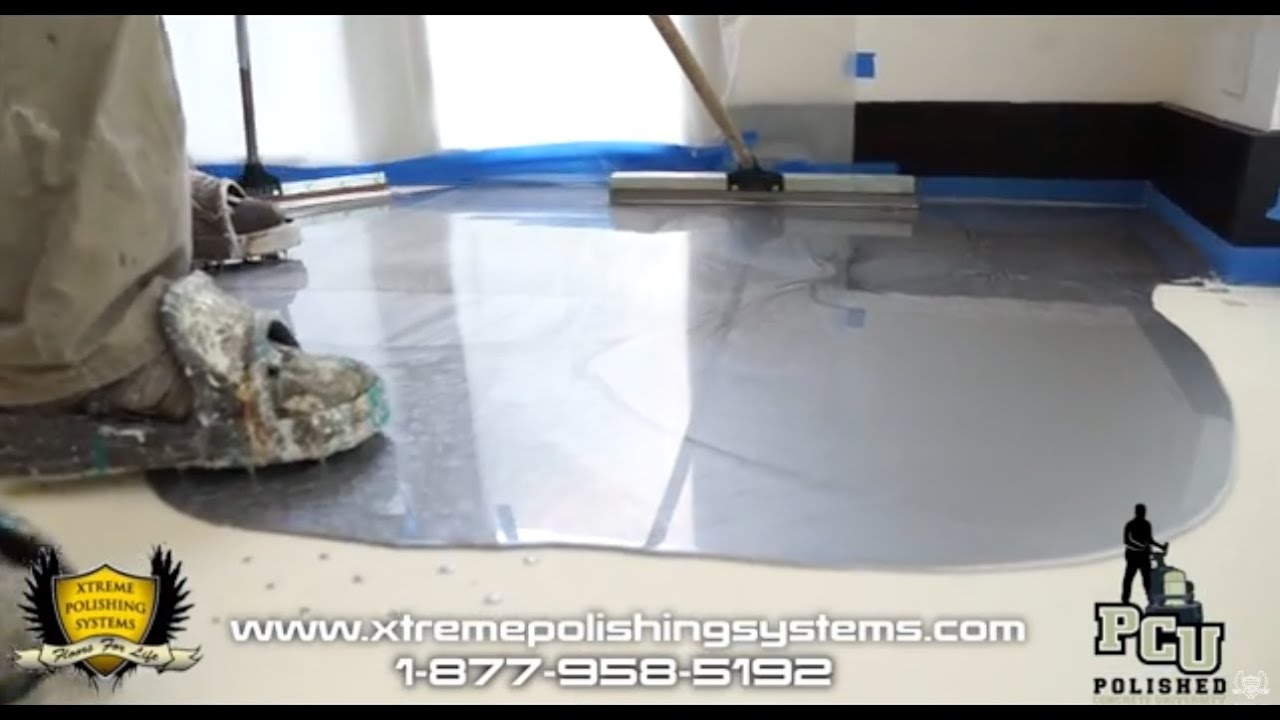
Use back-rolling to eliminate bubbles. After spreading the epoxy with a squeegee or roller, back-roll it with a lint-free roller to remove any air bubbles and even out the coating. This small but crucial step enhances the final finish and durability.
Allow Proper Curing and Post-Application Care
Respect curing times as indicated. Most epoxy coatings require at least 24 hours to dry to the touch and up to 7 days to fully cure. Rushing this process by walking or placing items on the floor prematurely can ruin the finish and compromise durability.
Control dust and airflow. Keep the space clean and limit airflow during curing to avoid dust, bugs, or debris settling into the wet epoxy. Close windows and doors if possible, and use clean filters if running fans or HVAC systems.
Inspect for imperfections post-cure. Look for bubbles, thin spots, or color inconsistencies. Minor defects can often be sanded down and recoated, but major problems may require professional refinishing or complete reapplication.
Apply additional coats if needed. Some epoxy systems benefit from a second coat or a polyurethane topcoat for added durability and UV resistance. Always follow manufacturer instructions regarding recoating timelines.
Implement regular maintenance. Clean epoxy floors with a soft-bristle broom and mild detergent. Avoid harsh chemicals that can degrade the topcoat. With proper maintenance, an epoxy floor can maintain its appearance and performance for over a decade.
Safety Tips and Common Mistakes to Avoid
Always wear personal protective equipment (PPE). Epoxy fumes can be harmful during application, especially in enclosed spaces. Wear gloves, safety goggles, and a respirator mask to protect against vapors and skin contact.
Don’t ignore floor leveling issues. Applying epoxy over an uneven or sloped floor can cause puddling or thin spots. Use a leveling compound to fix dips or slopes before beginning your epoxy project.
Avoid skipping the primer. Skipping primer may seem like a time saver, but it can compromise adhesion and result in peeling. A primer also helps reduce the number of bubbles by sealing porous concrete.
Don’t apply too thick a layer. Thicker is not always better. Heavy applications can trap air, extend curing time, and create soft spots. Stick to the manufacturer’s recommended thickness for the best results.
Never rush the project. Patience is key in epoxy coating. Rushing the steps—from preparation to curing—often leads to costly mistakes and unsatisfactory finishes. Plan your project across several days and give each stage the time it needs.
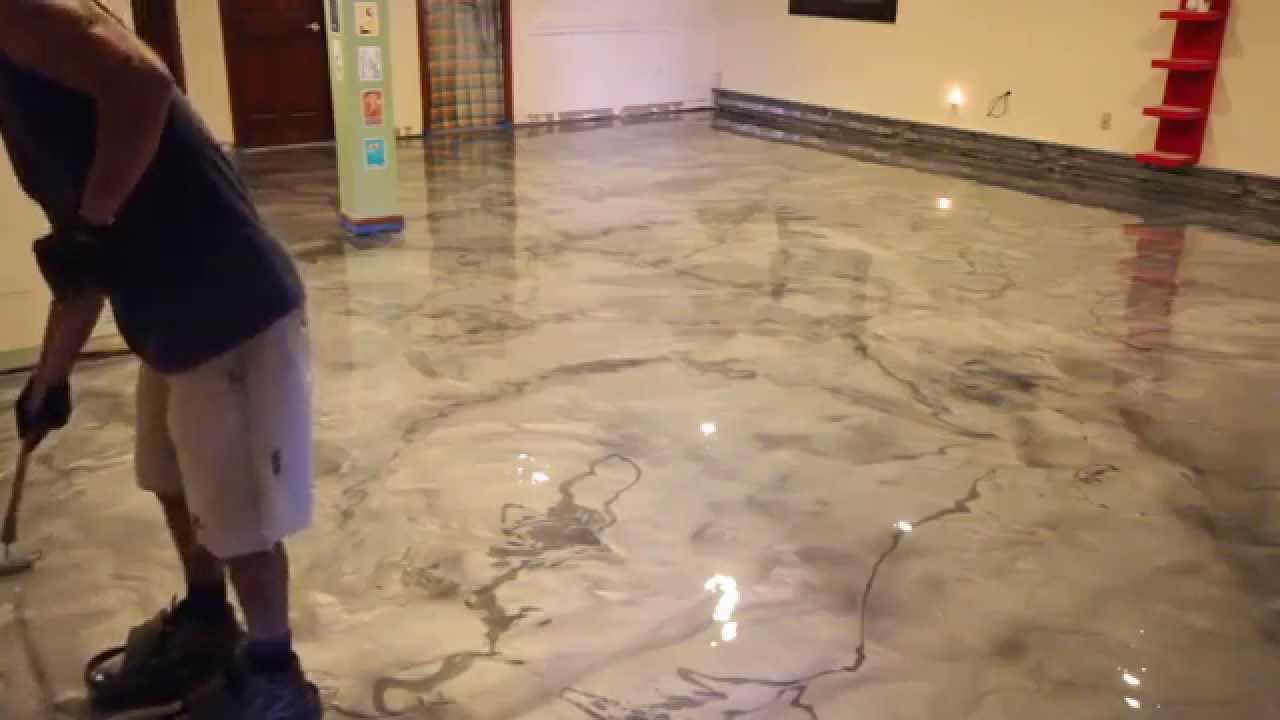
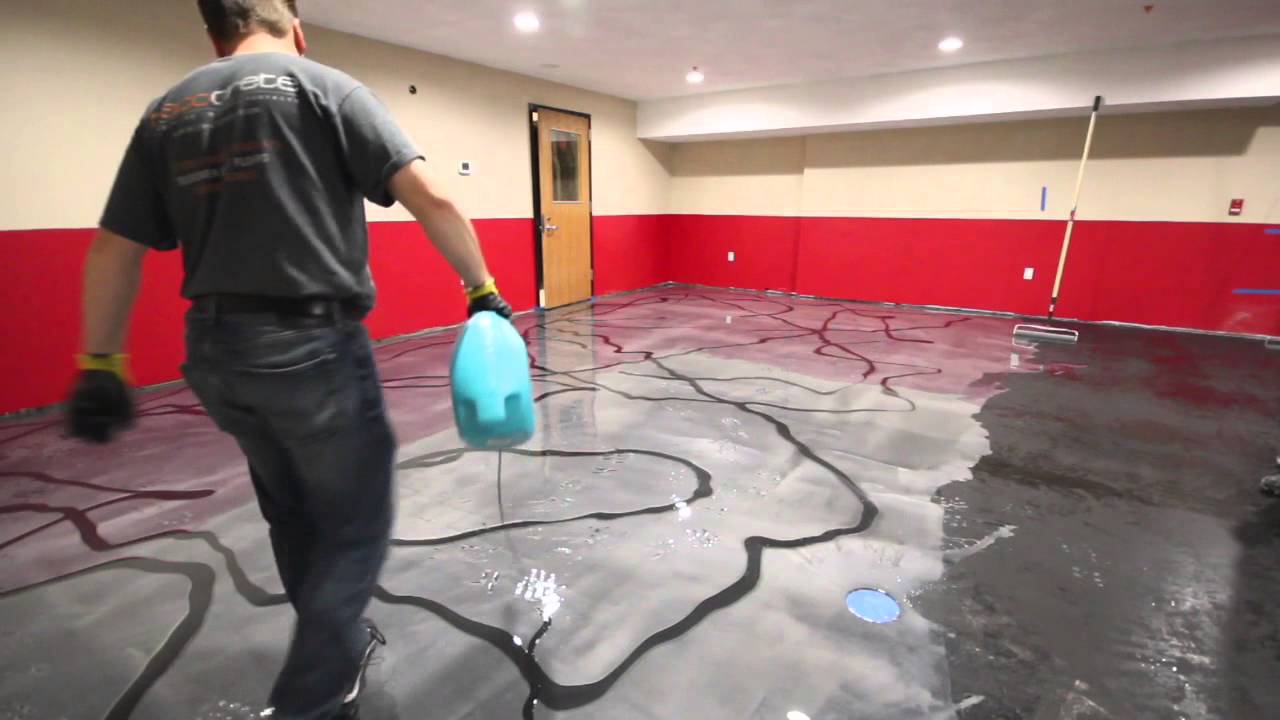
Designer Metallic Epoxy Floor Installation
Paint a concrete floor with epoxy resin paint Rizistal

HOW TO Epoxy Floor Countertop Epoxy Copper Epoxy Floor Epoxy Garage Floor Epoxy floor DIY

Know more about Designer Metallic Epoxy Floor Installation
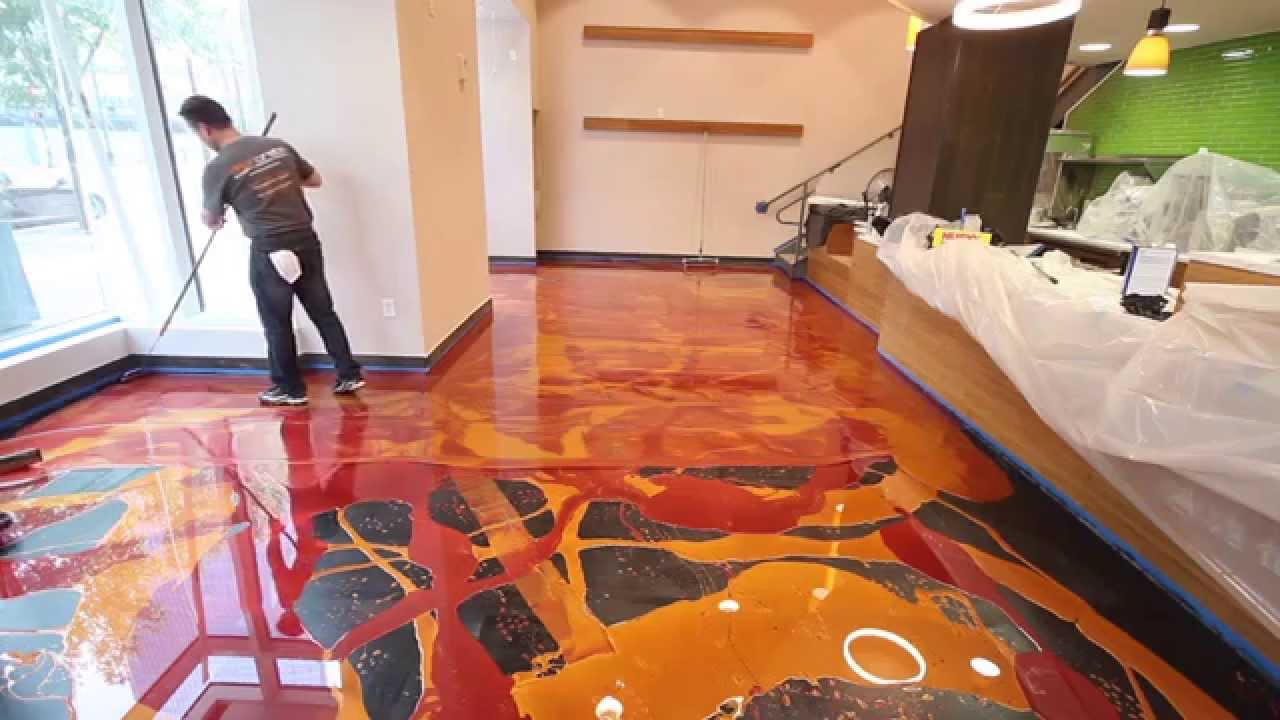
Learn to install metallic epoxy – Orange Gold u0026 Wine Red
Epoxy Floor Installation Over Old Concrete
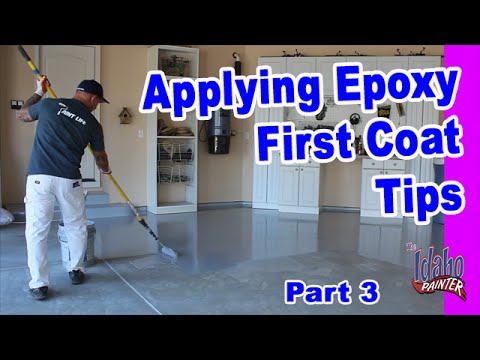
Applying Epoxy The First Coat. Epoxy Floor Application Instructions. Instructions applying epoxy.
Metallix Epoxy – Pure Metallic – Metallic Epoxy Floor Coating Quick Instructional Video

How to Apply Epoxy Floor Coatings to a Garage Floor (Start to Finish)
How to Residential Metallic Epoxy Floor Installation Start to Finish Xtreme Polishing Systems
Related articles: