More homeowners as well as designers are building basements and warehouses with concrete due to the appearance, the organic beauty, the easiness in attention and also the warmth it brings to a spot. The method is very simple to apply with state-of-the-art technology. If you walk into a put that has polished concrete flooring, you will realize immediately that the dojo is fairly similar to marble.
Here are Images about Concrete Floor Drain Installation
Concrete Floor Drain Installation

Some profits of polished concrete floor surfaces are the long life of its, along with the practically endless style options offered. Concrete flooring is perfect for warm climates because it continues to be cool even in the hottest weather. If you’re preparing the floor of your office or house to be concreted, you will find a few things you have to check.
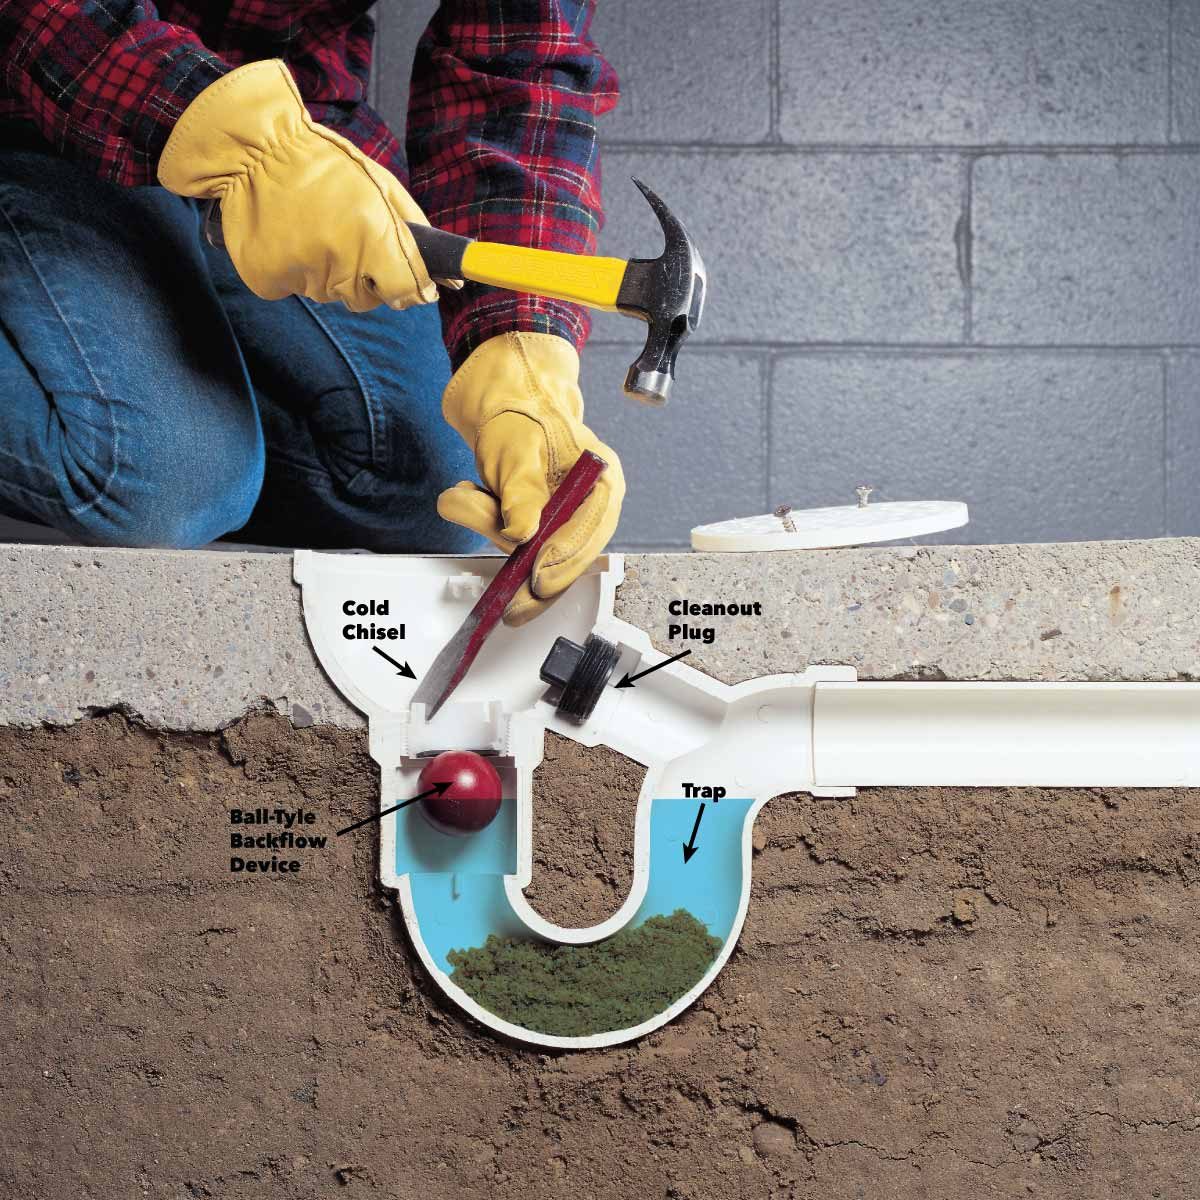
Pronto! Dual Adjustable Floor Drains and Cleanouts with patented
In addition to this, possibly the best attributes of concrete flooring is its trouble free cleaning function in which the particles of dust can be mopped. Although many do not think about a concrete floor in the home of theirs for the worry of it being too cold, the alternative is really true. For everyday routine, a soft broom or perhaps dust mop works well.
Images Related to Concrete Floor Drain Installation
How to Install a Fiberglass Base Over Concrete (DIY) Family Handyman

Finish Line™ Adjustable Floor Drains Installation – PlumbingSupply.com

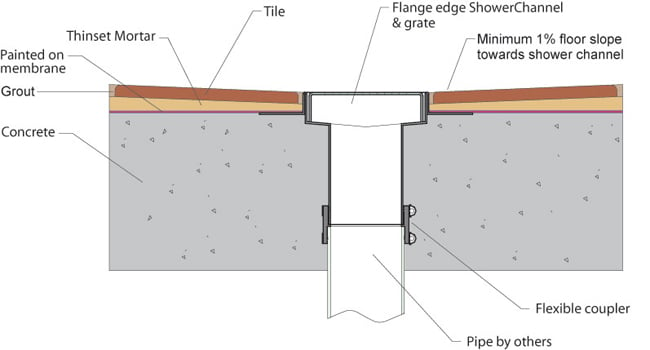
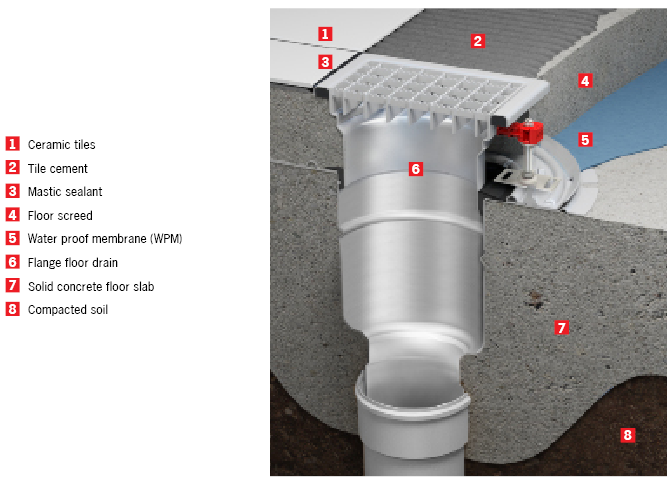
Shower Channel Concrete Slab Installation Flooring Supply Shop Blog
How to Unclog a Drain u2014 Tips from The Family Handyman
Can I Put a Floor Drain in My Garage? – Garage Transformed
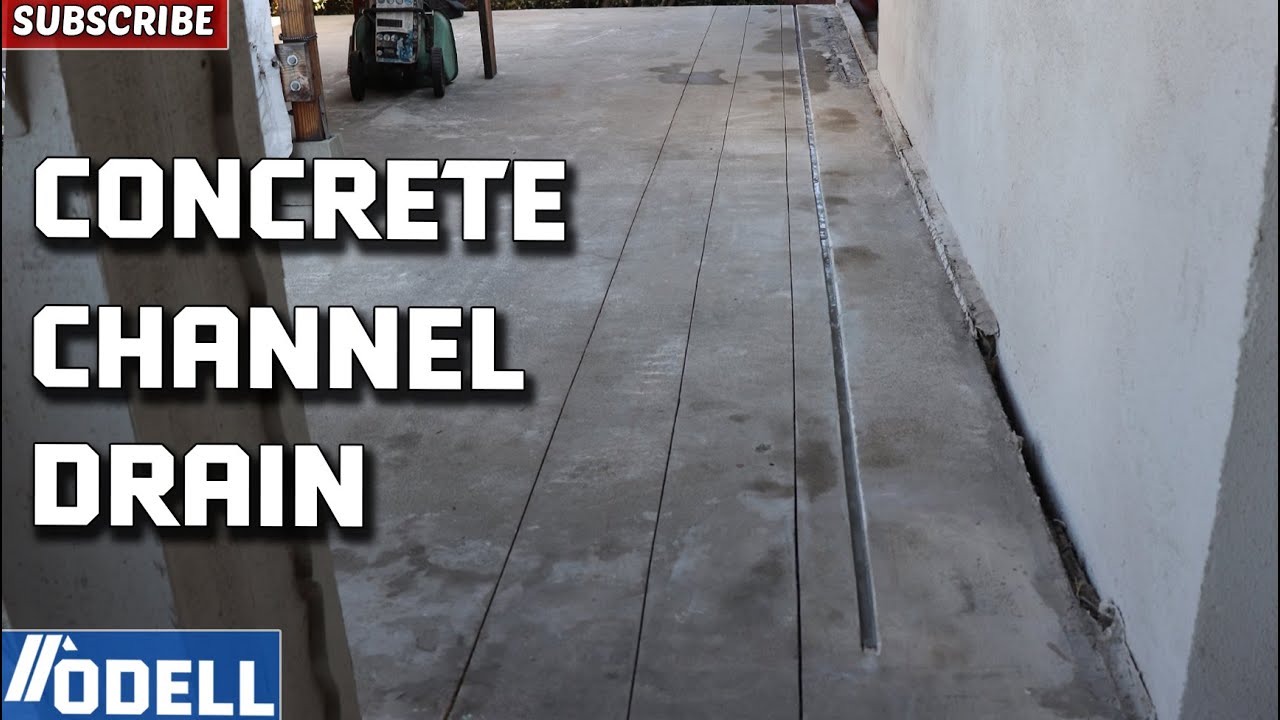
How to Cut a Drainage Channel into a Concrete Slab
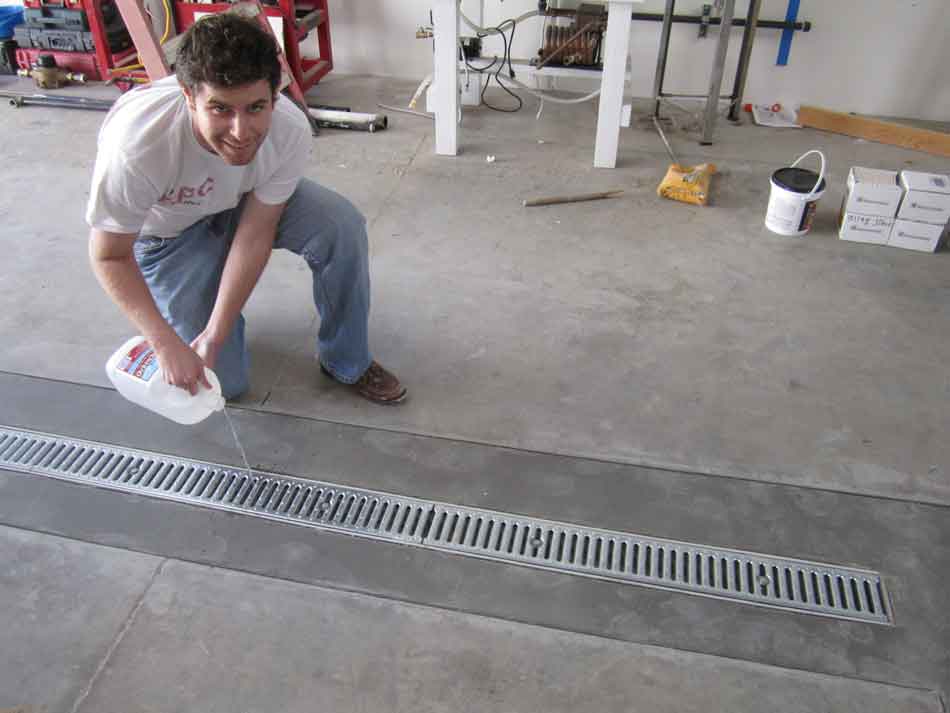
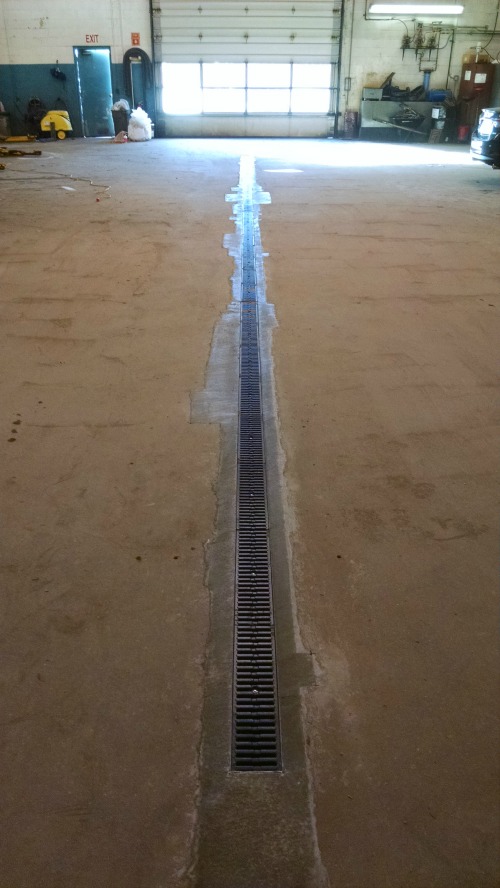
Trench drain installation in Brunswick, Me. by Dayu0027s Concrete
ACO – Worldu0027s leader in stainless steel hygienic drainage water
Garage Floor Drain – What Type Of Concrete Floor Drain Should You

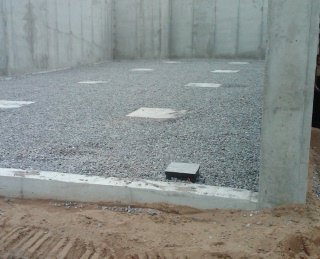
Installing Under-Slab Drain Pipes and Floor Drain

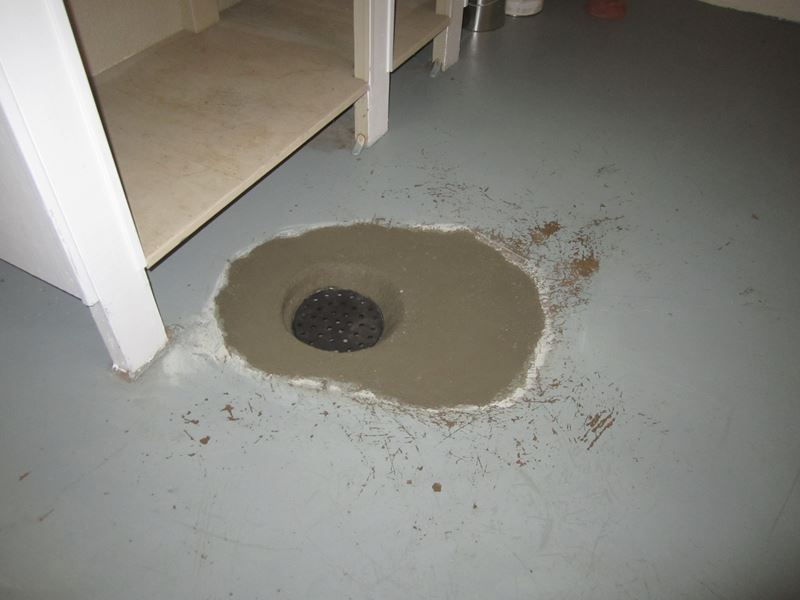
Basement Floor Drain – How To Install A Concrete Floor Drain In
Latest Projects – Floor Drain Replacement in Minneapolis, MN
Related articles:
- White Mold On Concrete Floor
- Polished Concrete Floor
- Polished Concrete Floor Cleaning
- Staining Concrete Floors Indoors Yourself
- Flooring Options For Concrete Floors
- White High Gloss Concrete Floors
- Acid Stain Concrete Floors DIY
- Redo Patio Concrete Floor
- Interior Concrete Floor Ideas
- Gloss Concrete Floor Paint
Installing Concrete Floor Drains: A Step-by-Step Guide
Floor drains are an essential part of any home’s drainage system, ensuring that any liquids or water that happen to find their way onto the floor are quickly and effectively removed. The installation of a concrete floor drain can be a tricky process, but with the right tools and know-how, anyone can do it safely and effectively. This article will provide a step-by-step guide to installing a concrete floor drain.
What You’ll Need
Before beginning the installation process, you will need the following tools and materials:
• Concrete floor drain
• Chalk line
• Power saw
• Level
• Cement
• Trowel
• Broom
• Sandpaper
• Shovel or drill
• Bucket of water
• Mortar mix (optional)
Step 1: Preparing the Area
Before you begin, you should ensure that the area is clean and free of debris. Sweep the concrete surface thoroughly and use a piece of sandpaper to smooth out any rough patches. Then, using a chalk line, mark out the area where you would like to place your drain. Make sure that the area is level and that the drain slopes downward in the direction of your existing drainage system.
Step 2: Installing the Drain
Once you have marked out the area, use a power saw to cut out the outlined shape. Make sure that all edges are smooth and even. Then, using a trowel, spread a thin layer of cement over the entire area, smoothing it out until it is level with the surrounding concrete. Place your concrete floor drain in the center of the area and use a level to make sure it is completely level. Once everything is in place, use a bucket of water to wet down the surface and allow it to dry overnight.
Step 3: Filling in Around the Drain
Once your floor drain is in place and has dried, mix up some mortar mix according to package instructions (this is optional). Using your trowel, spread a thin layer of mortar around the edges of your drain for added stability. Allow this layer to dry overnight before proceeding to step 4.
Step 4: Finishing Up
Once your mortar has dried, spread another thin layer of cement around the edges of your drain. This will create an even transition between your existing concrete floor and your drain. Using a broom, brush away any excess cement from around the drain and then allow it to dry completely before use.
FAQs About Installing Concrete Floor Drains
Q: How long does installing a concrete floor drain take?
A: It typically takes about four to six hours from start to finish. This includes preparation time, installation time, and drying time.
Q: Is it possible to install a concrete floor drain on my own?
A: Yes! With the right tools and know-how, anyone can safely install their own concrete floor drain. However, if you are unsure or uncomfortable with tackling this project on your own, it is best to consult with a professional for assistance.
Q: Do I need special tools for this project?
A: Yes, you will need tools such as a power saw, level, trowel, broom, sandpaper, shovel or drill, bucket of water and mortar mix (optional). It is also important to wear protective equipment such as goggles and gloves when working with power tools.