If the empty has backed up, the plumber is going to install protection valves or even replace leaky pipes just before using some waterproofing solutions. Drains must be looked after, meaning you are going to need to get it serviced or maybe "snaked" to keep it functional. Make each room of the home of yours have a comfy feeling. You should certainly not install more than a concrete subfloor until it passes pH alkalinity and calcium chloride tests.
Here are Images about Floating Basement Floor Tiles
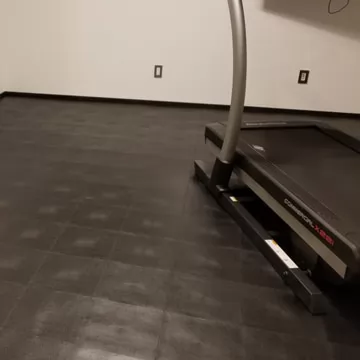
Floating Basement Floor Tiles
Other people take more of a precise approach, waiting to see the types of costs they will be facing, precisely how things are turning out and eventually what the best option will be. A self contained suite or maybe added household bedrooms will also be options which come to mind. Install the new floor for the downstairs room along with the overlay.
Floating Basement Floor u0026 Carpet Tiles, Raised
Basement flooring must match up with whatever theme you're using the room for. You will be happy for many years down the street. Be sure to get in touch with a specialist contractor that is going to be able to examine the original floor and then provide you with an estimate. You might have to have the concrete subfloor sealed and/or put in a moisture barrier.
Images Related to Floating Basement Floor Tiles
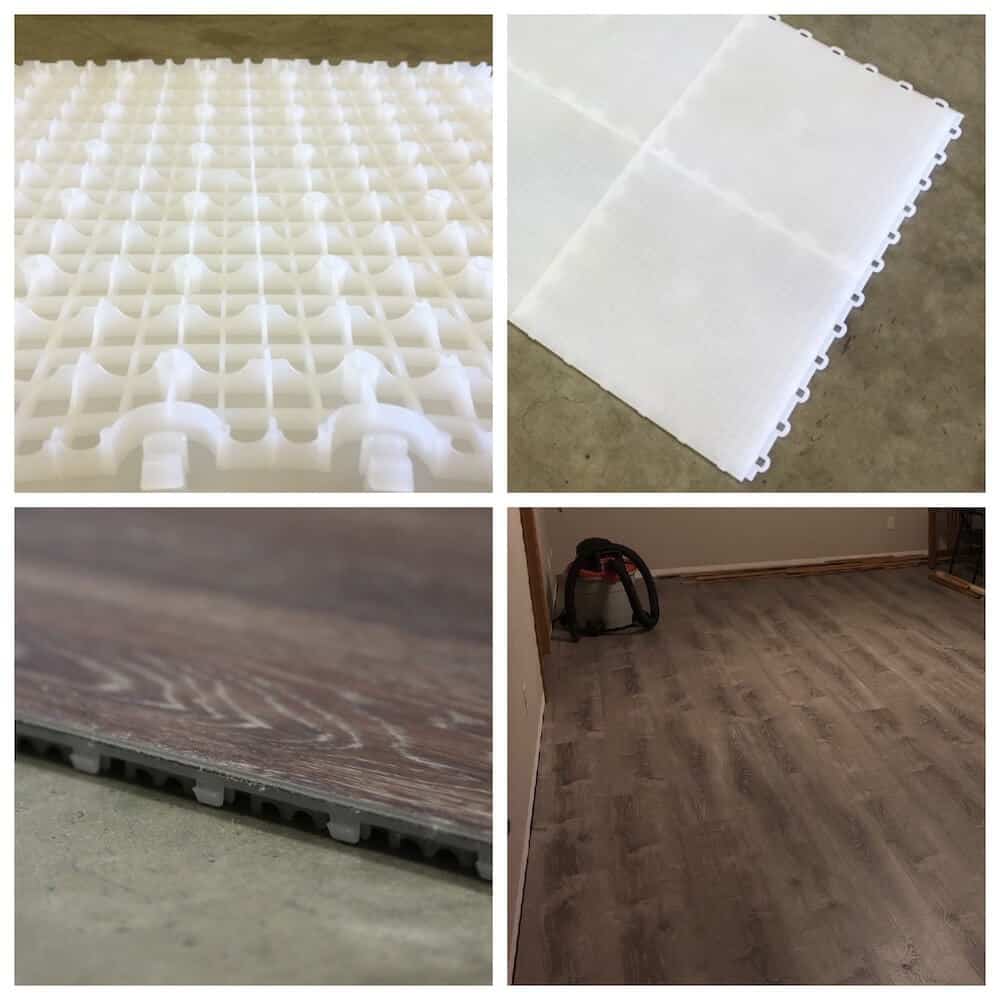
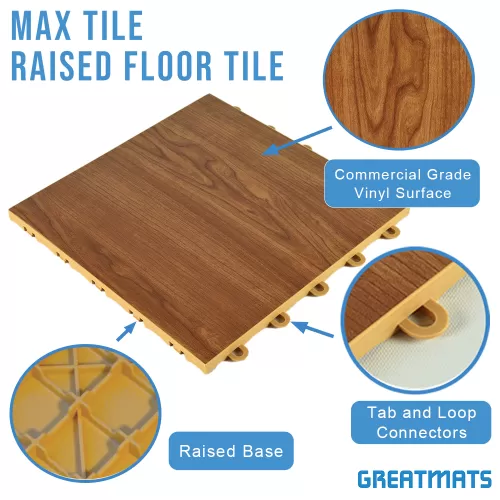
Waterproof Raised Max Tile Modular Basement Flooring Basement

Waterproof Raised Max Tile Modular Basement Flooring
Basement Flooring 101 – Bob Vila

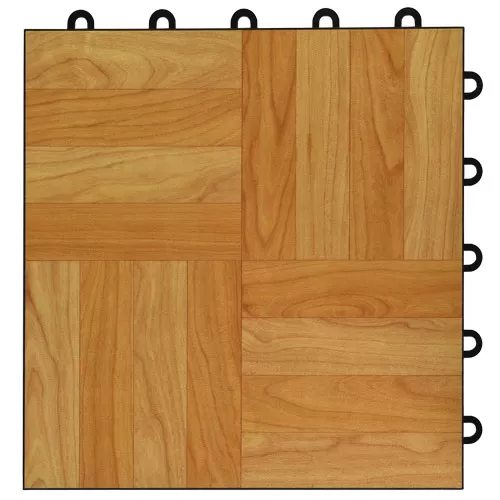
Vinyl Top Multi-Purpose Basement Flooring Tiles 12″ x 24″ – Covers

Garage Floor Tiles Interlocking Mats Coin Top Basement Floating

ThermalDry™ Basement Flooring Systems Basement Systems

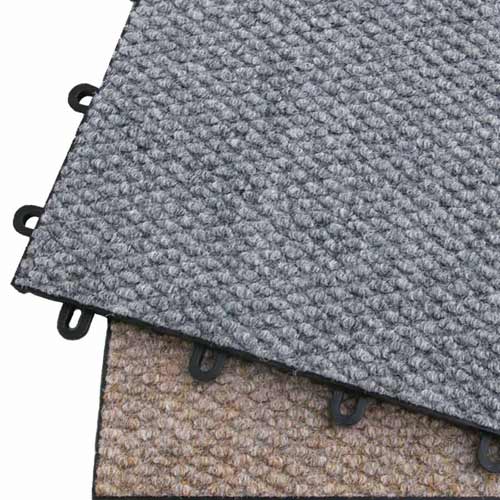
Floating Basement Floor u0026 Carpet Tiles, Raised
Floating Basement Floor u0026 Carpet Tiles, Raised
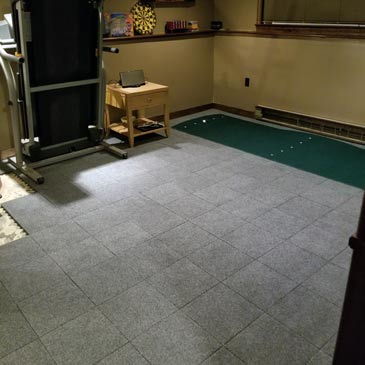
CarpetFlex Floor Tile
Interlocking Basement Floor Tiles Basement flooring options

Waterproof Raised Max Tile Modular Basement Flooring
ThermalDry™ Basement Flooring Systems Basement Systems
Related articles:
- Basement Concrete Floor Sweating
- Basement Floor Finishing Ideas
- Painting Unfinished Basement Floor
- Unique Basement Flooring
- Basement Floor Epoxy And Sealer
- Brick Basement Floor
- Finished Basement Floor Plan Ideas
- Basement Floor Finishing Options
- Basement Floor Tile Ideas
- Concrete Basement Floor Finishing Options
Floating basement floor tiles provide a unique and attractive solution for homeowners looking to update their basements. They offer a modern look, are easy to install, and can be used to create a variety of interesting designs. This article will explore the benefits of using floating basement floor tiles, the different types available, and how to install them.
What Are Floating Basement Floor Tiles?
Floating basement floor tiles are thin interlocking tiles that snap together to form a floating floor. They are made of plastic, rubber, or foam and come in a variety of sizes, shapes, and colors. They are lightweight and easy to install, making them a great choice for DIYers.
Benefits of Floating Basement Floor Tiles
Floating basement floor tiles offer several key benefits over traditional flooring options.
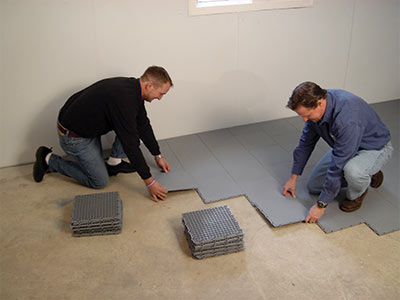
Easy Installation: Installing floating basement floor tiles is incredibly easy. The tiles snap together without the need for adhesive or nails. This makes them ideal for DIYers who don’t have a lot of experience with home improvement projects.
Affordable: Floating basement floor tiles are much more affordable than traditional flooring options like stone or hardwood. They are also much easier to install, which can further reduce labor costs associated with the project.
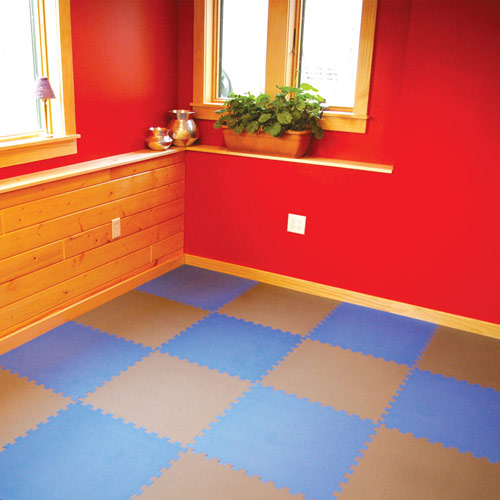
Attractive Designs: Floating basement floor tiles come in a variety of colors, shapes, and sizes, allowing you to create an array of interesting designs. They can also be mixed and matched for more complex patterns.
Durability: Floating basement floor tiles are highly durable and resistant to wear and tear. They can handle heavy traffic without showing signs of wear or damage. They also require minimal maintenance, making them a great long-term investment for your home.
Types of Floating Basement Floor Tiles
There are several different types of floating basement floor tiles available on the market today. Here is an overview of the most popular options:
Foam Tiles: Foam tiles are lightweight and easy to install. They are also noise-absorbing and slip-resistant, making them an ideal choice for basements with children or pets.
Rubber Tiles: Rubber tiles offer excellent durability and are resistant to water damage. They are also slip-resistant and come in a variety of colors and designs.
Plastic Tiles: Plastic tiles are one of the most affordable options on the market today. They are lightweight and easy to install but not as durable as rubber or foam tiles.
How to Install Floating Basement Floor Tiles
Installing floating basement floor tiles is relatively simple and can be done in a few hours with the right tools and materials. Here’s what you’ll need:
• Measuring tape
• Pencil or marker
drywall saw • Tile spacers • Utility knife • Level • Adhesive (optional) • Grout (optional)
First, measure the area you want to cover with the tiles and mark it off with a pencil or marker. Next, use a drywall saw to cut out any sections that don’t fit perfectly with the measurements you’ve taken. Place tile spacers between each tile to ensure that they all fit together correctly. Use a utility knife to trim any excess material off the edges of the tiles as needed. Once all the tiles have been placed, make sure they are level using a leveler tool. You may need to apply adhesive between some of the tiles depending on their size and shape. Finally, you can grout the joints between each tile for an extra layer of protection and a finished look.